To customize your Privsa theme, you can use the WordPress Customizer. The Customizer allows you to modify various theme settings, including colors, typography, header and footer layouts, and much more.
How to Access the Theme Customizer #
To access the Privsa Theme Customizer, follow these steps:
- Log in to your WordPress Dashboard.
- Navigate to Appearance → Customize.
This will open the Privsa Theme Customizer interface where you can modify various theme options in real-time.
Theme Settings #
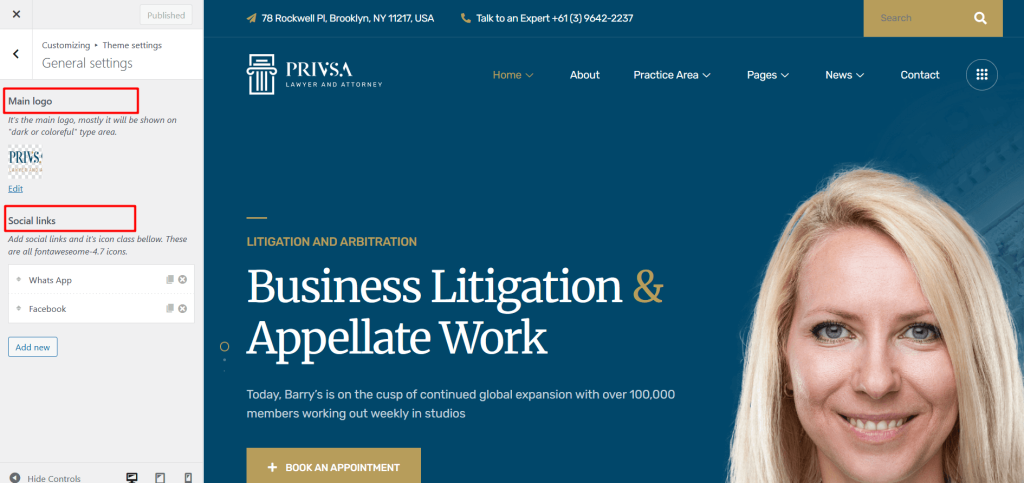
General settings #
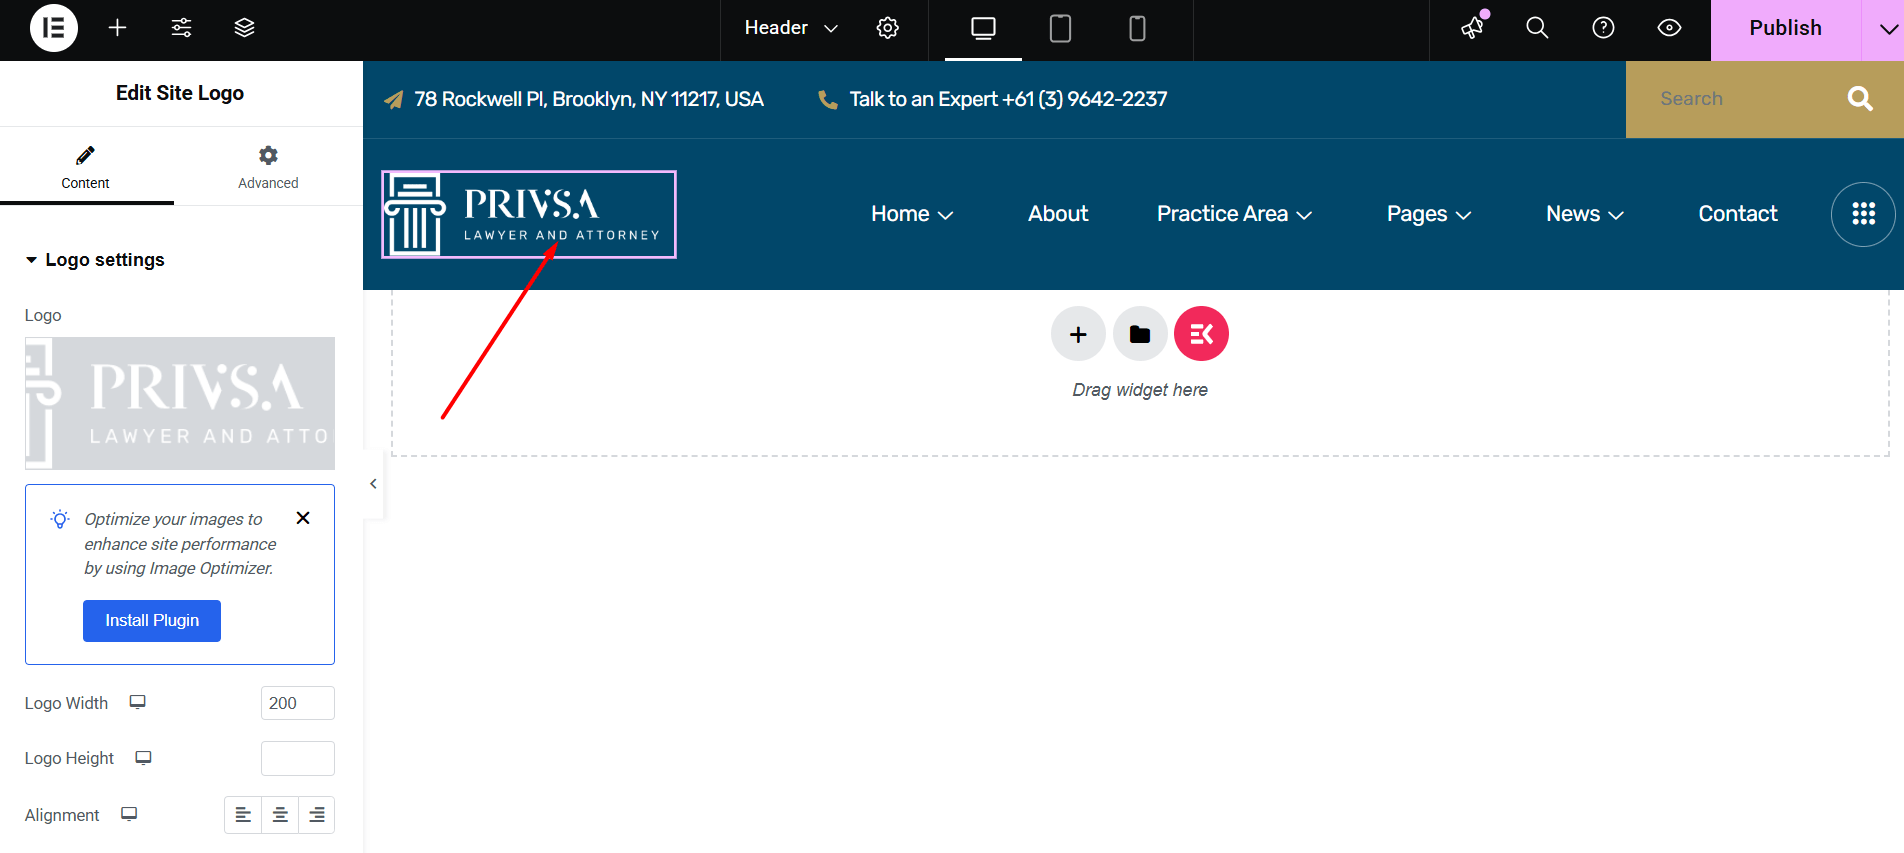
From Appearance → Customize → Theme Settings → General Settings, you can change the logo and update the social links for both the header and footer.
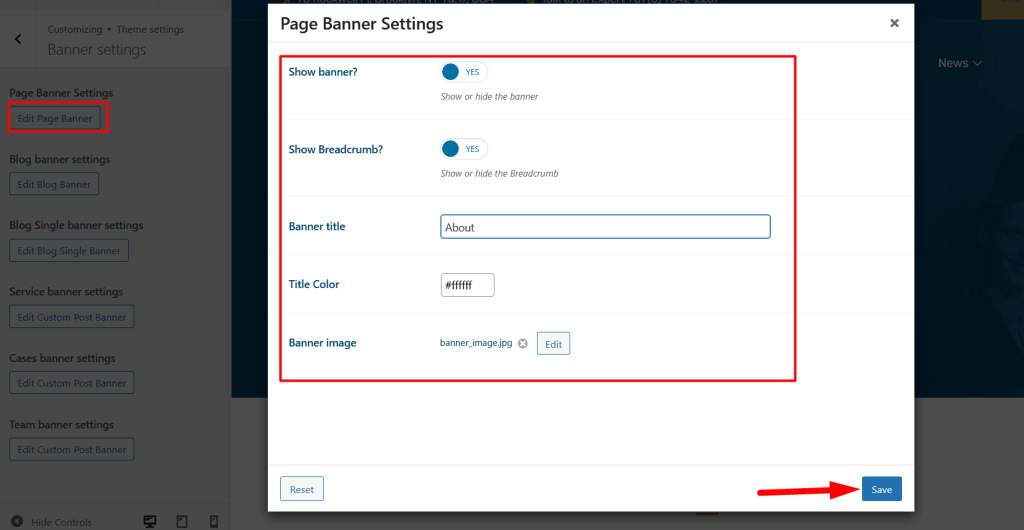
Banner settings #
You can easily change the banner titles and background images for different sections of your website using the WordPress Customizer.
👉 Navigate to: Appearance → Customize → Theme Settings → Banner Settings
- Page Banner Settings: Set a default title and background image for regular pages.
- Blog Banner Settings: Customize the banner shown on the main blog listing page.
- Blog Single Banner Settings: Set a unique banner for individual blog posts.
- Service Banner Settings: Edit the banner for service listings and single service pages.
- Cases Banner Settings: Change the title and image used on case study archive and detail pages.
- Team Banner Settings: Set the banner for team listing and individual team member pages.
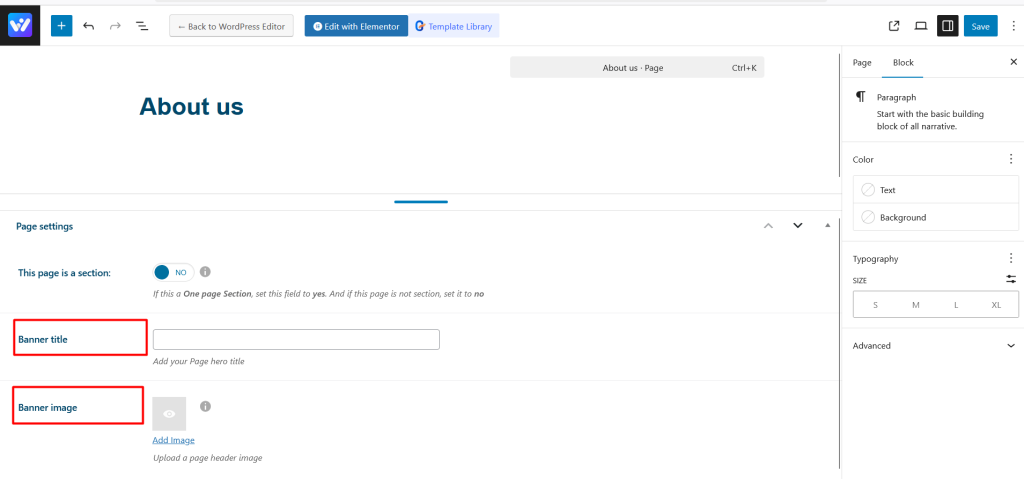
If you want to change the banner title and image for a specific page, you can do it by editing that page directly.
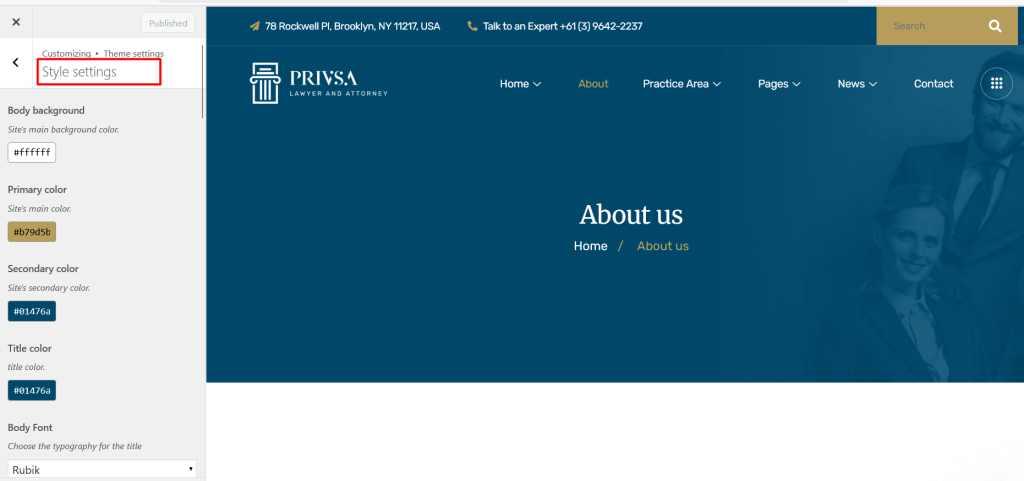
Style settings #
From Theme Settings → Style Settings, you can customize the site body background color, set the primary and secondary colors, and adjust the title colors. You can also change the body font, all heading fonts, and overall typography settings.
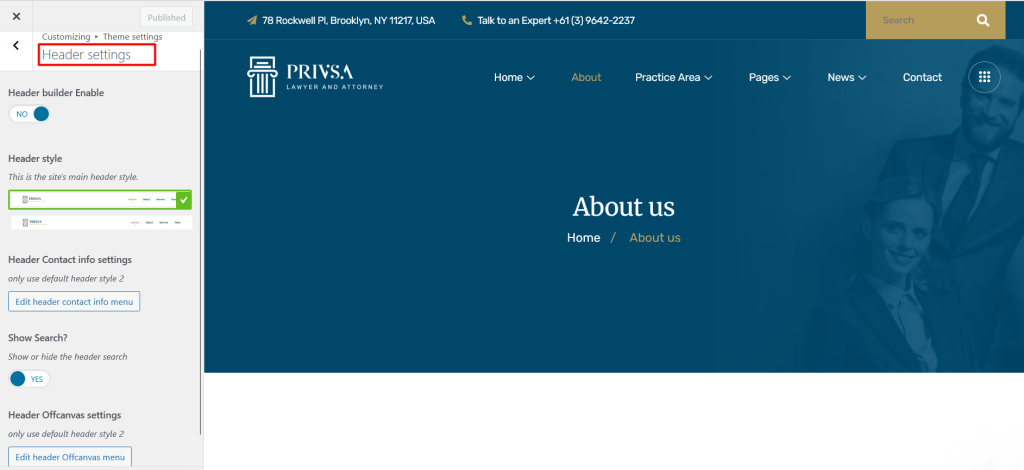
Header Settings #
From Theme Settings → Header Settings, you can select the default header style, customize the header contact information, enable or disable the search form, and configure the off-canvas menu.
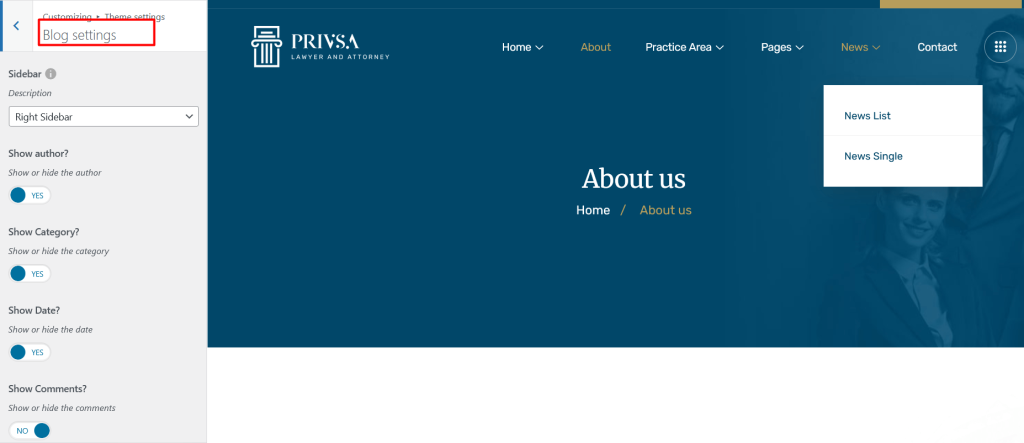
Blog Settings #
From Theme Settings → Blog Settings, you can configure various options for your blog layout and display. You can select the sidebar position (left, right, or none), choose to show or hide the author name, blog categories, publish date, and enable or disable the comments section.
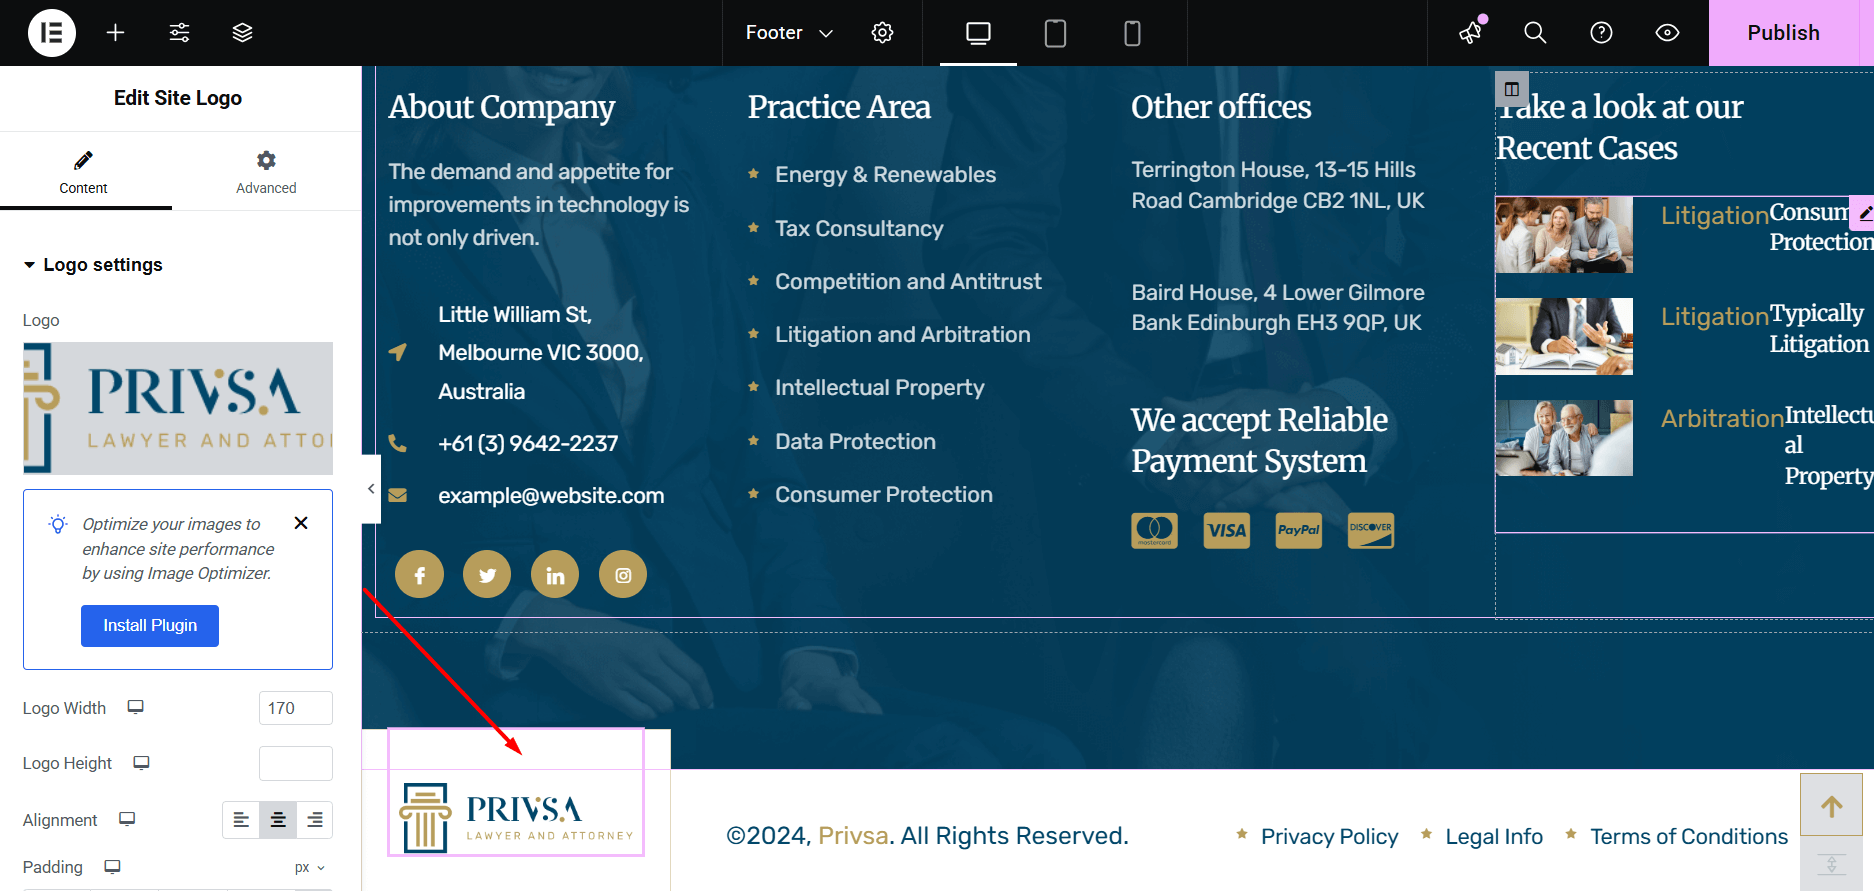
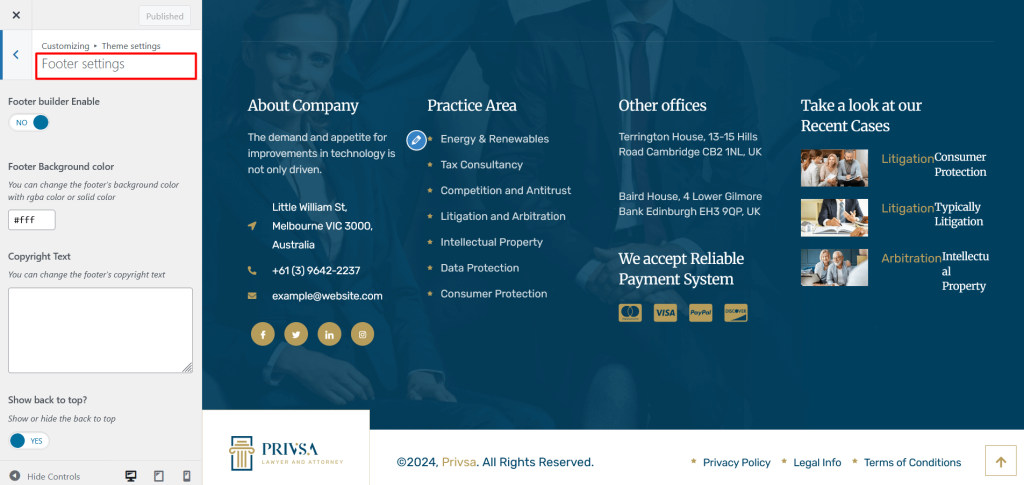
Footer Settings #
From Theme Settings → Footer Settings, you can change the background color, update the copyright text, and choose to show or hide the Back to Top button.
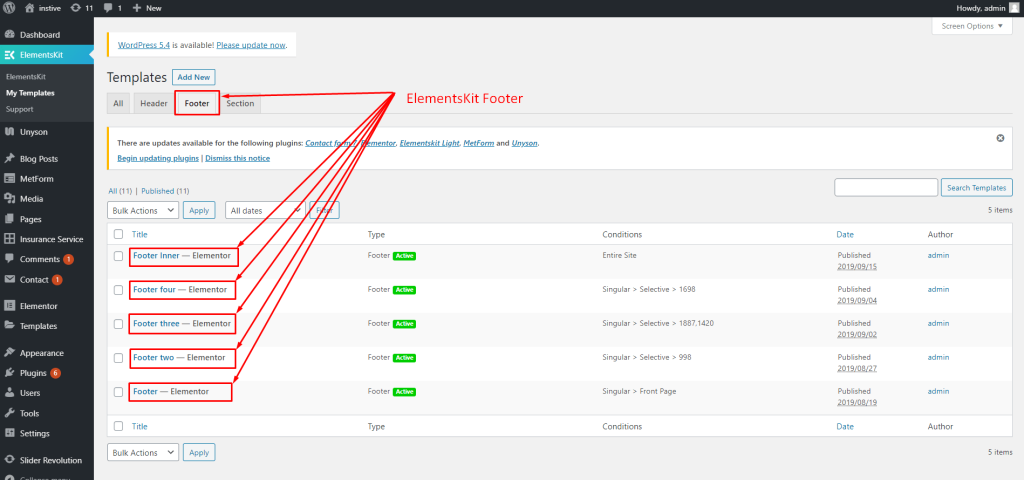
ElementsKit Header Footer Builder #
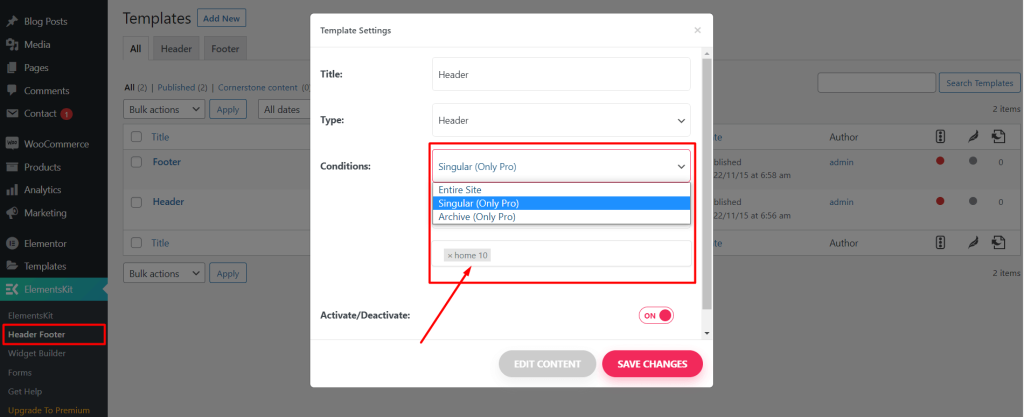
To change and create a header footer builder go to ElementsKit > My Templates.

Note: Specific Header/ Footer
If you want to select a specific header/footer for specific pages, you have to purchase the Elementskit pro plugin.
ElementsKit Headers #

ElementsKit Footers #