Adding a section #
If you want to add a new section header section, you need to:
- Navigate to ‘Pages’ in your WordPress Dashboard.
- Select ‘Add New Pages
- Now select ‘Edit with Elementor’ on the top of the page.
You should see a ‘+’ sign at the very middle of the page.
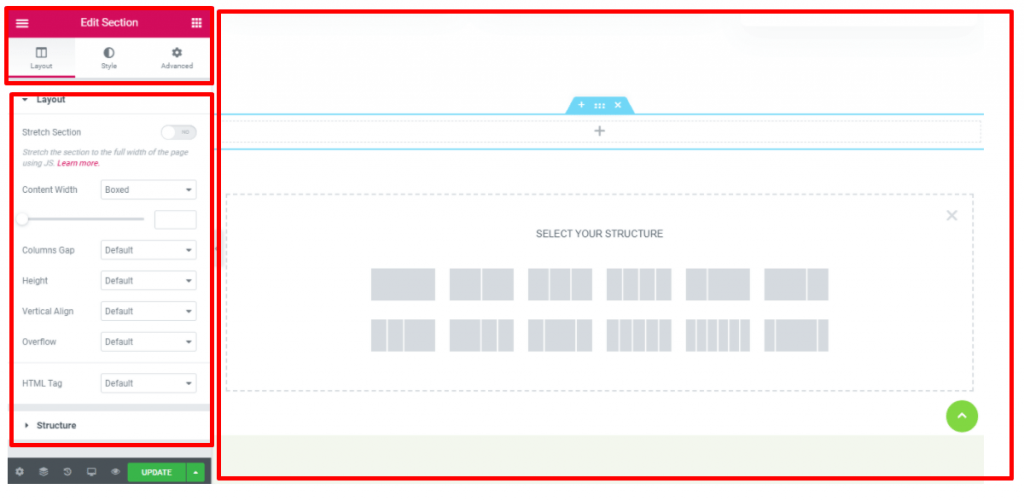
- Click on the ‘+’ sign.
- Then select the structure.
After you select the layout structure, you will have a new section added to your page.
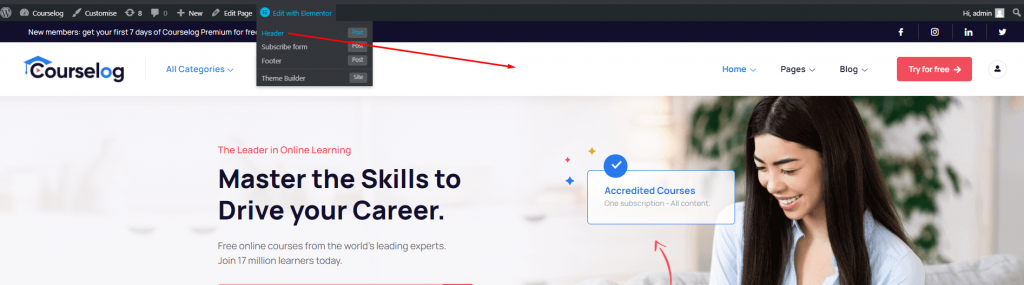
Elementskit Header #
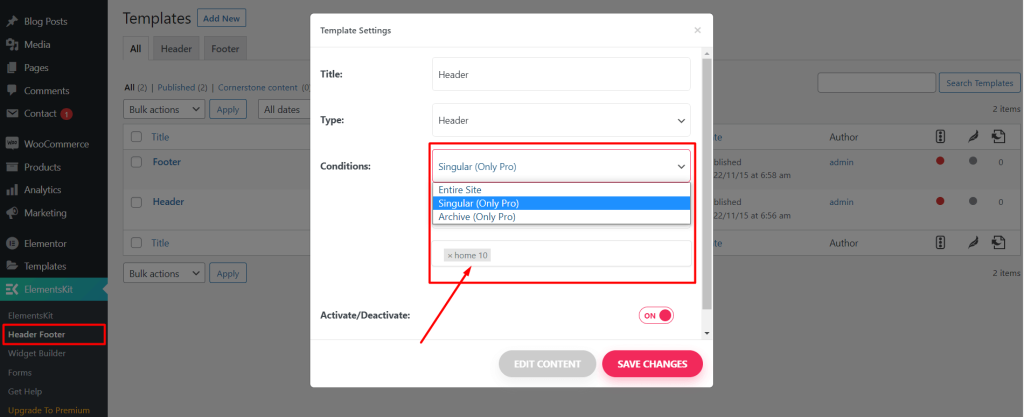
Note: Specific Header/ Footer
If you want to select a specific header/footer for specific pages, you have to purchase the Elementskit pro plugin.
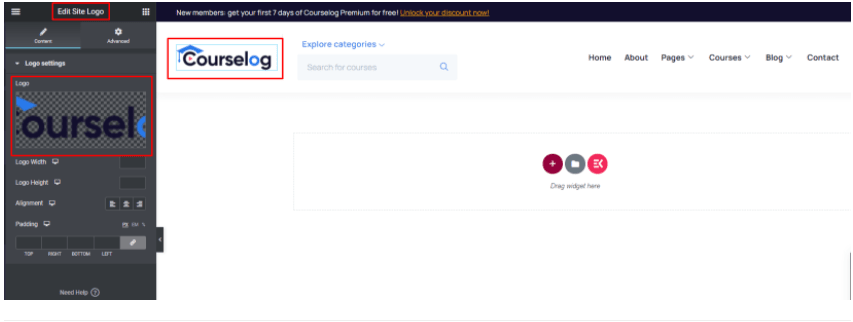
Header Logo #
In order to work with the header element with ElementsKit, you need to:
- Go to ‘ElementsKit’ in the WordPress Dashboard Menu.
- Then go to the ‘Header Footer’ section.
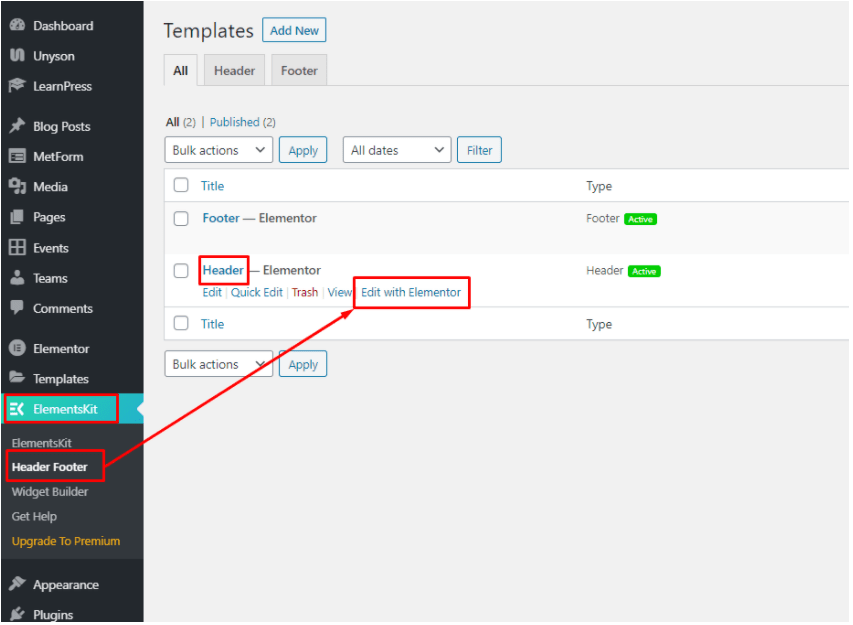
- You’ll find, under the templates section, the header and footer options.
- Under the ‘Header’ option you will need to choose ‘Edit with Elementor’.
You will now be able to change the header logo with optimal controlling ability.
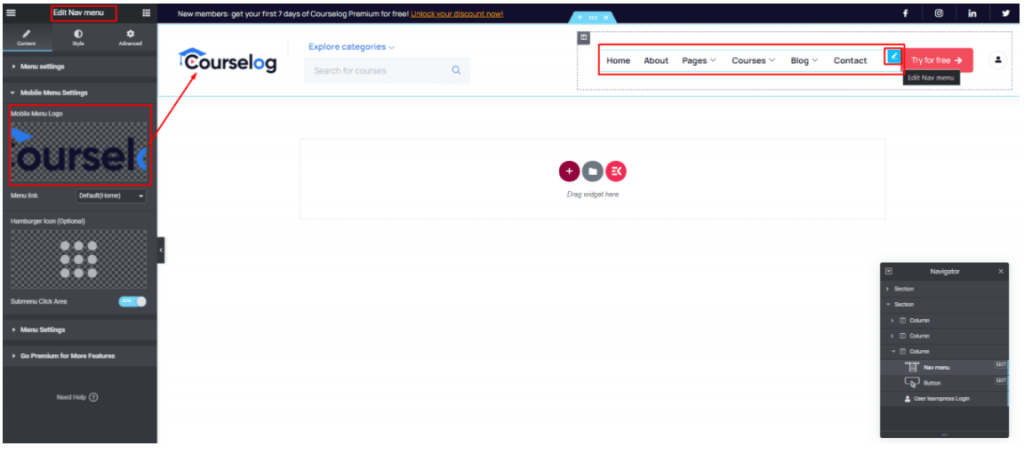
Edit Header Content #
You can also edit the header menu, search fields, and other content from the header edit panel.
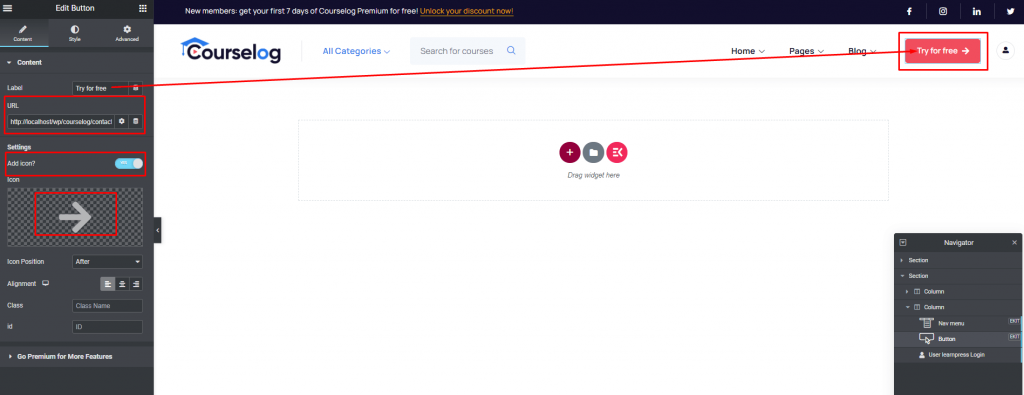
Try for Free Button #
Here is your header “Try For Free” button settings.
Go to your header settings and open the header with Elementor. Now edit the try for free button and change your button link, label, icon etc.
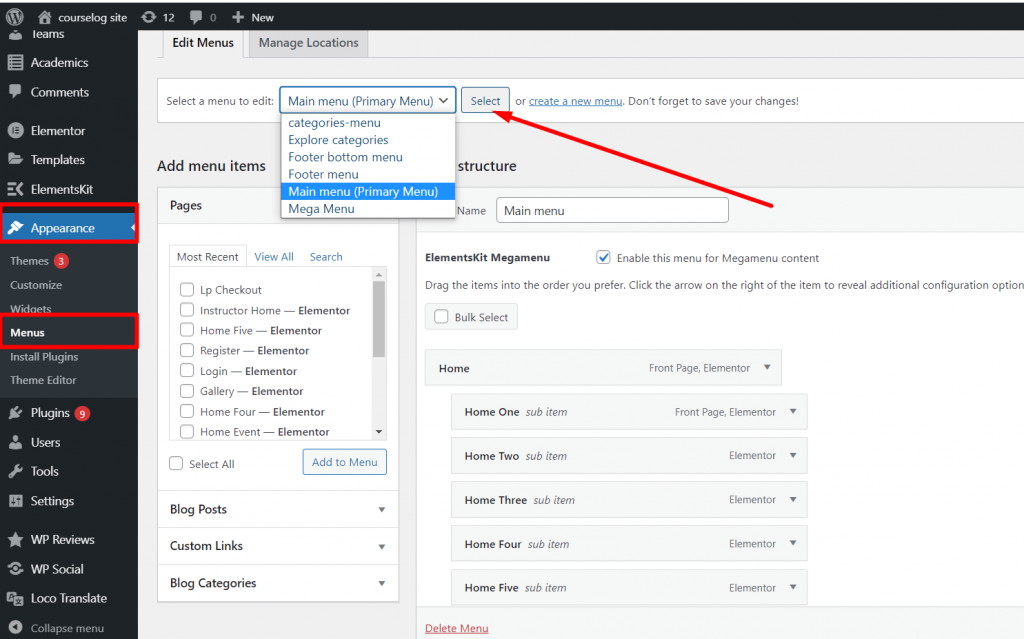
Changing the Menu Settings #
If you want to change the menu settings, then you can do it in the following way:
- Go to ‘Appearance’ in your WordPress Dashboard.
- Then select ‘Menus’
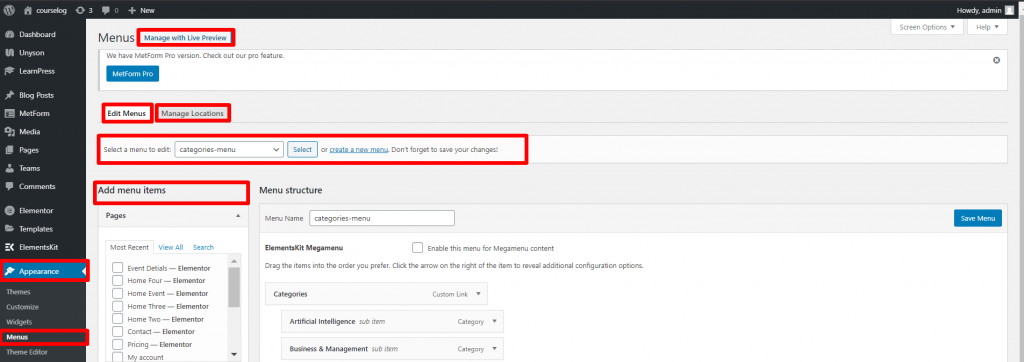
3. Select ‘Manage with Live Preview’
After that, you will find the following ‘Live Preview’ page.
Under the ‘Menus’ tab, you have the option to change all the available menus in your live page. You can select each menu and change the options. You have the option to create a new menu as well.
Working with the Menu Options #
There are two ways you can work with the Menu options.
- Use ElementsKit to Customize the Menu
You can use ElementsKit to Customize the Menu. You can use the header creation steps as a guide to creating custom menus.
First of all, you will need to :
- Go to ‘ElementsKit’
- Navigate to ‘Modules’
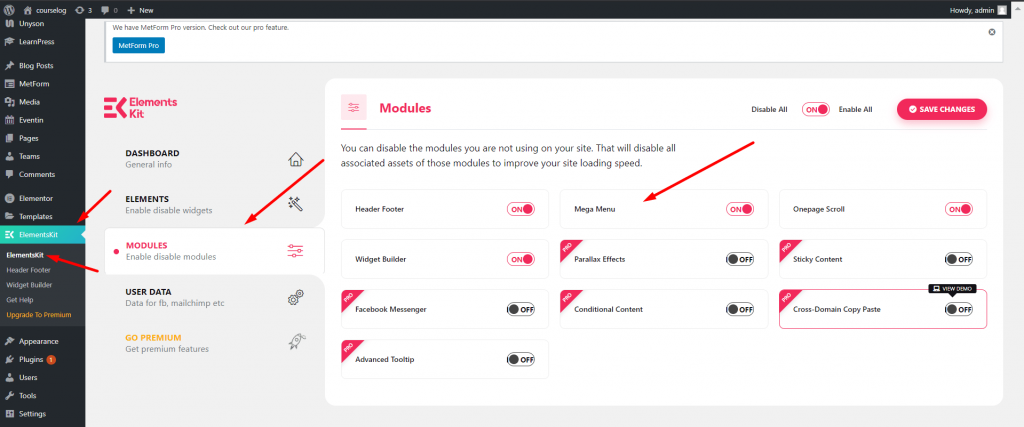
Make sure the ‘Mega Menu’ option is ‘On’.
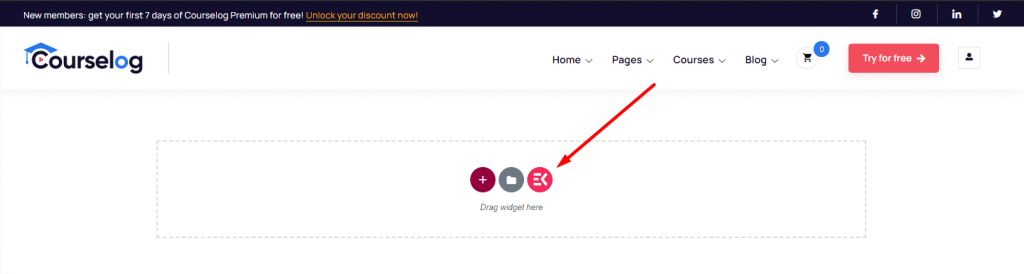
Now, with Courselog, you will get some default header settings. We will choose the default header. So, choose to ‘Edit with Elementor’.

Once you choose it, you will find the ElementsKit option on the live page.
Once you choose ElementsKit, you will have the following options.
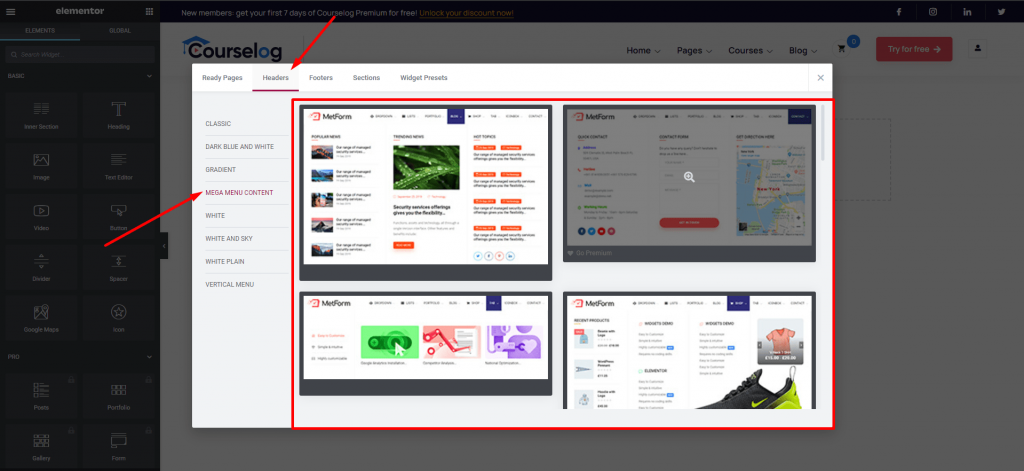
If you:
- Go to Header
- And choose Mega Menu Content
You will be able to work with the in-built menu content.
Header Mega Menu #
For editing mega menu, navigate to Dashboard> Appearence> Menus and Select your menus.
Enable mega menu option and click on your menu item here you edit the mega menu. There are 4 tabs: Content, Icon, badge, Settings. You can edit the content, icon, badge and other settings from this tab option.

Click on mega menu contetn. Now you will able to add or eidt the content of mega menu.
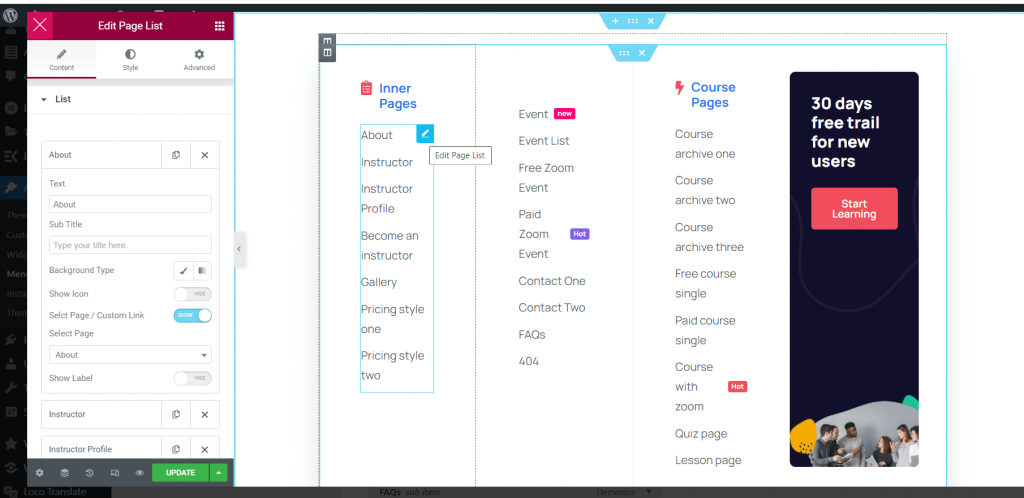
For more information, kindly click on the video button.
Elementskit Footer #
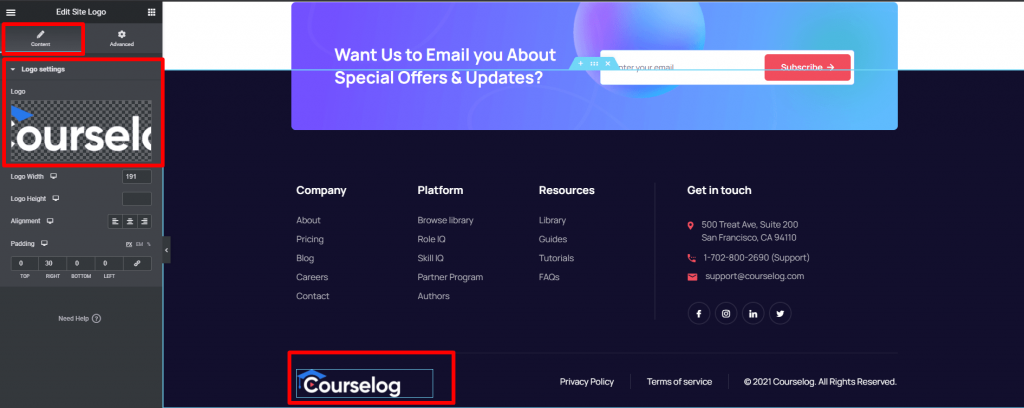
Footer Logo Settings #
The process is pretty much the same for the footer logo:
- Go to ‘ElementsKit’ in the WordPress Dashboard Menu.
- Then go to the ‘Header Footer’ section.
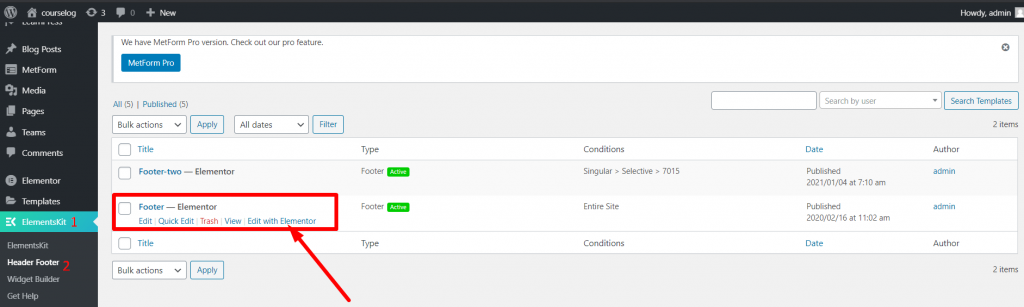
- You’ll find, under the templates section, the header and footer options.
- Under the ‘Footer’ option, you will need to choose ‘Edit with Elementor’.
You will now be able to change the footer logo.