Thank you so much for purchasing our theme called Buildbench – WordPress Theme. Please feel free to contact us if you have questions or problems about this theme. No guarantee is provided, but we will do our best to provide you with the best possible assistance.
First Step #
- Documentation – That’s where you
- License – Some info about theme licensing terms
- Dummy Content – Placeholder content for testing the theme
- SampleData – Import Data to get the exact Site as the Preview Page
- Upload – This is where all Theme files are (zipped & unzipped format)
Please read more about WordPress here
What are Parent and Child Themes? #
A WordPress child theme takes the functionality of another theme, named parent theme. It gives you the possibility to customize an existing theme. Instead of modifying the theme files directly, you can activate the child theme and work within it.
All customizations are stored in the child theme and anything in the child takes priority over the parent. So if the same file exist in both child and parent, the file from the child will control that aspect of the theme.
Working with child themes, your customizations are safeguarded from future upgrades because you only upgrade the parent theme, which you never edit, while the customizations are protected in your child theme which you don’t upgrade.
Why use a Child theme? #
Safe Updates. You can easily modify your website using child themes without ever changing the parent theme. When a new version of the parent theme appears, you can safely update it as all your modifications are saved in the child theme. Easy to Extend. A child theme has a great flexibility. It does not require writing a lot of code. You can modify only those template files and functions that you need.
When you install one of our buildbench themes you must upload both buildbench parent and buildbench child theme folders to /wp-content/themes/ but you should only activate the buildbench Child theme via Appearance -> Themes.
Install Theme #
The first option how to install this Theme would be to directly upload the basquito.zip file via WordPress Theme Uploader.
- Minimal requirements:
- PHP 7+
- Php.ini settings:
upload_max_filesize = 32M
post_max_size = 48M
memory_limit = 512M
max_execution_time = 600
max_input_time = 400 - MySQL 5.0+
- WordPress 5+
- Please make sure you have the proper version of WordPress installed.
- Log Into WordPress and go to Appearance > Themes
- Find the buildbench Theme and click activate
- FTP Upload:
- Unzip the “buildbench.zip” file from the theme folder
- Open up your FTP manager and connect to your hosting
- Browse to wp-content/themes
- Upload the buildbench in the theme folder
- Log Into WordPress and go to Appearance > Themes
- Find the buildbench Theme and click activate
- WordPress Dashboard:
- Log into your WordPress backend
- Navigate to Appearance > Themes
- Click Install Themes
- Click Upload
- Now you just need to find the “buildbench.zip” in the Upload folder and hit Install now.
- After completing the installation clicks on the active button to activate The theme.
If you are experiencing any issues during the installation I would recommend checking out this
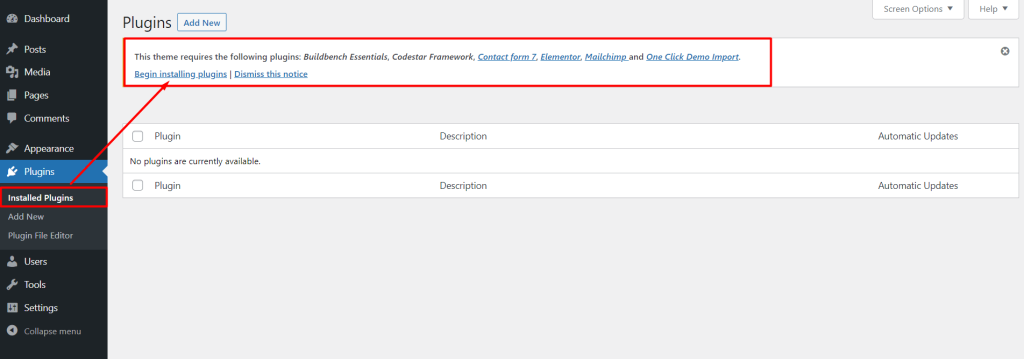
Install Required Plugins #
After activating the Buildbench theme you will see the below window. and install all required plugins.
Step 1:
Step 2: Click on Tools > Demo content install > Install
!!! Don’t install One-click Demo content if you have an existing Site, Use Manual Demo Data XML Import.
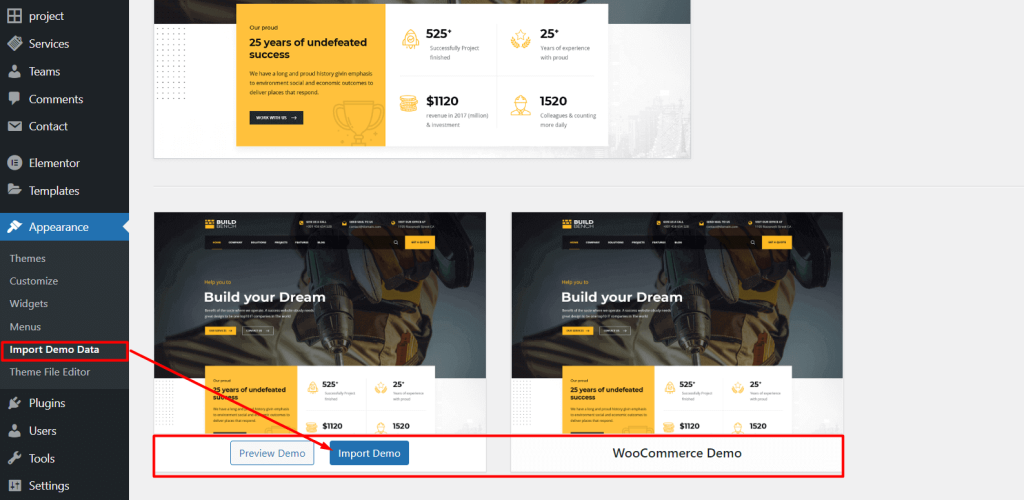
It will take some time to install the demo data
You are done! 🙂


