Multivendor event marketplace is an on-promise marketplace platform for events. It allows individuals or vendors to manage sales functionality in their very own micro event services with all the necessary business features.
You can create a multivendor event marketplace with Eventin. In order to develop a multivendor event marketplace, you will need to take the following steps.
Important: Without Eventin Pro, you will not see the “Event” menu in the vendor’s dashboard.
Add Vendors in Dokan #
With Dokan, you can add multiple vendors to your page. Later, vendors can submit the events as products on your website. From the Dokan dashboard, you can create vendors. Go to Dokan -> Vendors -> Add the necessary information, then click Create Vendor.
With Dokan, you can add multiple vendors to your page. Later, vendors can submit the events as products on your website. From the Dokan dashboard, you can create vendors. Go to Dokan -> Vendors -> Add the necessary information, then click Create Vendor.

Check out Dokan Documentation to learn more about its features.
WooCommerce Settings #
Get WooCommerce payment gateways for your site. Go to WooCommerce -> Settings -> Payment and enable your preferred payment method. Check out the WooCommerce Documentation to learn more about its features.
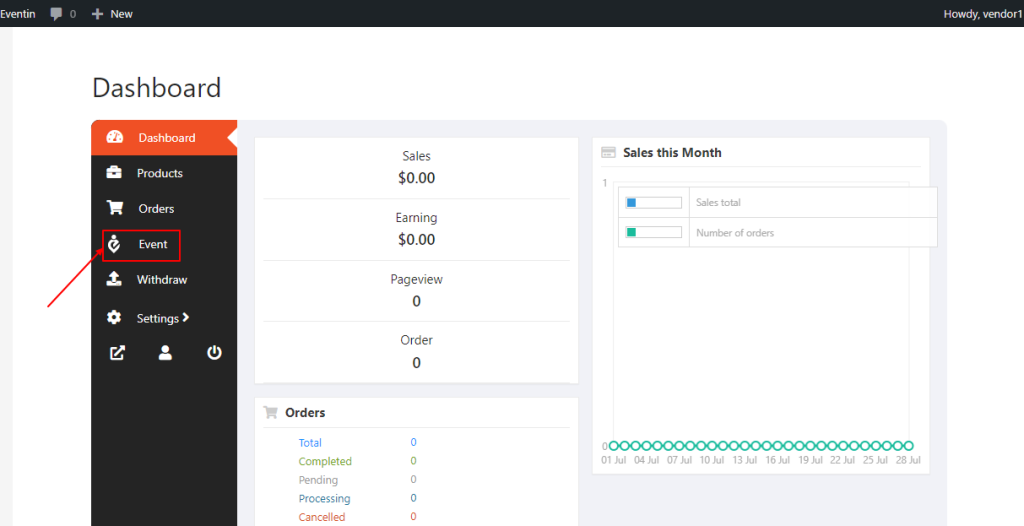
Vendor Dashboard #
Vendors can access the dashboard by logging in with their vendor account. The Eventin setting option is available there.
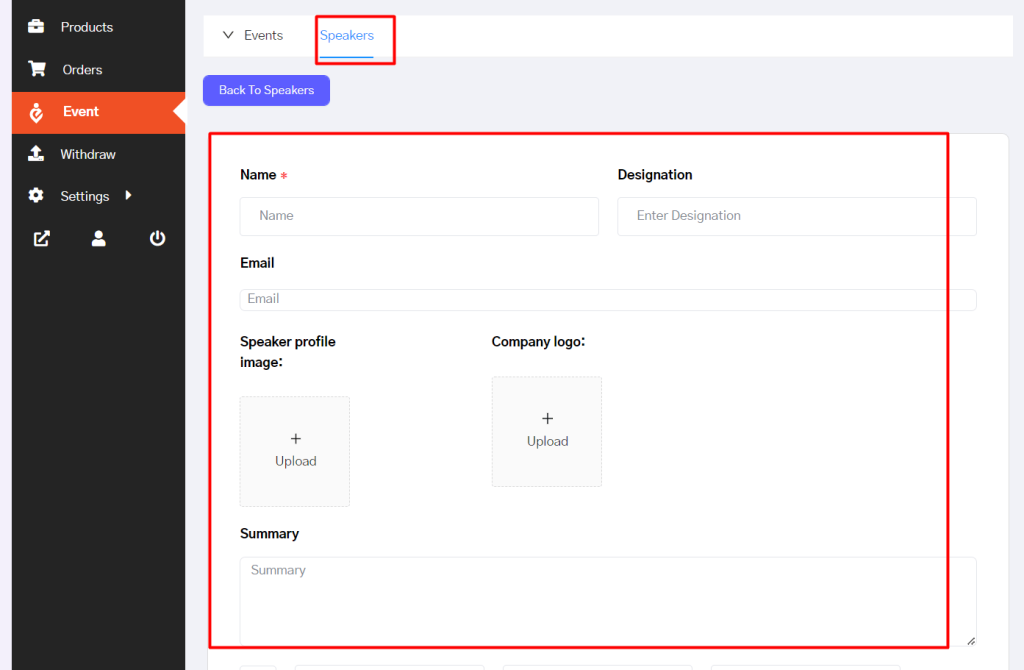
Add Speakers #
The vendor can add speakers for the events. Click on add new speaker and add the speaker details.
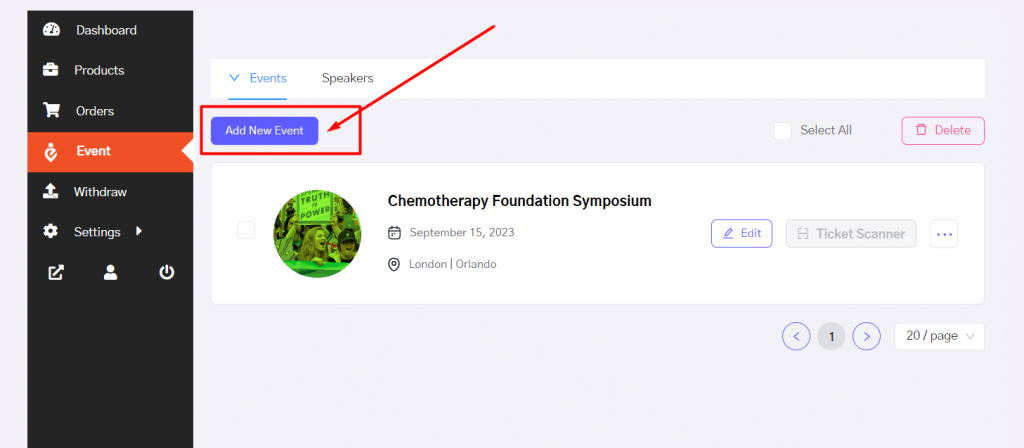
Add Events #
Vendors can add new events which will work as Event submissions for the marketplace owner. To add an event, click on the Add New button. These events will show up for individual vendors’ stores. Once you click the button, you will need to add event-related information.
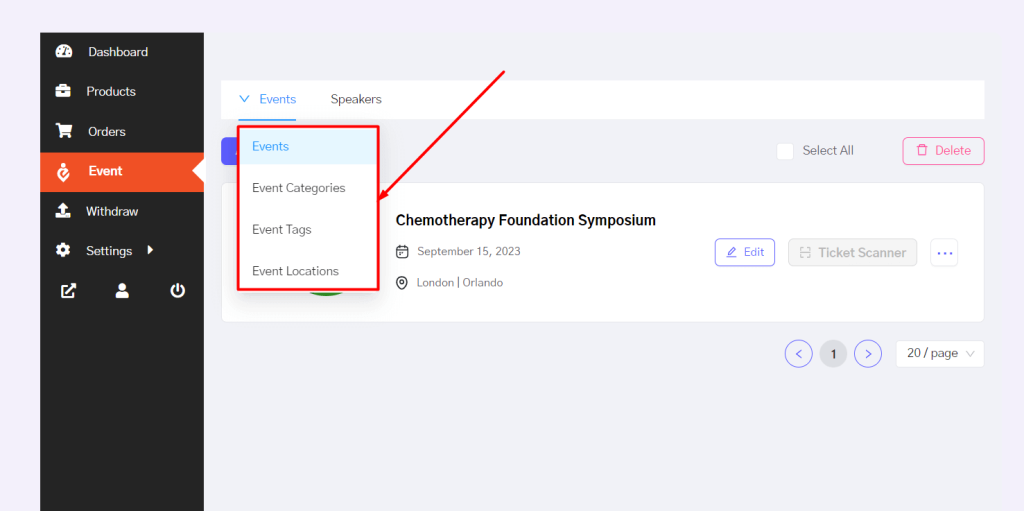
You can also add the Events, Event categories, Event Tags, and Event Locations.
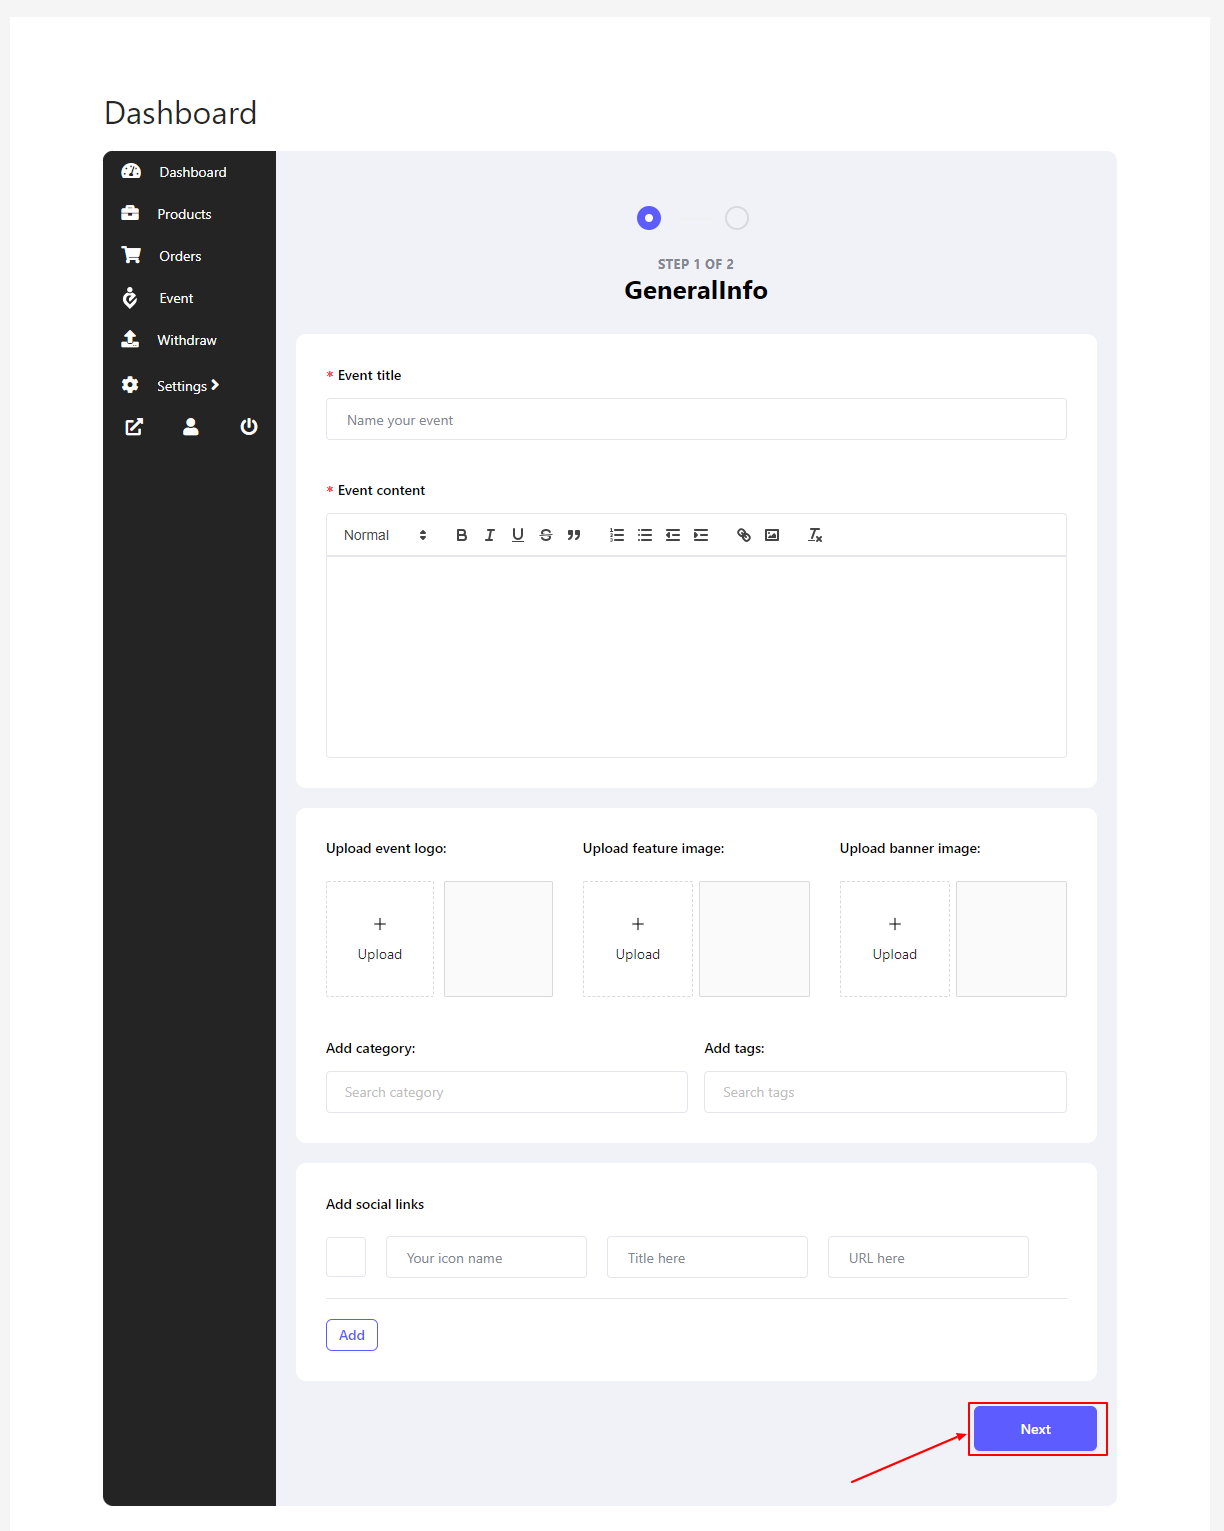
In this step, add your event details like Event title, Event Content, Event logo, Event banner image, Event feature image, social links, etc, and then click Next.
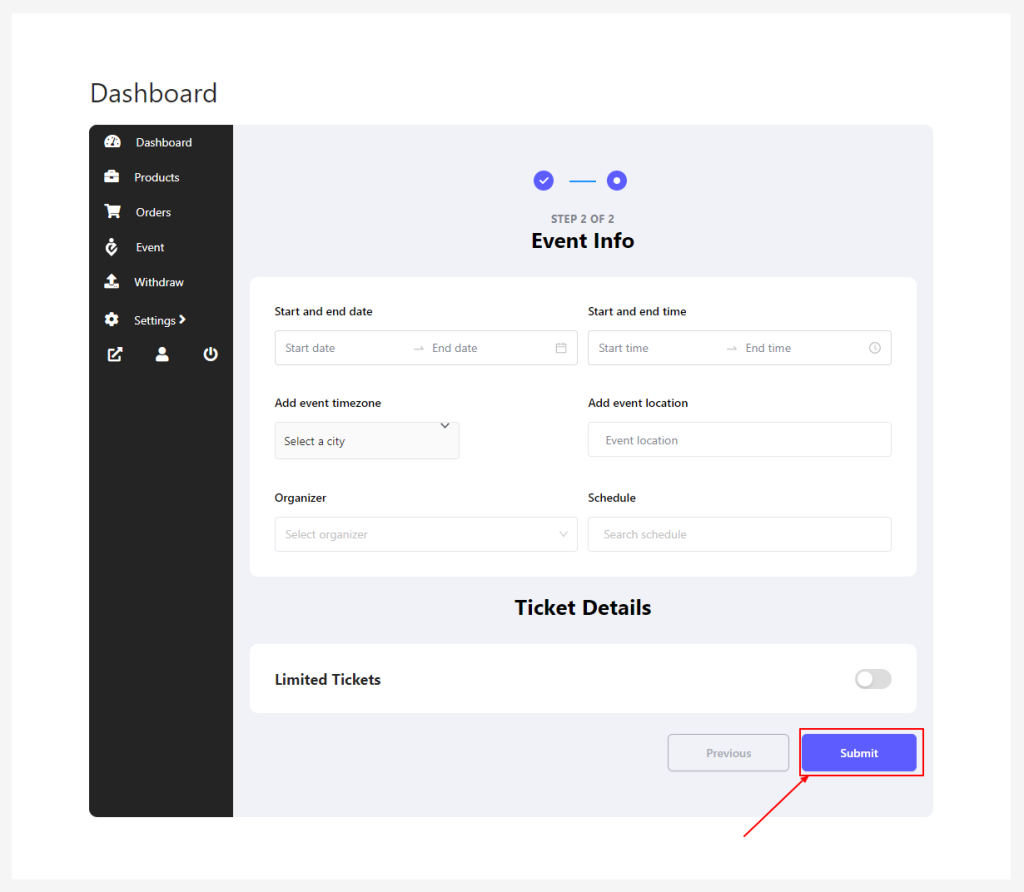
In the next step, you will see all the details about the event dates and organizers. This is the final step, just fill up all the details and then click submit.
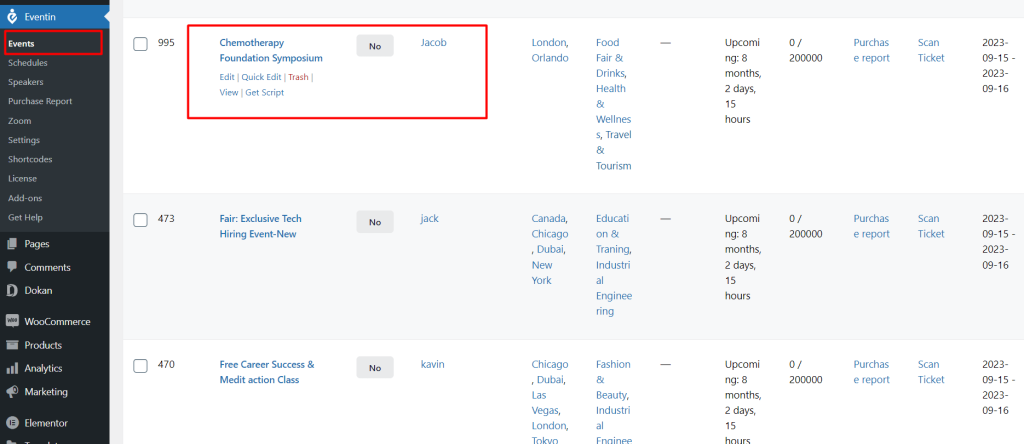
After submitting the form, you can see an event created in the event menu.
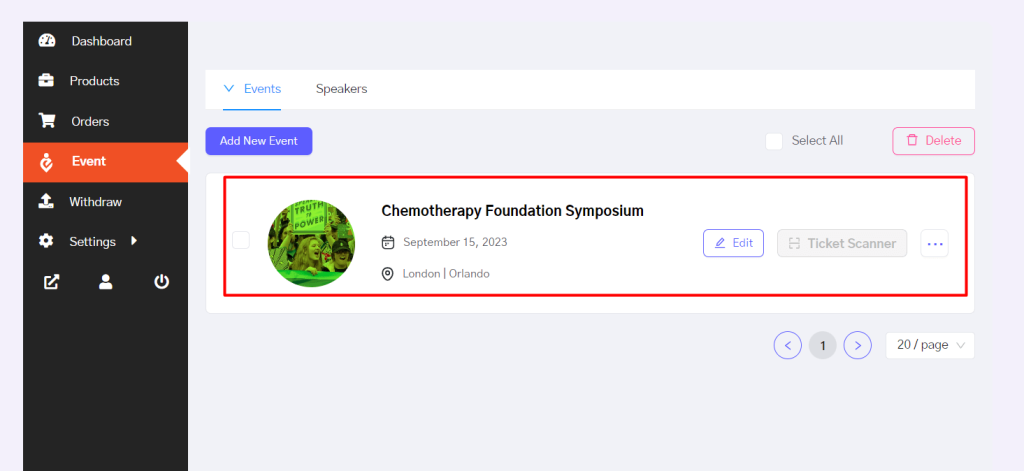
Now you can visit the event, and all the customers or visitors can see the single event. As a vendor, you can also edit, update, or delete existing events. Your event will also show up on the main event showcasing page.
Submitted events by individuals will be added to the main event list. Admins/marketplace owners can access it from their Eventin dashboard.