Theme Customizer: Working with Courselog #
General Settings #
We will be using ElementsKit and LearnPress to create courses and menus. But we will also show you the manual options. Furthermore, we will be using WooCommerce so that you can create and sell your courses with ease.
Use the in-built settings
You need to follow these steps to customize the theme menu.
- Go to Appearance> Themes from your WordPress dashboard.
- Then choose ‘Customize’.
- After that, go to ‘Theme Settings’.
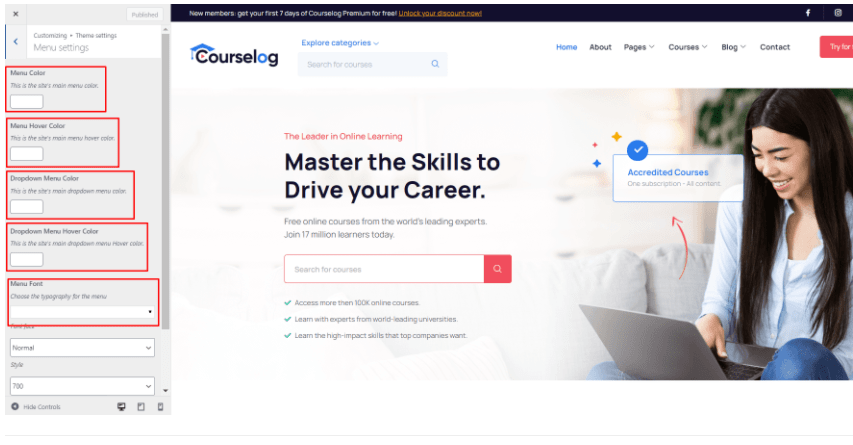
4. Then choose the ‘Menu Setting’.
Style Settings #
Working with styles #
Working with styling is very easy with Courselog. You need to:
- Go to Appearance> Themes from your WordPress dashboard.
- Then choose Customize.
- After that, go to ‘Theme Settings’.
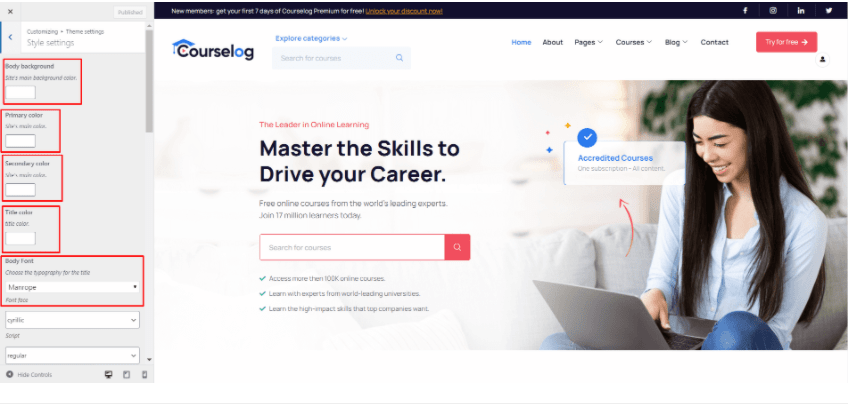
Finally, you go to the ‘Style Settings’
You will now have the ‘Style Settings’ options on the left-hand side. You can change the background color, set primary color choices, body font, and much more.
Play with the Blog Options #
To change the settings for your blog posts:
- Go to Appearance> Themes from your WordPress dashboard.
- Then choose Customize.
- After that, go to ‘Theme Settings’.
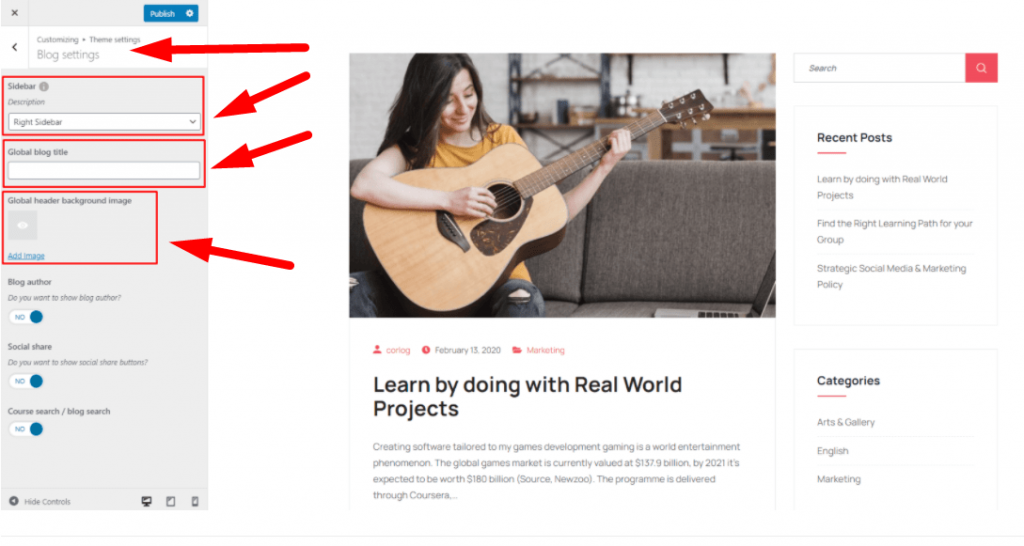
You will now find your ‘Blog Setting’.
The Blog Settings let you play with the fonts, styling, and other important attributes.
Changing the banner Settings #
You’ll find the ‘banner settings’ if you do the following:
- Go to Appearance> Themes from your WordPress dashboard.
- Then choose Customize.
- After that, go to ‘Theme Settings’.
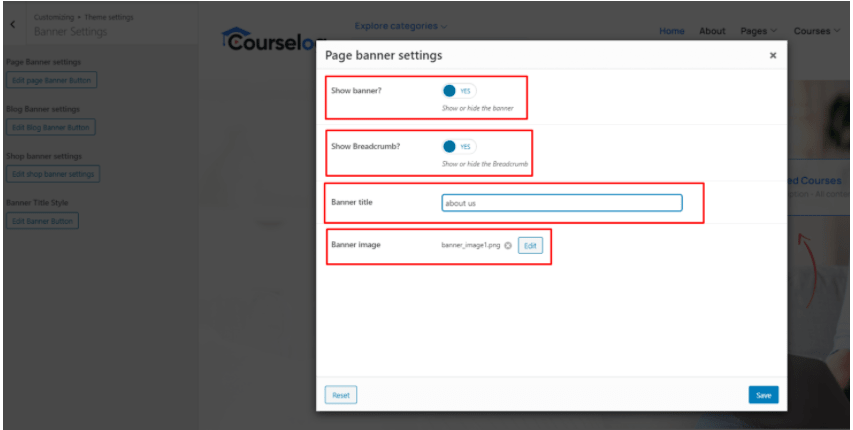
4. Here you will find the ‘Banner Settings’.
The banner settings will reveal various options like whether or not you want to show the banner, add a title, add an image, and more.
Footer Settings #
In order to change the footer settings:
- Go to ‘ElementsKit’
- Select ‘Header Footer’

If you choose to Edit with Elementor, then it will take you to the live preview of your website.
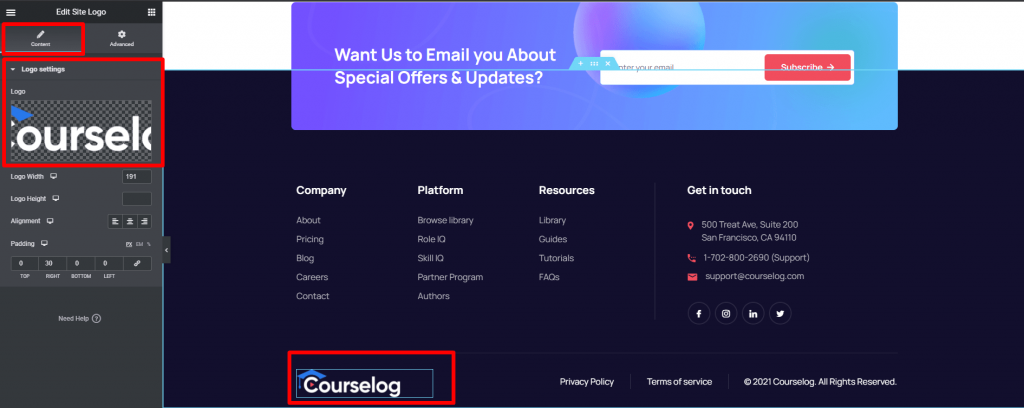
From here, you can change the design aspects of the footer.
Did you find all the information helpful? Then do share it with your friends and colleagues.


