Navigate to Appearance > Customize for Theme’s customizer settings.
General Settings #
Navigate to Appearance > Customize > General Settings for Theme’s general settings.
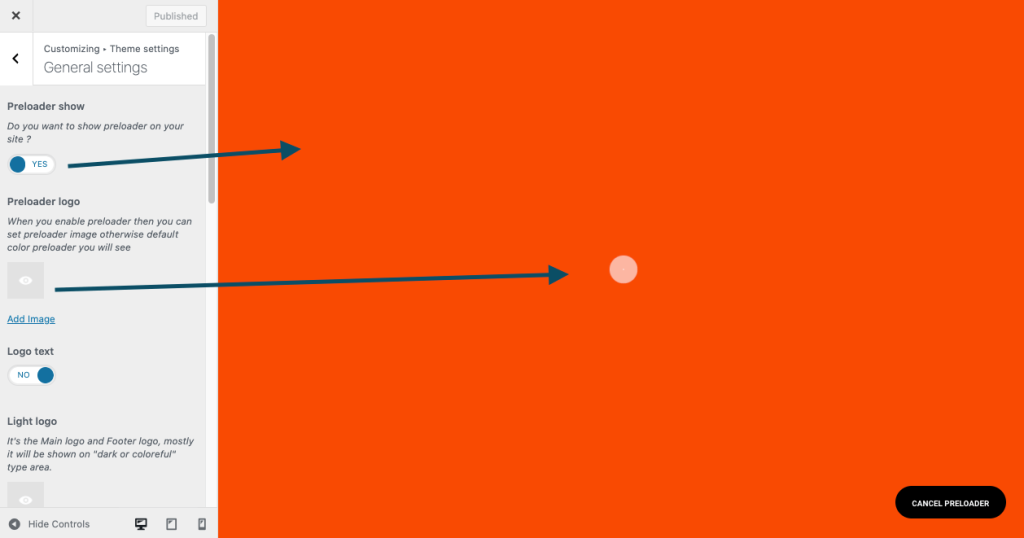
Preloader #
Theme’s initial Preloader options can be changed from here
Logo #
!!! For our Niche demo (Personal Blog, Covid-19, Food Recipe, and Newspaper), use ElementsKit’s Header Footer Builder from here.
Default Header and Footer’s logo change options.
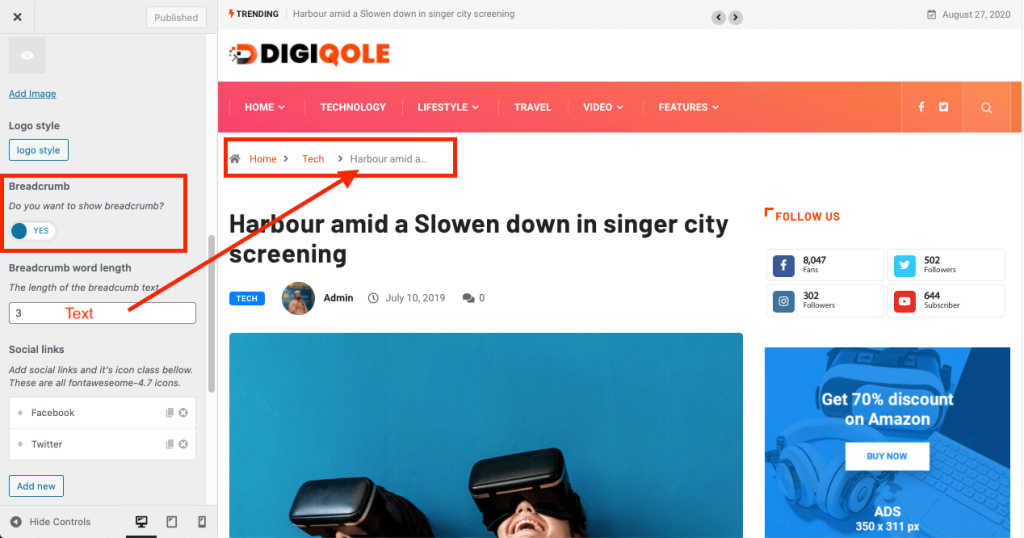
Breadcrumb #
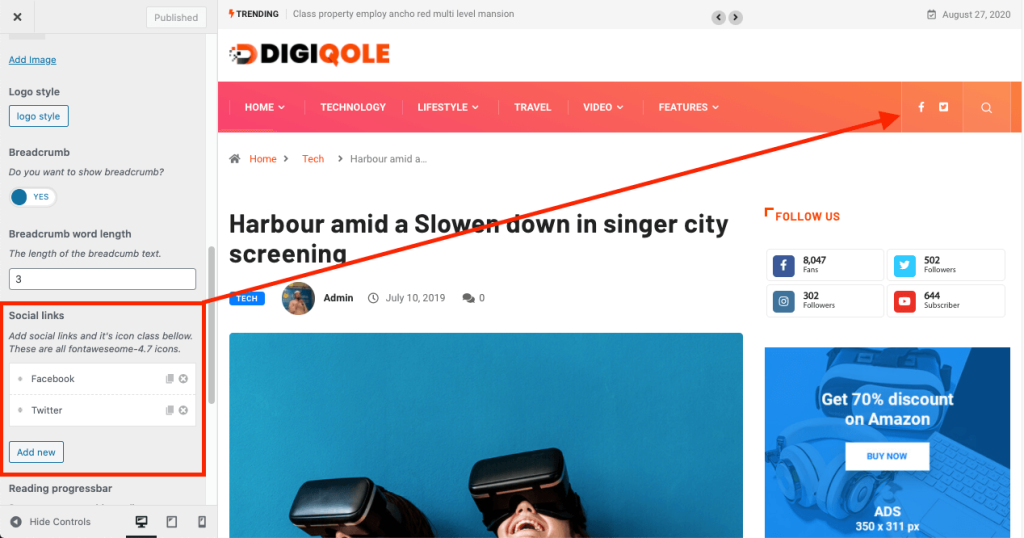
Social Link Icons #
Social link icons can be added from here.
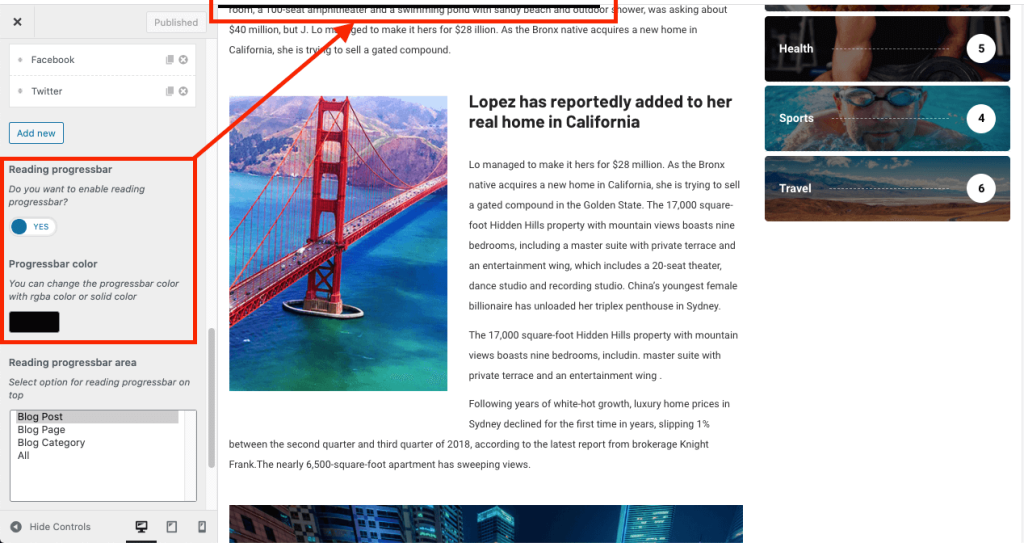
Progress Bar #
The blog post reading progress indicator bar can be enabled and customized in its color from here.
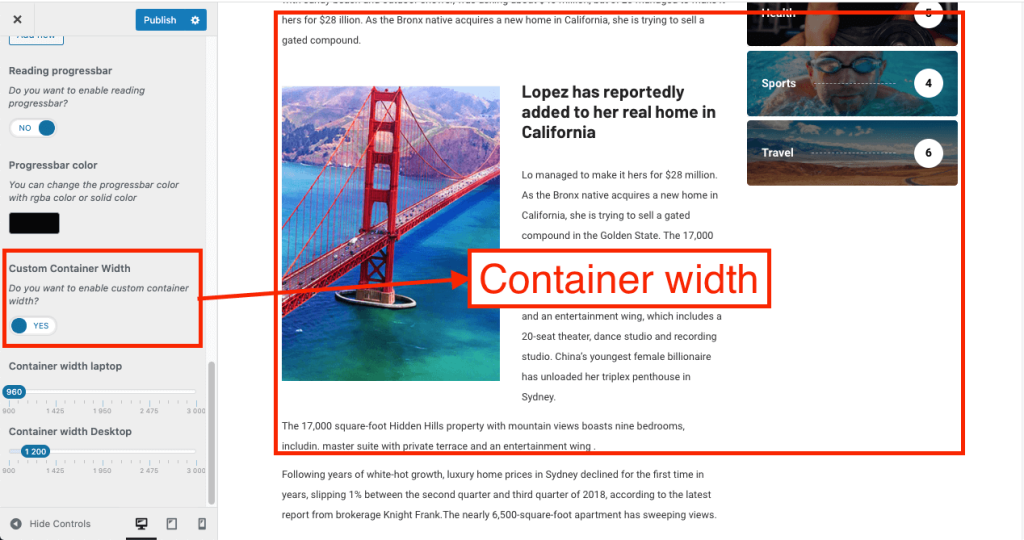
Custom Container Width #
Custom width for the website’s main container can be set for different devices.
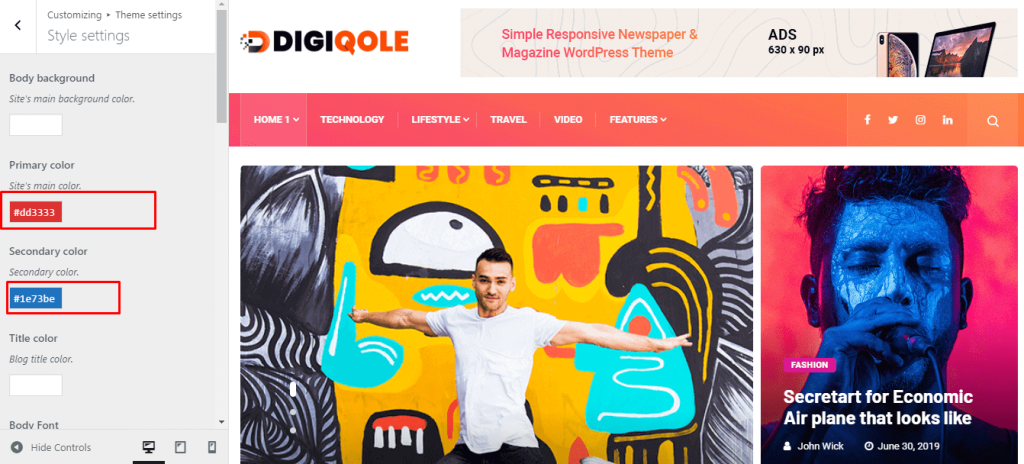
Style Settings #
From Appearance-> Customize->Theme settings-> Style Settings, you can change font family, color, font size, enable dark mode and also heading fonts, etc.
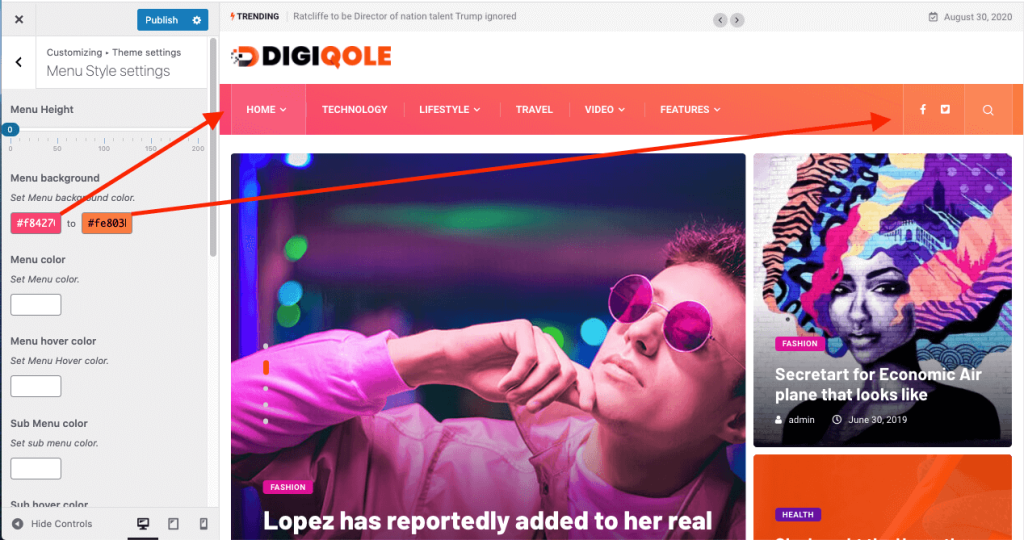
Menu Style Settings #
From Appearance-> Customize->Theme settings-> Menu Style Settings, you can change menu background color, menu text and hover color, menu/submenu item’s font size, and font family.
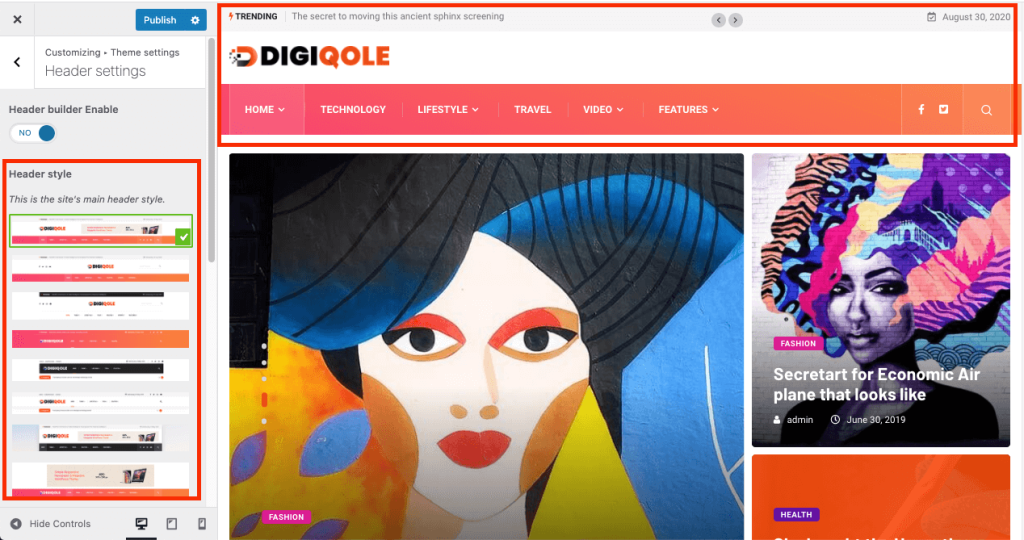
Header Settings #
!!! For our Niche demo (Personal Blog, Covid-19, Food Recipe, and Newspaper), use ElementsKit’s Header Footer Builder from here.
From Appearance-> Customize->Theme settings-> Header Settings, you can set different header styles, and enable sticky header, topbar, Search button, and Social Share buttons.
Different Header Styles can be set from here.
!!! Don’t enable the “Header Builder Enable” option if you have enabled the header/footer from ElementsKit > Header Footer option. It will automatically be set from ElementsKit.
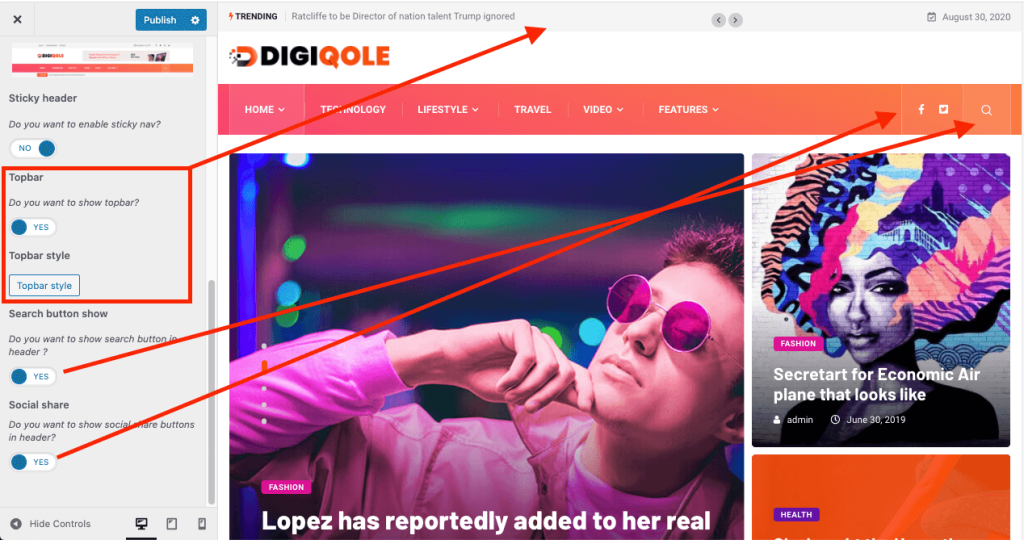
Sticky header, topbar settings, Search button, and Social Share buttons option for theme header.
ElementsKit Header Footer Builder #
Note: Specific Header/ Footer
If you want to select a specific header/footer for specific pages, you have to purchase the Elementskit pro plugin.
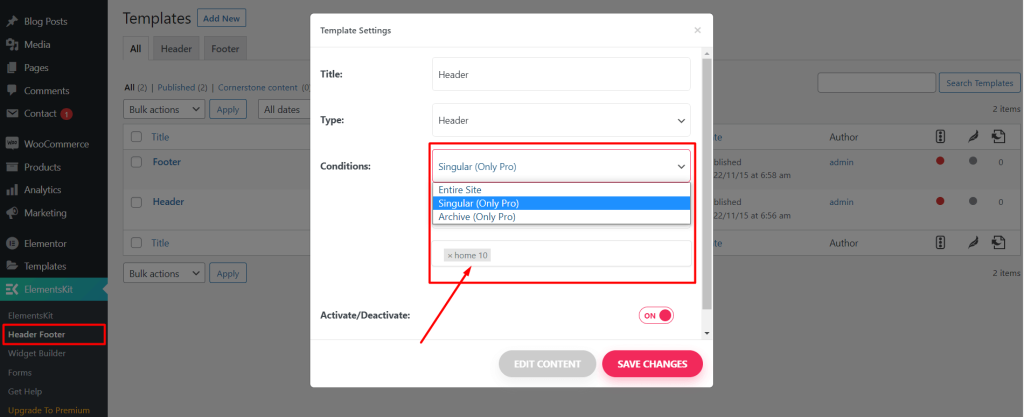
To change and create a header footer builder go to ElementsKit > Header Footer.
Header logo Settings #
To change the logo, navigate to ElementsKit > Header Footer > Headers
Header Mobile Logo #
ElementsKit’s Intro #
For ElementsKit’s Header Footer builder, here is a quick introduction to the basics.
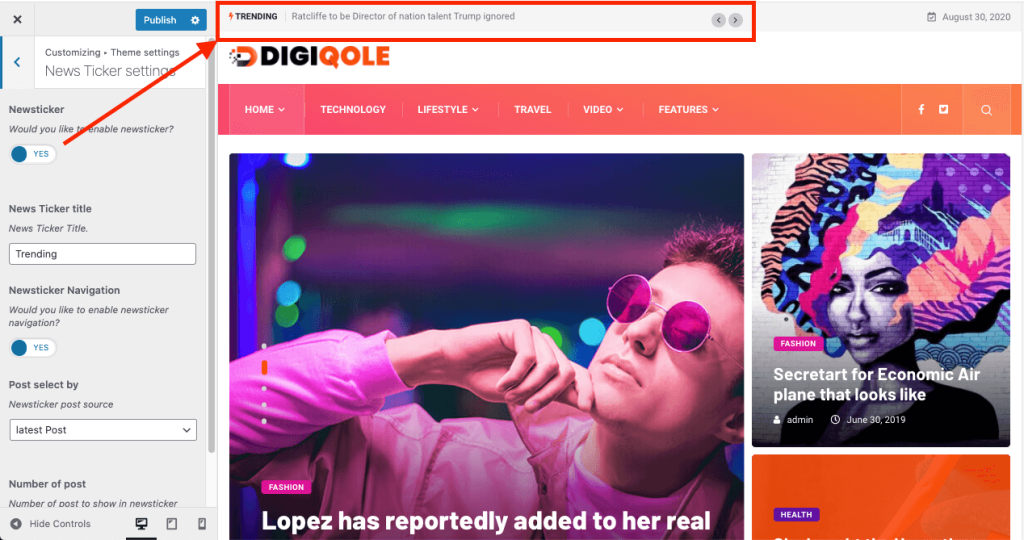
News Ticker Settings #
From Appearance-> Customize->Theme settings-> News Ticker Settings, you can set the title, and navigation settings of the Newsticker widget.
Blog Settings #
From Appearance-> Customize-> Theme settings-> Blog settings, you can have the Category Archive page layout change option, feature post enable option, post meta information show option for the archive page, etc.
Category Template
Category archive layout can be changed from here.

If the layout is not changed, check the layout override status from Blog Posts > Categories.
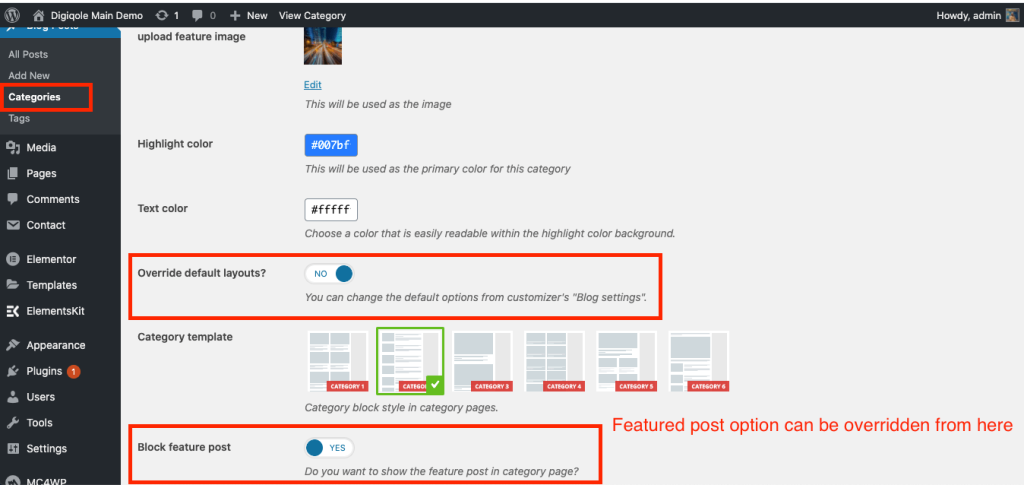
Featured Post #
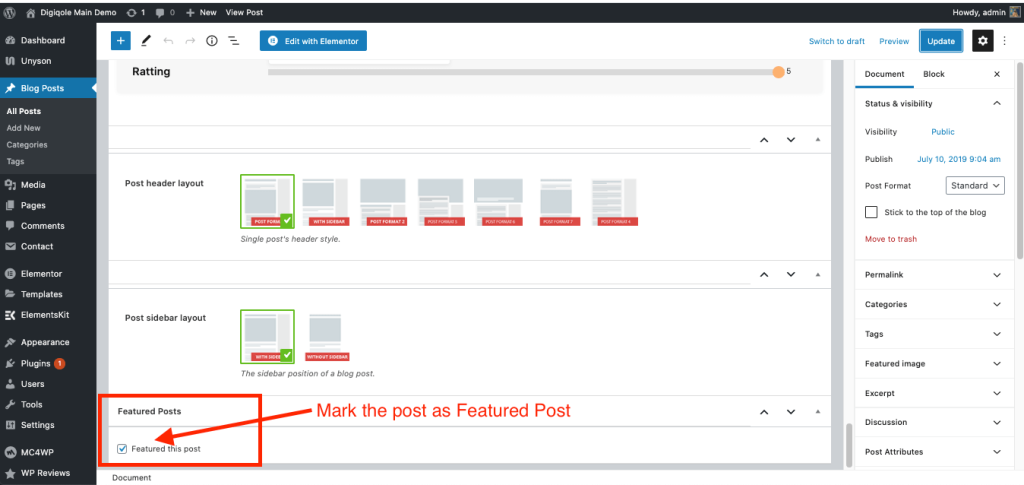
Enable the option to stick the featured post to the top of the page.
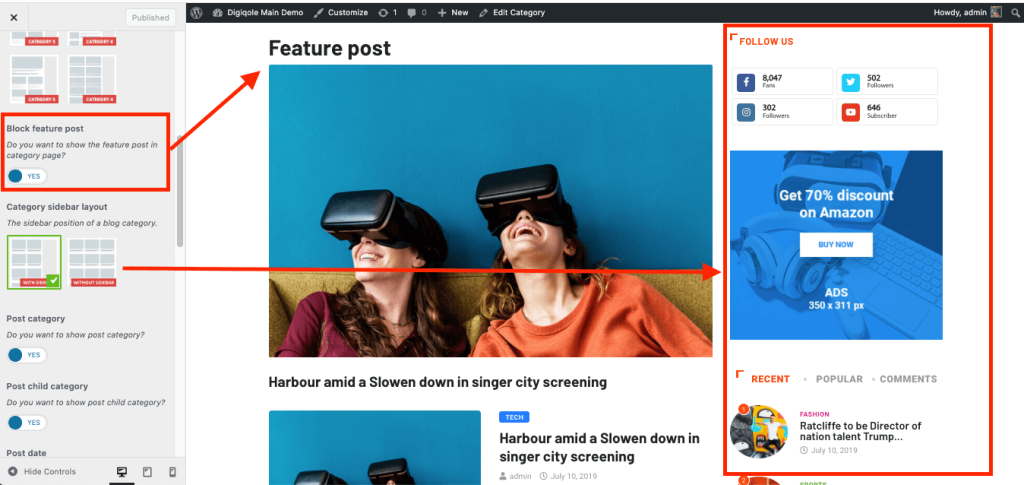
Make sure you have checked the post as featured from the post editing view.
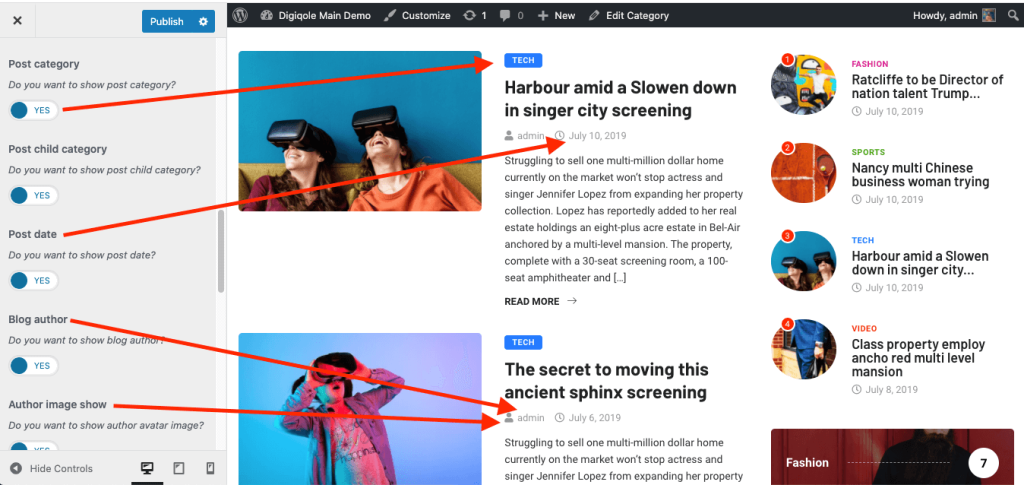
Posts Meta Information #
Options for showing blogs post meta information.
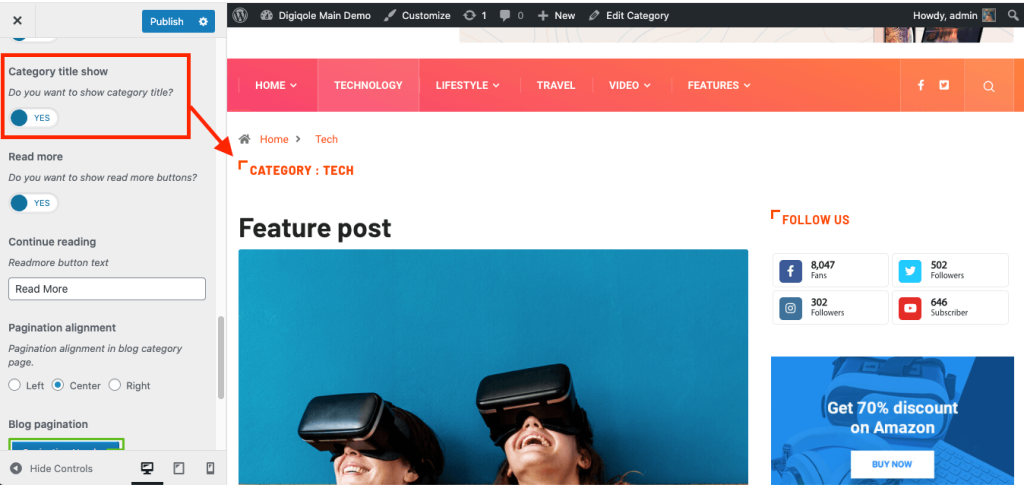
Category Archive Title #
Show or Hide category archive page title.
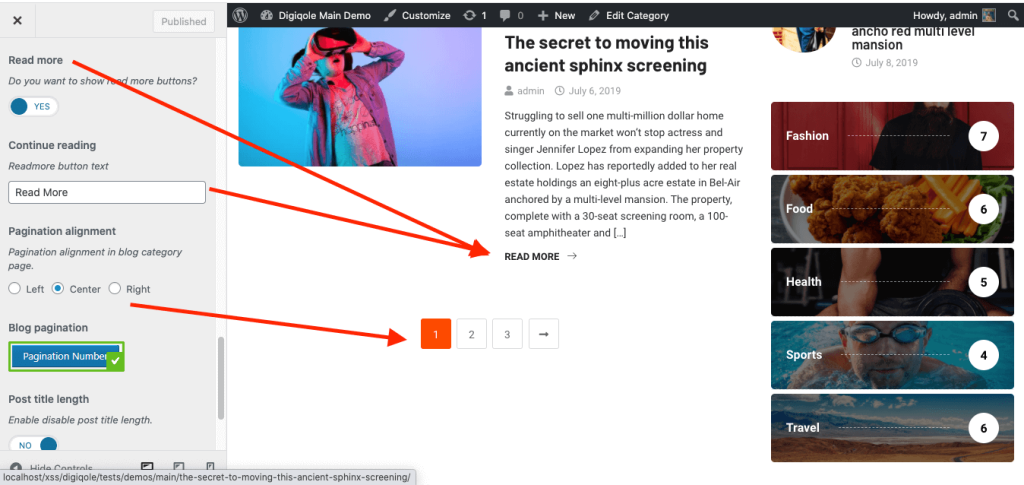
Readmore & Pagination #
Readmore text and pagination placement settings
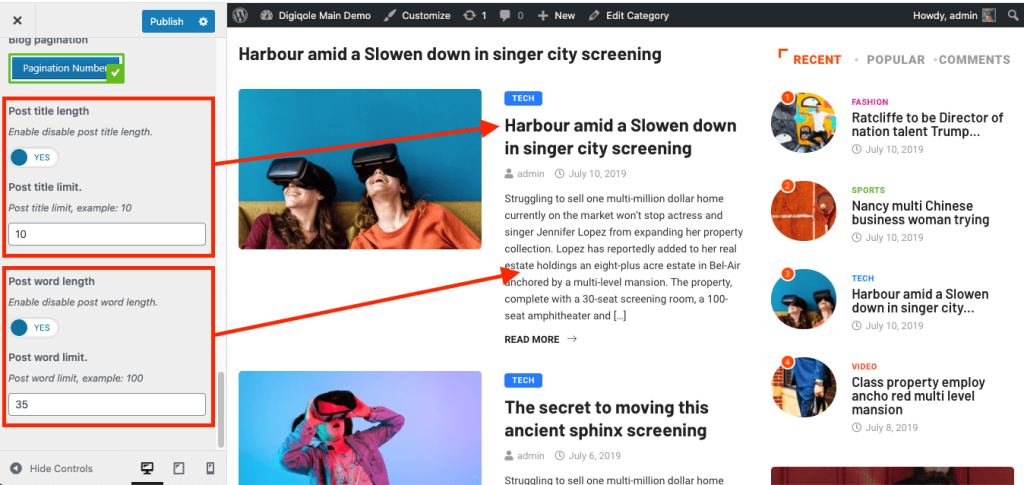
Title Length Limit #
Post title and description text length cropping option.
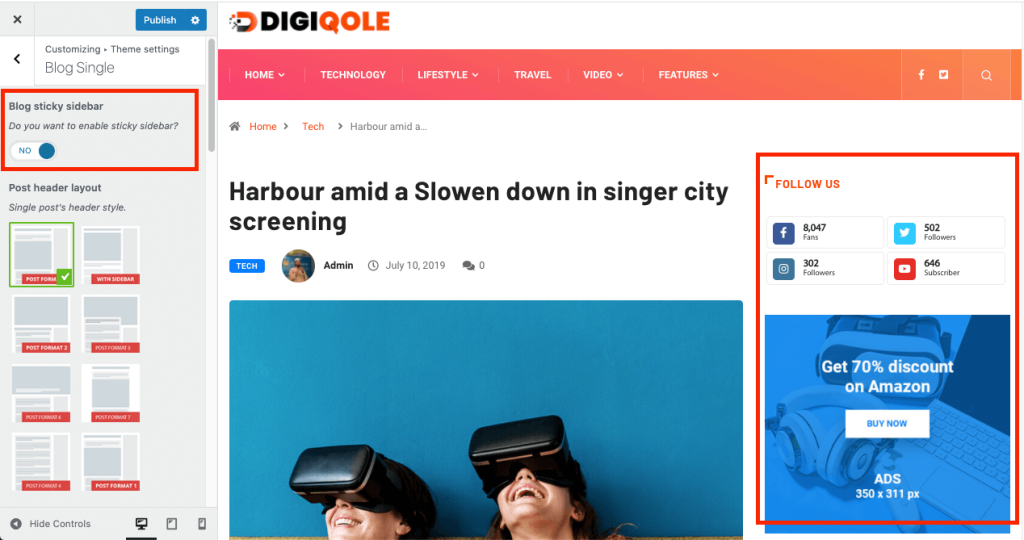
Blog Single Settings #
From Appearance-> Customize ->Theme settings -> Blog Single Settings, you can set the sticky sidebar, post layouts, and enable post meta options.
Sticky Sidebar #
Blog Sticky Sidebar allows the sidebar to be sticky upon scroll.
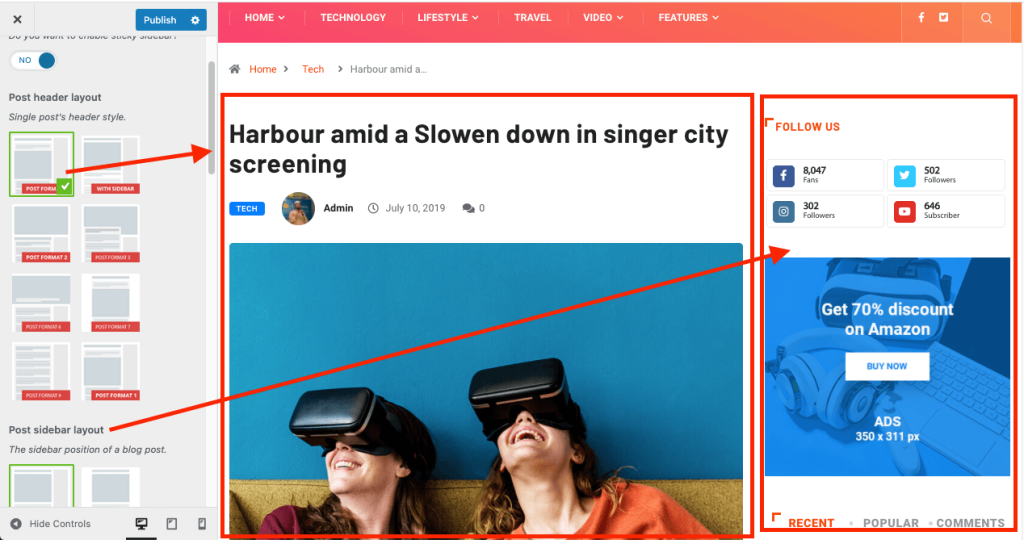
Post Layout and Sidebar Layout #
Post Layout and Sidebar Layout can be adjusted from here
Post Meta Information #
Popular post counter, single page post comment, post author and navigation show options can be controled from here.

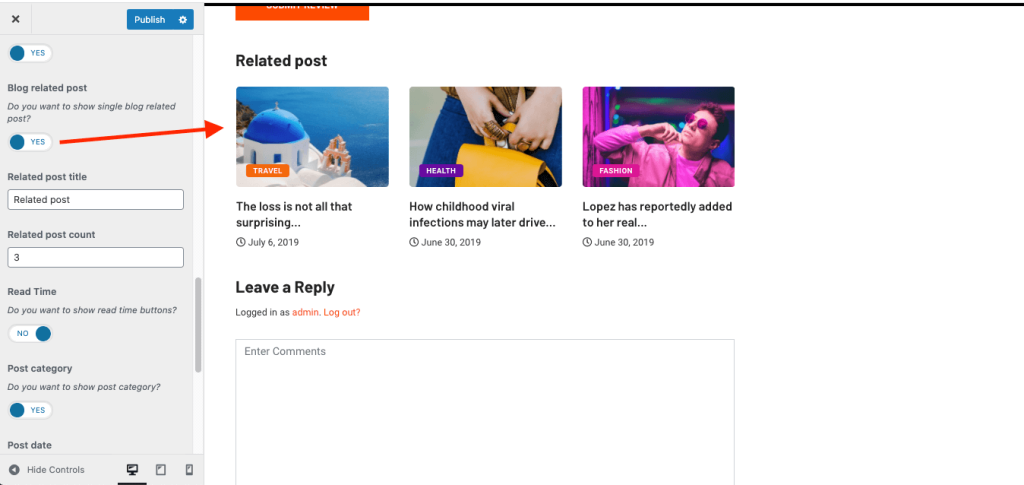
Related Post #
Enable related post feature from here. Related post’s will be shown based on the tags match.
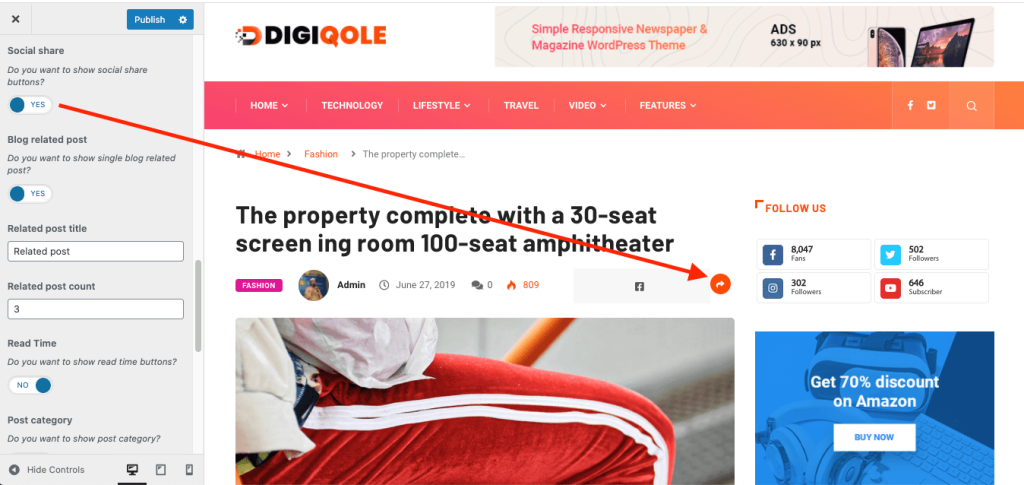
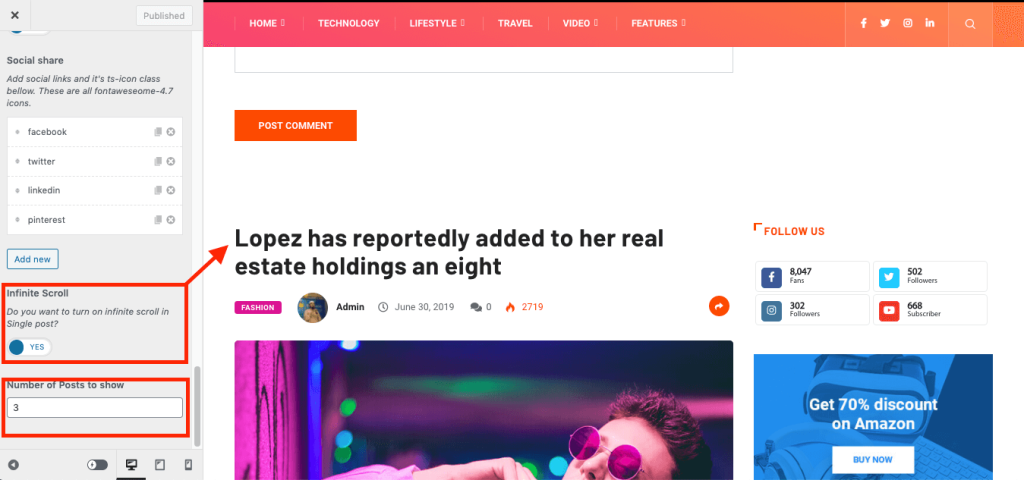
Social Share #
Enable social share for the blog post.
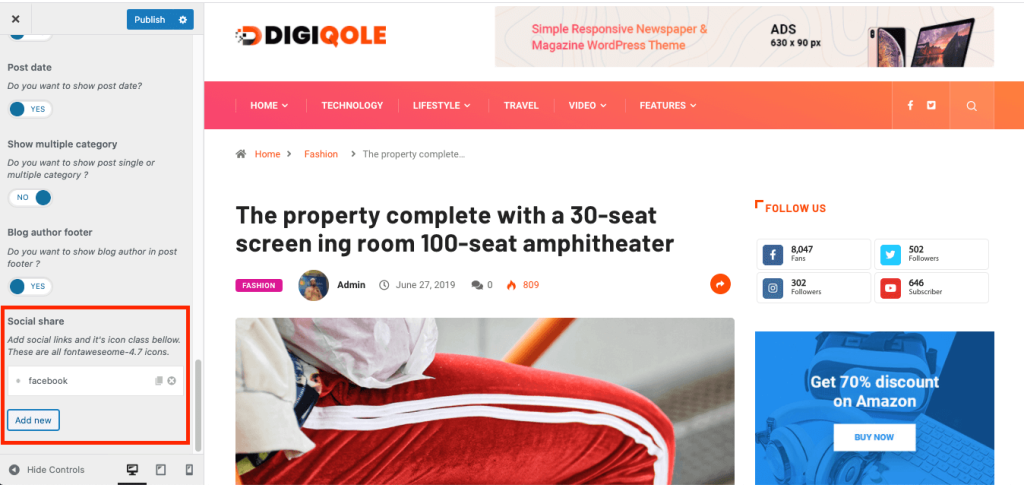
Add the share platforms from the bottom of the blog single settings.
Infinite Scroll #
Enable infinite scrolling for the next posts show after single blog post and set the number of posts should be displayed.
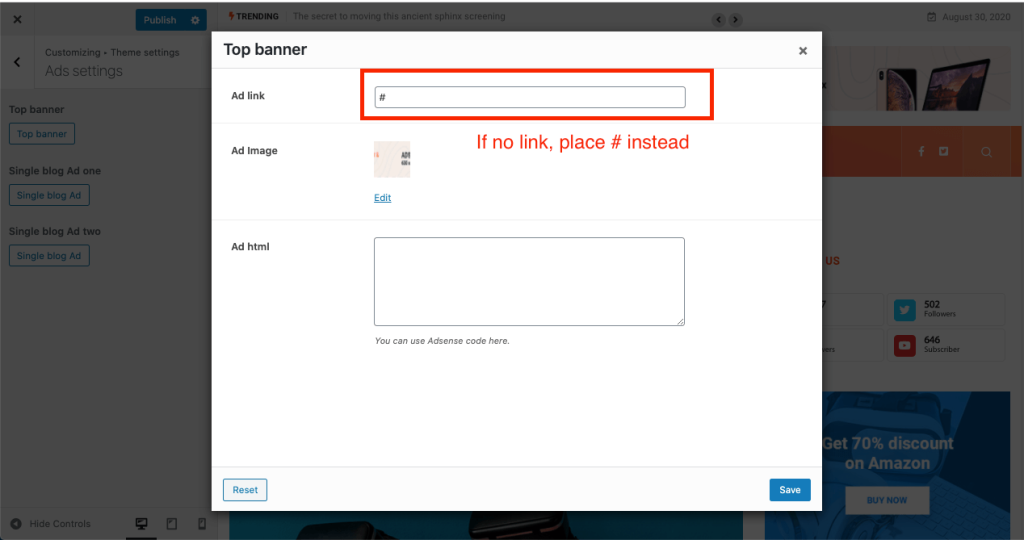
Ads Settings Settings #
From Appearance-> Customize ->Theme settings -> Ads Settings Settings, the ads banner image and Adsense code can be placed for tob panner and blog pages.

!!! Don’t forget to add # if there is no link available for the ad banner image.
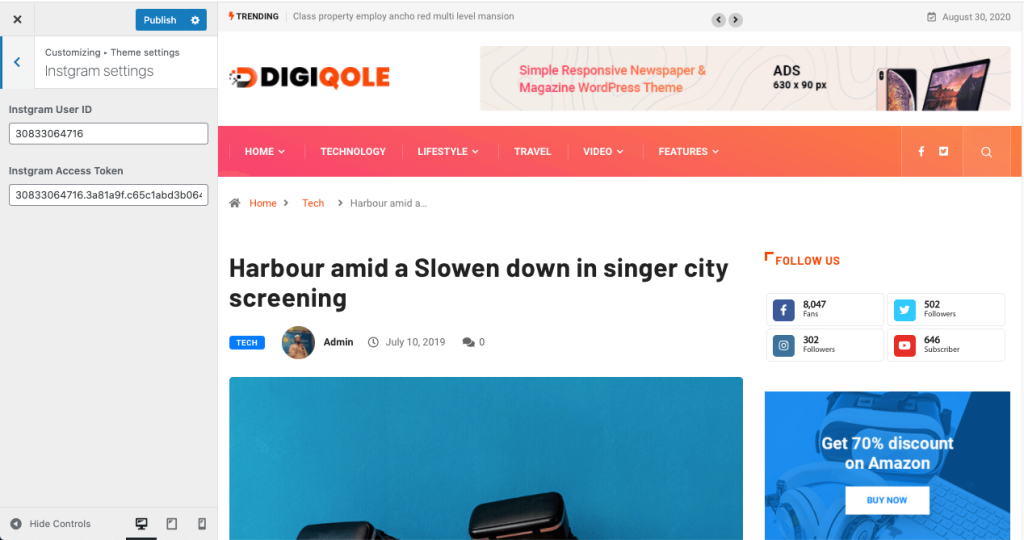
Instagram Settings #
From Appearance-> Customize ->Theme settings -> Instagram Settings, Instagram access information should be inserted.
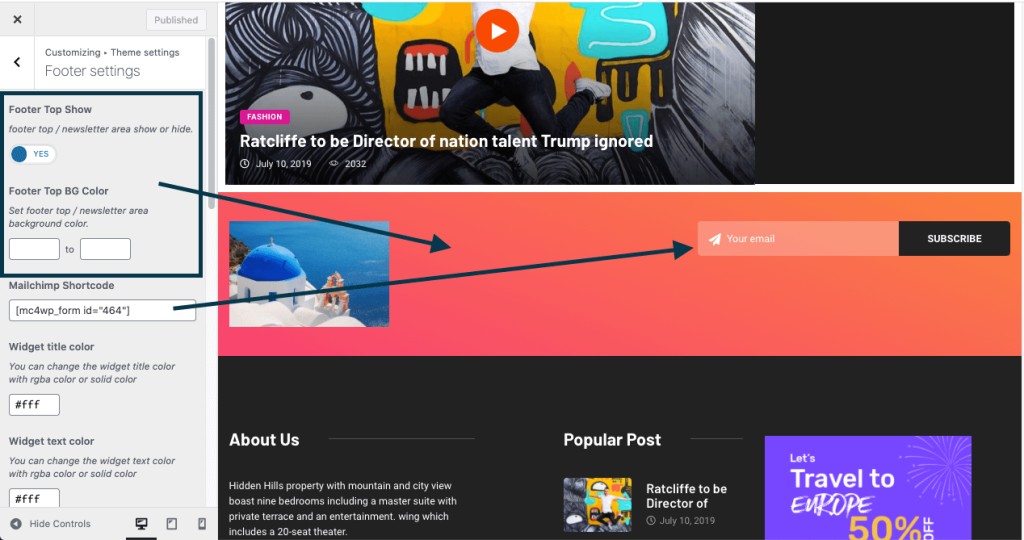
Footer Settings #
!!! For our Niche demo (Personal Blog, Covid-19, Food Recipe and Newspaper), use ElementsKit’s Header Footer Builder from here.
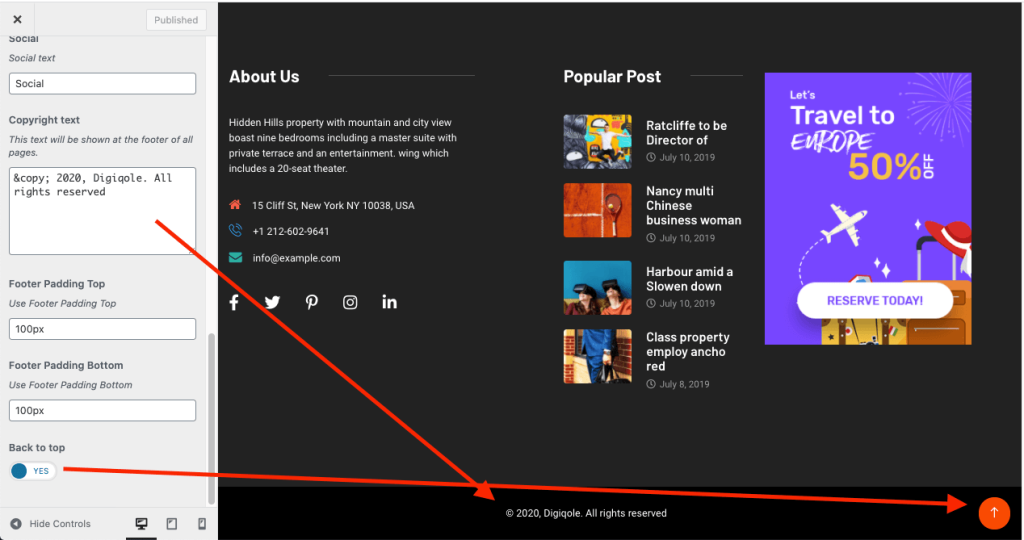
From Appearance-> Customize ->Theme settings -> Footer Settings , Footer top settings, Mailchimp form shortcode, footer widgets, copyright information and colors can be changed.
Footer Top section can be enabled and mailchimp shortcode placed from here.
Footer widgets property and background change option.
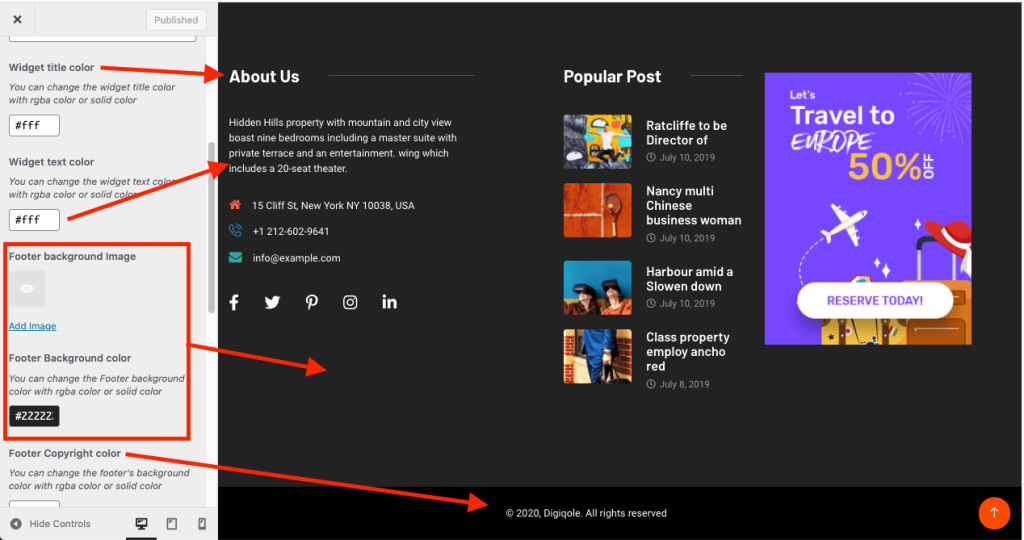
Footer Copyright and Back to Top can be enabled from here.
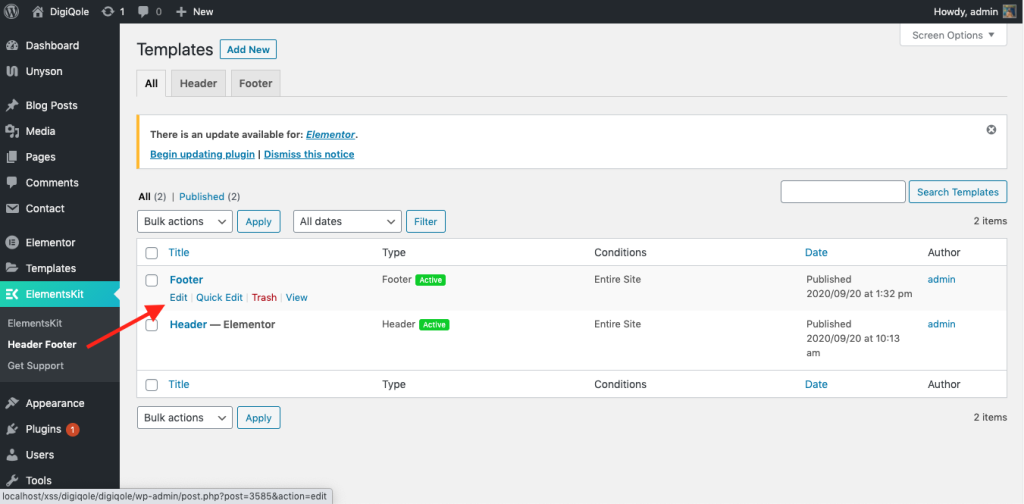
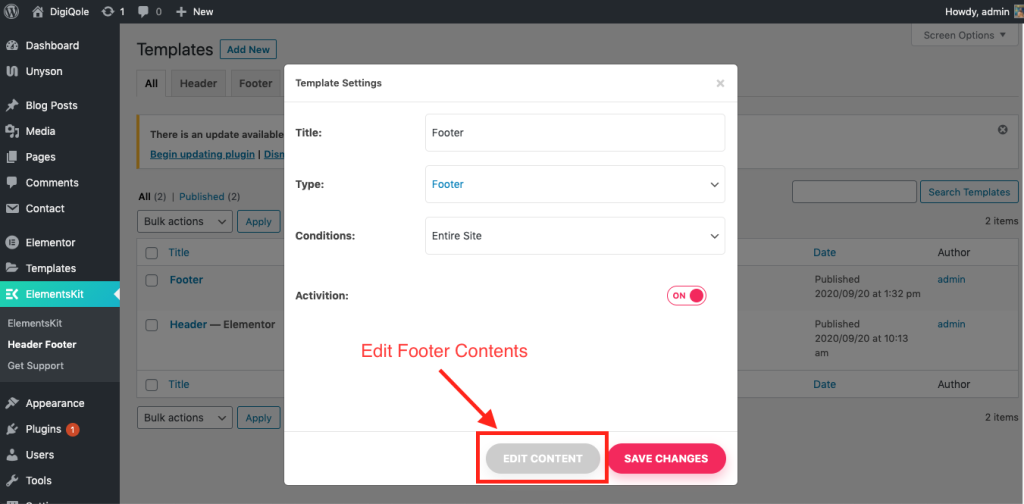
ElementsKit Footer Builder #
For changing the footer contents, go to ElementsKit > Header Footer and edit the footer
AMP Settings #
AMP Plugin Setup
Official AMP plugin can be downloaded from wordpress plugin repository
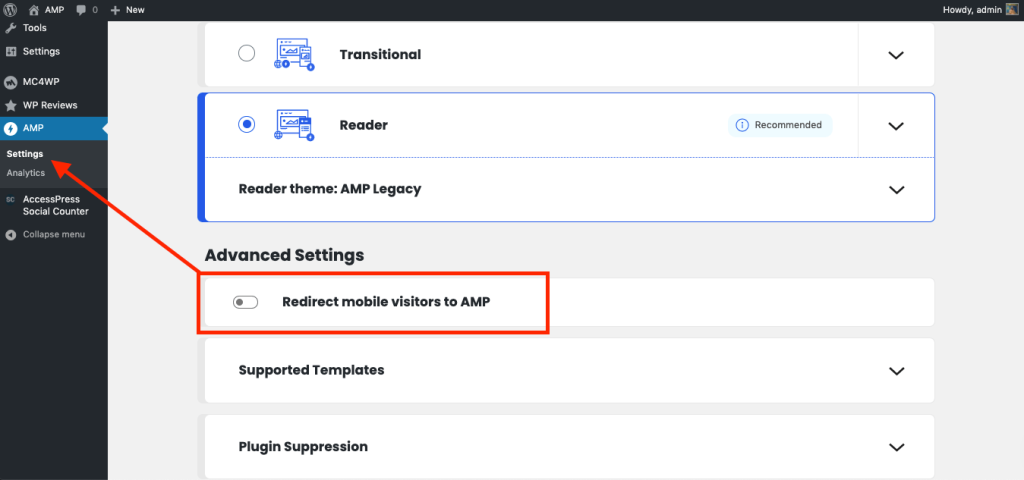
After installing and activating the plugin, it is required to enable AMP for Mobile versions.
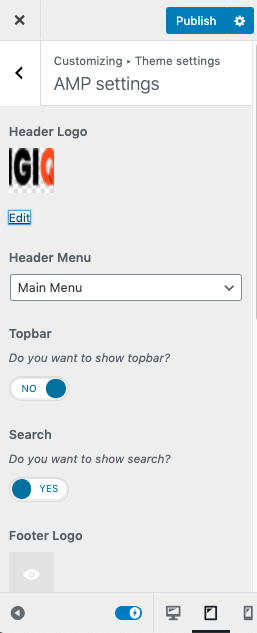
From Appearance-> Customize ->Theme settings -> AMP Settings , the basic settings for AMP as Header Logo, Header Menu, Topbar, Search, Footer Logo, Footer information’s can be changed.

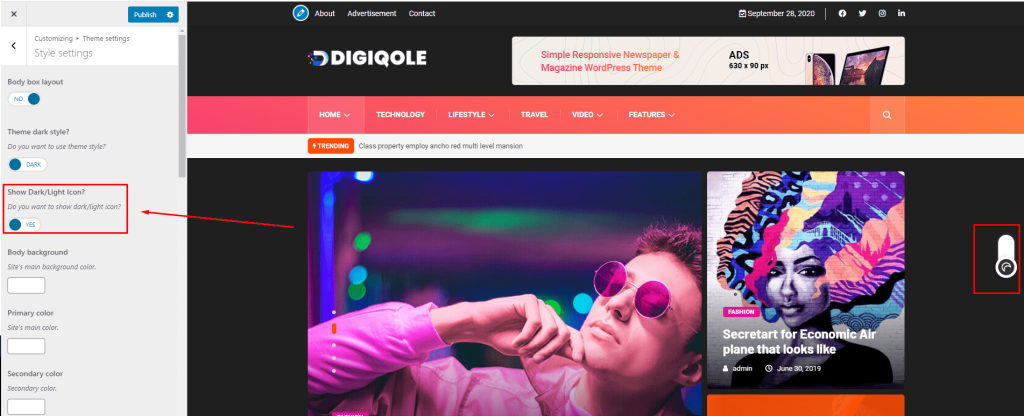
Dark & Light Mode Settings #
From Appearance-> Customize ->Theme settings ->Style Settings -> Show Dark/Light Icon?