The Tymic theme is powered by the Timetics plugin and its booking features. By using the free version of the Timetics plugin, you can set up an efficient and easy-to-manage appointment system. Below is the step-by-step guide to set it up:
🔑 Key Steps for Setup: #
Add Team Members: #
To allow booking with different team members, first, you need to add them in the Timetics plugin.
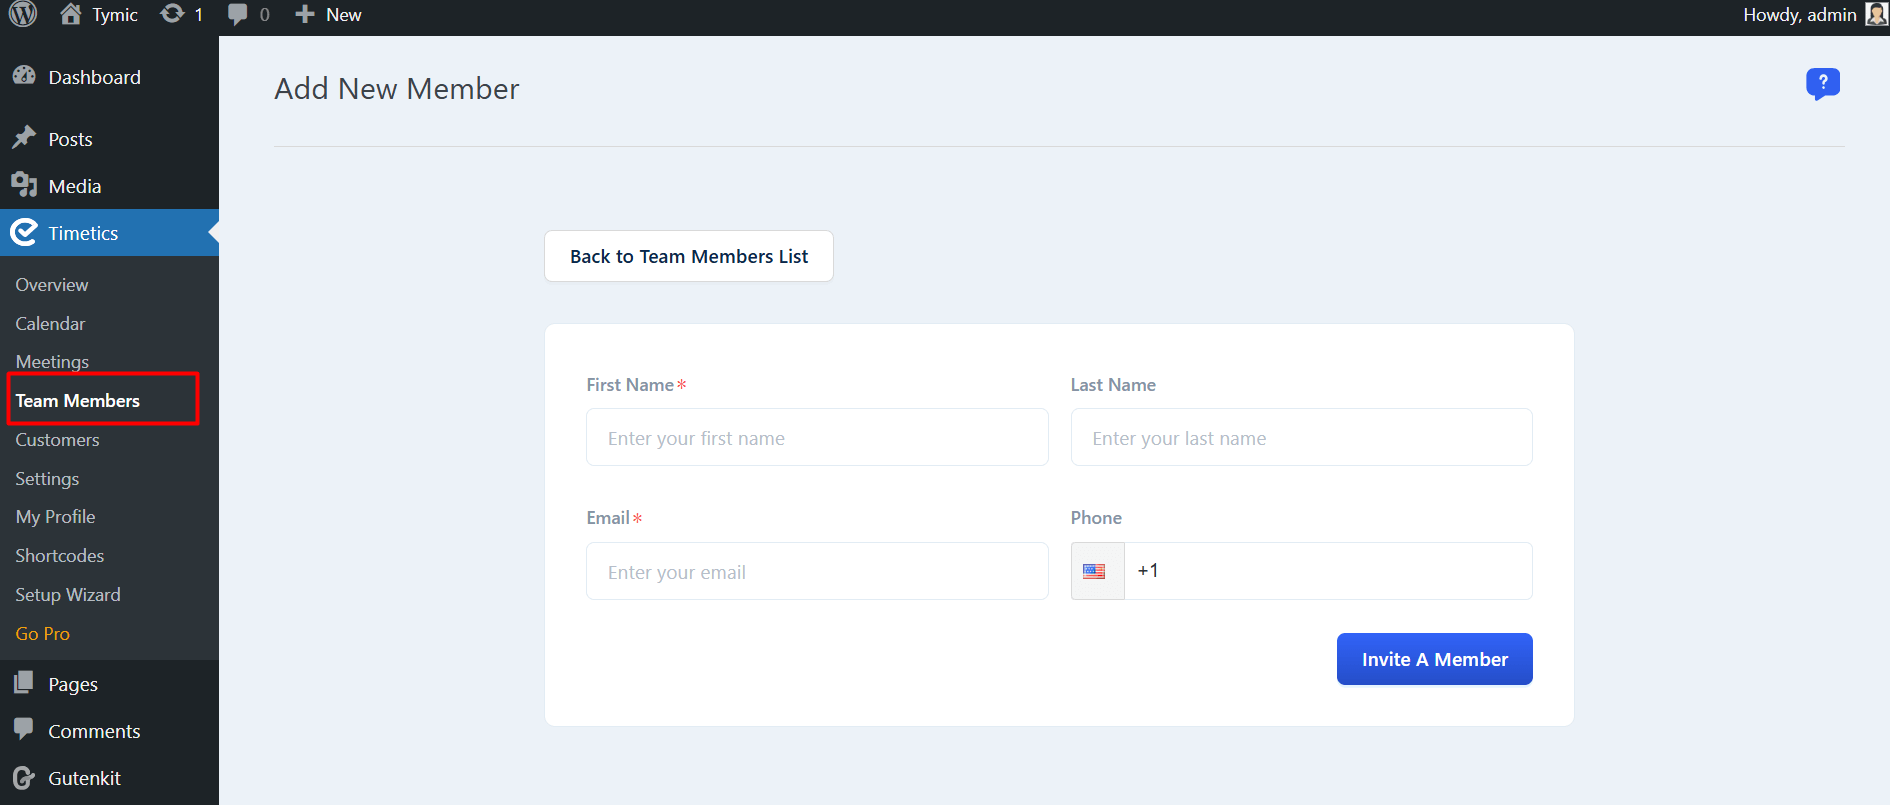
👉 Click here for the detailed guide on adding team members.
Add Meeting Types: #
Once your team is set up, you’ll need to define different types of meetings or appointments that can be scheduled (e.g., Consultation, Interview, etc.).
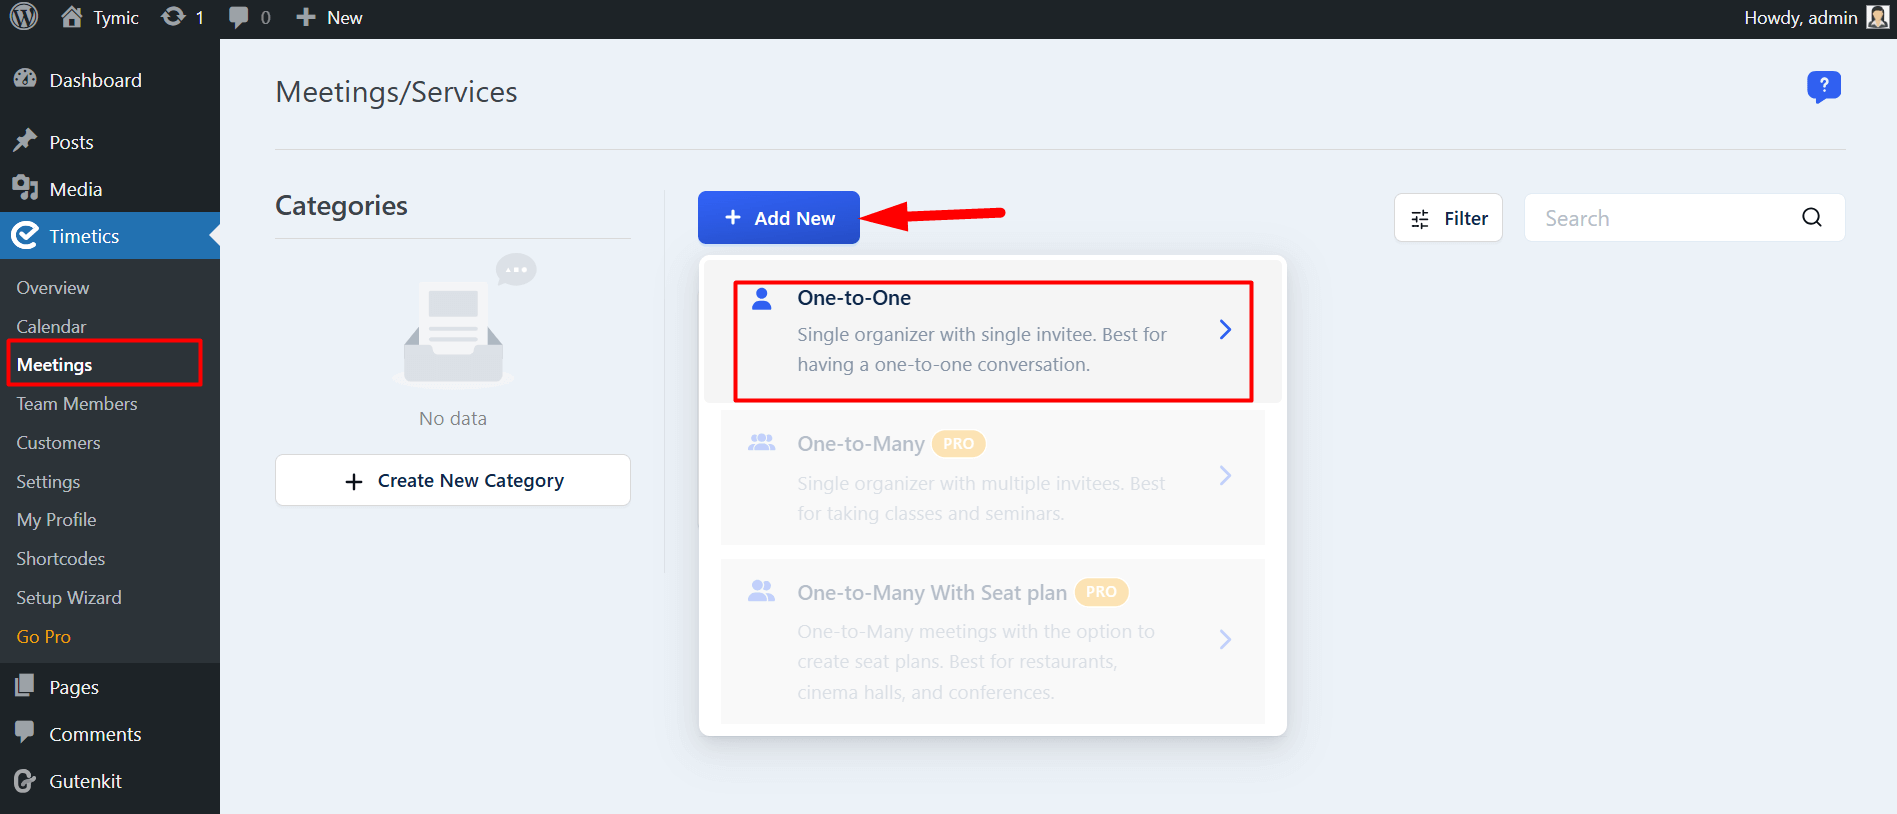
👉 Learn how to set up one-on-one meetings here.
Set Up Payment Options #
For paid appointments, set up payment methods by integrating with popular gateways like PayPal or Stripe.

👉 Follow this guide to set up payment types.
Generate Shortcodes for Appointment Booking #
The Timetics plugin provides shortcodes that you can generate and place anywhere on your site. These shortcodes are crucial for displaying the booking form, calendar, and availability directly on your pages.
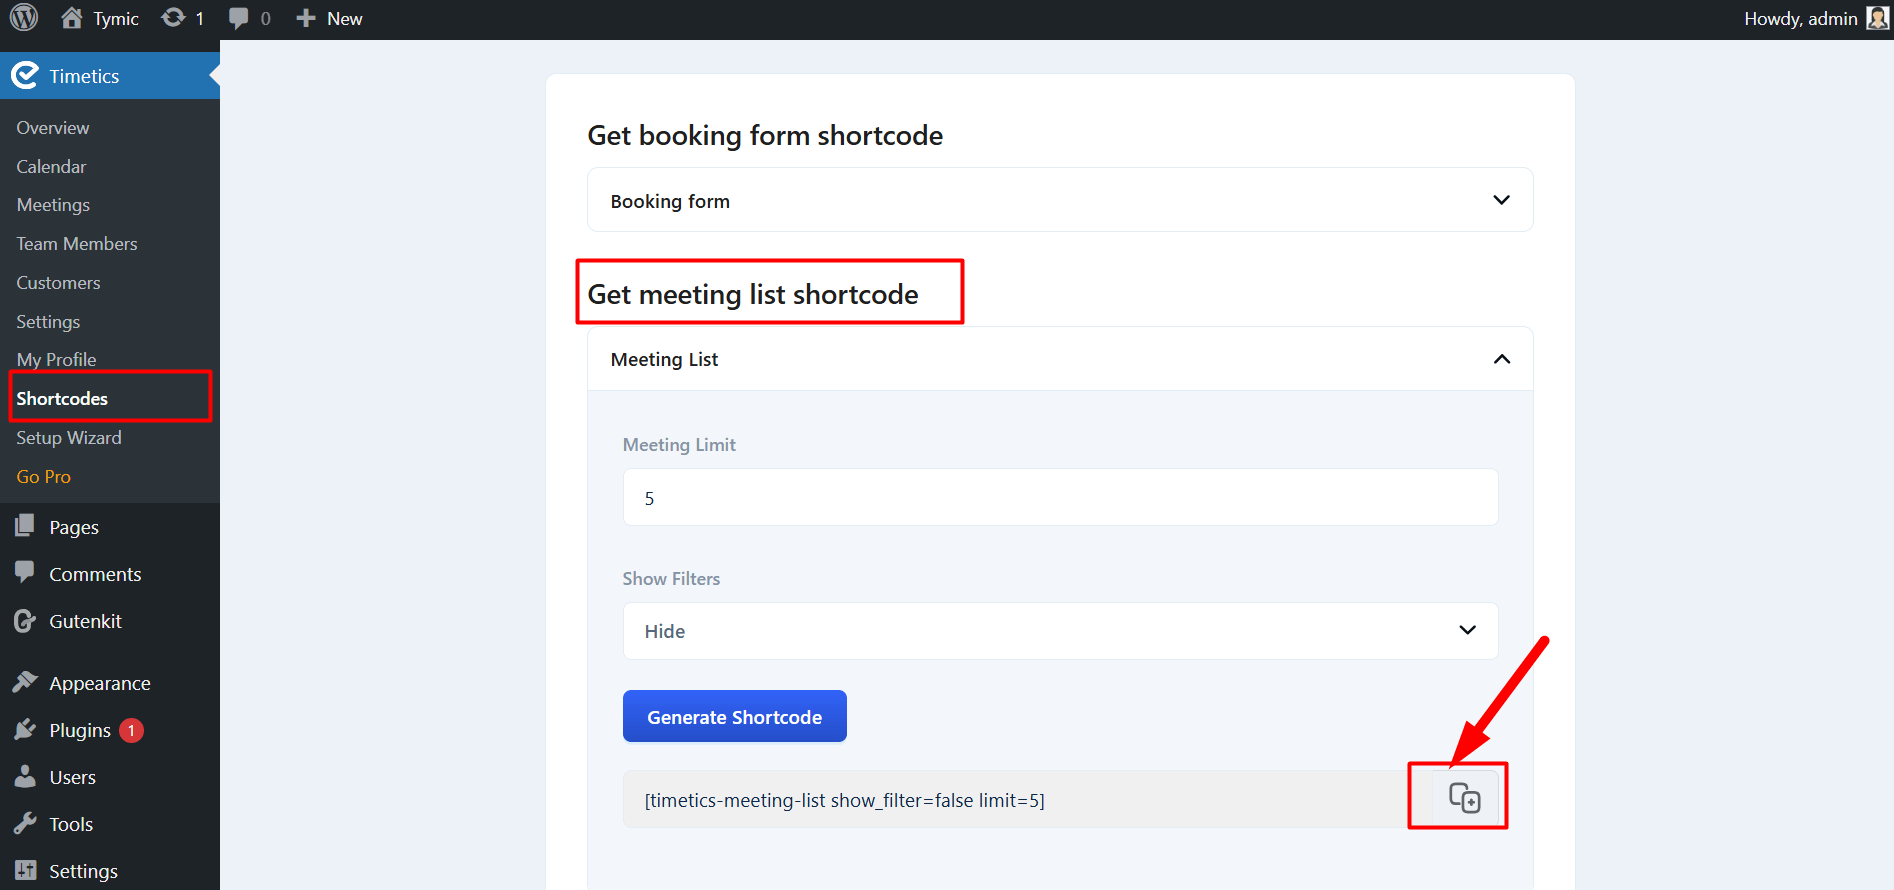
👉 Click here to learn how to generate shortcodes.
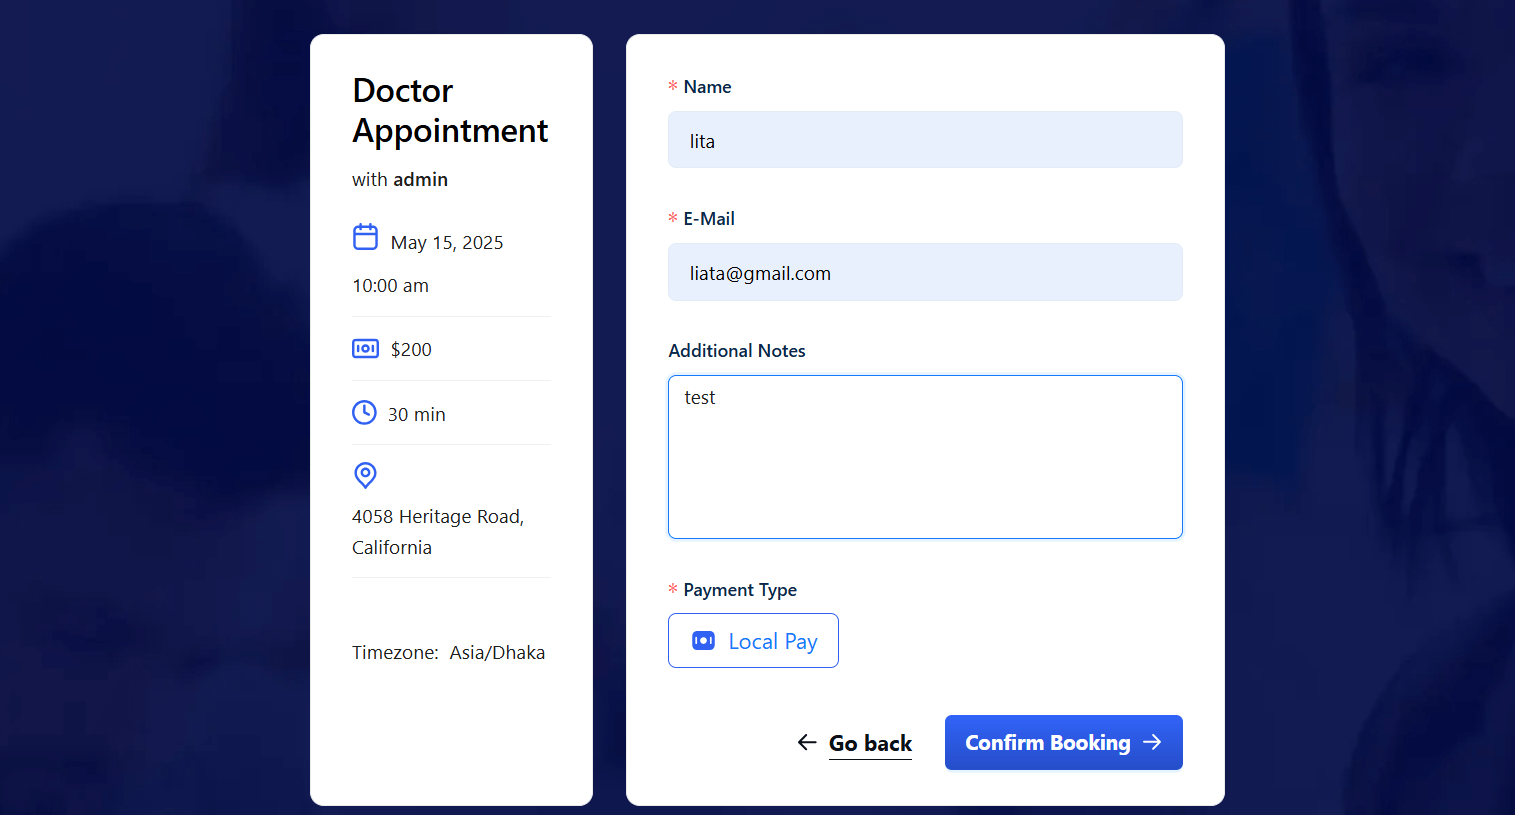
Booking Process Overview #
Finally, review the entire booking process:
- Users select the type of appointment and preferred team member.
- They choose an available time slot.
- If required, they proceed with payment.
- The appointment is confirmed and added to the calendar.
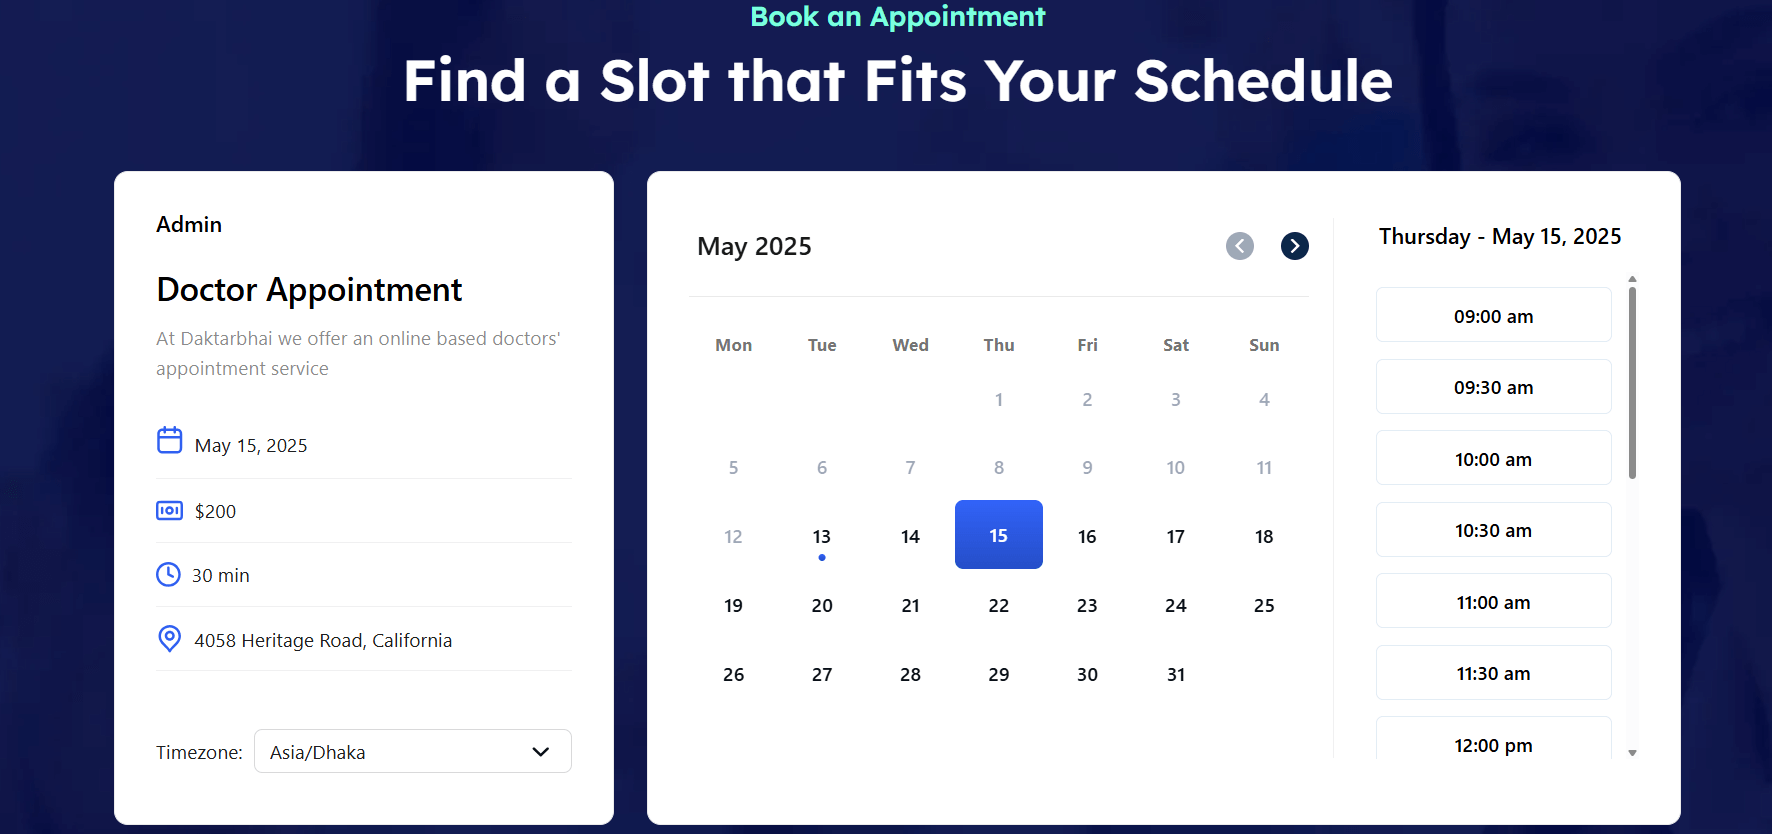
👉 Click here for the booking process details.
📜 Need More Information? #
For detailed instructions on each of the above steps, please refer to the official Timetics documentation:
👉 Timetics Documentation


