Navigate to Appearance > Customize for Theme’s customizer settings.
General Settings #
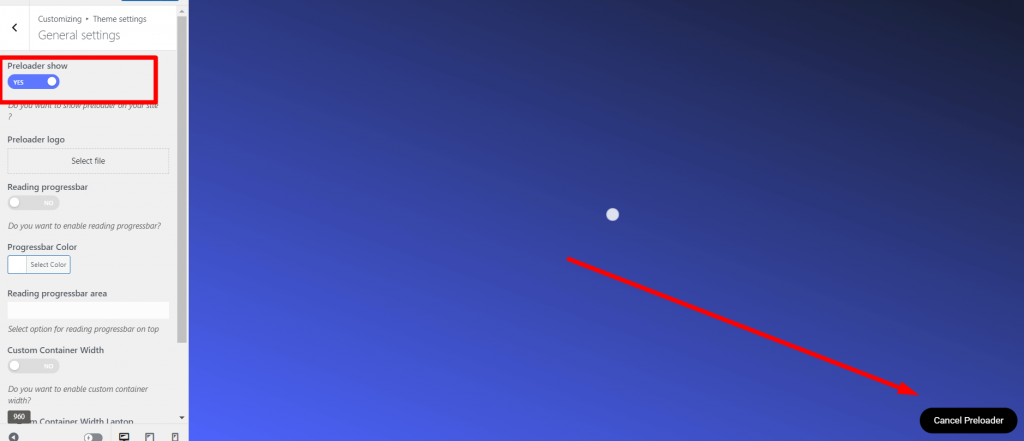
Preloader #
Navigate to Appearance > Customize > Theme Settings > General Settings for the Preloader settings.
Style Settings #
From Appearance-> Customize->Theme settings-> Style Settings , you can change font family, color, font size ,enable dark mode and also heading fonts etc.

ElementsKit Header Footer Builder #
!!! In our demo, we are using the Elementskit header footer. You can edit the header footer from here.
!!! Don't need to enable the "Header Builder Enable" option form the customizer if you have enabled the header/footer from ElementsKit > Header Footer option.It will automatically be set from ElementsKit.
Note: Specific Header/ Footer
If you want to select a specific header/footer for specific pages, you have to purchase the Elementskit pro plugin.
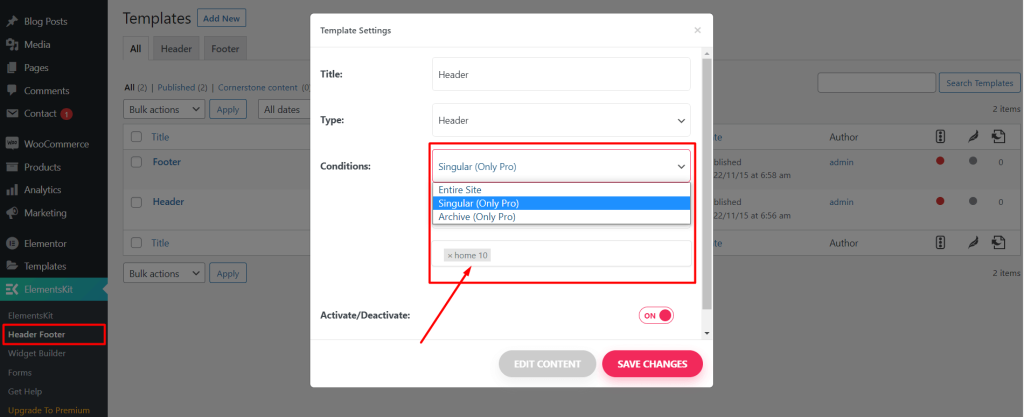
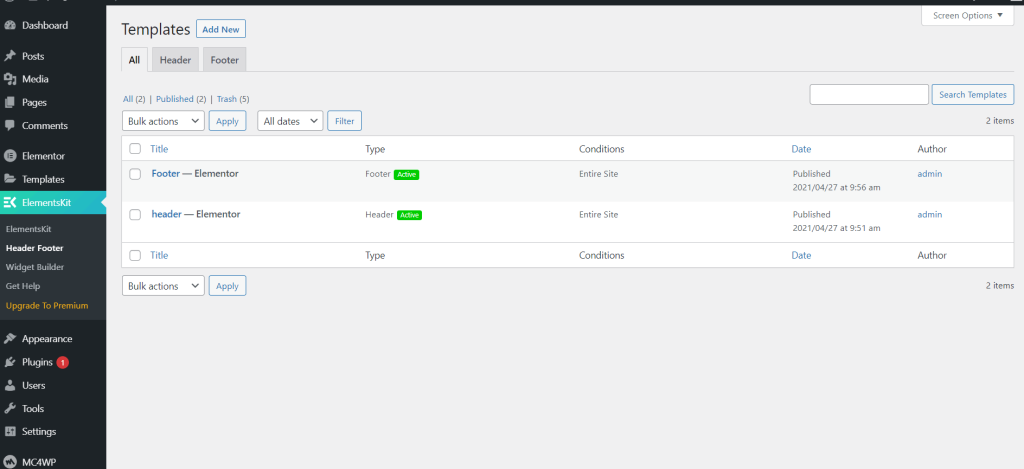
ElementsKit Template #
To change and create header footer builder go to ElementsKit > Header Footer
ElementsKit Headers #
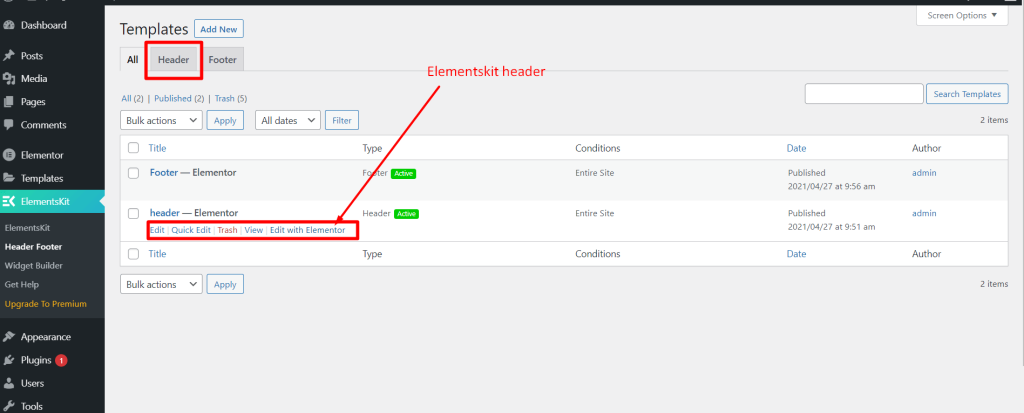
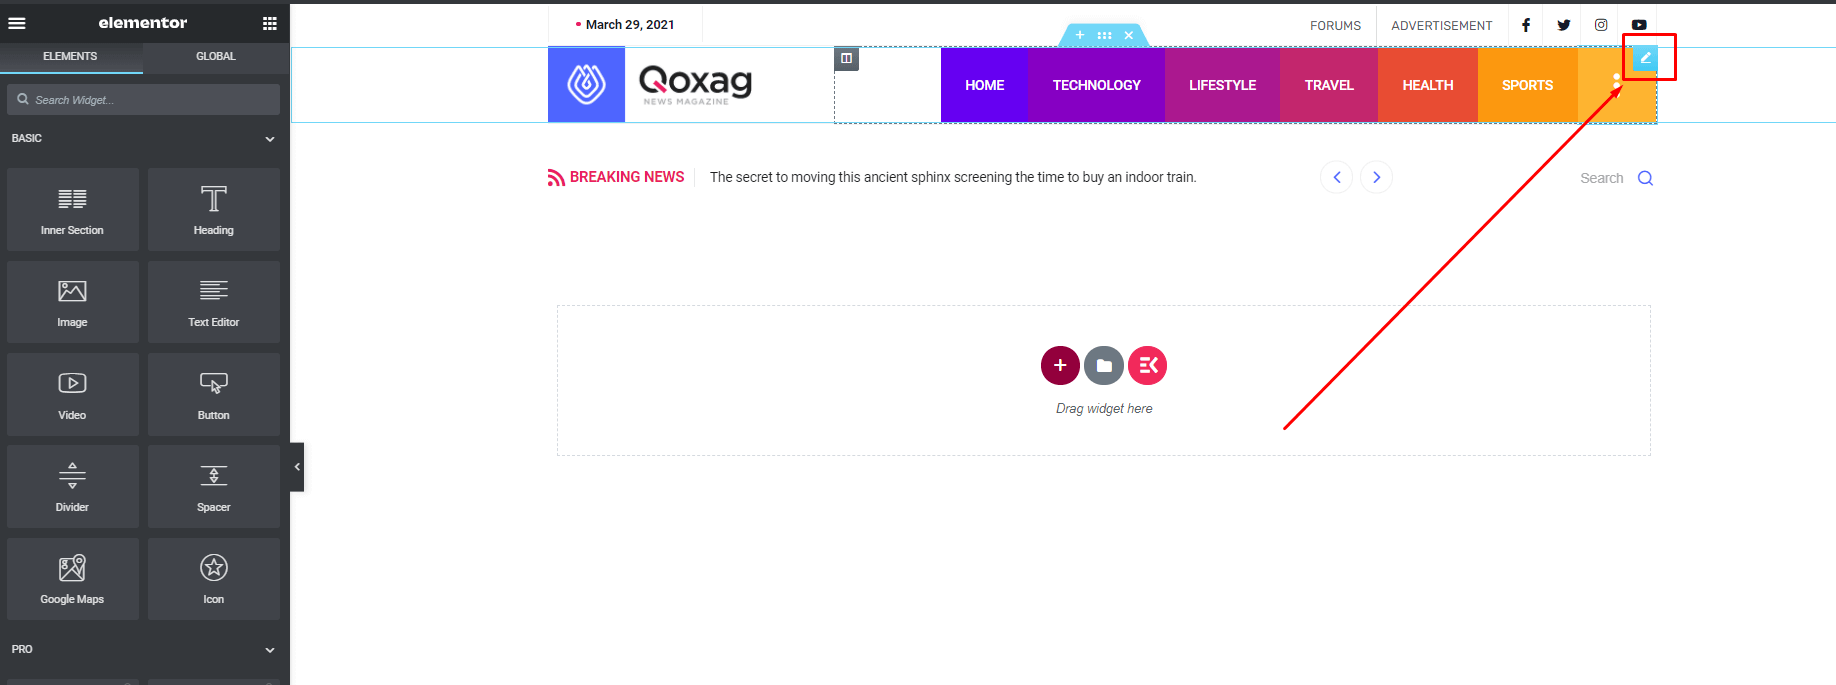
Edit the header with Elementor and change the Elements by clicking on the Element.
Tutorial for creating headers with ElementsKit.
Header logo Settings #
For change logo, navigate to ElementsKit > Header Footer > Headers
Header Mobile Logo #
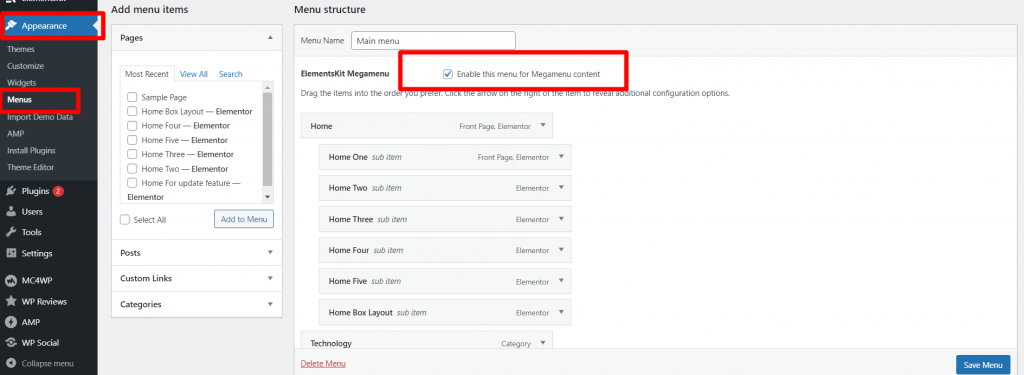
Mega Menu Settings #
For creating megamenus, navigate to Dashboard> Appearence> Menus> Select your menus and enable the Elementskit Megamenu.
For settings the megamenu item, click here.
See in the video
ElementsKit Footers #
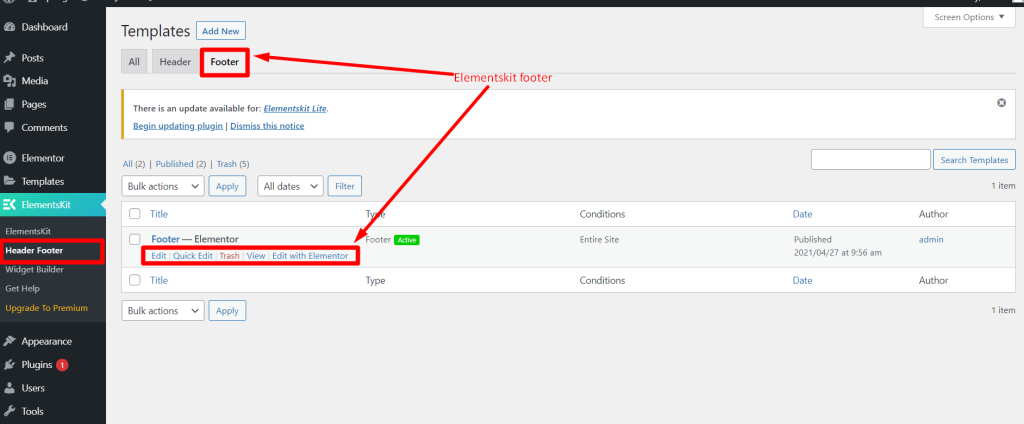
Edit the footer with Elementor and change the Elements by clicking on the Element.
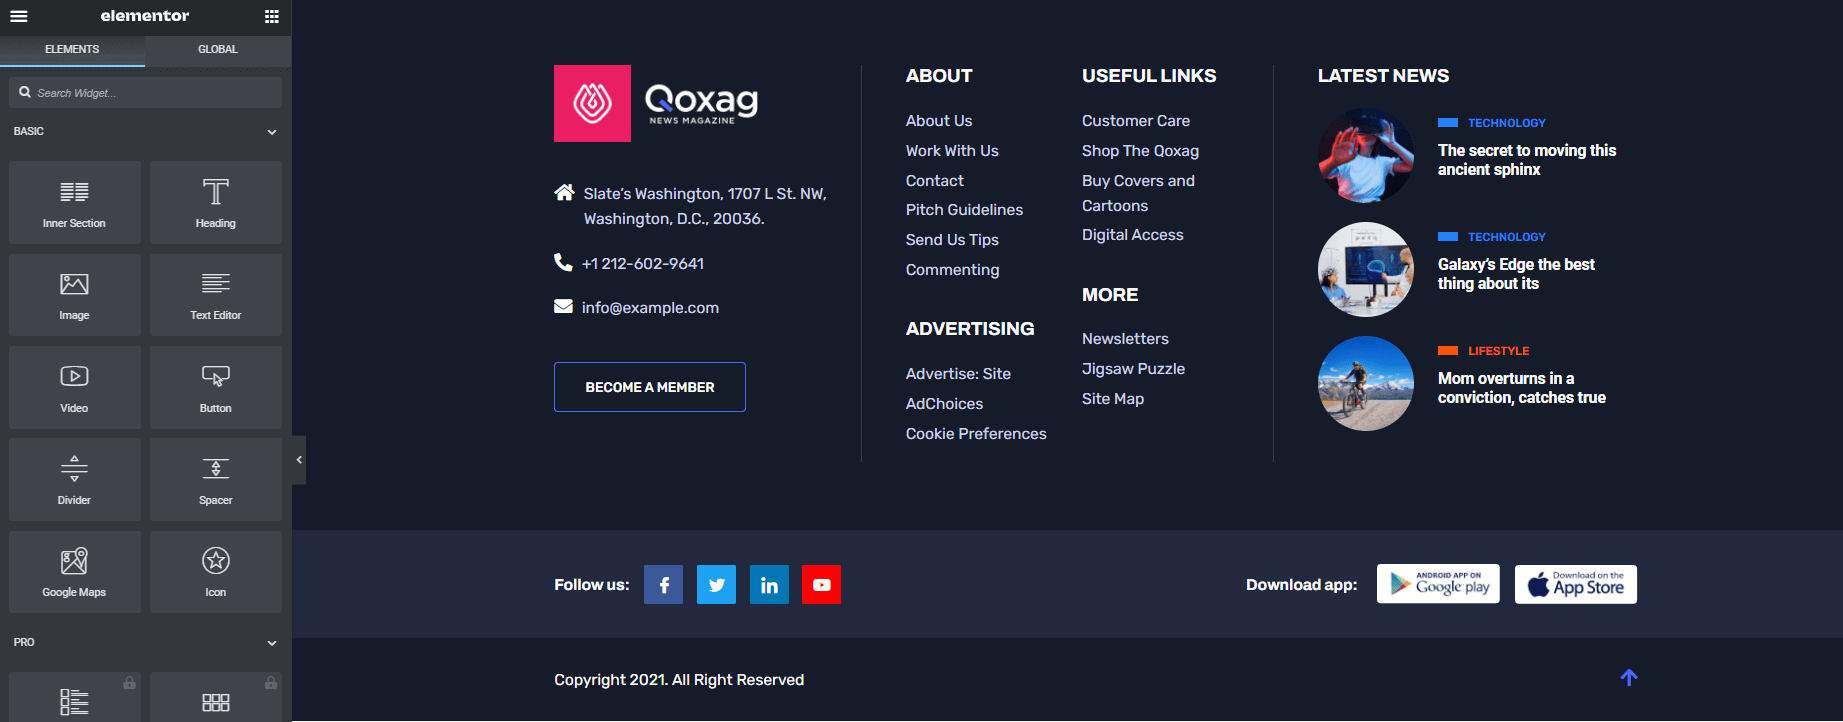
Tutorial for creating footers with ElementsKit.
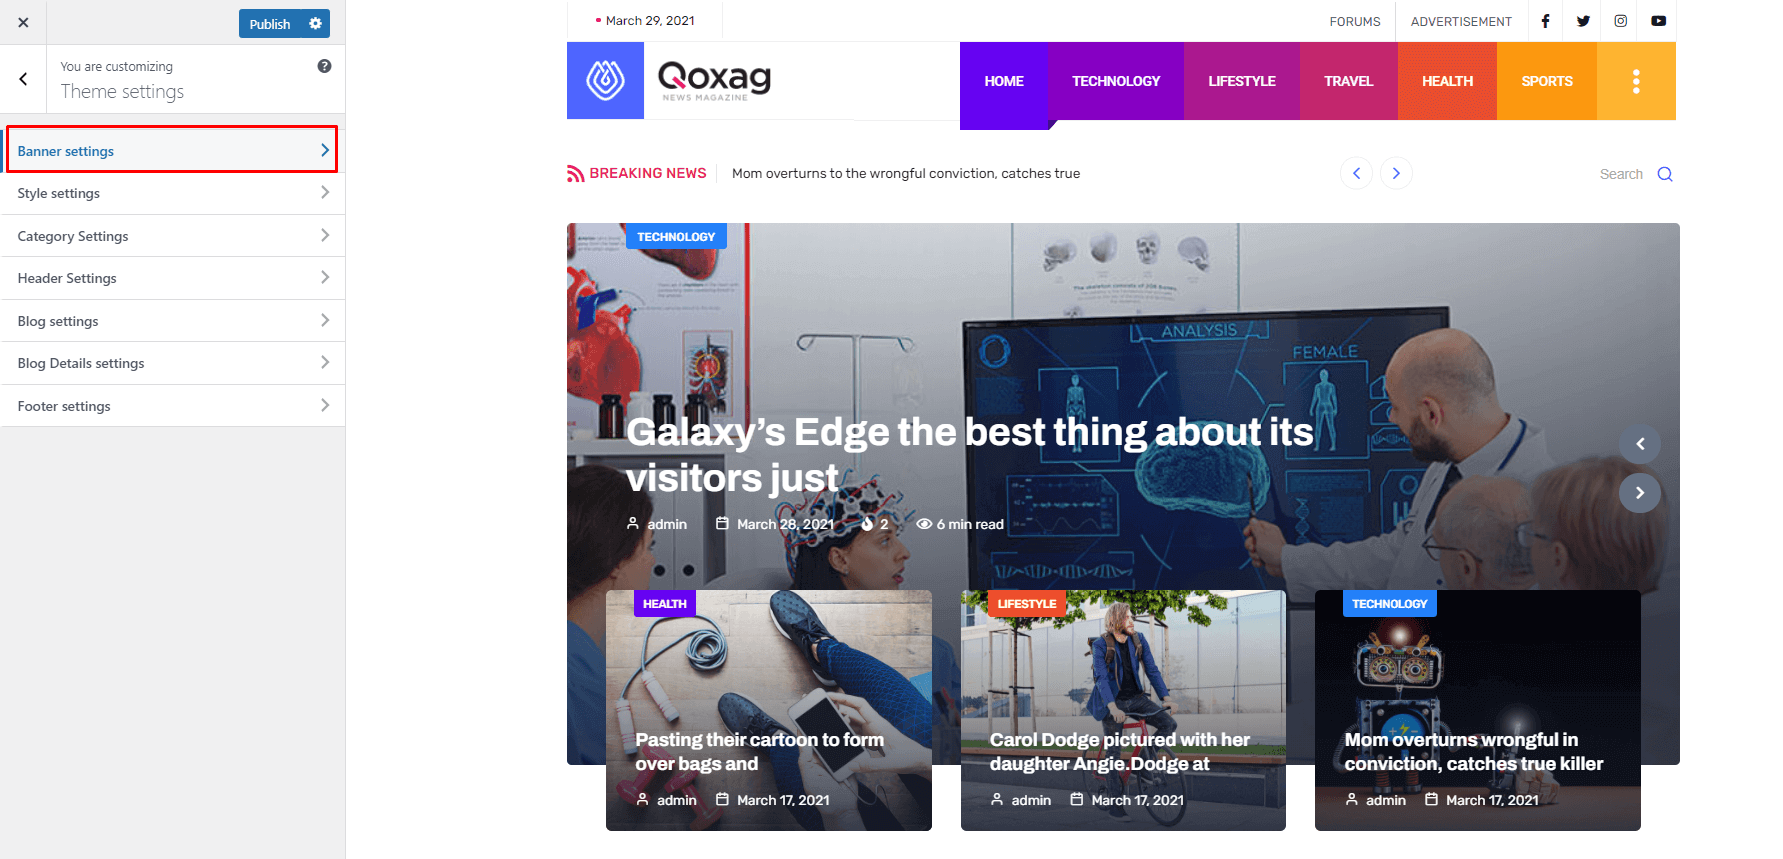
Banner Settings #
Navigate to Appearance > Customize > Theme Settings > Banner Settings for Theme’s banner settings.
Logo #
!!! For changing the logo, click here.
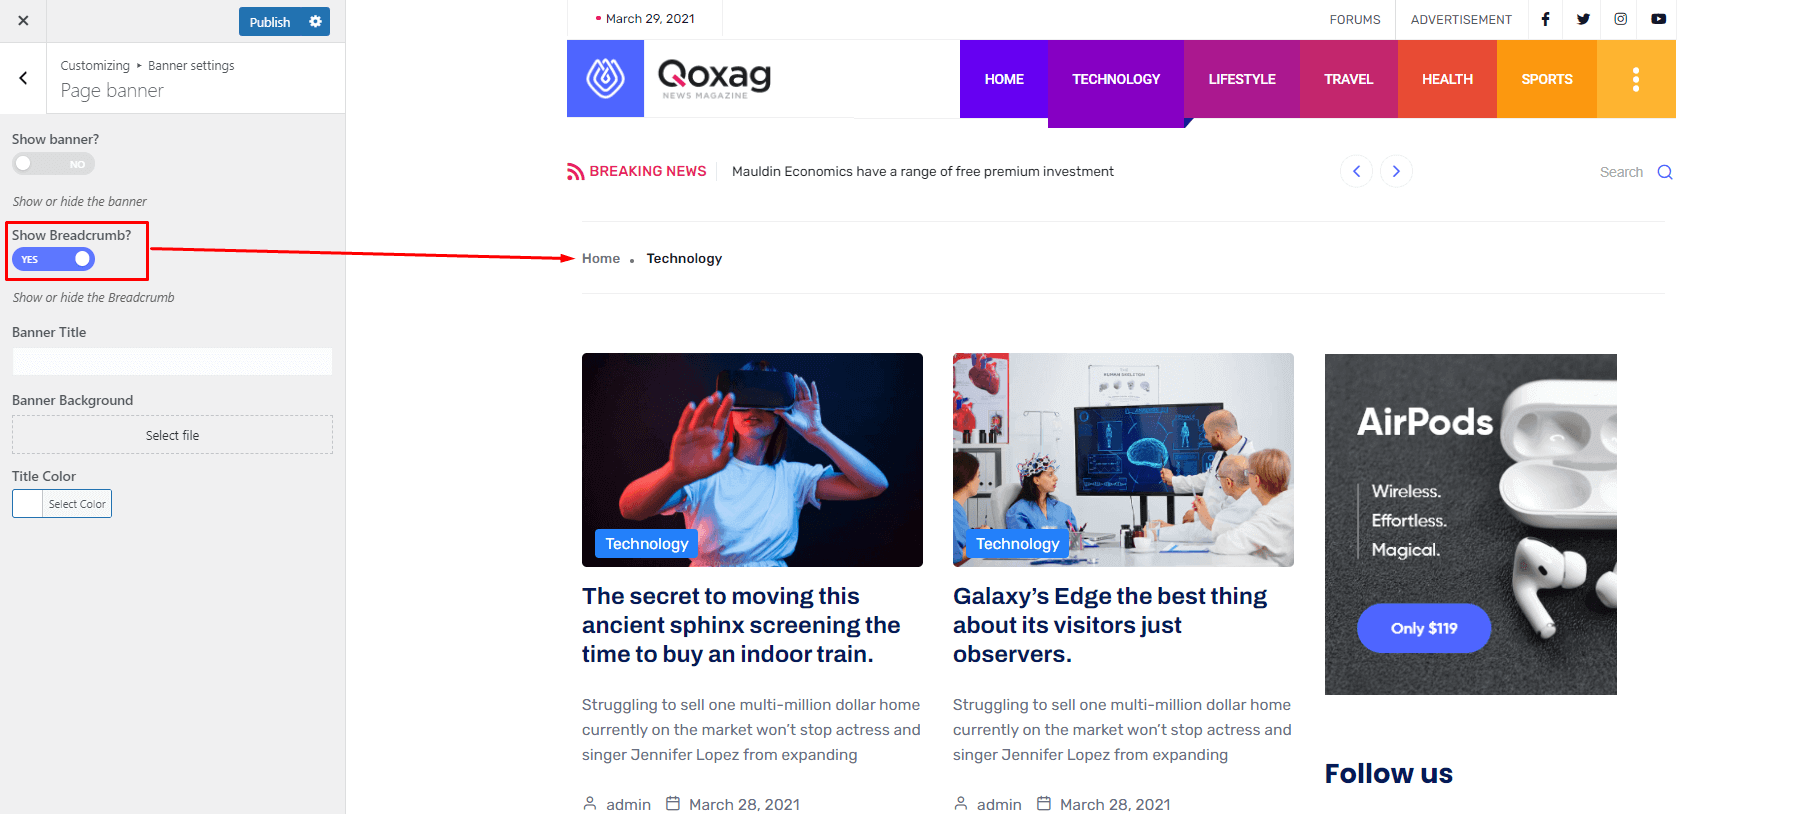
Breadcrumb #
Single blog page, category archive page’s breadcrumb options.
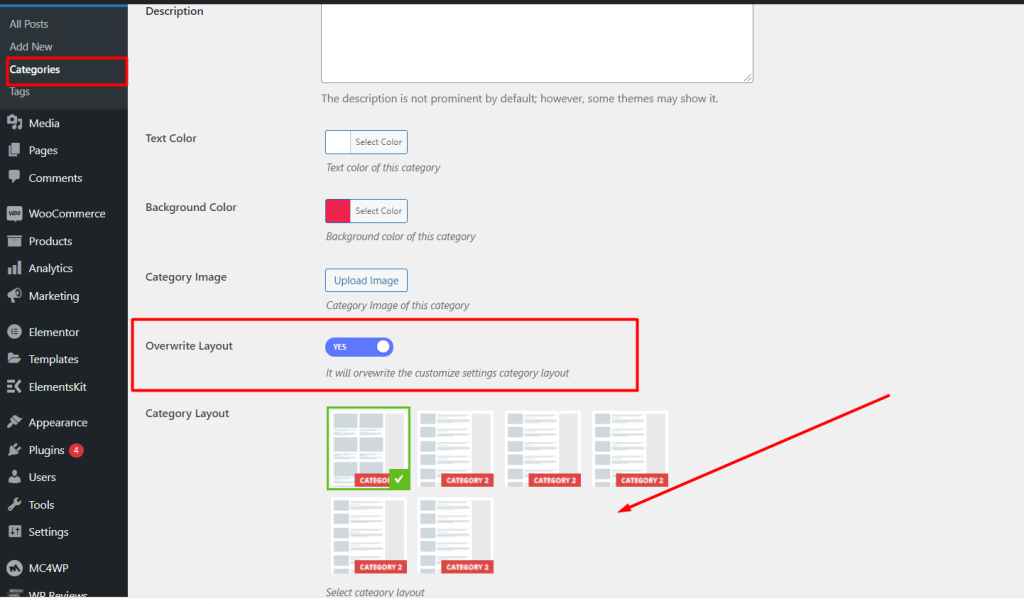
Category Settings #
From Appearance-> Customize-> Theme settings-> Category Settings, you can change the category layout.
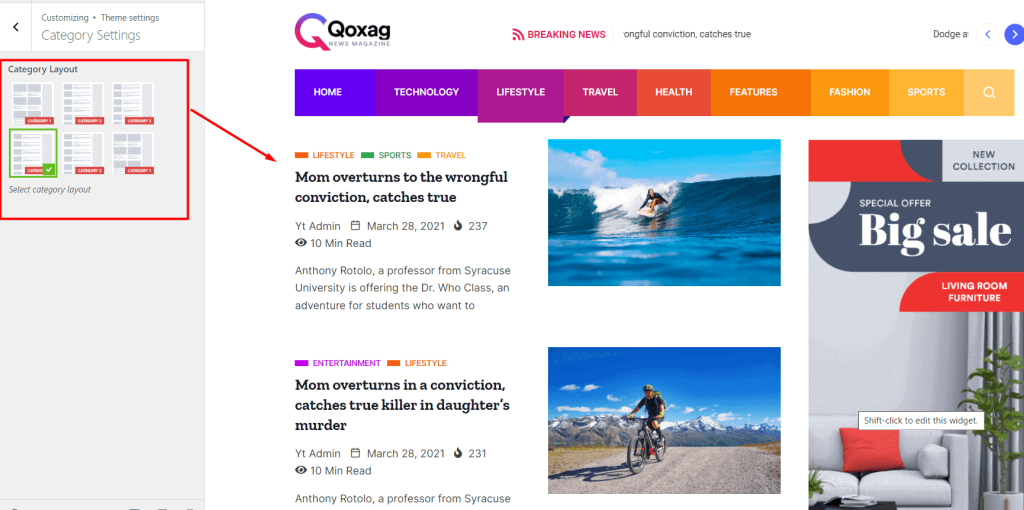
You can set the specific layout for specific category form here. This layout override the global layout that is set from the customization option.
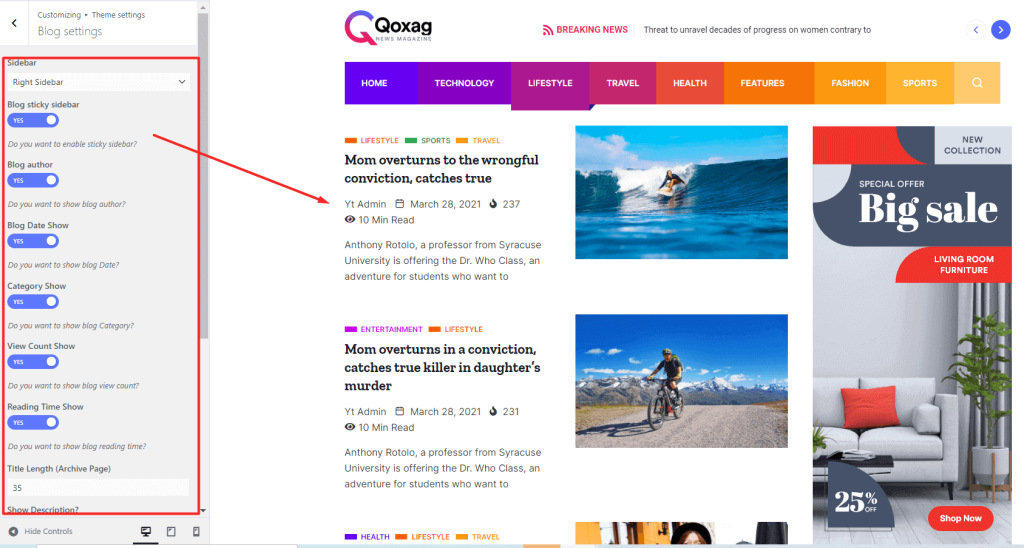
Blog Settings #
From Appearance-> Customize-> Theme settings-> Blog settings, you can change the Posts Meta Information such as Sidebar, Blog sticky sidebar, Blog author, Blog Date Show, Category Show, View Count Show, Reading Time Show, Title Length (Archive Page), Show Description, Show Review Rating, Number of Categories for the blog pages.
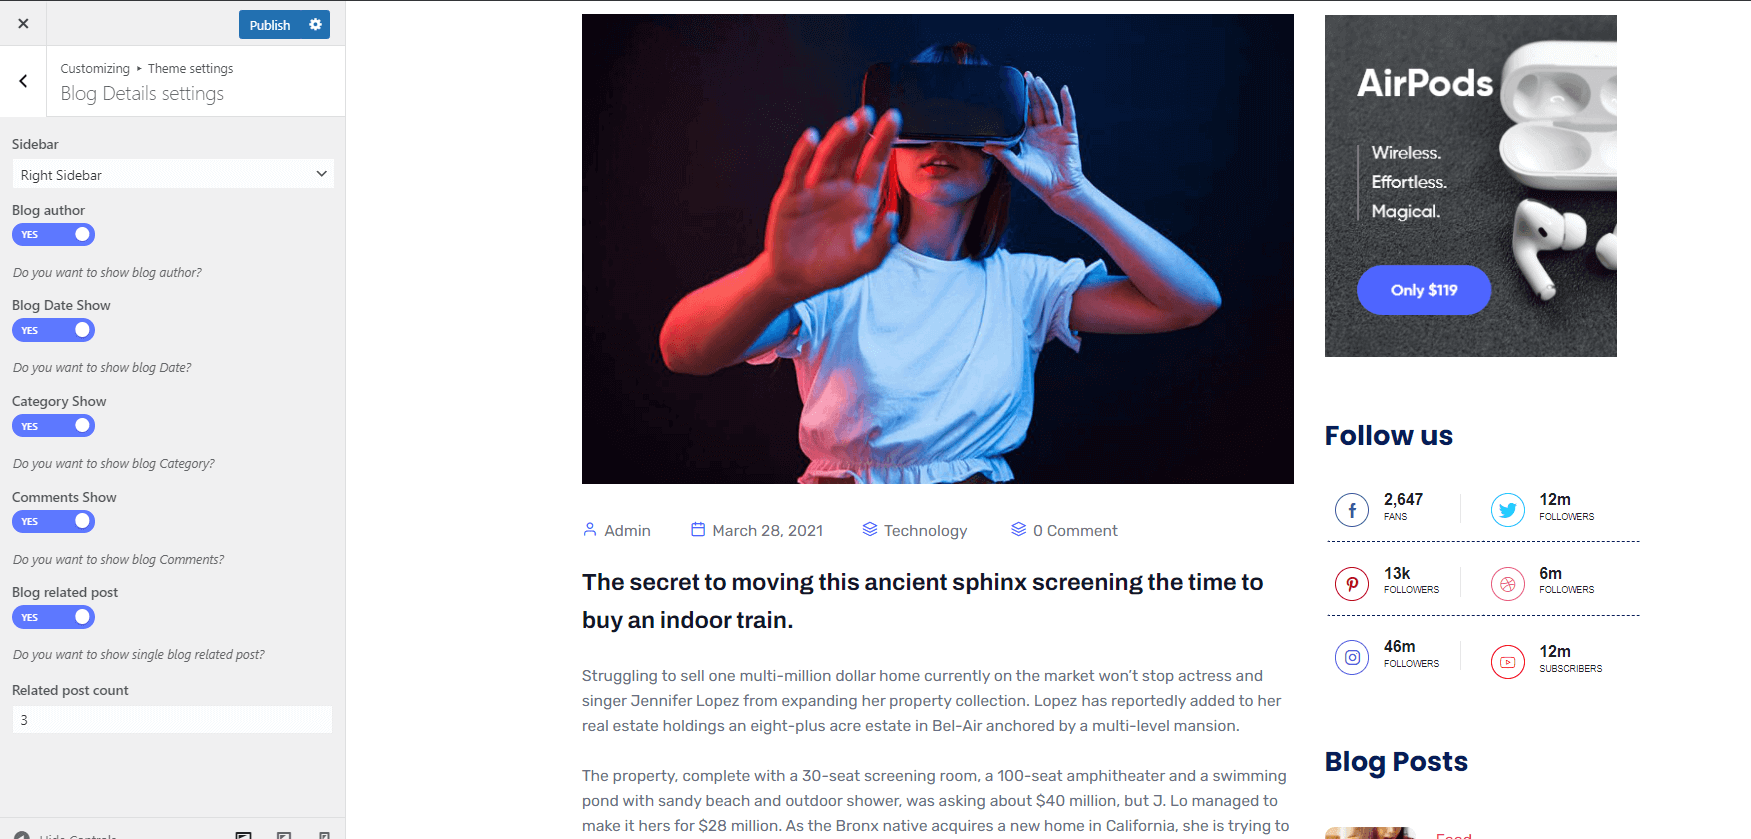
Blog Single Settings #
From Appearance-> Customize ->Theme settings -> Blog Single Settings, you can set the Post Header Layout, Sidebar, Blog Author, Blog date show, Category show, Comments Show, View Count Show, Reading Time SHow, Font Zoom In/Out, Print Option, Category On Top, Number of Categories, Blog Related post, title, subtitle, post count, Blog social share, Infinity Scroll, Tag show for the blog single post.
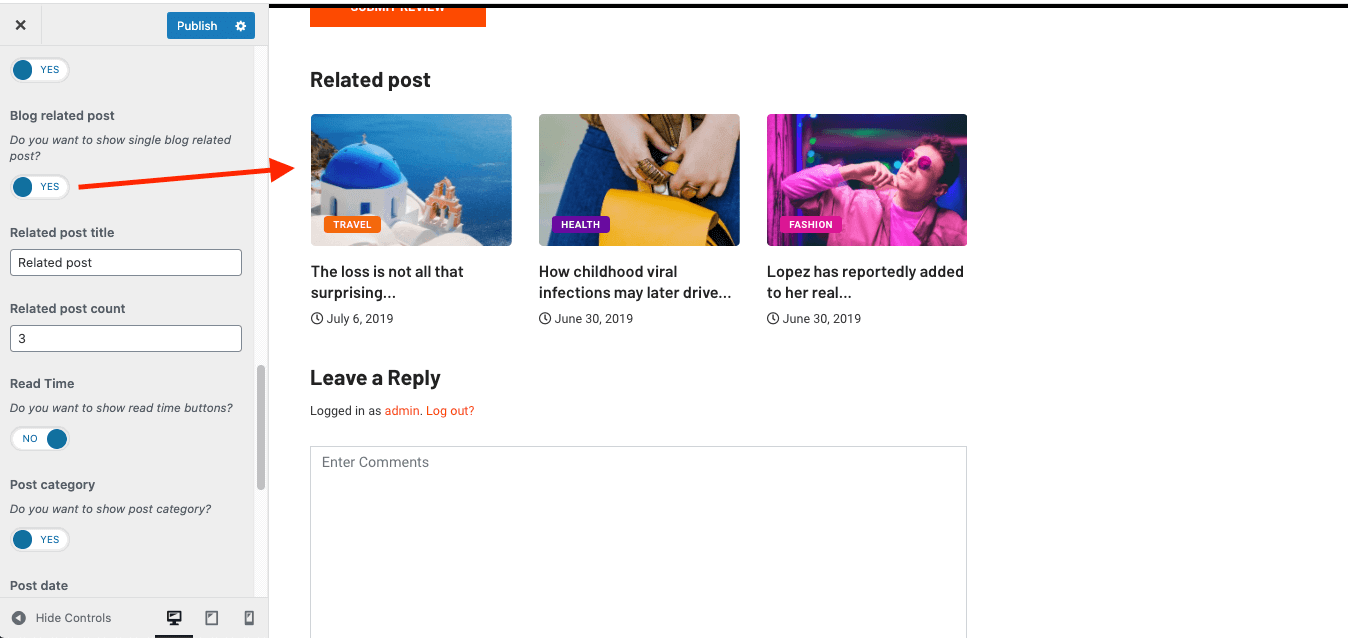
Related Post
Enable related post feature from here. Related post’s will be shown based on the tags match.
Infinity Scroll #
Infinity scroll for the single post, active from the customize option.
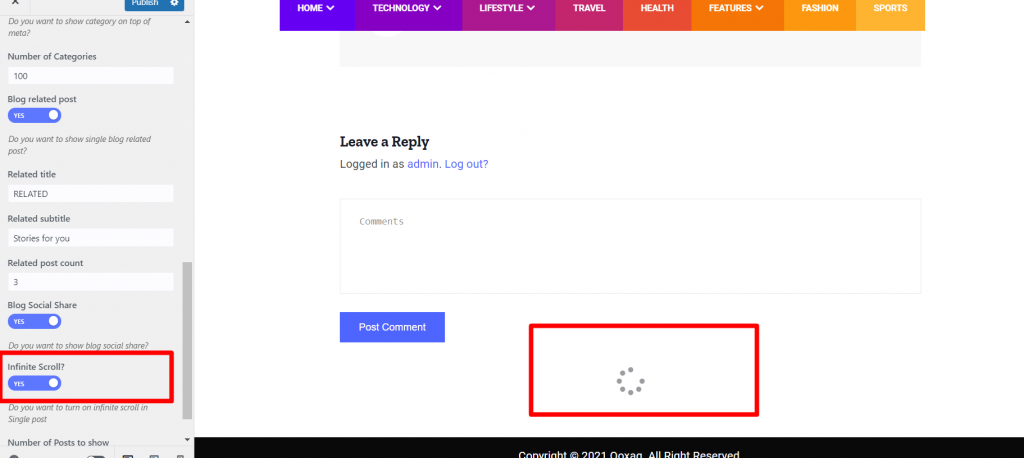
Infinity scroll
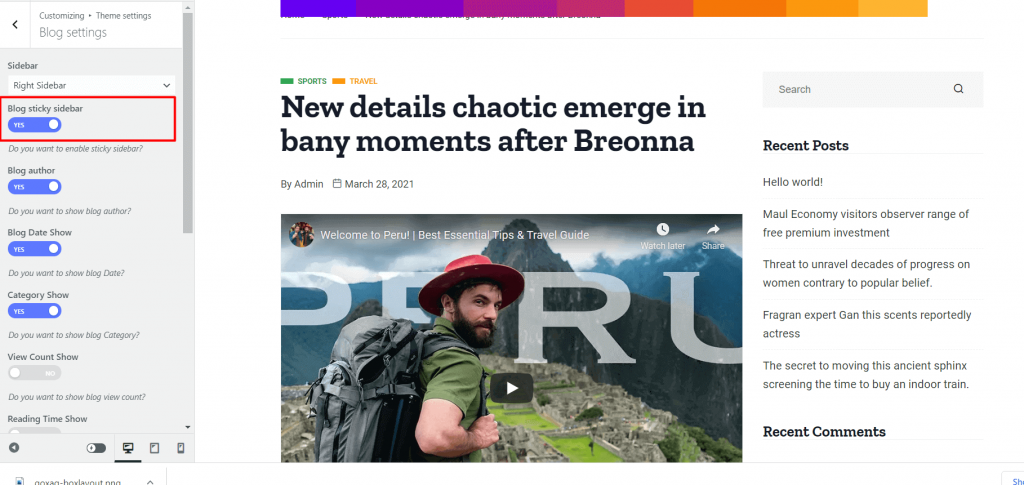
Sticky Content/ Sidebar #
For settings the sticky sidebar, navigate to Dashboard> Appearence> Customize> Theme Settings> Blog Settings and Blog Sticky Sidebar.
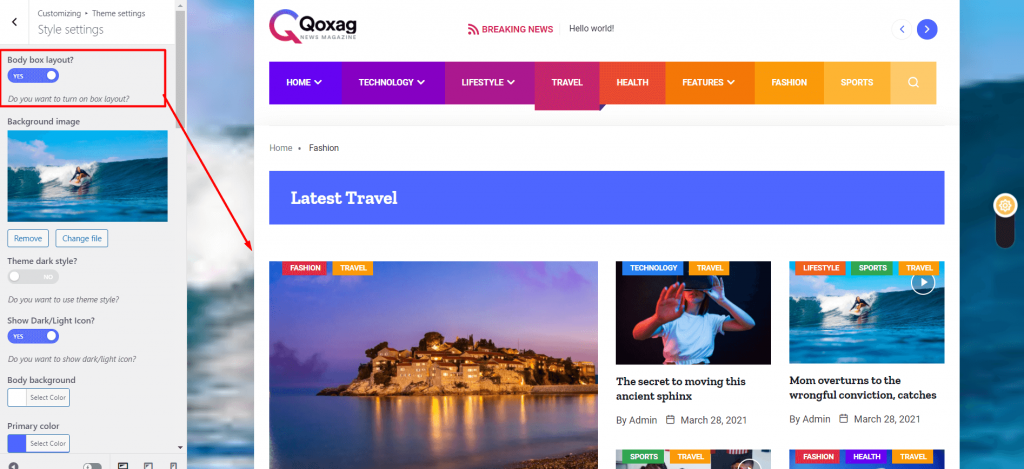
Box layout Settings #
For settings the body box layout, navigate to Dashboard> Appearence> Customize> Theme Settings> Style Settings and select body box layout.
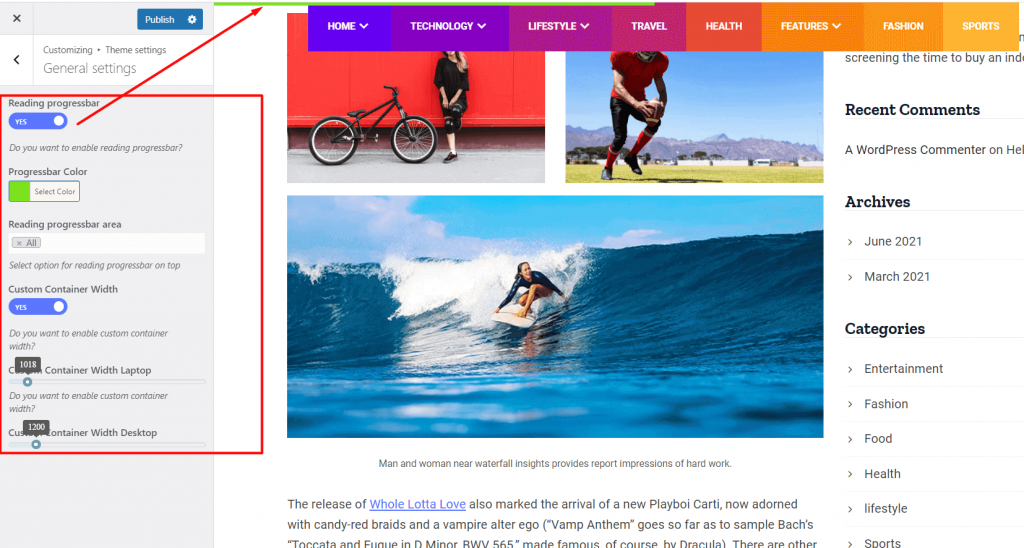
Reading Progress Bar #
For settings the sticky sidebar, navigate to Dashboard> Appearence> Customize>Theme Settings> General Settings and enable the reading progressbar.