AISentic integrates directly with your existing WordPress plugins to give you AI-powered control over their features. Once a plugin is connected, you can manage it entirely through AISentic’s chatbot — using plain language instead of navigating through multiple dashboard screens.
Currently, AISentic supports integration with Eventin, the WordPress event management plugin by Arraytics. More plugin integrations are on the way.
In this guide, you’ll learn how to connect a plugin with AISentic, using Eventin as a step-by-step example.
Prerequisite: This guide assumes you’ve already installed and activated AISentic, and completed the onboarding process. If you haven’t, start with our Getting Started with AISentic guide first.
Step 1: Open the Integrations Tab #
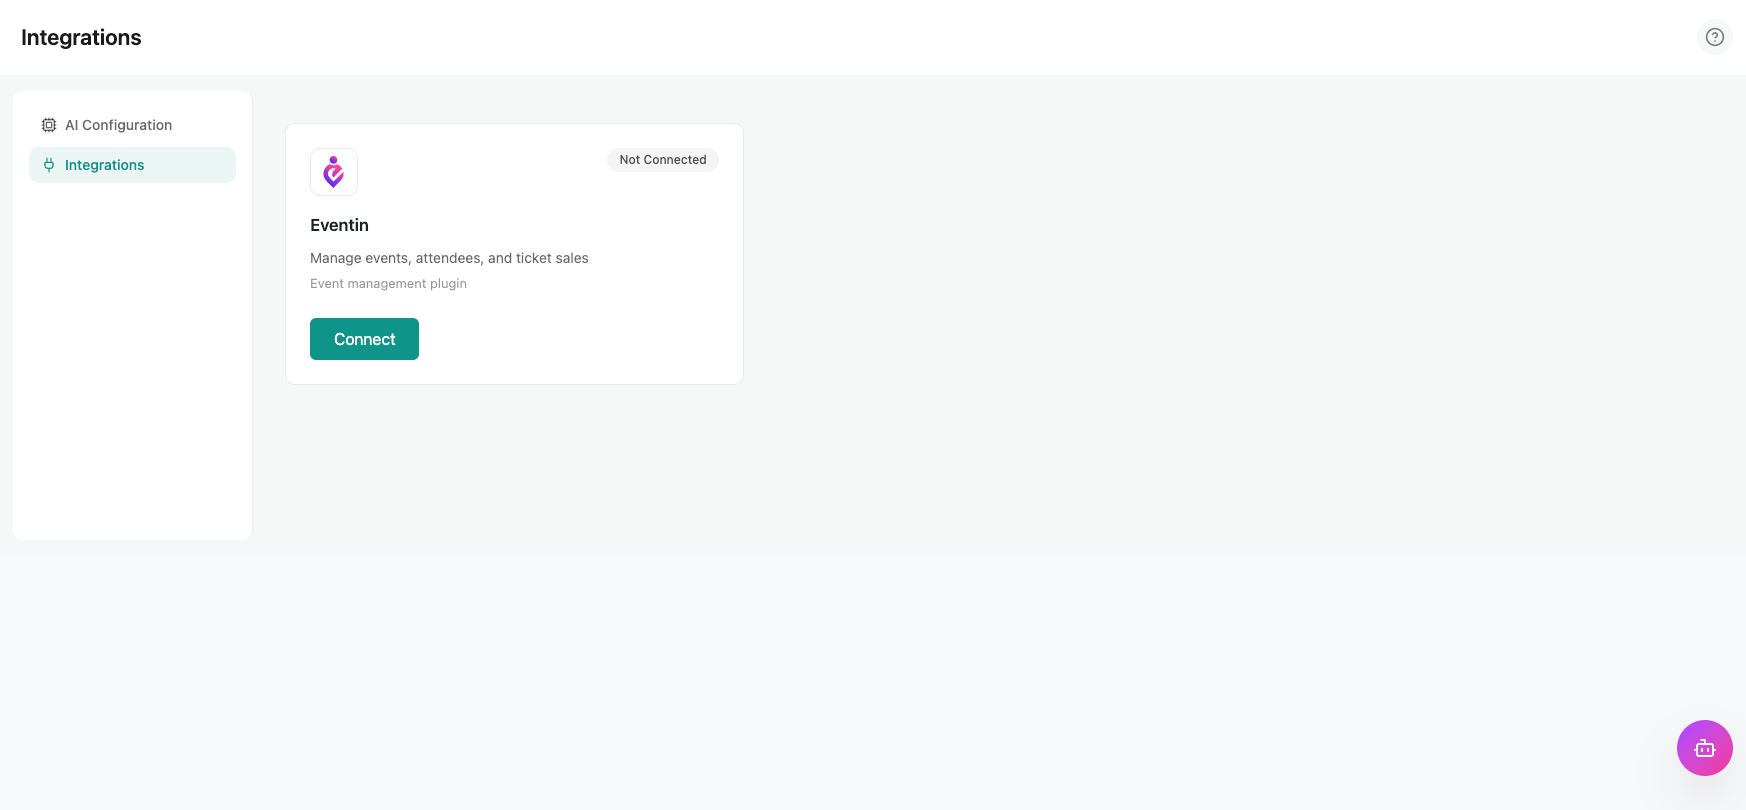
From your WordPress dashboard, go to AISentic → Settings → Integrations. This page displays all the plugins that are available for integration with AISentic.
Each plugin is shown as a card with its name, a brief description, and an action button.
Step 2: Check the Plugin Status #
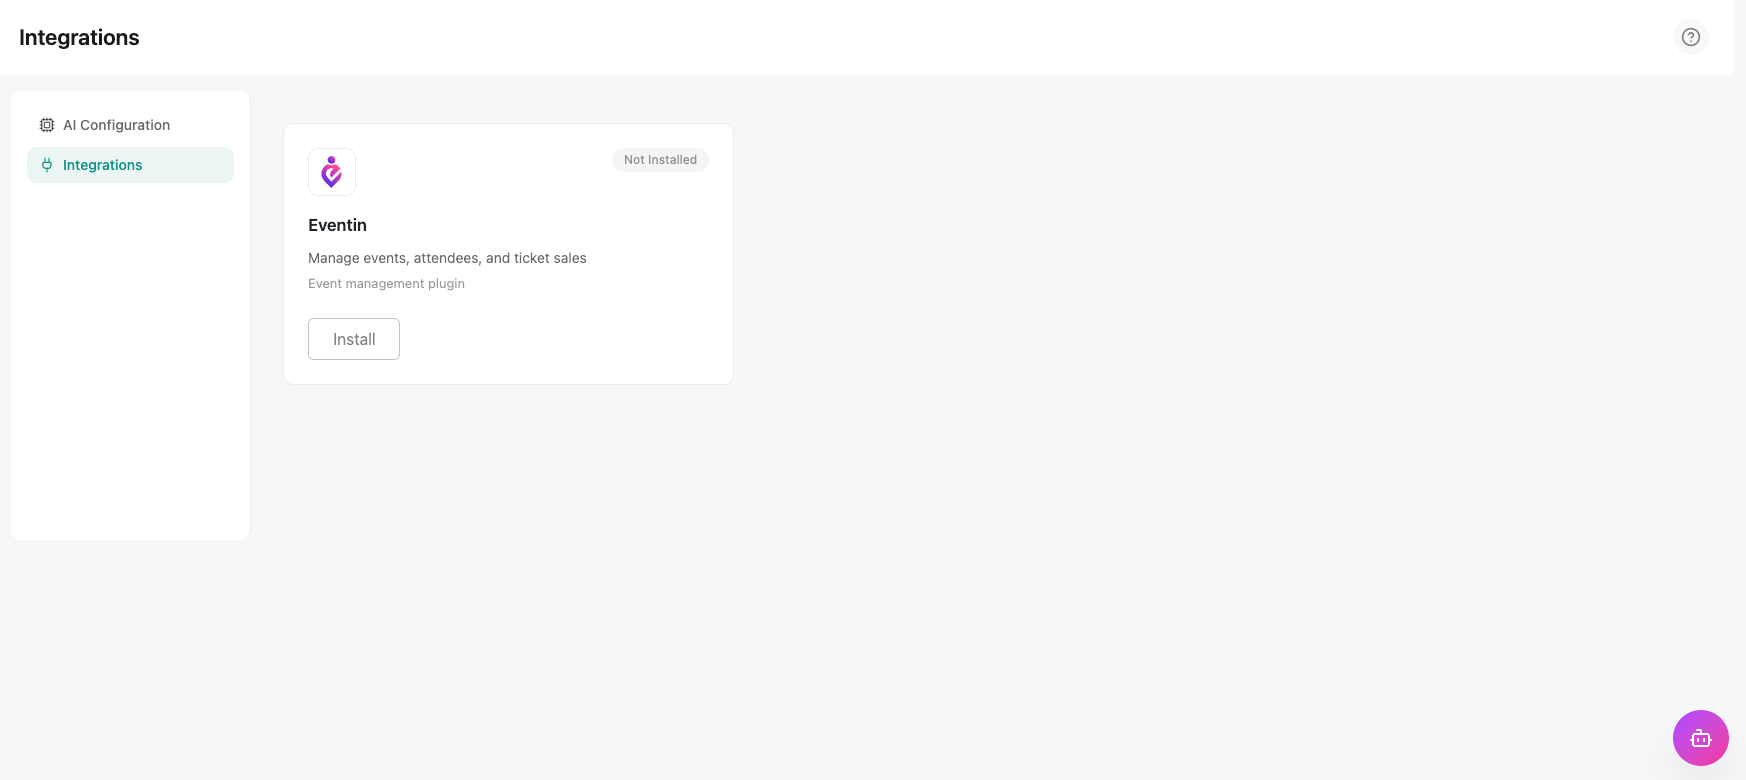
Find the plugin you want to connect. For this guide, locate the Eventin card. Depending on whether Eventin is already on your site, the card will show one of three states:
| Button | What It Means |
| Install | Eventin is not installed on your site. Clicking this will install it directly. |
| Activate | Eventin is installed but not active. Click to activate it. |
| Connect | Eventin is installed and active. You’re ready to integrate! |
| Tip: If Eventin is not yet installed, Aisentic handles the installation for you — no need to leave the Integrations page or search the WordPress plugin directory separately. |
Step 3: Connect the Plugin #
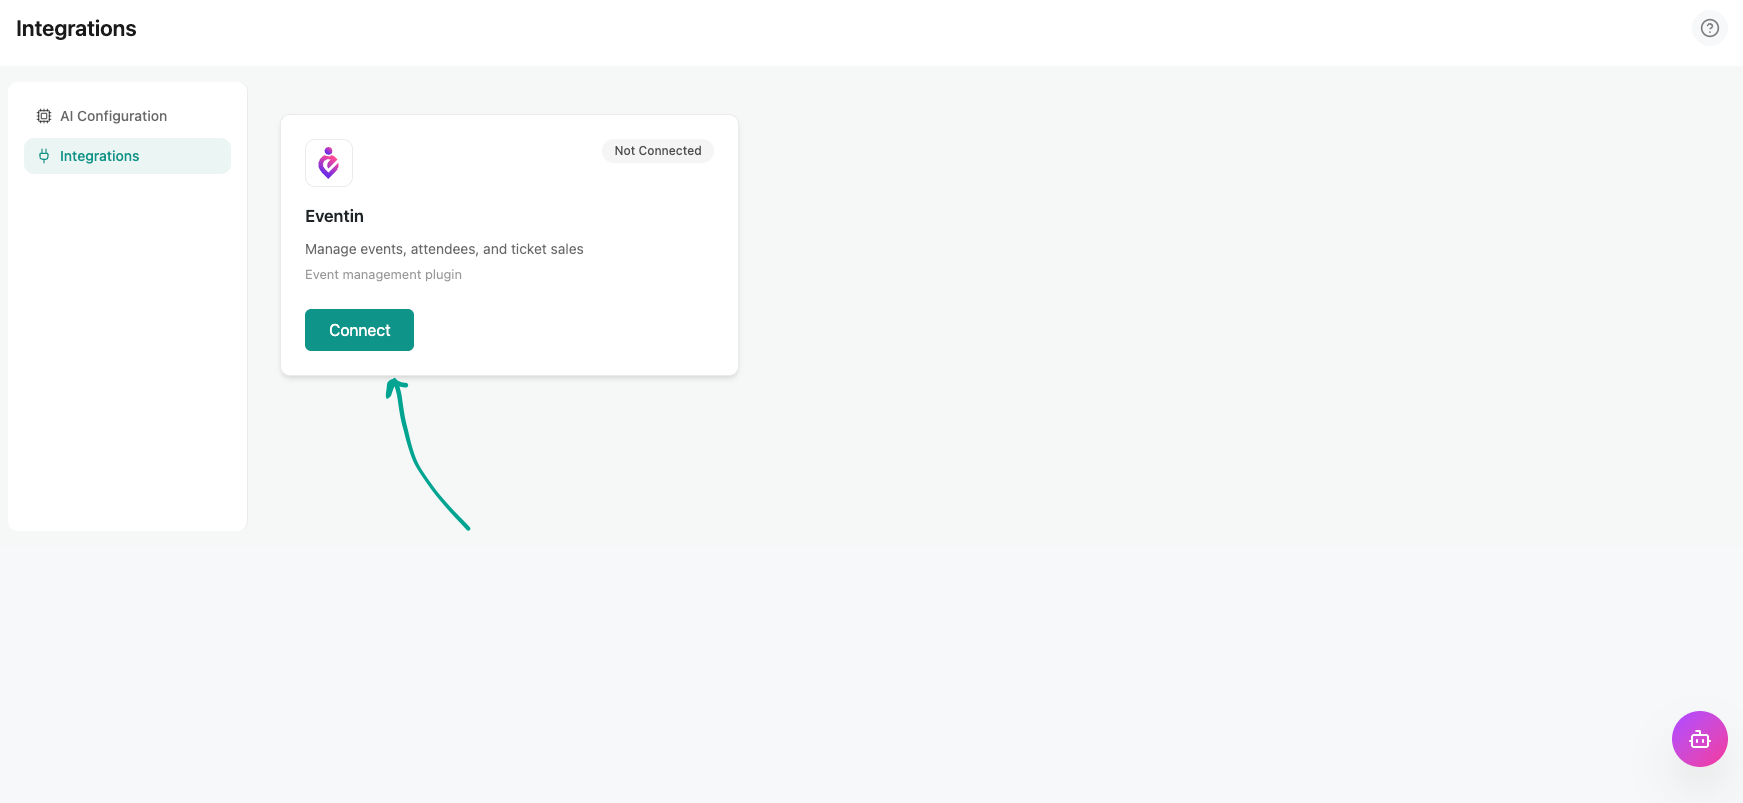
Once the Eventin card shows the Connect button, click it. AISentic will sync with Eventin and register its features with the chatbot.
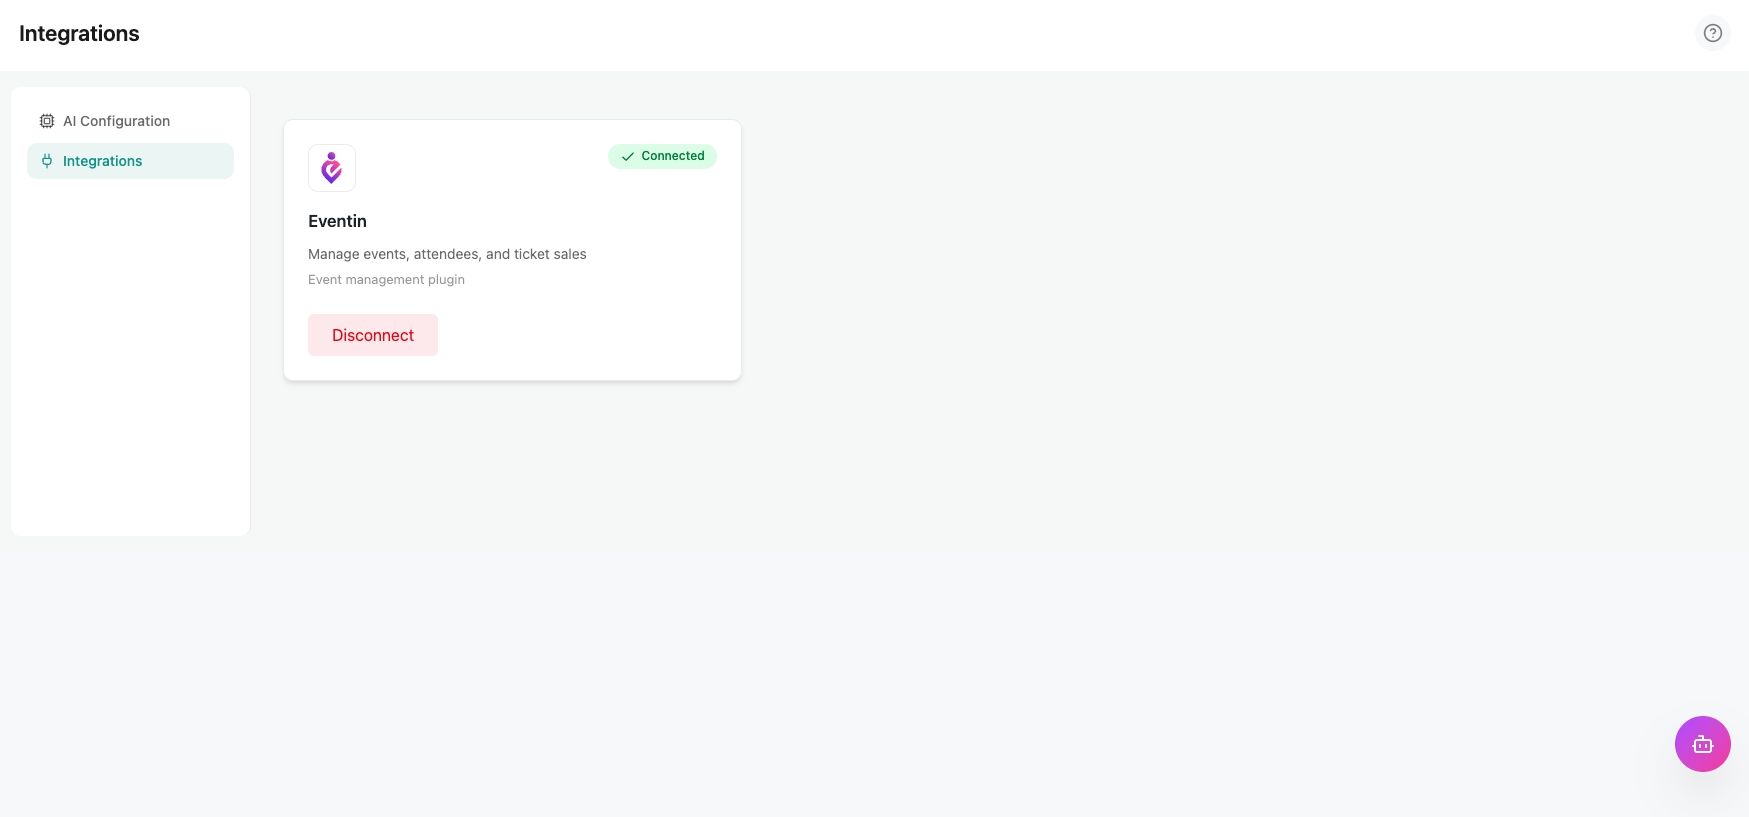
You’ll see a confirmation message once the connection is successful. That’s it — Eventin is now integrated with AISentic.
What You Can Do After Connecting #
With Eventin connected, AISentic’s chatbot now understands your event data. You can open the AISentic chat window and start managing events using natural language. Here are some examples of what you can do:
- Search and browse: “Show me all events this month” or “Find the event called Tech Meetup.”
- Create events: “Create a new event called Annual Workshop on July 15.”
- Update details: “Change the description of the Annual Workshop event.”
- Get help: If the chatbot can’t resolve your request, Click on “Talk to Agnet” button
The chatbot acts as a dedicated assistant for the connected plugin — so the more plugins you connect, the more AISentic can help you with.
Frequently Asked Questions (FAQ) #
| Q1: Can I connect multiple plugins at the same time? A: Yes. You can connect any number of supported plugins from the Integrations tab. Each connected plugin adds its capabilities to the AISentic chatbot. |
| Q2: Will connecting Eventin change my existing events or data? A: No. The integration is read-and-write through the chatbot, but it does not modify any existing data on its own. Changes only happen when you explicitly ask the chatbot to make them. |
| Q3: Do I need any technical knowledge to connect a plugin? A: Not at all. The entire process is done through the AISentic settings page with a single click. No coding or configuration required. |
| Q4: Can I disconnect a plugin after connecting it? A: Yes. Go back to the Integrations tab, find the plugin card, and click Disconnect. The plugin will continue to work normally on its own — only the AISentic chatbot integration is removed. |
Conclusion #
Connecting a plugin to AISentic takes just a few clicks, but it unlocks a completely new way to manage your WordPress site. Instead of navigating through menus and settings, you simply tell the chatbot what you need.
Now that Eventin is connected, you’re ready to put the chatbot to work. Head over to our next guide — How to Manage Eventin Events Using AISentic’s AI Chatbot — to see real examples of creating, updating, and searching events through natural language.


