You can assign categories and tags to your food items to keep products organized into main groups, making it easier for customers to browse similar types of food.
Go to Dashboard → Food Menu → Food Category → Add and Manage Category.
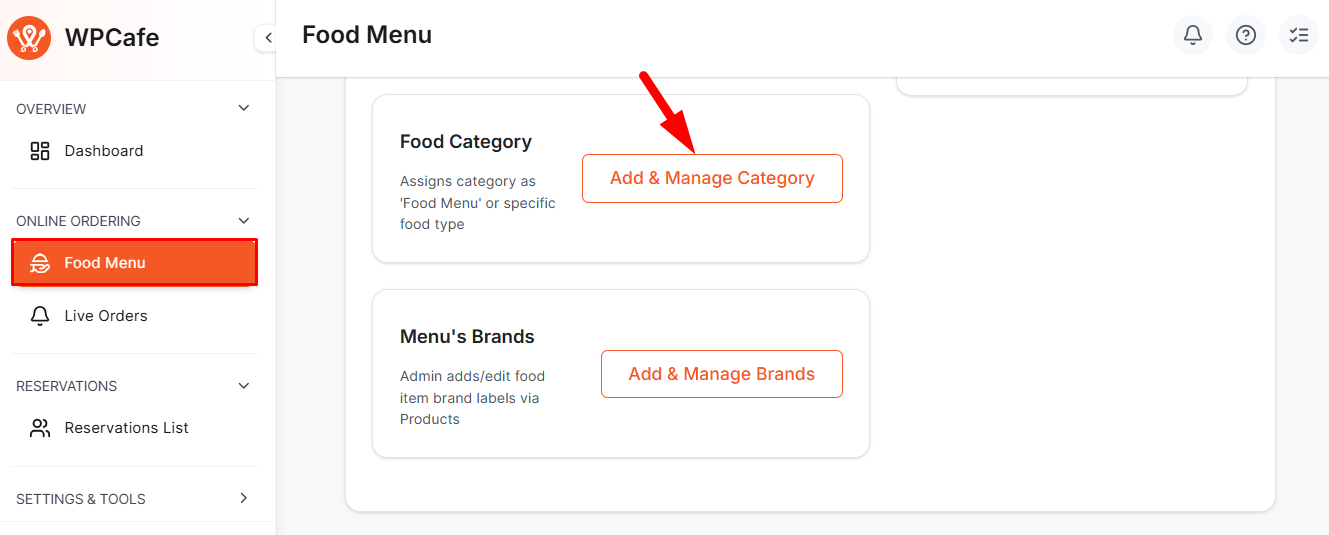
This option opens the WooCommerce Product Categories page. From here, you can add new categories or manage existing ones for your food menu.
Fields for Adding a New Category #
- Name: Enter the category name.
- Parent Category: Select this if it’s a subcategory.
- Description: Optional text, some themes may display it.
- Display Type: Choose how products appear (Default, Products, Subcategories, Both).
- Thumbnail: Upload an image that represents the category.
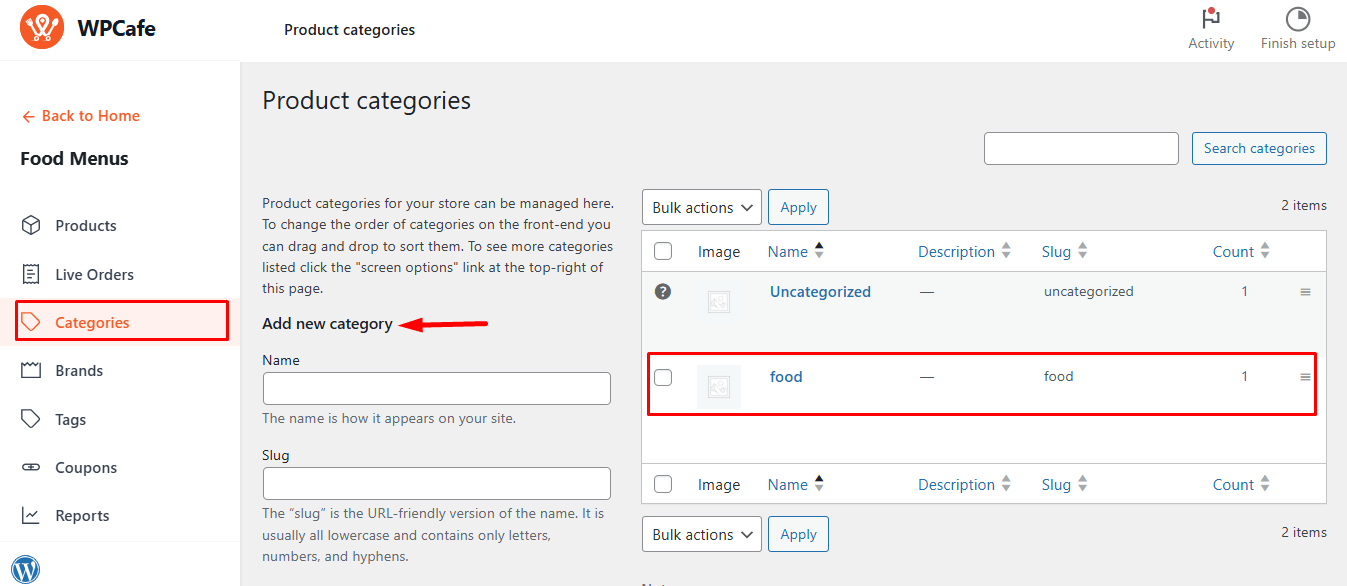
Click Add New Category. The new category will appear in the list, where you can edit, reorder (drag and drop), or assign it to food items.
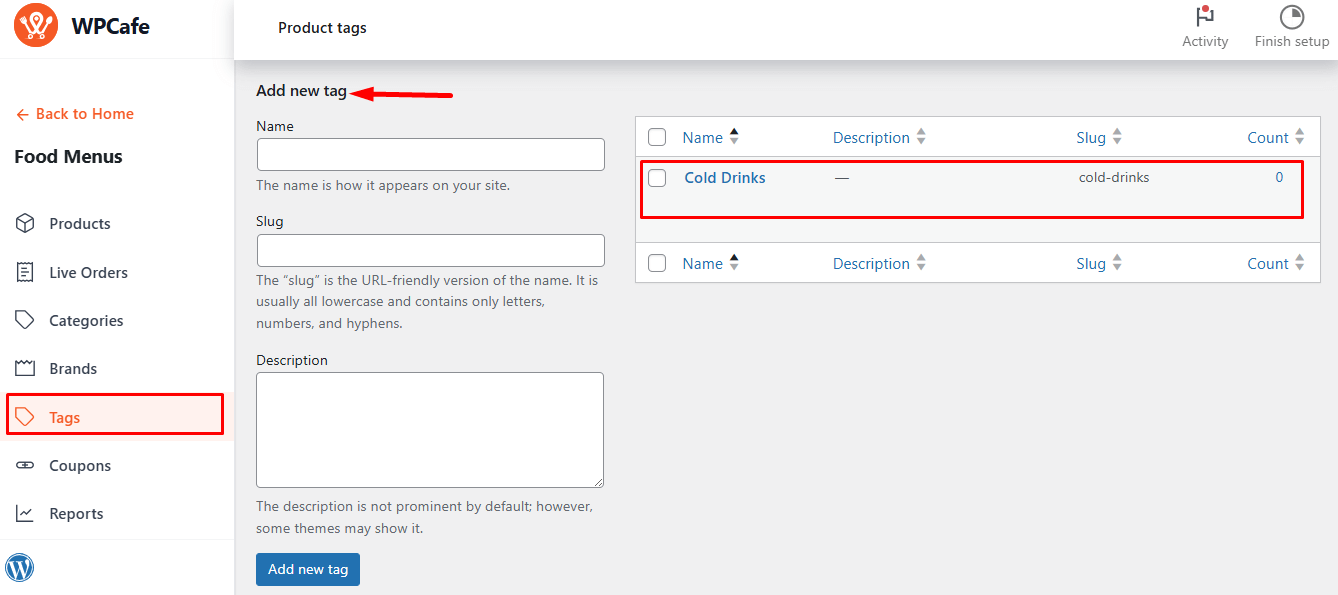
Add Tags #
Navigate to Food Menu → Product Tags → Add & Manage Tags. From there, you can add new tags or manage existing ones for your food menu.
Fields for Adding a New Tag #
- Name: Tag name.
- Description: Optional text, some themes may show it.
Click Add New Tag. It will appear on the right, where you can edit, delete, or assign it to food items.