The Front-end Event Submission feature in Eventin Pro allows website owners to delegate event management tasks to team members or authorized users. Contributors can submit and manage events, speakers, and schedules directly from the front end through their own panel—without needing WordPress dashboard access.
Only specific roles (Administrator, Author, Editor) can use this feature, ensuring secure and controlled access. Authorized users can:
- Submit/manage events, speakers, and schedules.
- Manage tickets and attendees.
- Validate tickets using a front-end scanner.
This feature helps organizations streamline event management by empowering trusted users while keeping the site secure and centrally managed.
Note: Front-end Event Submission is not a multivendor feature. It is intended only for your own authorized users. If you want multivendor functionality—where anyone can register, submit events, and share profits—you should use the Dokan Multivendor integration.
Note: Front-end event submission is a premium feature that requires Eventin Pro. You will not be able to use the feature without Eventin Pro.
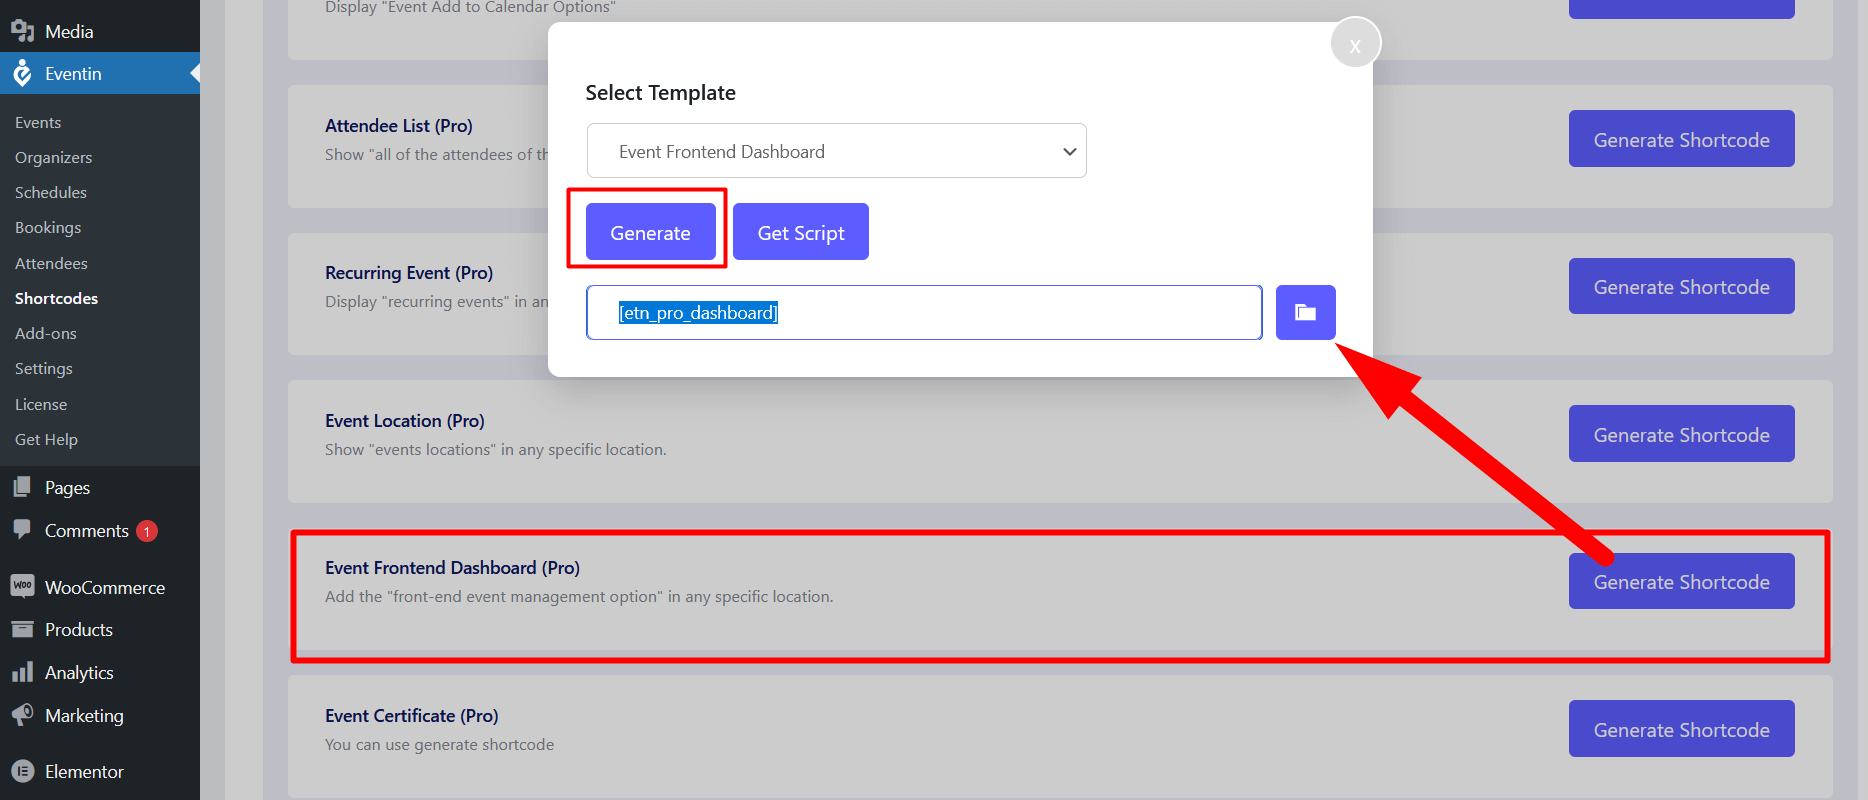
Generate and Use Shortcode #
The first step toward front-end event, speaker, and schedule submission is to generate a shortcode. It’s nothing but simple steps. Go to shortcodes from the Eventin panel and scroll a little. You will see the “Event Frontend Dashboard” Shortcode there. Click on the generate button, and a pop-up will be shown on the screen. Copy the shortcode and paste it into the page you need. Save and update the page.
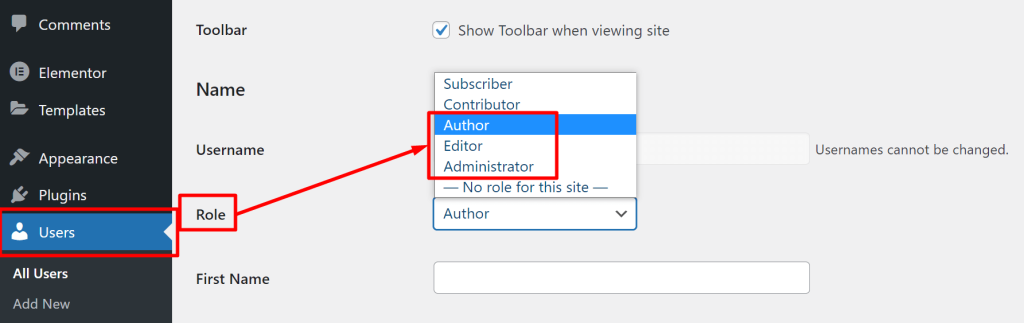
Update User’s Role #
Website owners need to update the user roles to allow users to submit their events. At this moment, only users with administrator, author, and editor roles are allowed to submit the events. So, the admin needs to define all the user roles of the users.
Once you are done with the given steps, your users are ready to submit the events on your website from the front end.
Note: Users (whom you want to allow to submit the event) need to log in with the correct credentials and move the event submission page (the page where the admin added the shortcode). Then users will be able to submit the events.
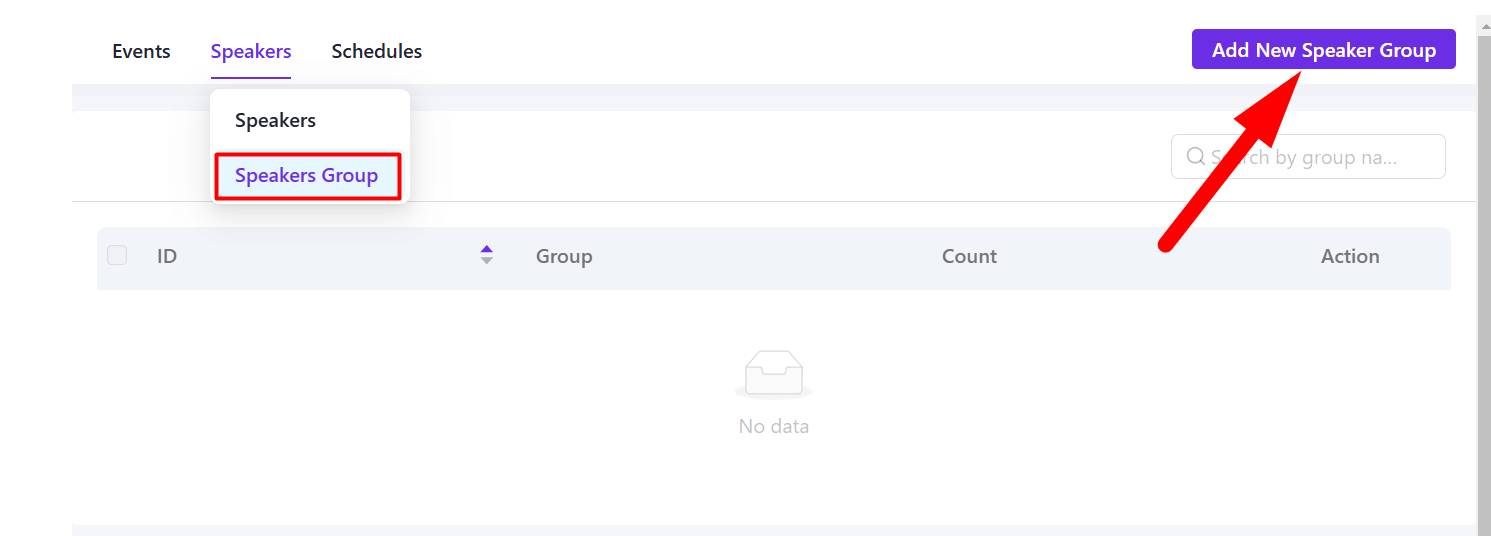
Submit Speaker from Front End #
To add a speaker from the front end, go to the Speakers tab. Now, you will see the speaker and speaker group menu. From here, you can add the speaker group first.
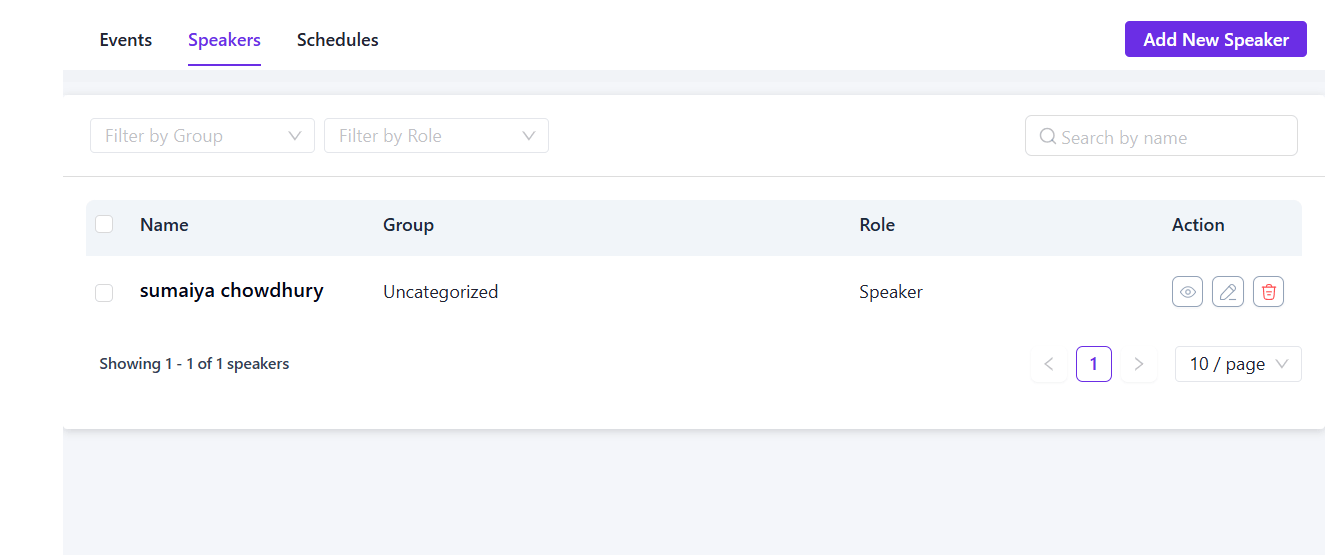
Then, add the speaker to click on the “Add New Speaker” button and assign the speaker group to your speaker.
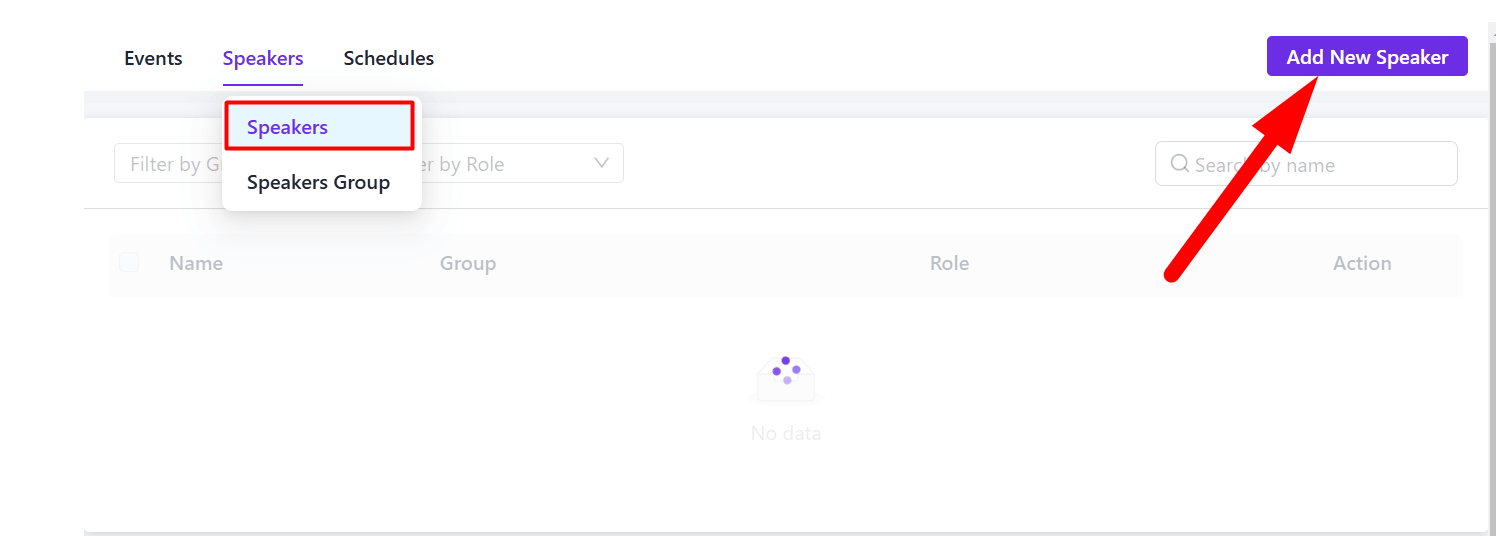
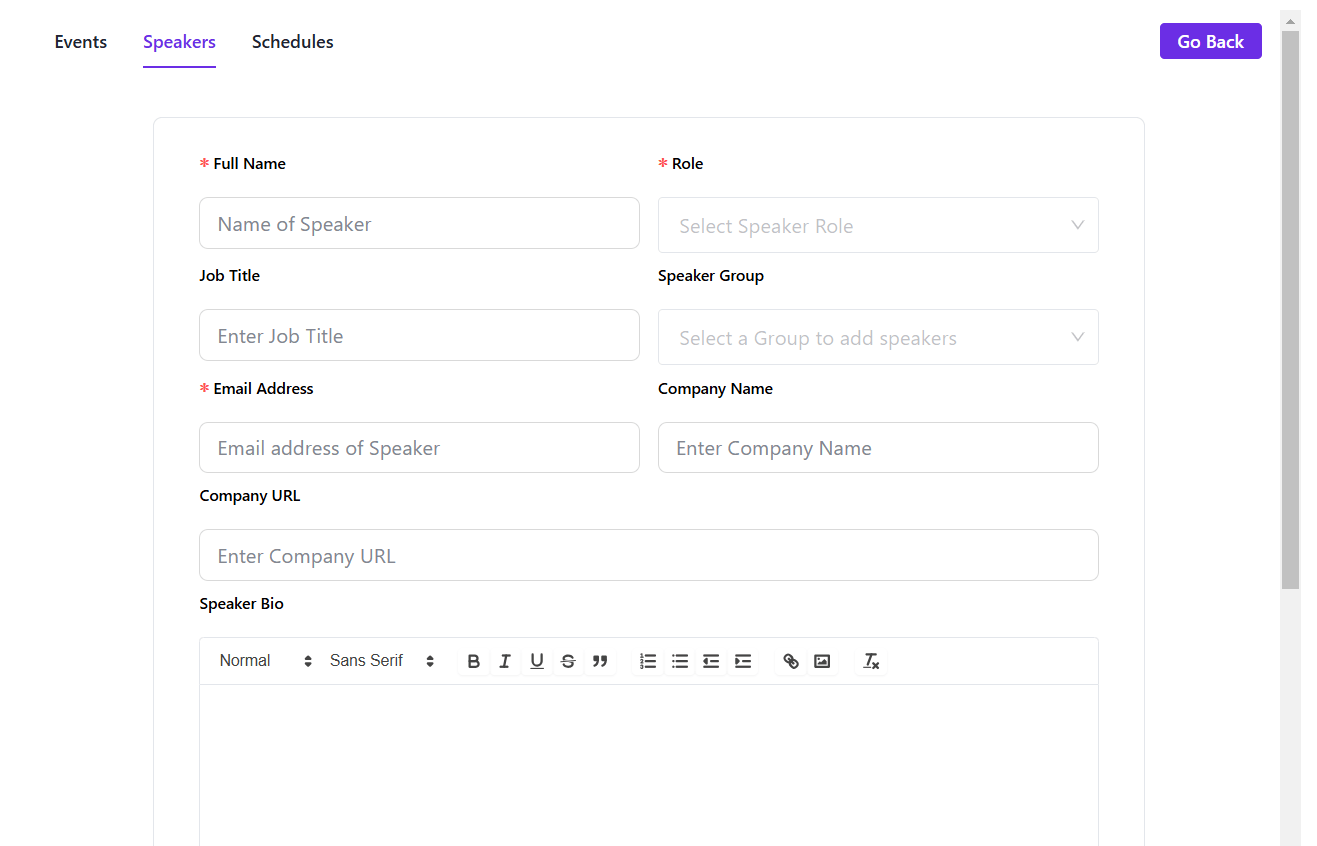
After clicking the button, insert the speaker details like Speaker name, designation, email, speaker logo, social information, summary, and category, and click on the Create Speaker button at the bottom.
Note: Here, the Name, Role, and Email Address * fields are required. Without filling in these fields, you can’t submit the speaker from the front end.
The Speaker is stored in the front end. You can also edit, view, and delete the speaker if you want.
Submit Schedule from Front End #
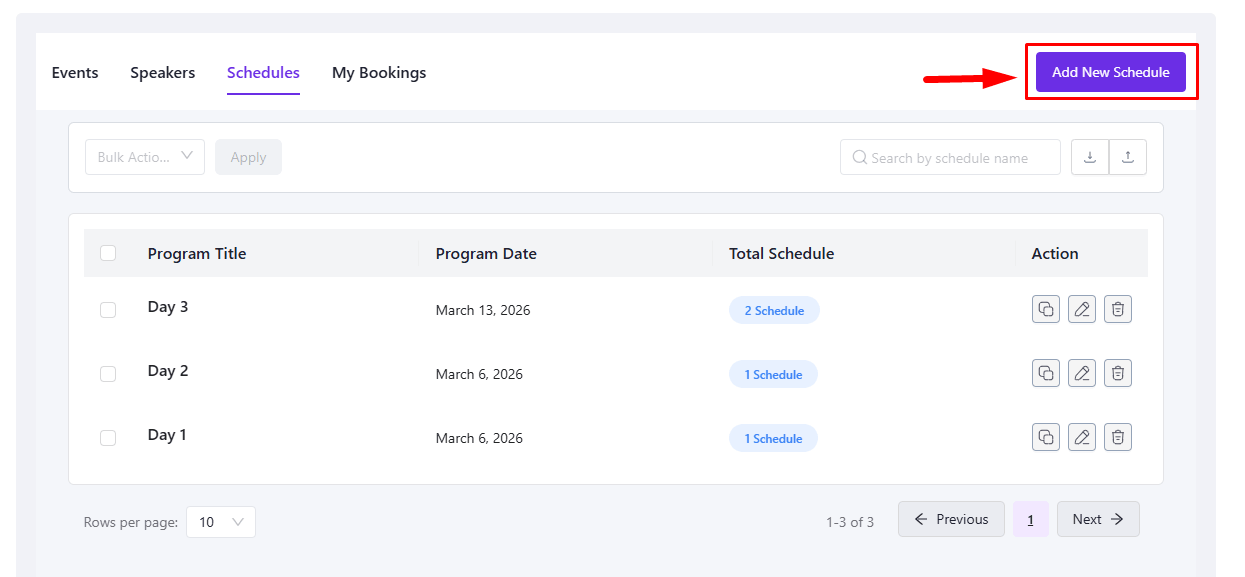
To add the event Schedule from the front end, you have to go to the Schedules tab. Now, click on the “Add New Schedule” button in order to get started and submit the schedule after inserting the information.
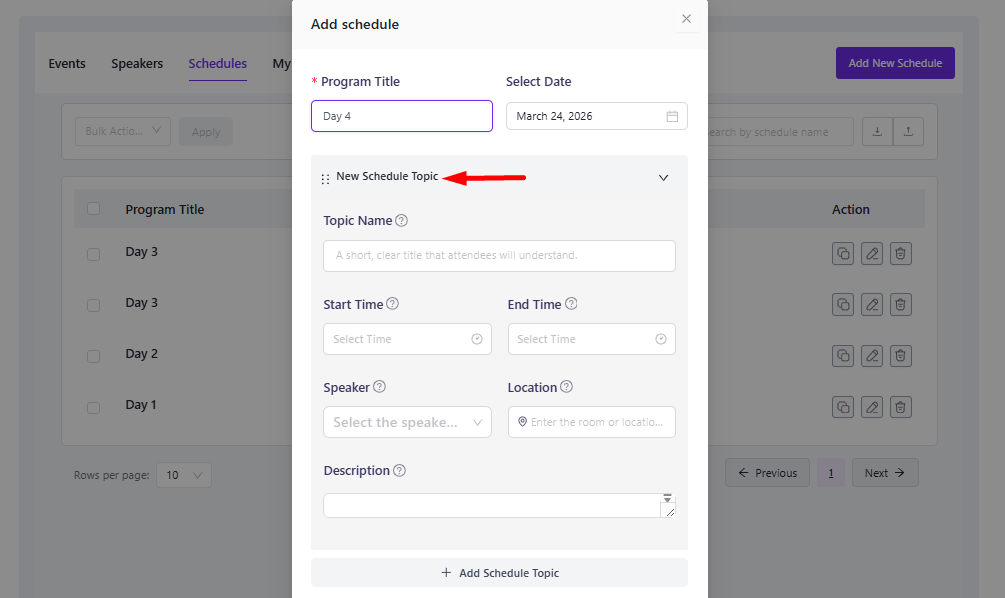
Now enter the schedule title, date, and other necessary information. If needed, you can add multiple schedule topics. After filling in the required details, click the Add Schedule button. Your schedule will be created successfully.
Submit Events from Front End #
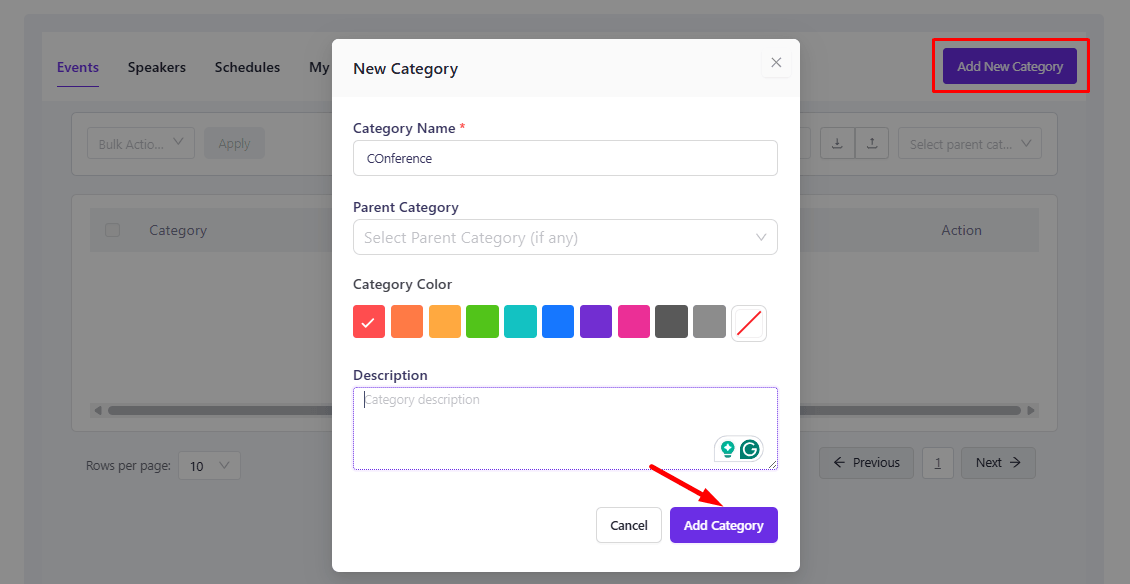
Before submission of events, you can create event categories and tags.

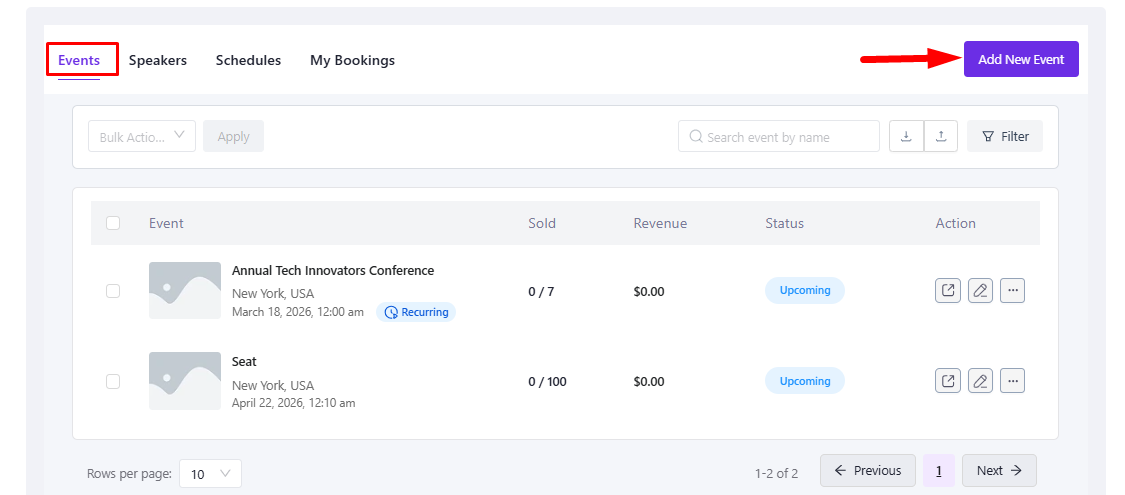
Add New Event #
Now, add the event from the front end. You have to go to the Events tab. Now, click on the “Add New Event” button to get started.
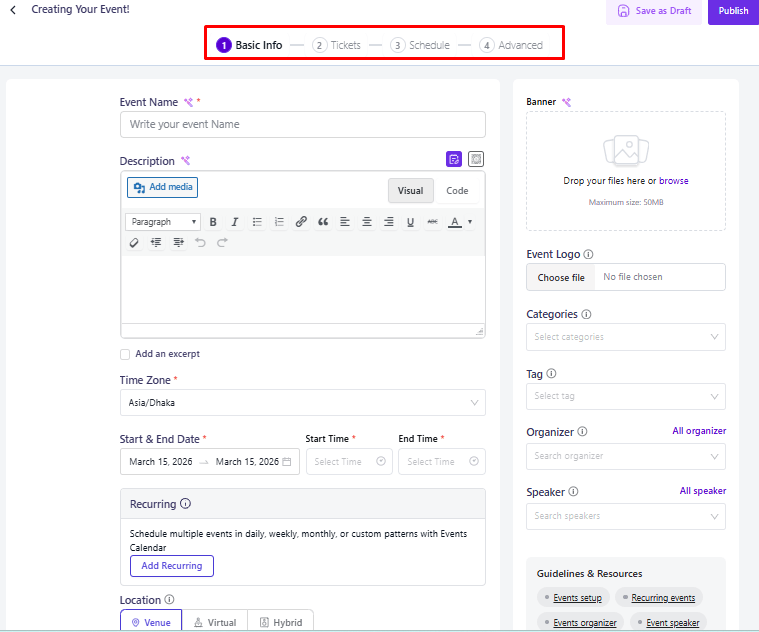
- Step 1: Basic Info
Add the main details of your event, including the event title, description, date & time, event type (venue, virtual, or hybrid), and media such as banner or logo. You can also assign organizers, speakers, categories, and tags.
- Step 2: Tickets
Create tickets for your event. You can add free or paid tickets, set the ticket price, attendee capacity, sales start and end time, and purchase limits.
- Step 3: Schedule
Add the event agenda or program schedule. Enter the schedule title, date, time, speaker, and other necessary information. You can add multiple schedule topics if required.
- Step 4: Advanced
Configure additional event settings such as templates, custom fields, event FAQs, design options, social links, and third-party integrations.
Follow the documentation below to know how to add an event with detailed information in Eventin.
After adding all the information, click Save and Publish to publish the event. On this page, you can view, preview, edit, and update all events in Eventin.
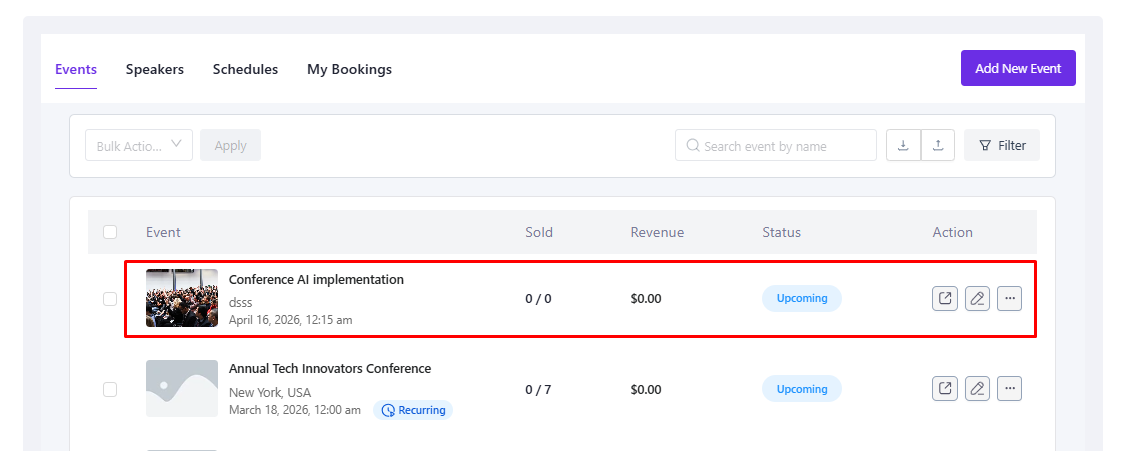
🌟 Front-end view of this event –

The main list of events will also include any submitted events from here(front-end). The website owner can check them from the Eventin admin panel.
FAQ #
Q1: Can users manage events without accessing the WordPress dashboard?
Yes, Eventin Pro allows authorized users to submit and manage events, speakers, and schedules from the front end.
Q2: Which user roles can submit events?
Only Administrators, Authors, and Editors can submit events via the front end.
Q3: What’s the difference between Front-end Submission and Multivendor?
Front-end Submission is for your own team, while Multivendor (Dokan) allows any vendor to register, submit events, and share profits.
Conclusion #
Front-end Event Submission in Eventin Pro lets authorized users add and manage events, speakers, and schedules directly from the website. By assigning proper roles and using shortcodes, site owners can securely delegate tasks, streamline workflows, and reduce administrative burden. Although not a multivendor solution, it’s ideal for internal collaboration.


