Multivendor event marketplace is an on-premise marketplace platform for events. It allows individuals or vendors to manage sales functionality in their very own micro event services with all the necessary business features.
Eventin Multivendor Marketplace Features: #
- Individuals can create, edit, and update events.
- Individuals can sell single and multi-tire event tickets.
- An event store for managing individual events.
- Share commission and profits between the event marketplace owner and vendors.
For more information, please check out this 👉 blog post.
You can create a multivendor event marketplace with Eventin. In order to develop a multivendor event marketplace, you will need to take the following steps.
Plugin Installation #
Here is the list of pre-requisite systems. Please make sure, you have met the requirements before moving to the next steps.
Prerequisites #
- WordPress Version: 5.2 or, higher
- Eventin Plugin
- PHP Version: 5.6 or higher
- PHP memory_limit = 512M
- max_execution_time = 600
Installing and Activating Required Plugins #
You need to install 4 plugins to get the complete set of functionality for this addon. From your dashboard, install and activate the following plugins:
- Eventin(Free)
- Eventin(Pro)
- WooCommerce
- Dokan(Lite)
Important: Without Eventin Pro, you will not see the “Event” menu in the vendor’s dashboard.
After completing the installation and activation, you have to save the permalink. Go to your dashboard, and click on settings. Then open permalink settings, select “post name,” and save the changes.
You can check out the documentation for these plugins to learn how to install them.
Add Vendors in Dokan #
With Dokan, you can add multiple vendors to your page. Later, vendors can submit the events as products on your website. From the Dokan dashboard, you can create vendors. Go to Dokan -> Vendors -> Add the necessary information, then click Create Vendor.

Check out Dokan Documentation to learn more about its features.
WooCommerce Settings #
Get WooCommerce payment gateways for your site. Go to WooCommerce -> Settings -> Payment and enable your preferred payment method. Check out the WooCommerce Documentation to learn more about its features.
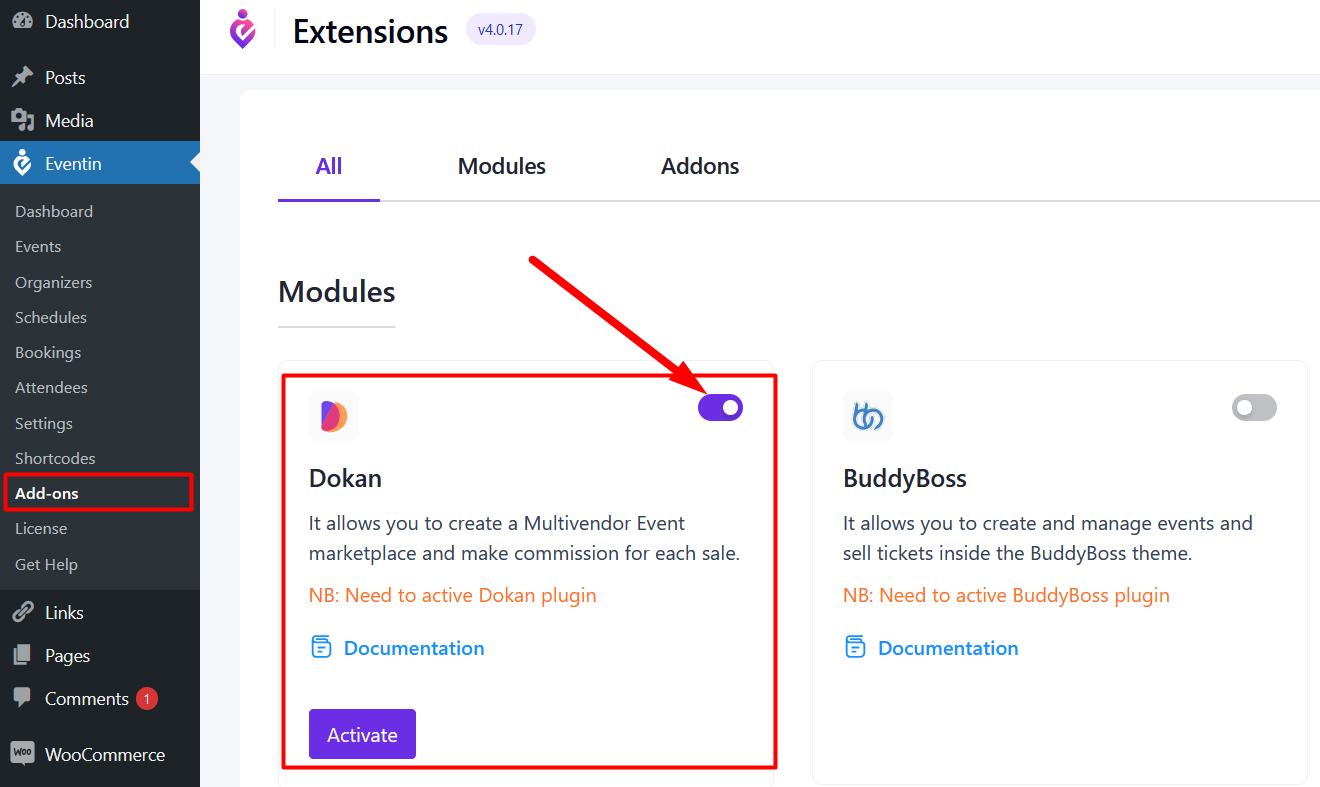
Dokan Addon Enable #
To get the “Event” menu from the Vendor dashboard, go to the Eventin -> Add-ons and enable the “Dokan” module.
Vendor Dashboard #
Vendors can access the dashboard by logging in with their vendor account. The Eventin setting option is available there.
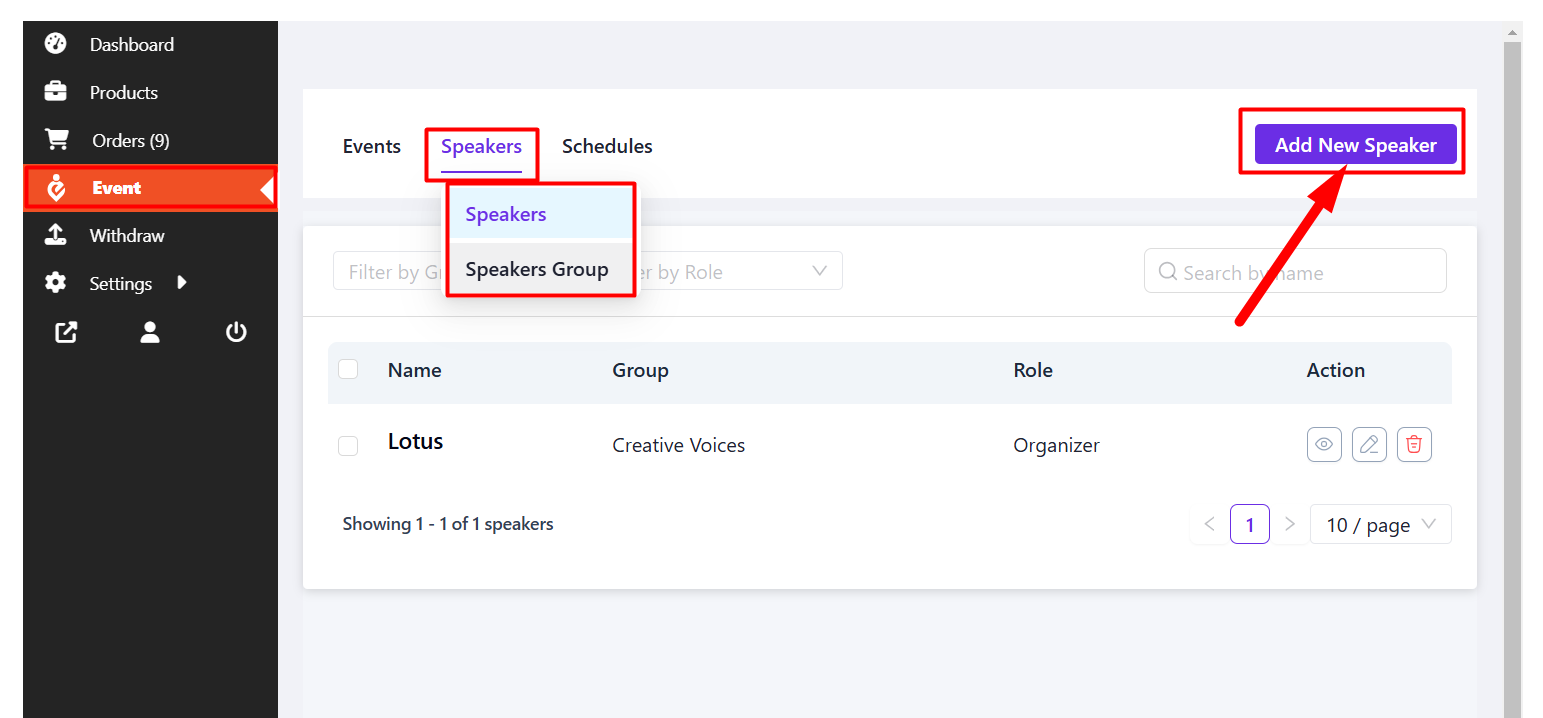
Add Speakers #
For adding a speaker from the front end, go to the Speakers tab. Now, you will see the speaker and speaker group menu. Form here you can add the speaker group first.
Then add the speaker and assign the speaker group on speaker you have created.
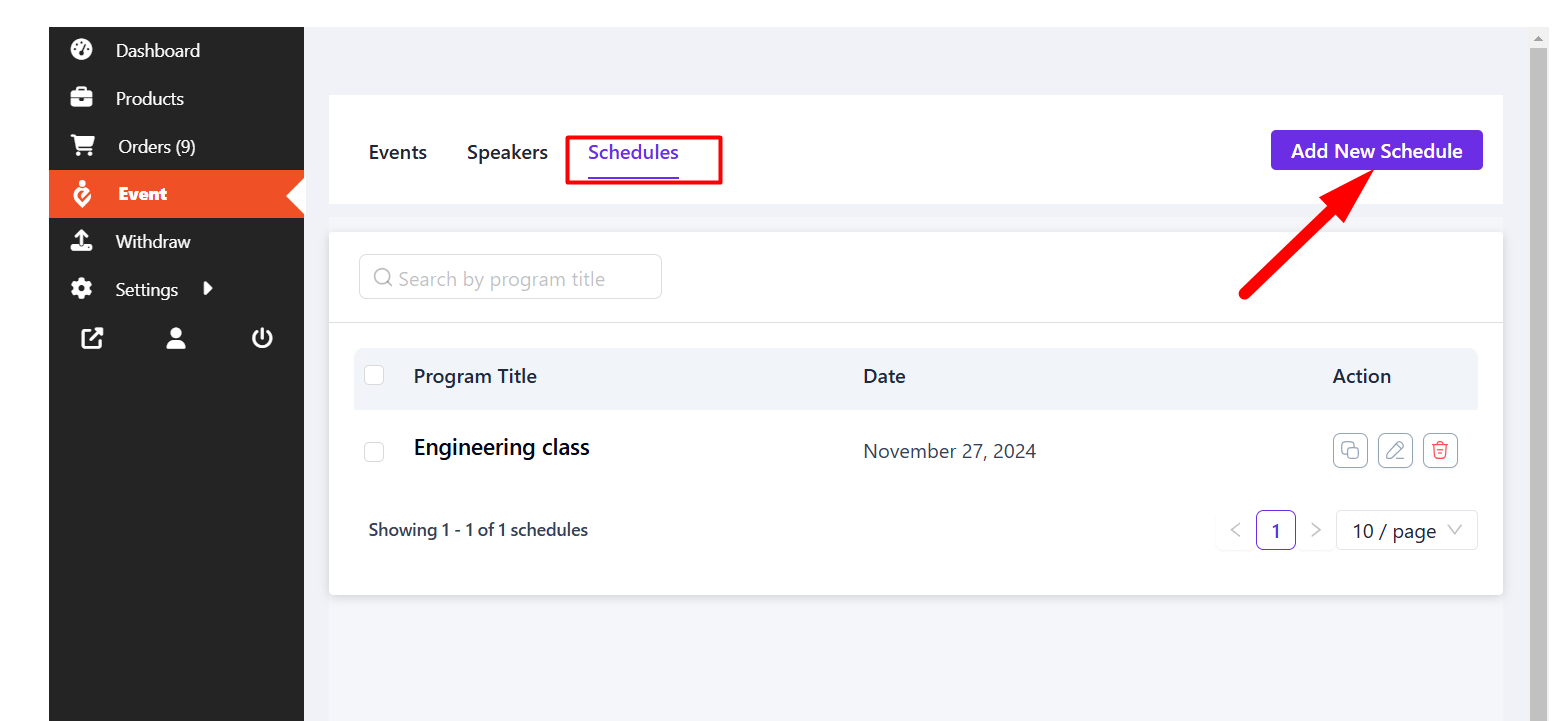
Add Schedules #
To add the event Schedule from the front end, you have to go to the Schedule tab. Now, click on the “Add New Scdule” button in order to get started and submit schedule after inserting the information.
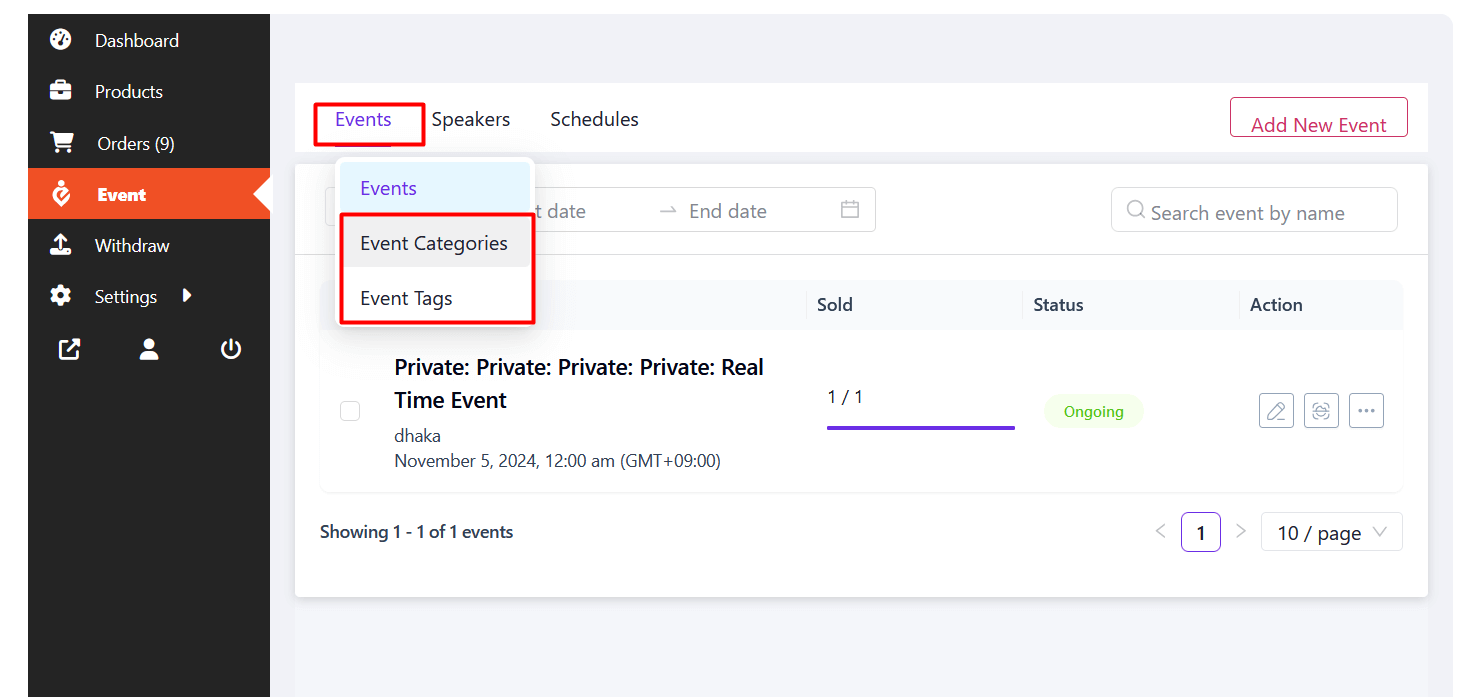
Add Events #
Before adding event, you can add the event tags and categories from event menu.
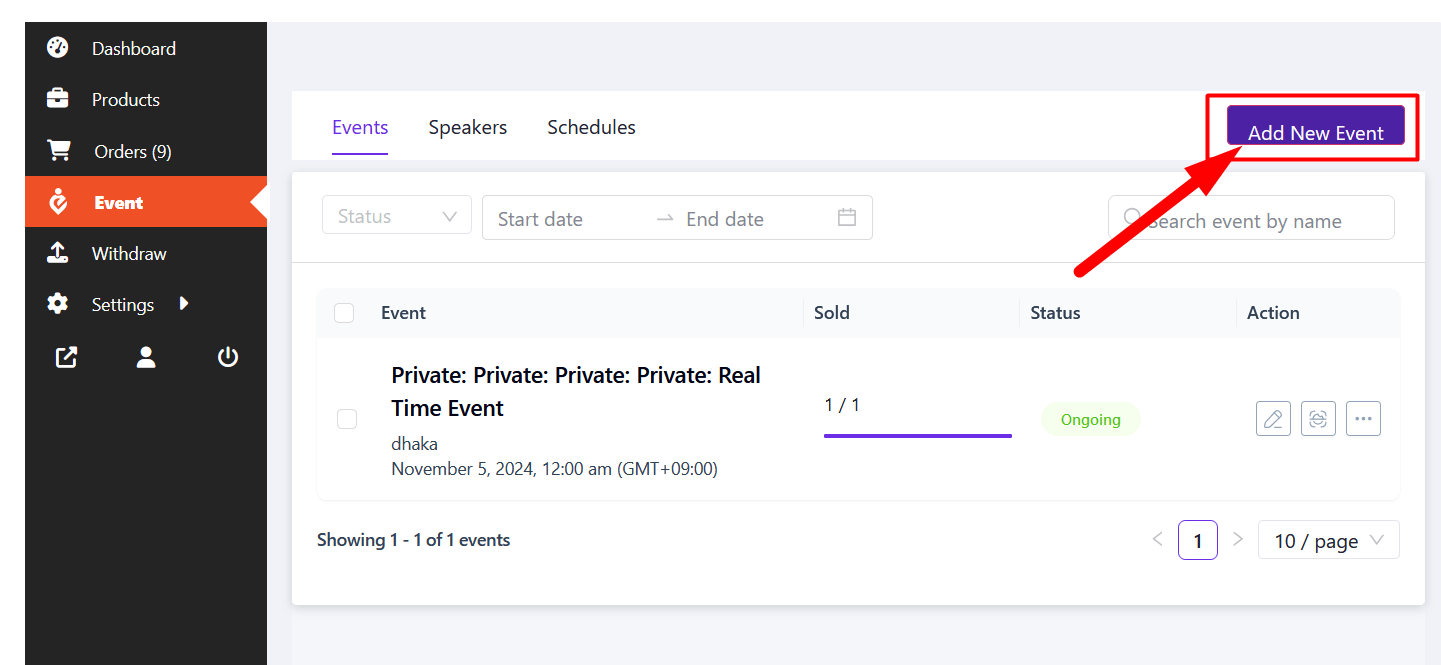
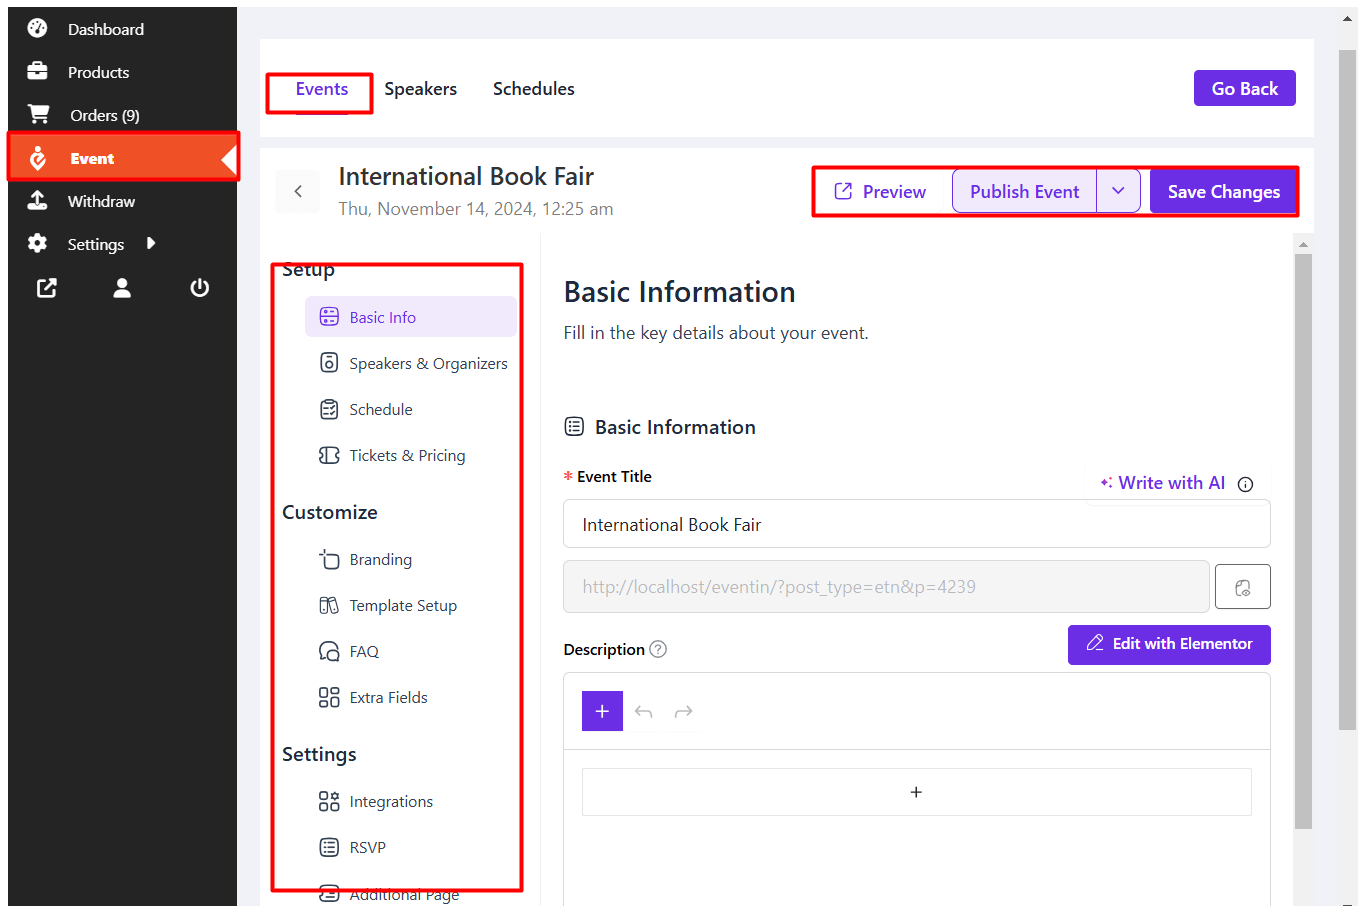
Vendors can add new events which will work as Event submissions for the marketplace owner. To add an event, click on the “Add New Event” button.
These events will show up for individual vendors’ stores. Once you click the button, you will need to add event-related Basic inofrmation. After adding, click on Create button. information.
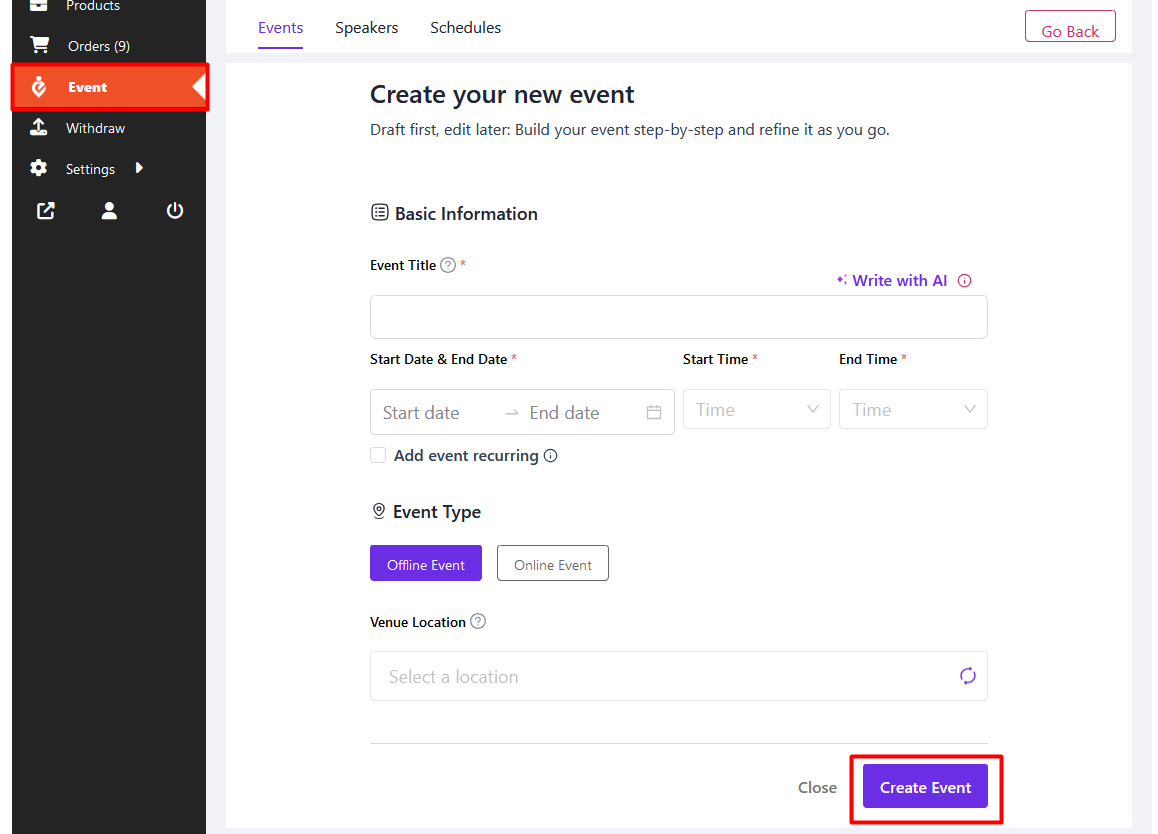
Follow the Documentation to add all the events informations for your event.
After adding all information, click on the Save and Publish button to publish your event. You can also preview the event using the Preview button.
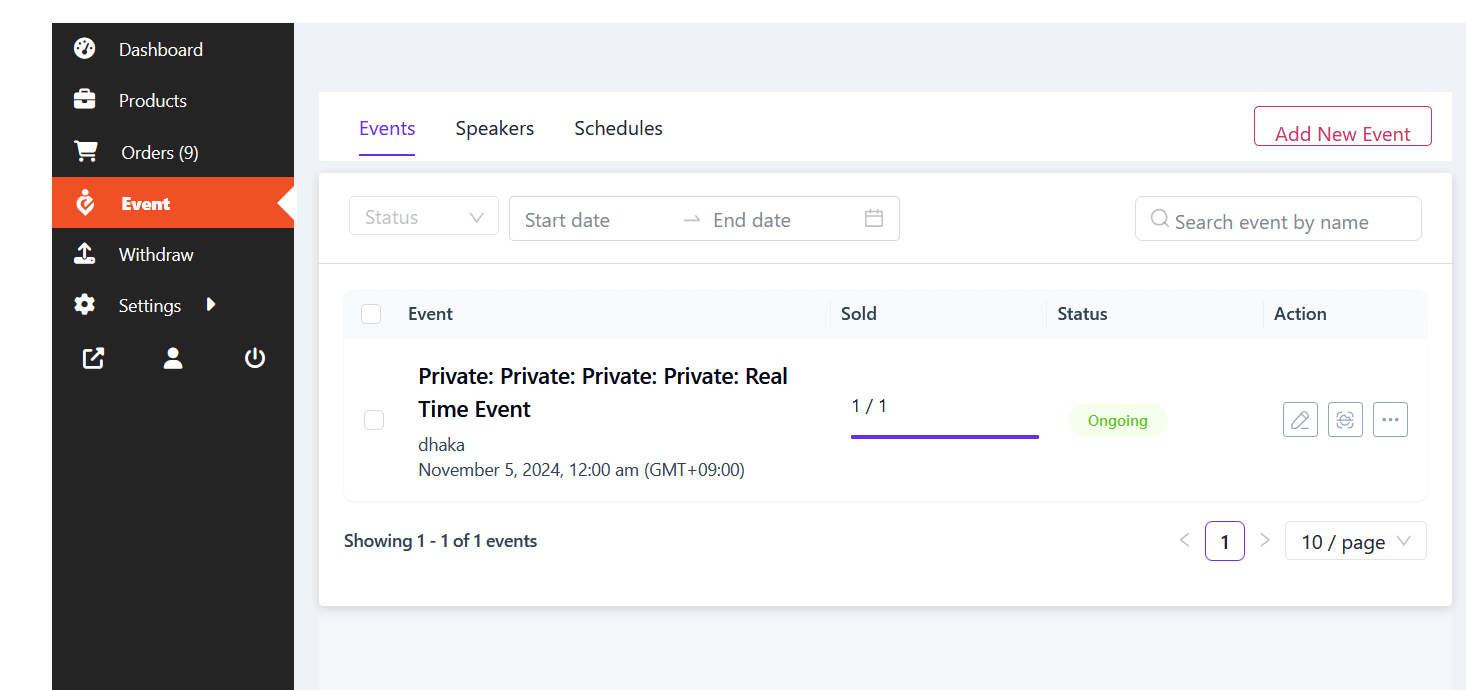
After submitting the form, you can see an event created in the event menu.
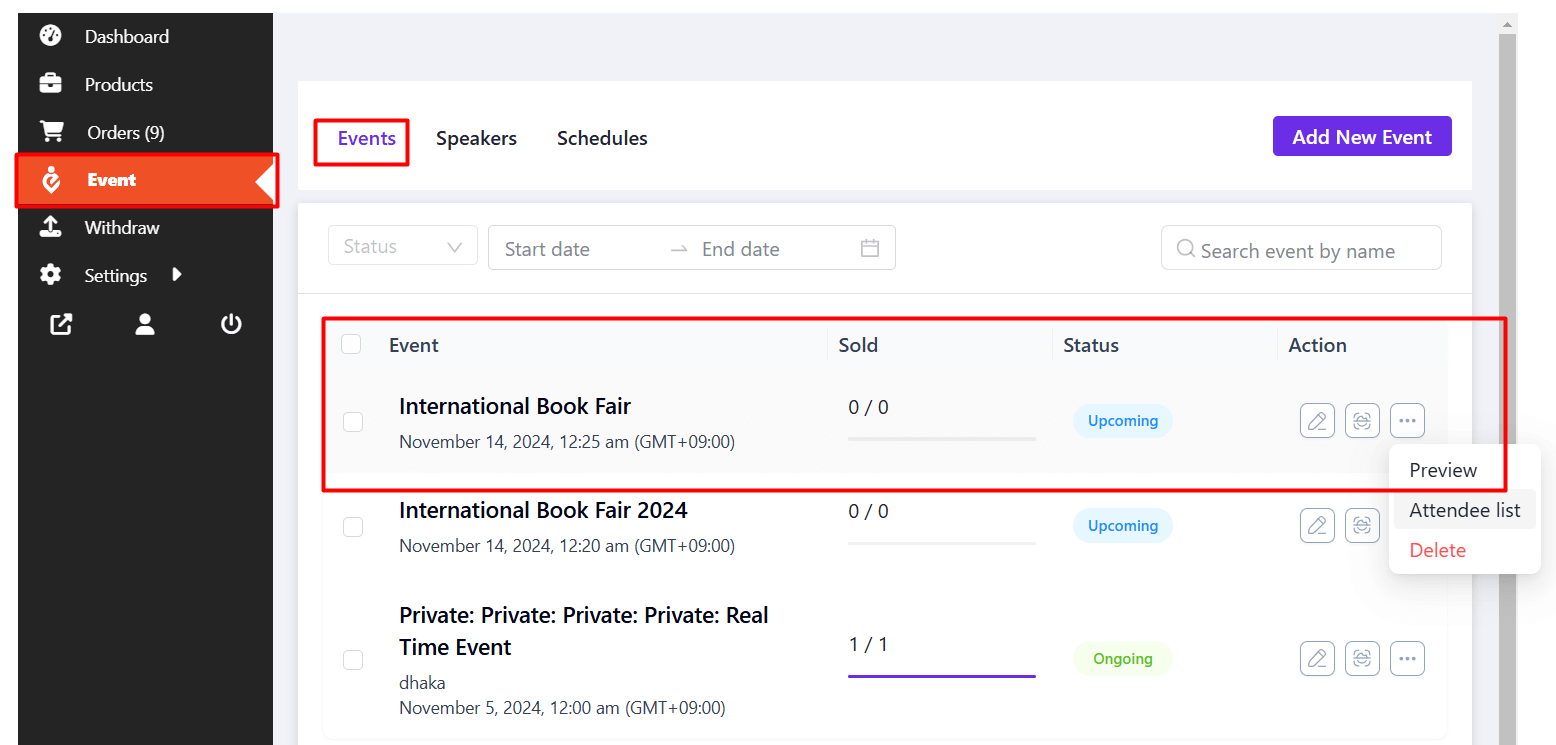
Now you can visit the event, and all the customers or visitors can see the single event. As a vendor, you can also edit, update, or delete existing events. Your event will also show up on the main event showcasing page.
Submitted events by individuals will be added to the main event list. Admins/marketplace owners can access it from their Eventin dashboard.
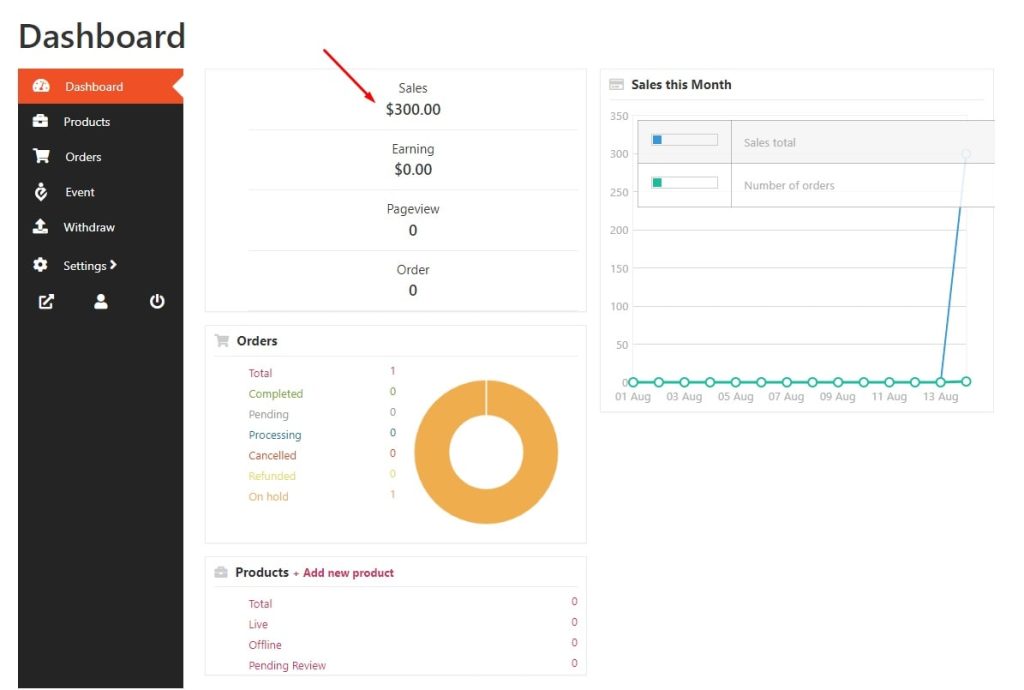
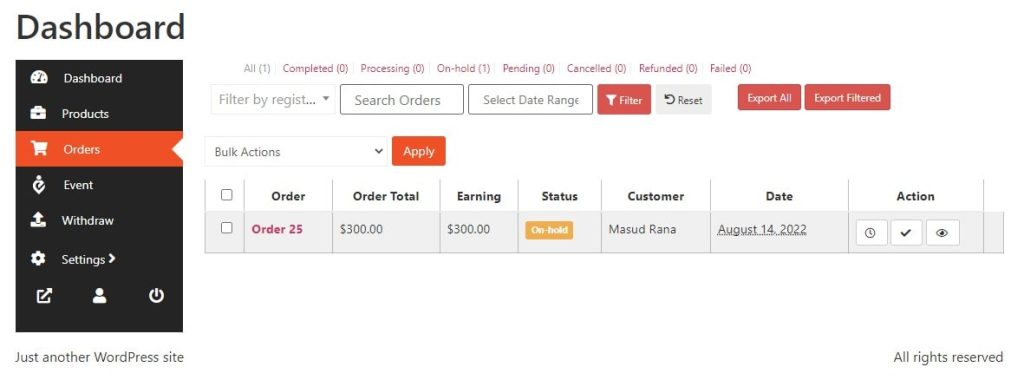
Vendor Dashboard Sales Chart: #
From here, the vendor will be able to check all of his financial and order history.
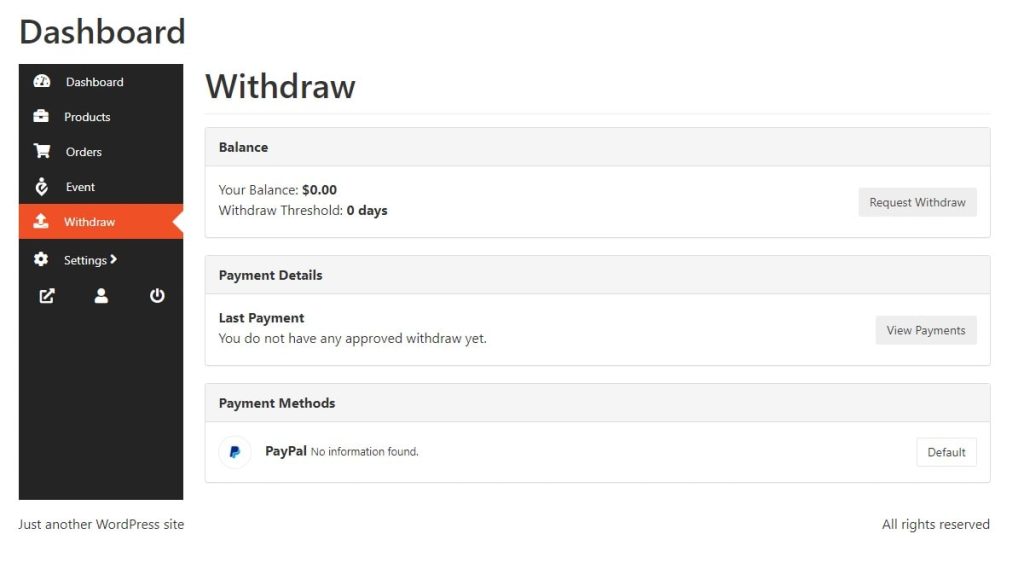
Vendor Withdrawal Information. #
From here vendors will be able to check their withdrawal information.
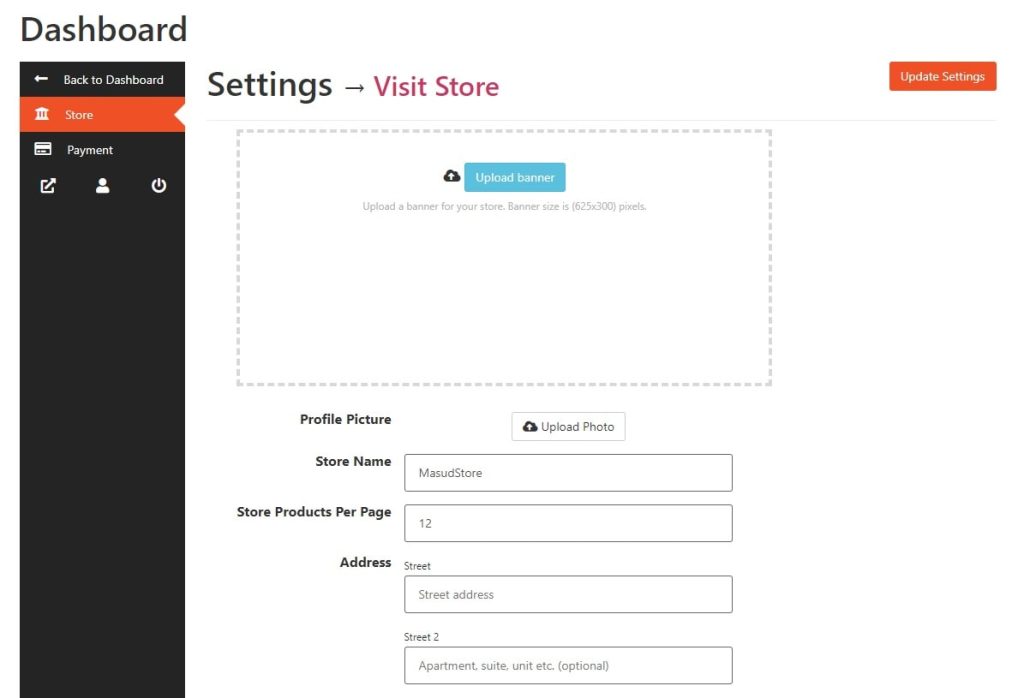
Edit Vendor Profile Settings #
Click on Settings > to access the vendor settings page.
From here vendors will be able to upload Profile pictures, Banner images, Store Names, addresses, etc.