Sharing event location is one of the most compulsory elements in event details of an event website. It offers clarity, increases engagement, and lets audiences join your events offline without any struggles.
In Eventin plugin, there are two options to add event location. You can add and view event locations through Event locations on Google Maps or manually.
Note: If you want to use existing locations and Google Maps features, you need to use Eventin Pro version.
How to Get Google MAP API key #
- Go to the Google Cloud Console link.
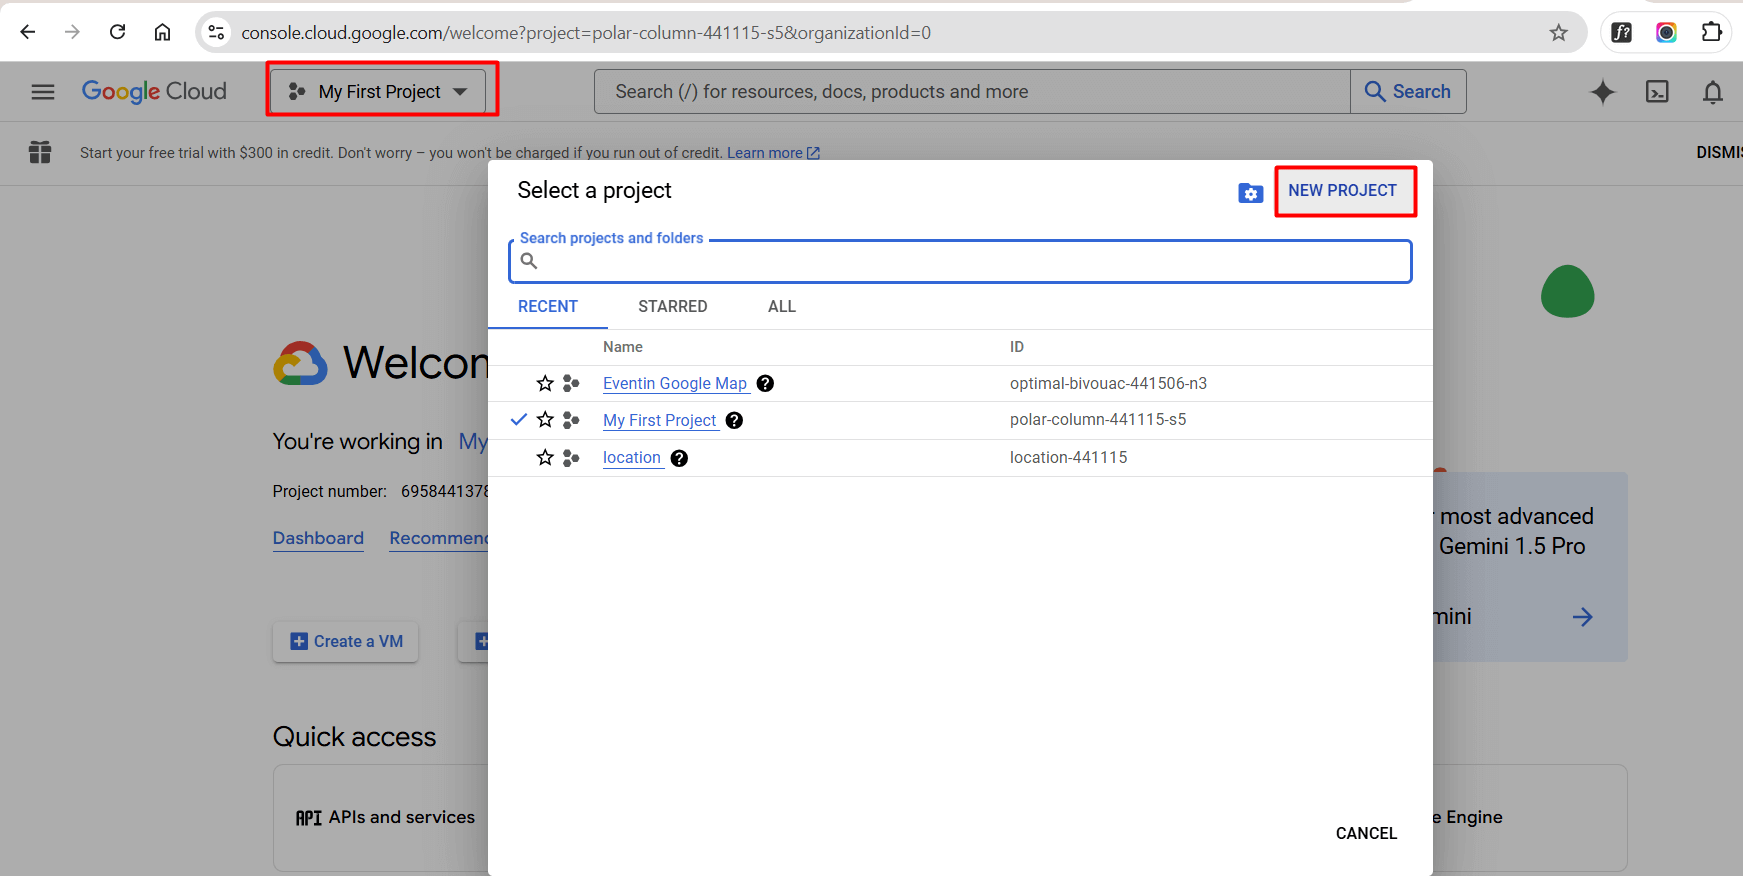
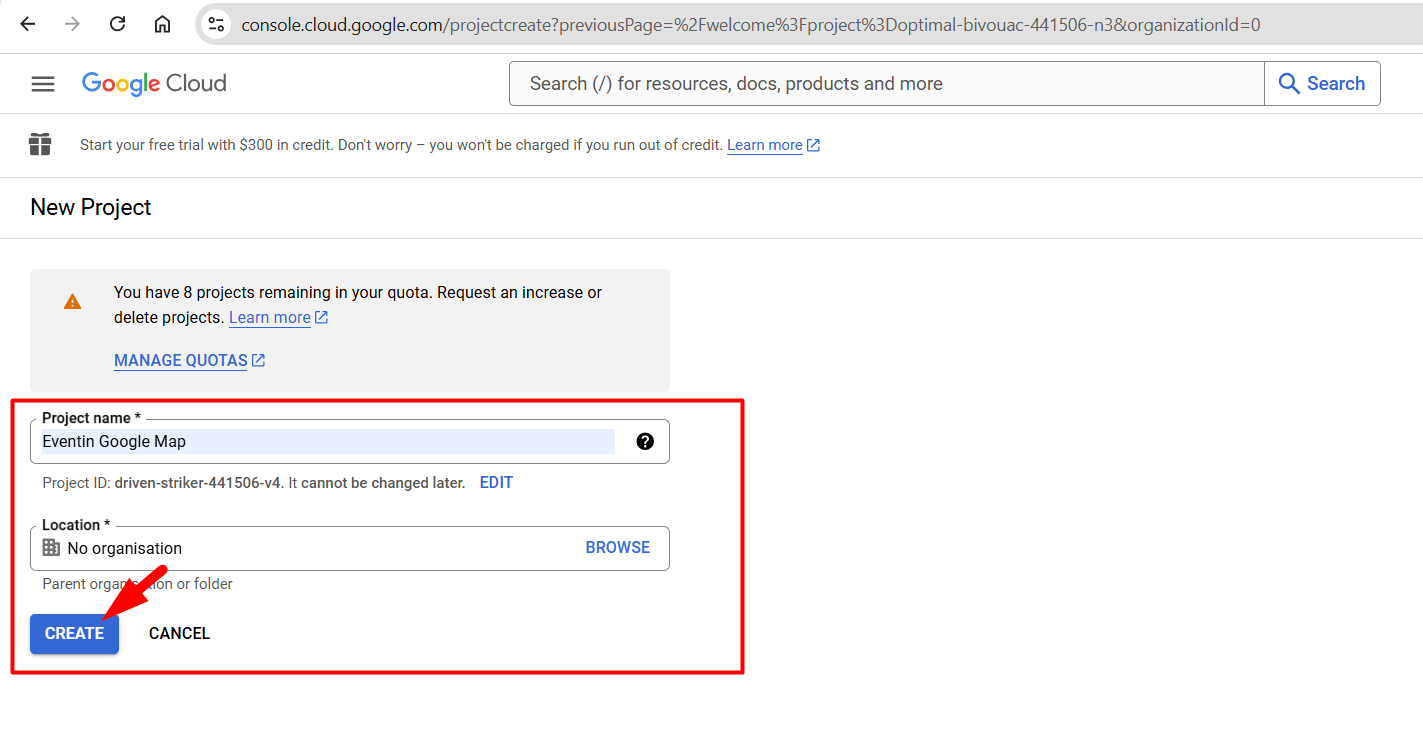
- Click on the project dropdown in the top-left corner.Click on New Project and fill in the project details.
- Click Create to set up the project.
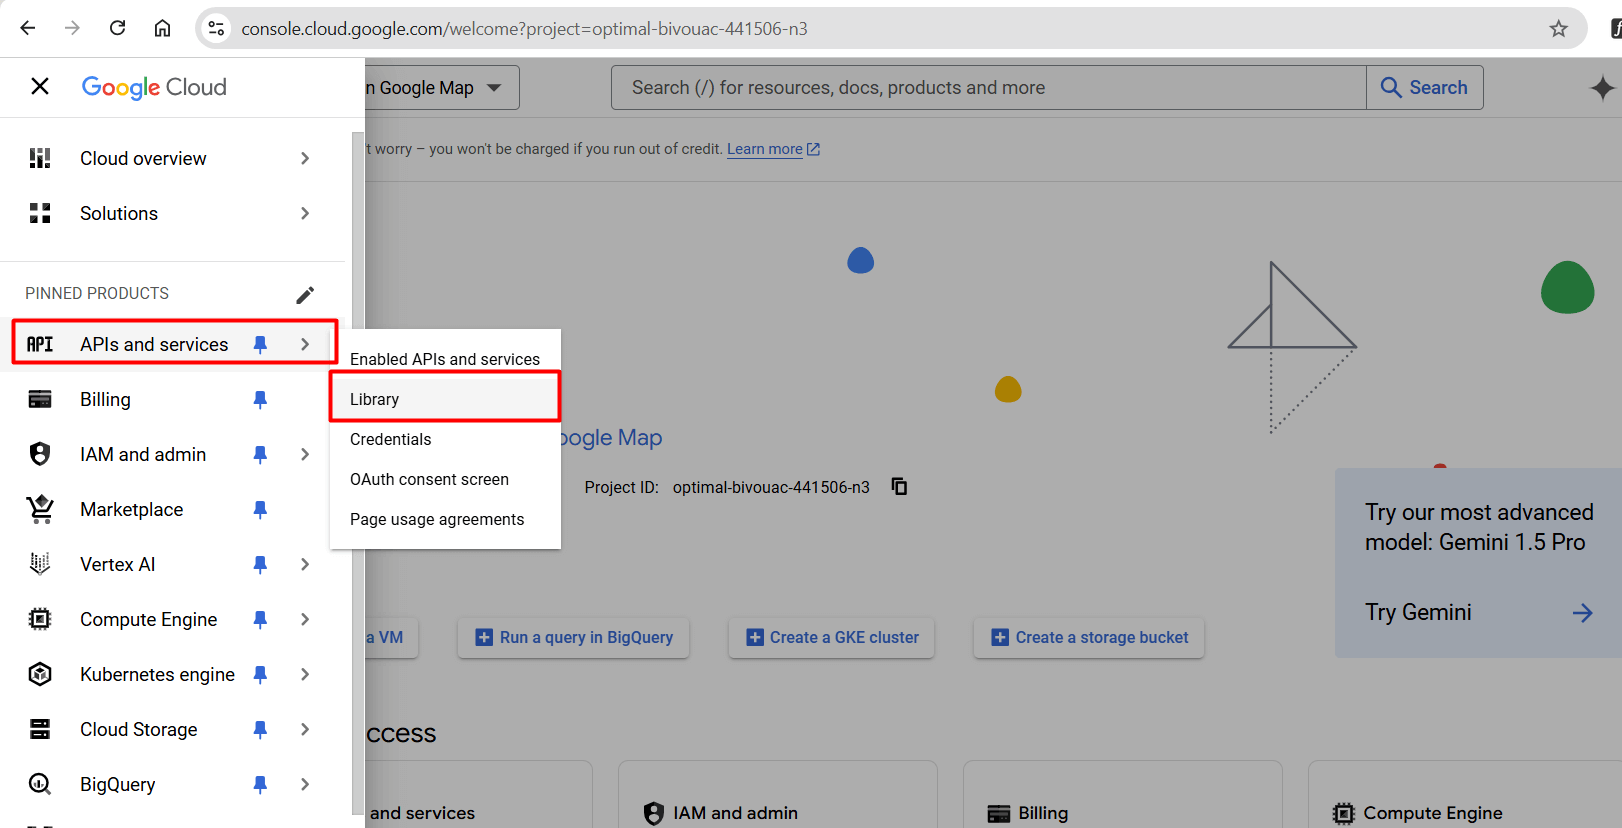
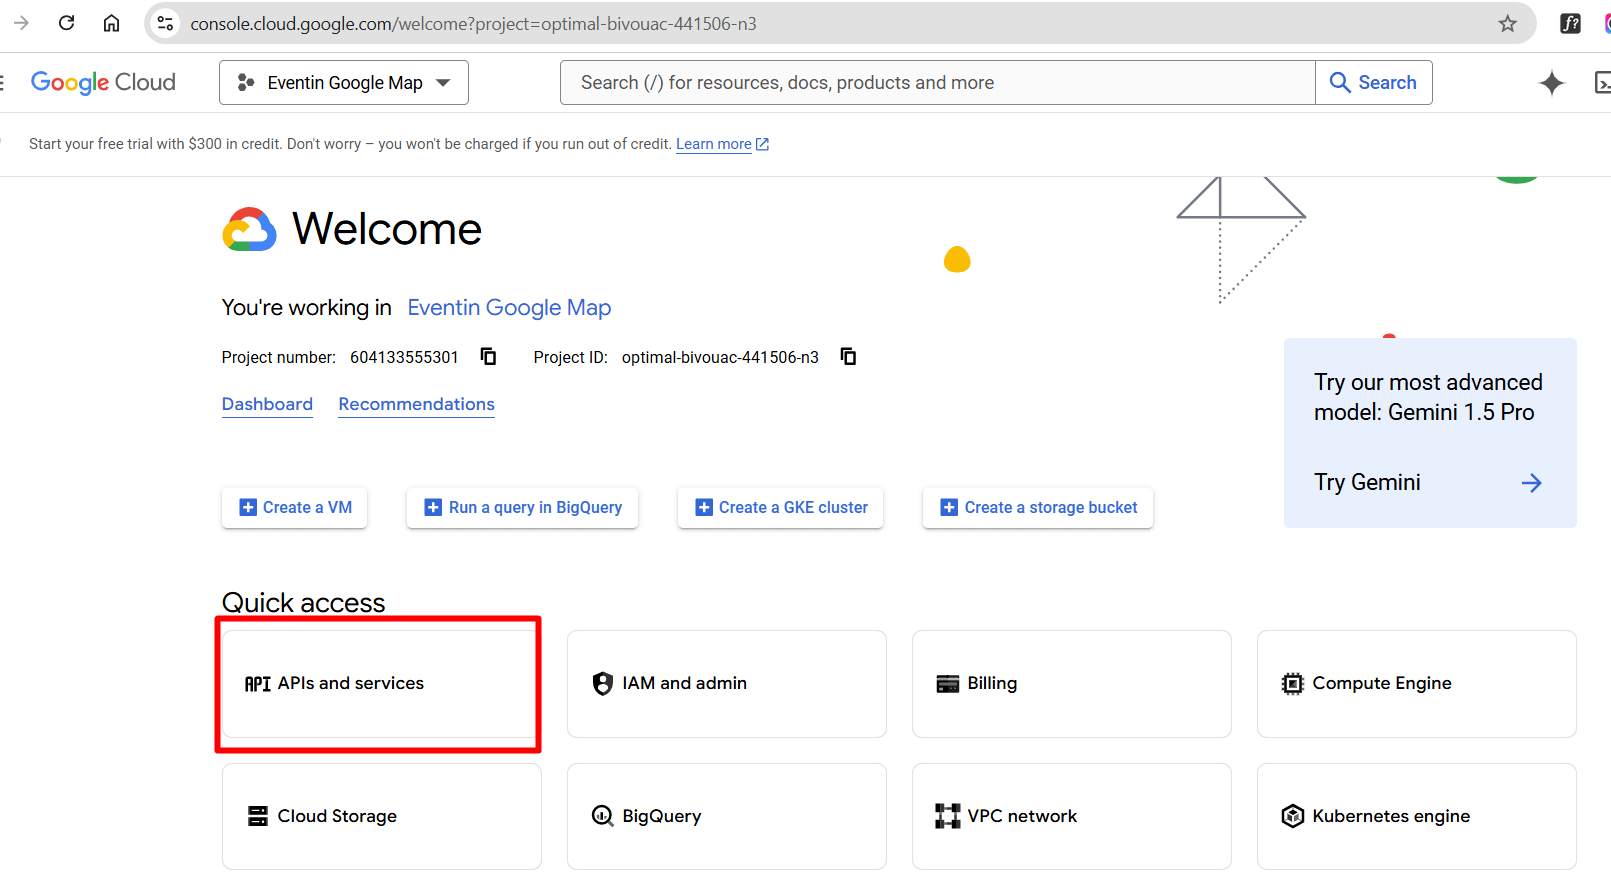
- In the Google Cloud Console, go to the Navigation menu (☰) in the top-left corner.Select APIs & Services > Library
- In the search bar, type
Maps JavaScript API.Click on the Maps JavaScript API card in the results.
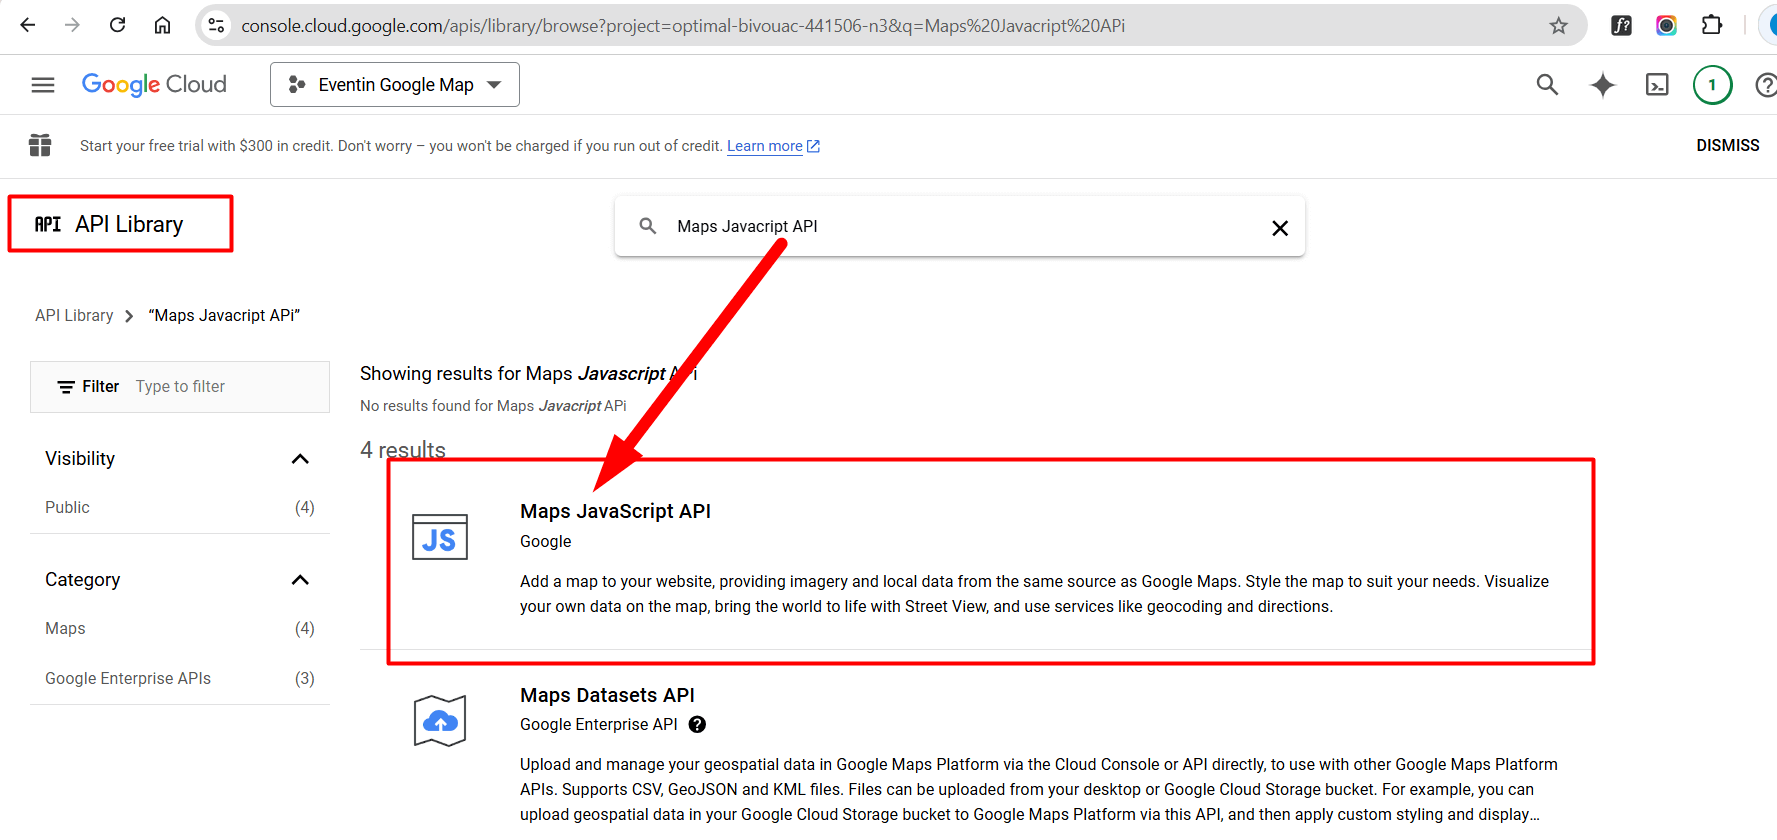
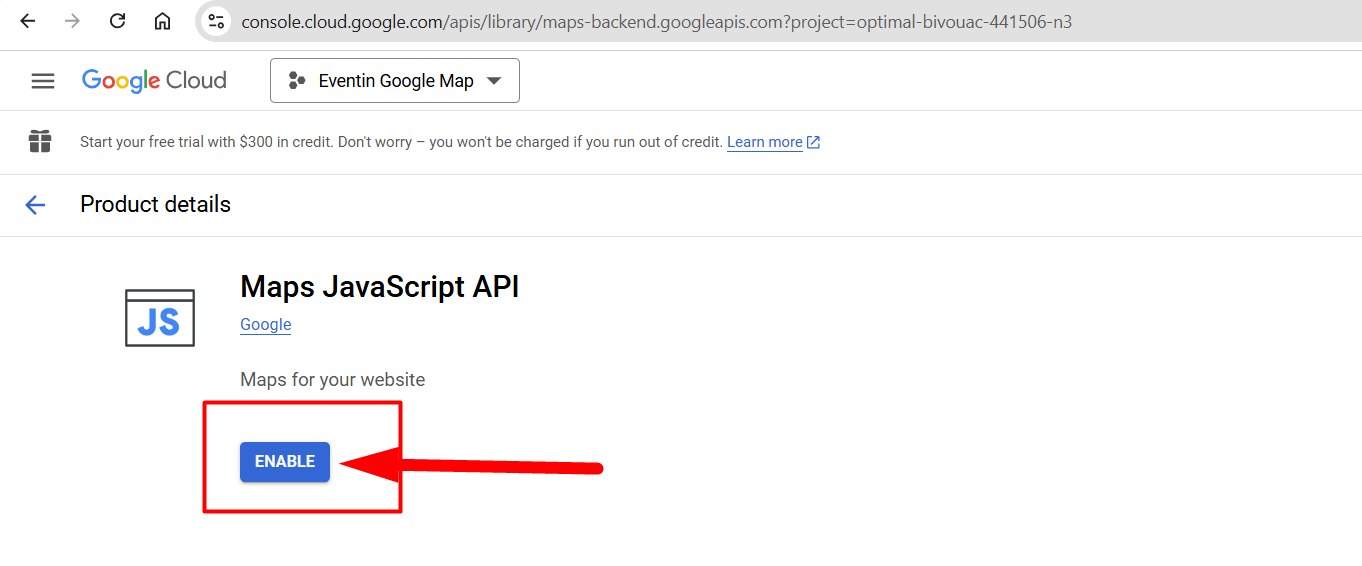
- On the API details page, click the Enable button to enable the Maps JavaScript API for your project.
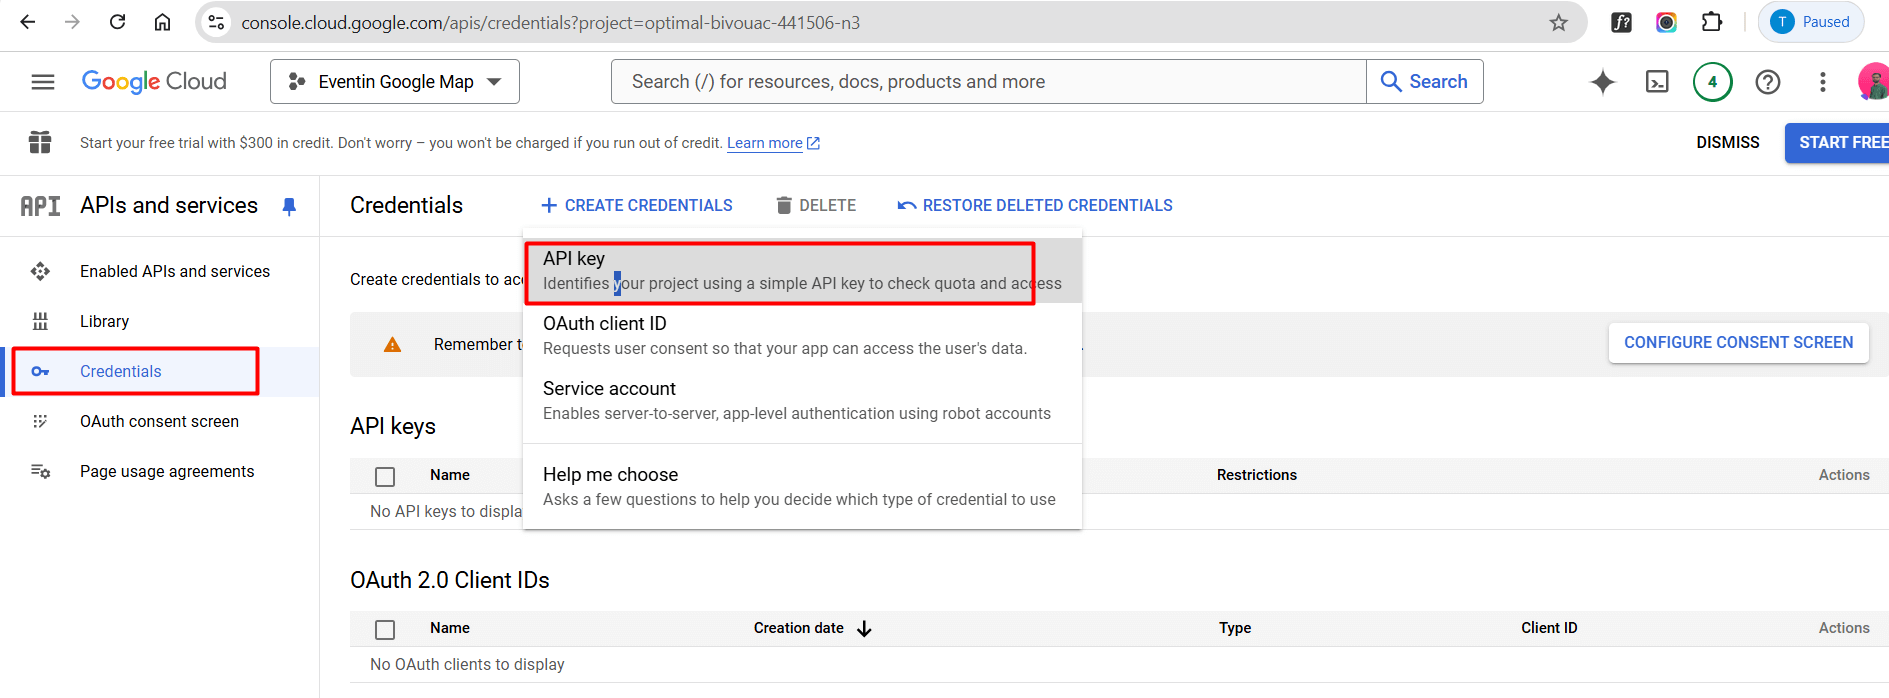
- In the Google Cloud Console, go to APIs & Services > Credentials.
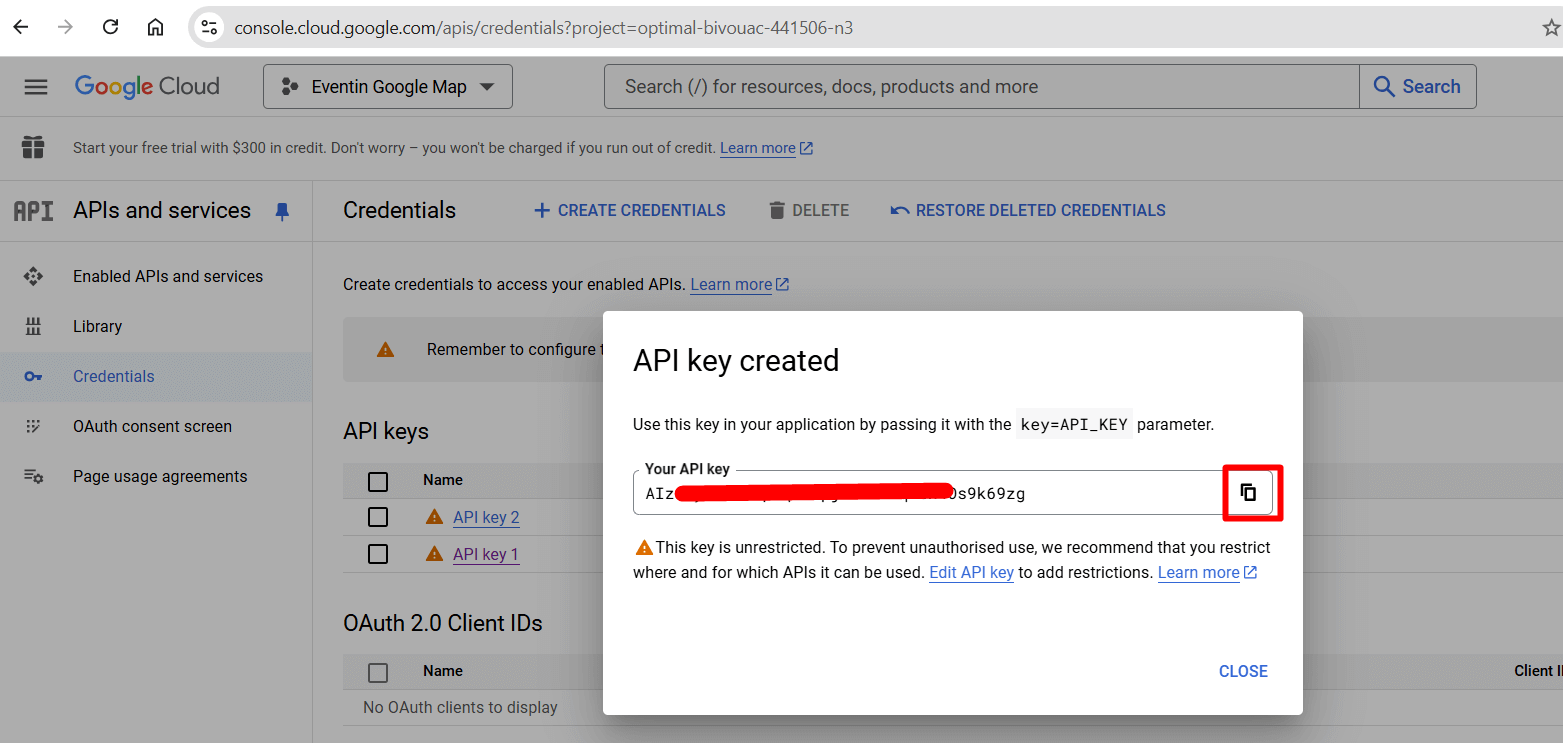
- Click on the Create Credentials button and select API key from the dropdown.Your new API key will be generated and shown in a pop-up window.
- After creating your API key, copy it for setting up on Eventin settings.
How to Enable MAP Key on Eventin Settings #
Step-1 #
For google map enable, navigate to Eventin -> Settings> Integrations -> Google Map -> Enable “Google Map” option and insert the Map API Key.

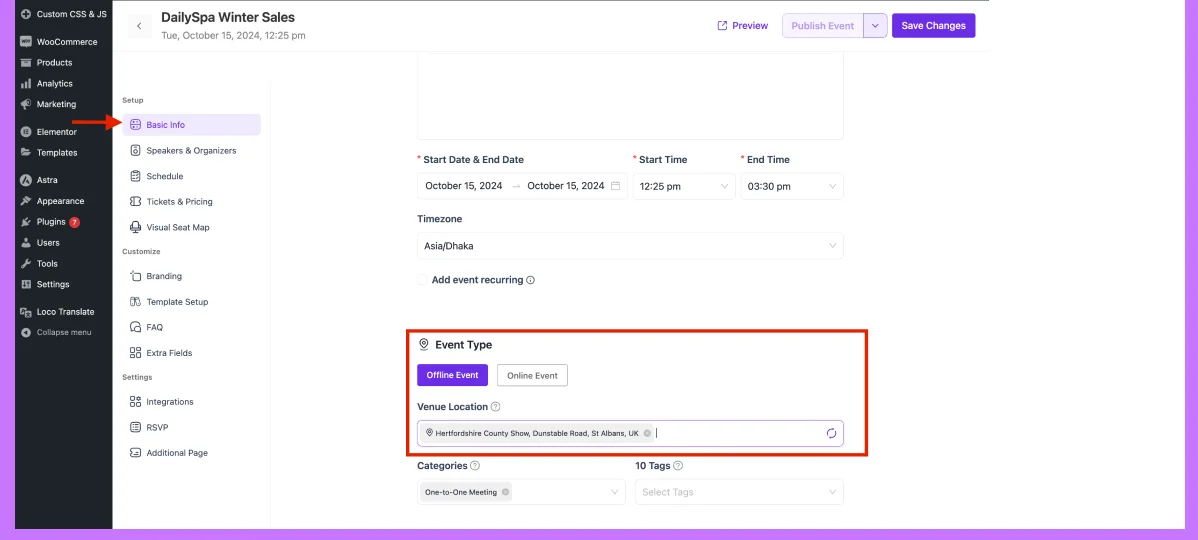
Step-2 #
After inserting the Google key, go to the Eventin -> Event -> Event Locations. Then add the event location on the “Venue Location” field.
Frontend view for Google location: #
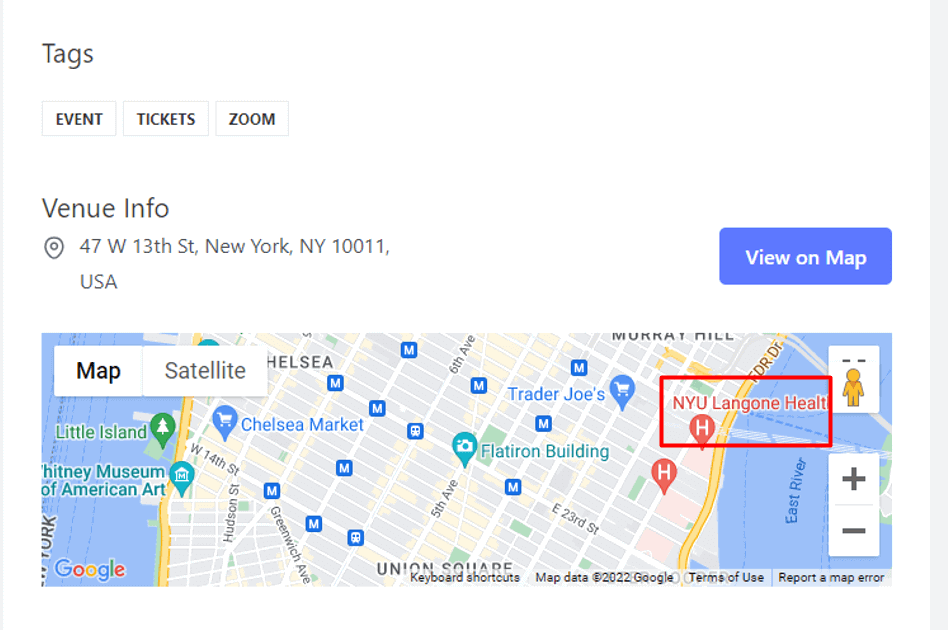
Front view:
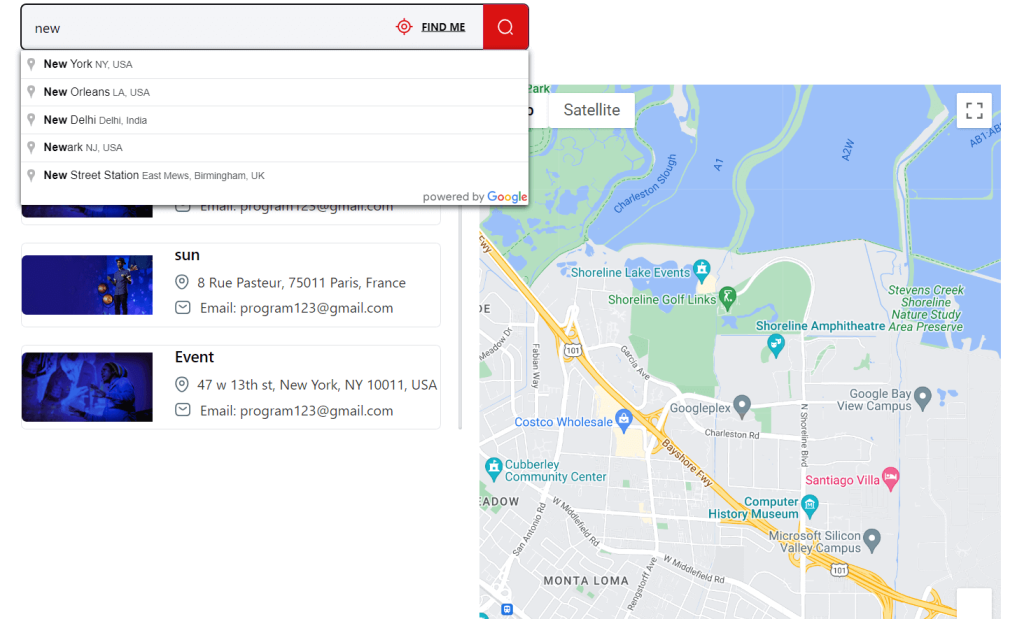
Elementor Widgets: #
In Eventin Pro, for displaying event location, you can use the Eventin location list widgets.
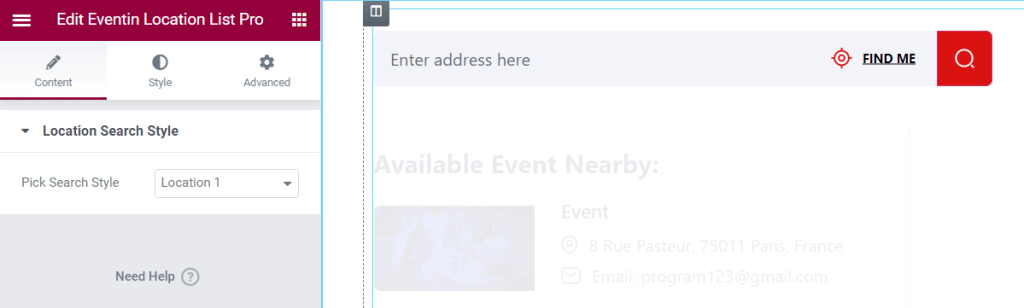
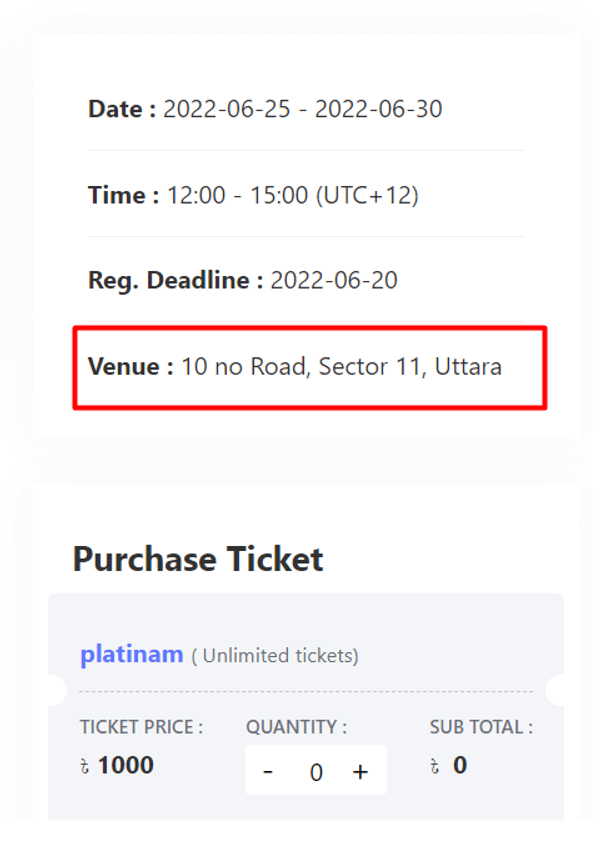
Front-end view:
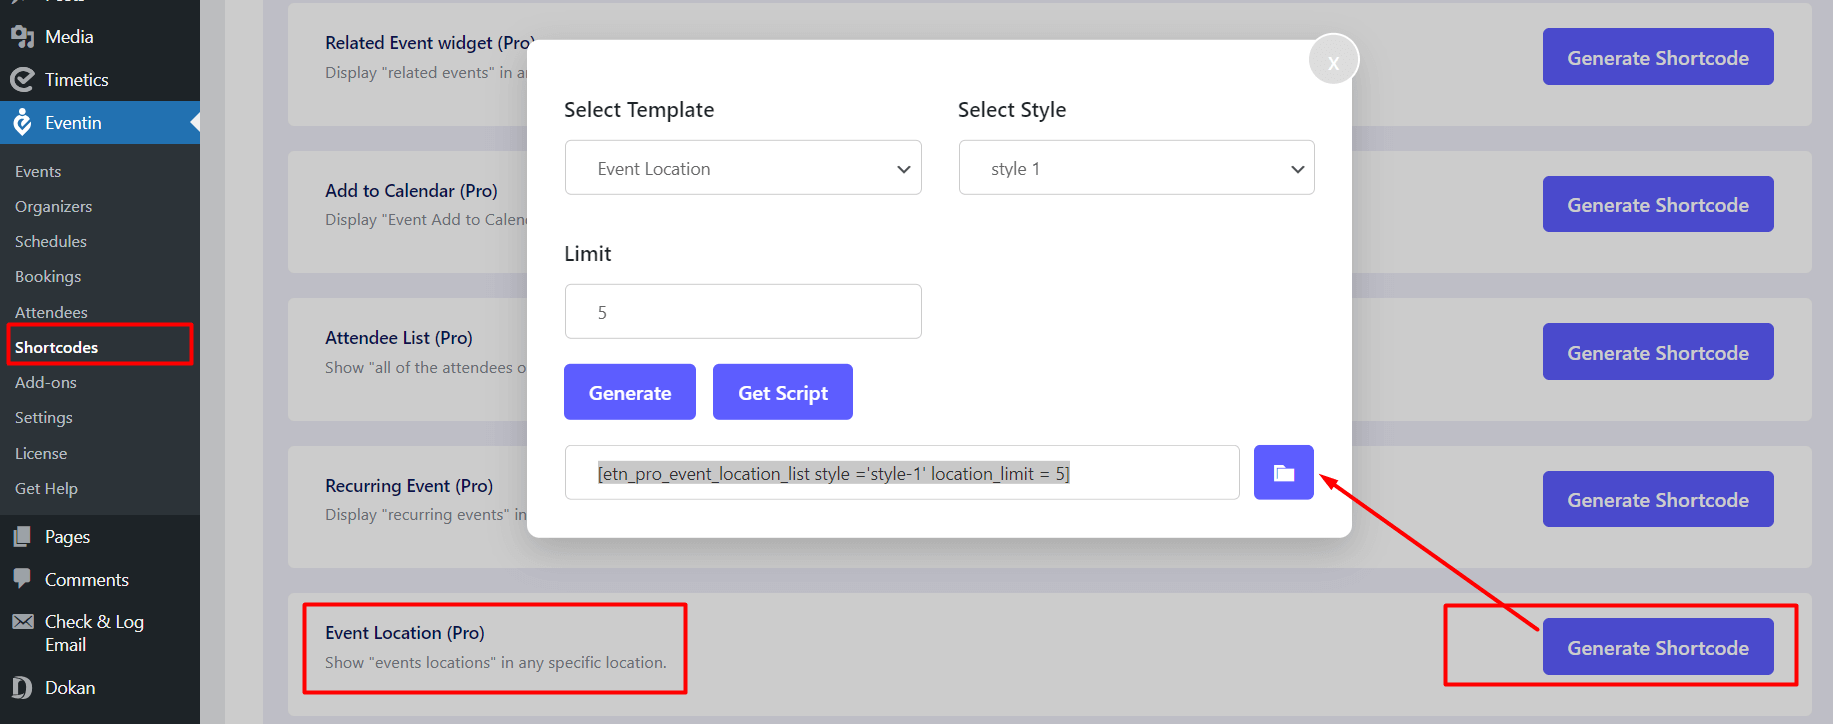
Shortcode:(Pro) #
You can also use a shortcode to show the Event location list.