Google Meet with WP Eventin Event Management Plugin for WordPress (Pro) #
In your Eventin event management website, you can even host all your online events online by enabling Google Meet access from the admin dashboard.
For connecting to Google Meet/Calendar you need CLIENT ID & CLIENT SECRET KEY for which you need to Configure Google API first
Configure Google API #
Enable Google Calendar API by following the steps given below.
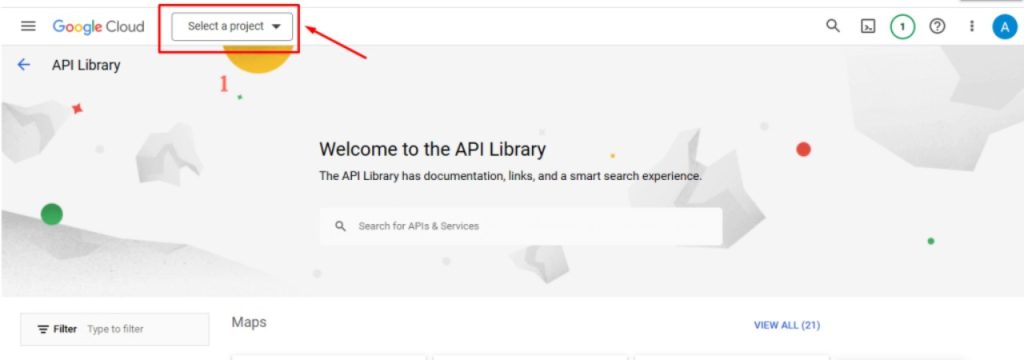
1) First of all, go to this link: https://console.cloud.google.com/.
2) Now, you have to create a new project for adding a Google calendar on Timetics. Click on “Select a project” dropdown.
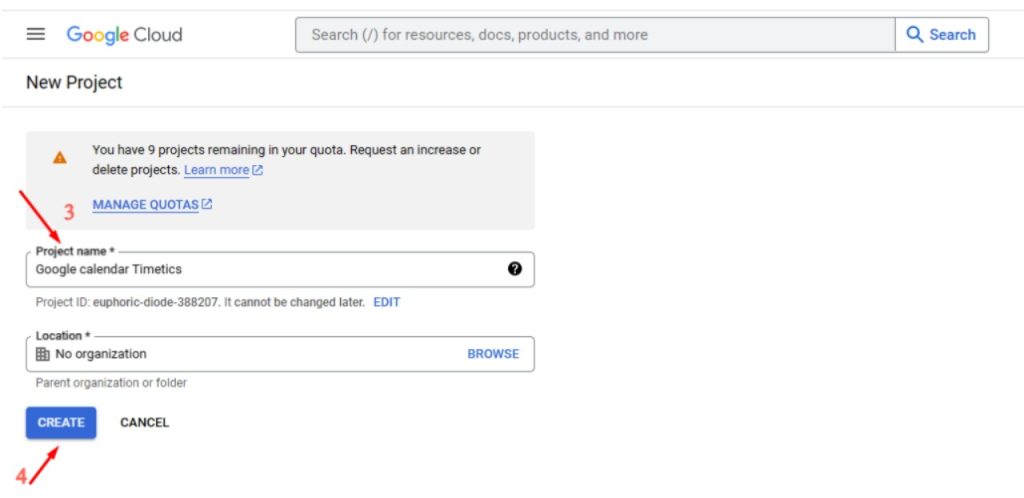
3) From “select a project” popup, create a new project.

4) Add a project name and click on the Create button.
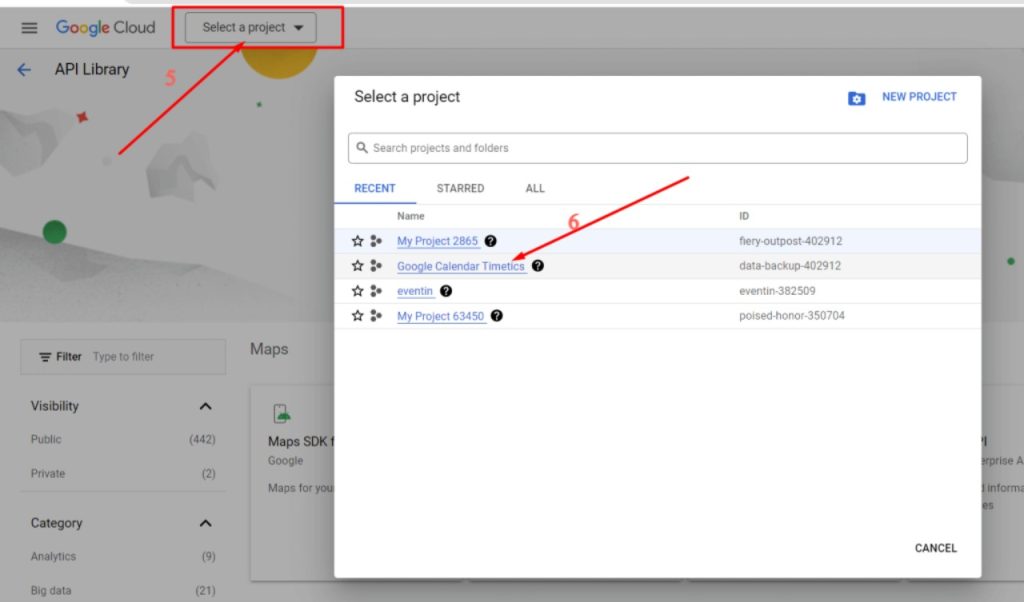
5) Now, select a project that you already created.
6) Search for “Google Calendar API” on the search bar.

7) Choose Google Calendar API.

8) Enable this API by clicking on the Enable button
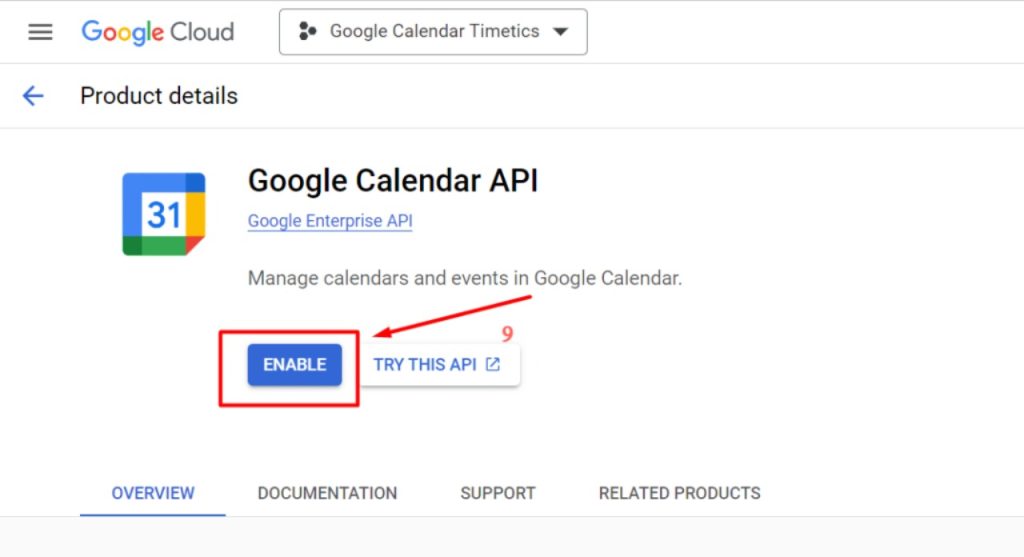
9) After enabling the Google Calendar API, you will be redirected to the API/Service details page.
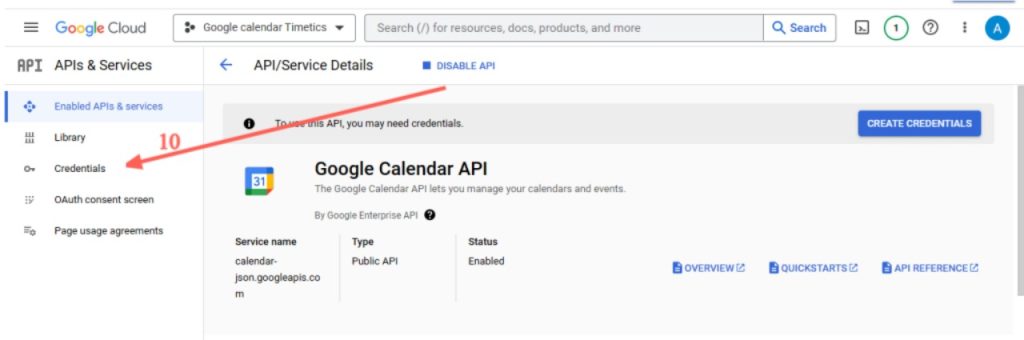
10) From that page, Go to credentials from the left-hand menu. From the Credentials page, you will see a reminder to configure the consent screen.
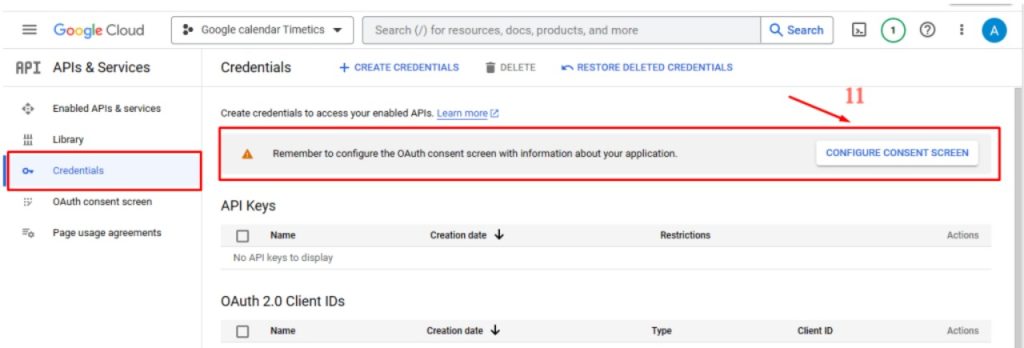
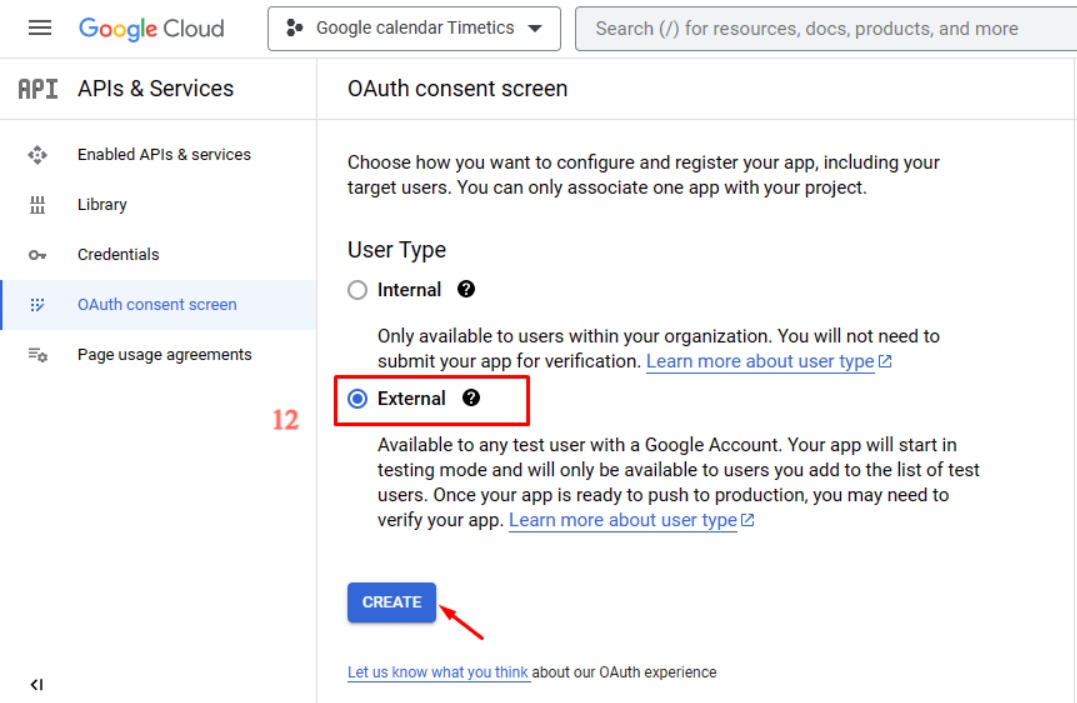
11) Click on Configure consent screen button. From that User type section, Click on External and Create button.
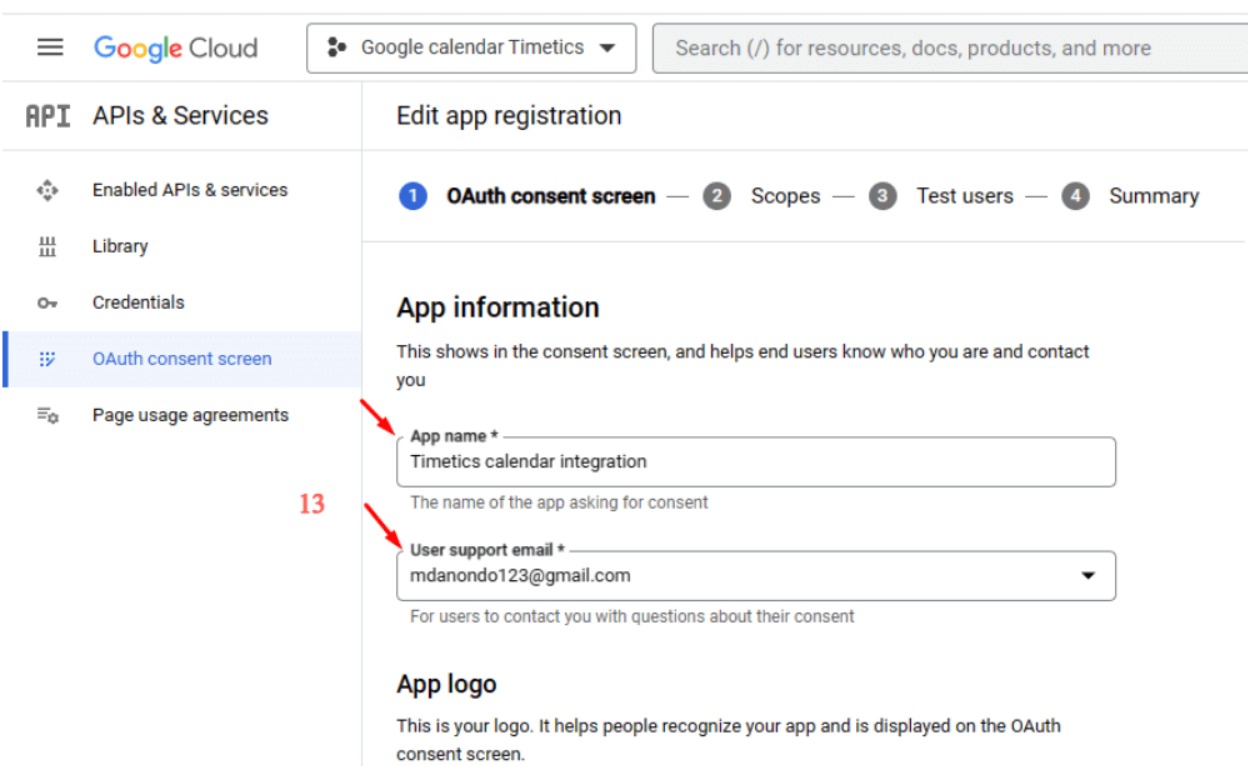
12) From the App information page, Add your App name, User support email, app logo (If needed), Developer contact information and click save and continue.
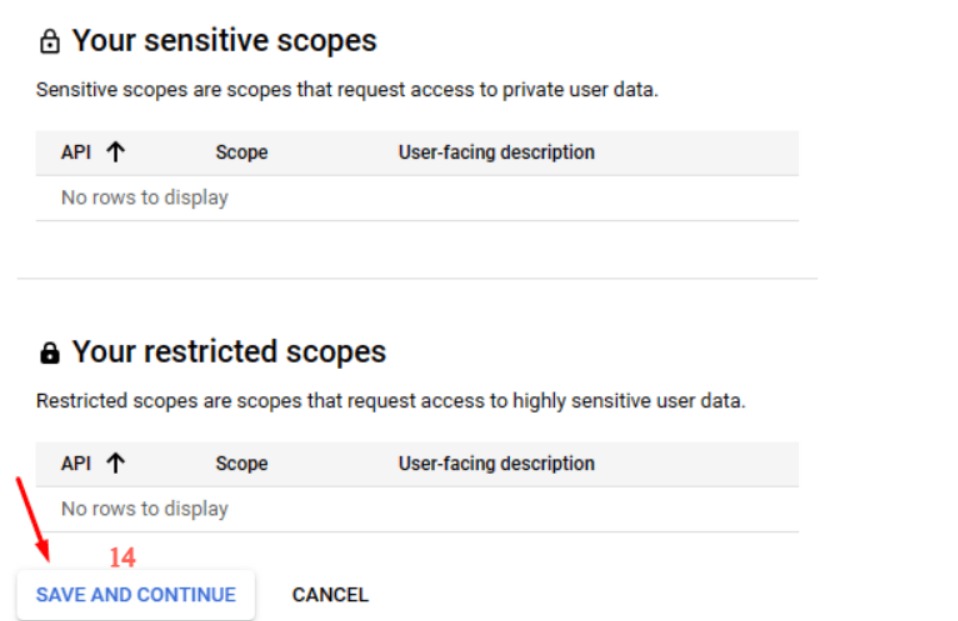
13) No need to do anything on the Scopes tab. Click the Save and Continue button.
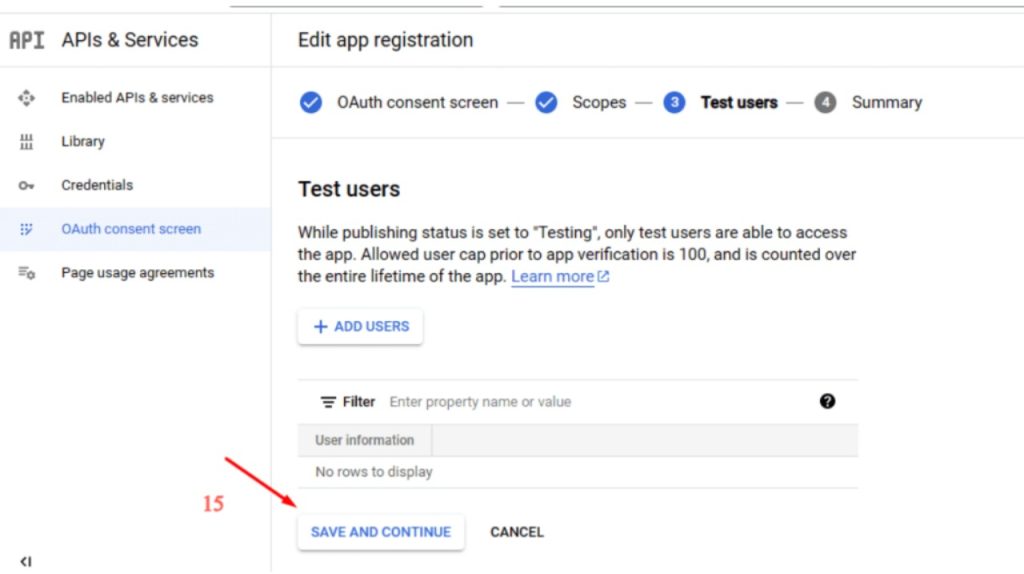
14) You can add one or more users to this app. We will not add any user now and click Save and continue.
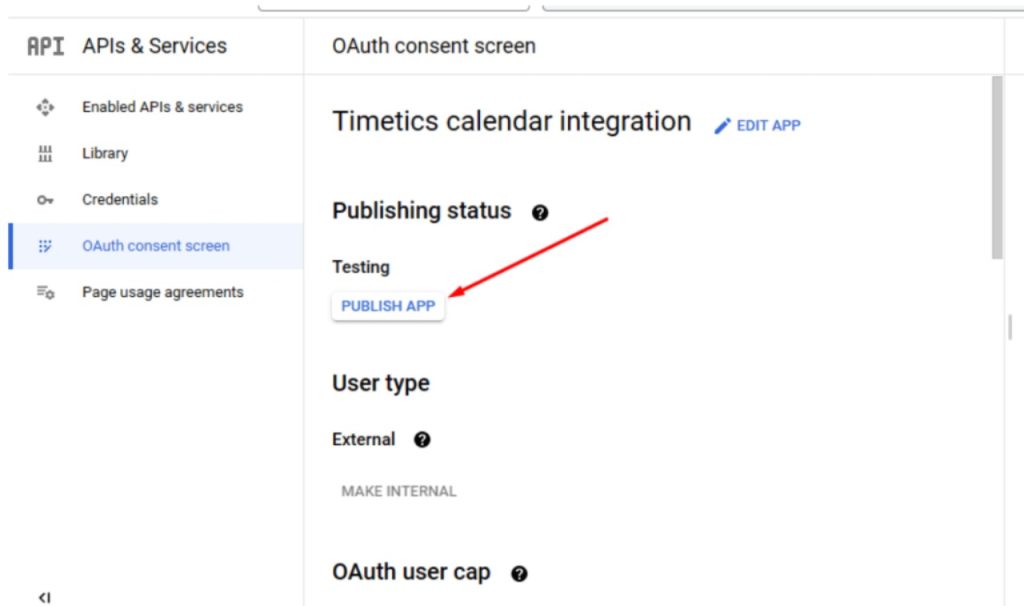
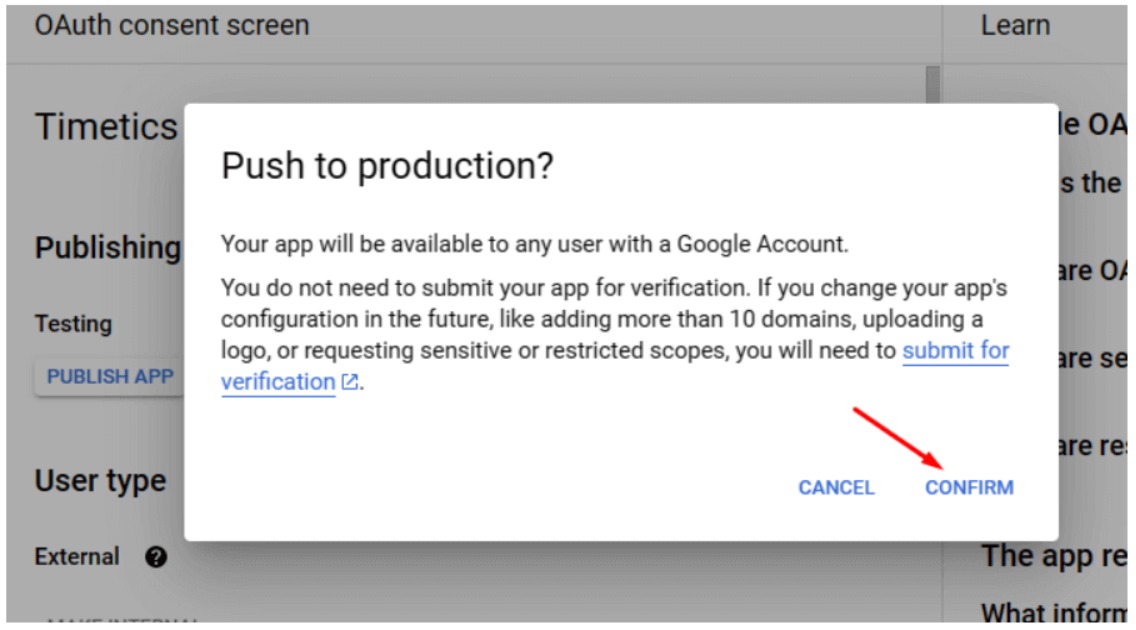
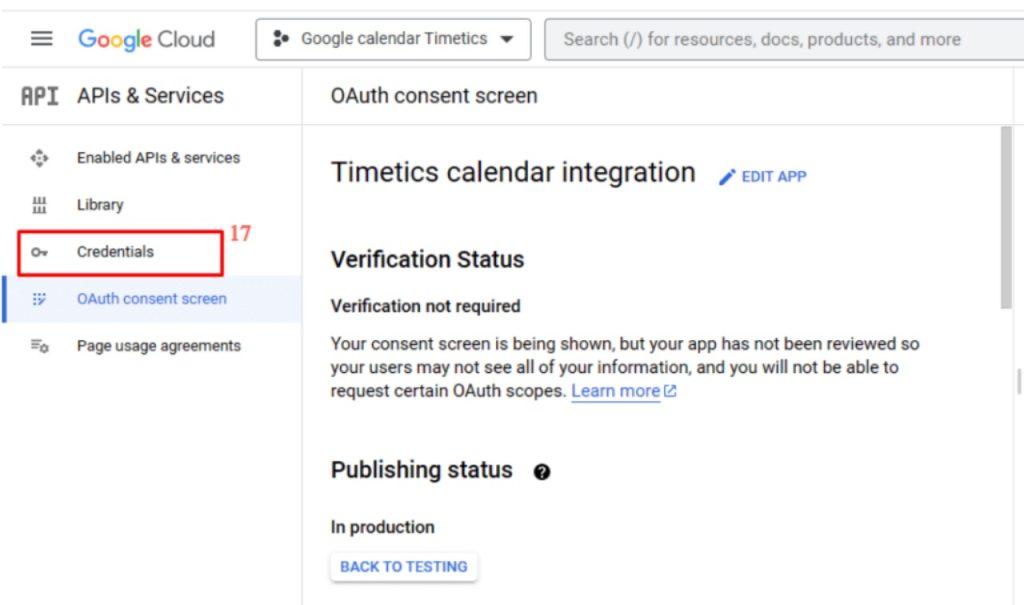
15) Once you click on the “Back to dashboard” button, It will redirect you to the publishing status screen. From here, click on the “Publish app” button.
16) It will ask you to confirm these changes, Click on the Confirm button to make changes.
17) Now Go to the Credentials menu from the left-hand menu.
18) From the Credentials page, we will create new credentials for our app. Click on the Create credentials link and choose OAuth client ID.
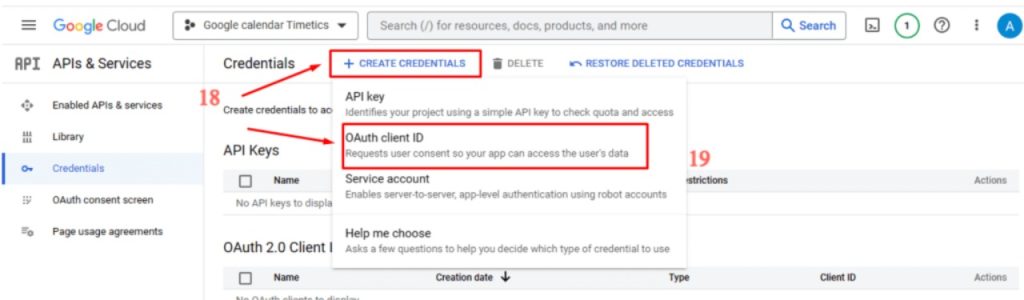
19) From the Create OAuth client ID section, choose Application type as Web Application and Add a name.

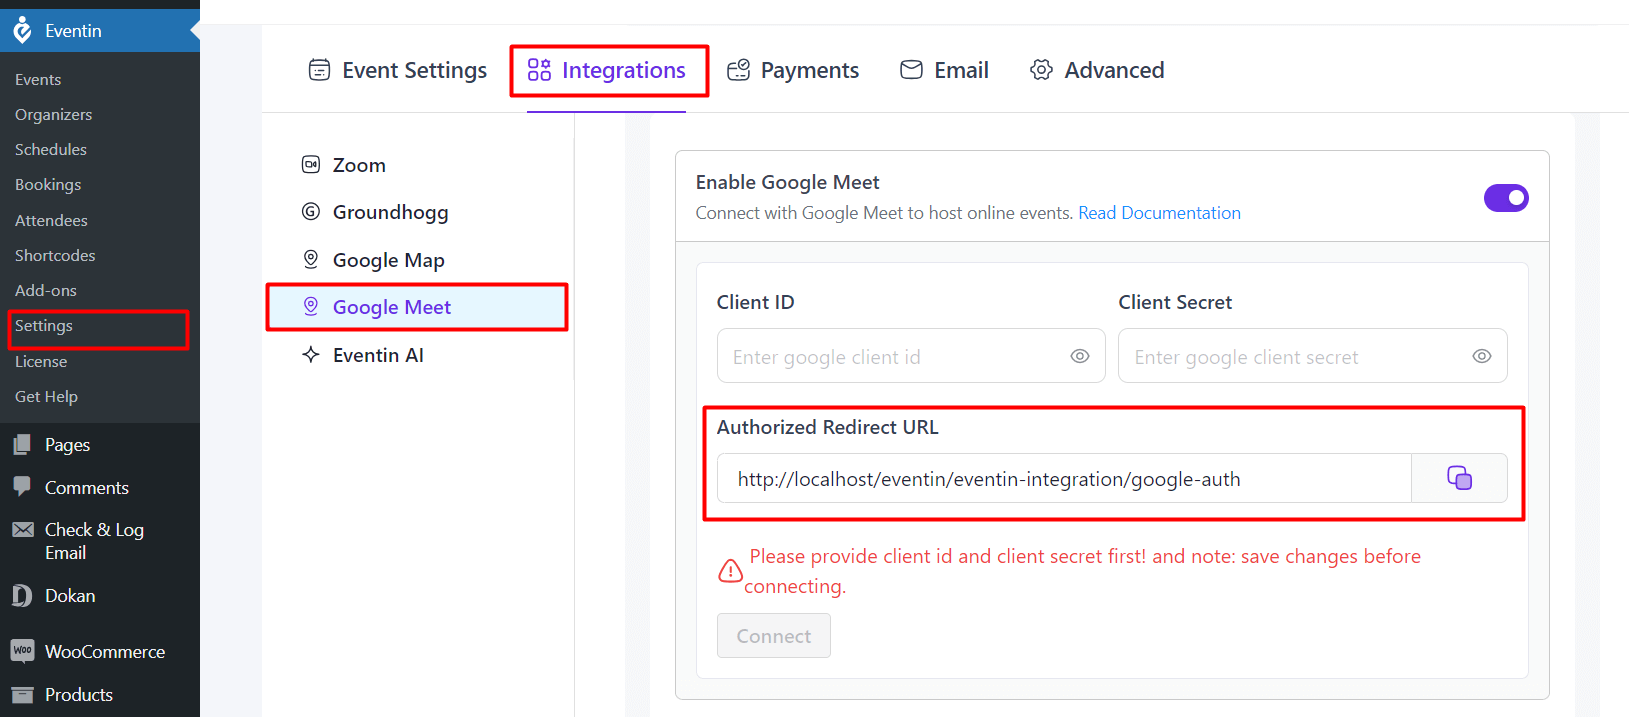
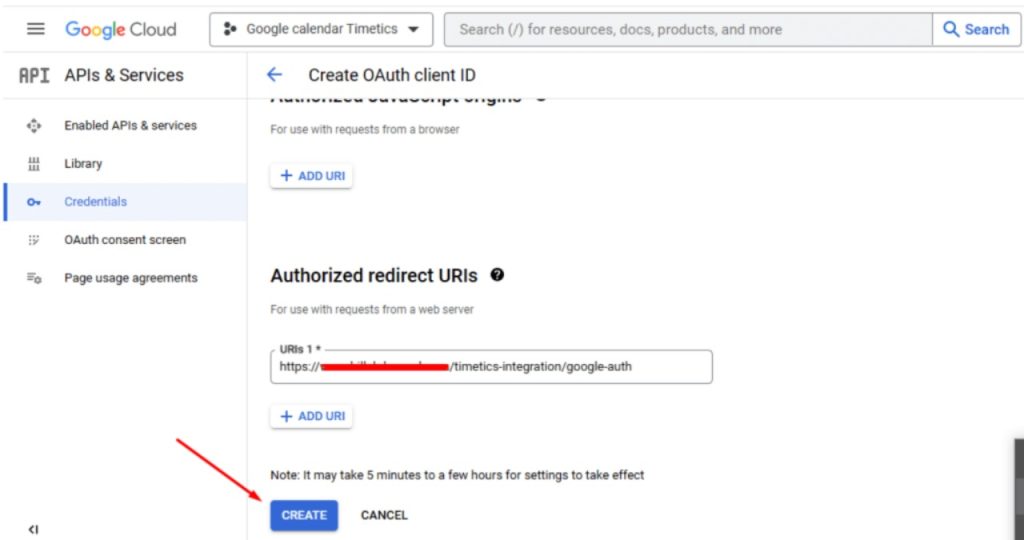
20) You will get the Authorized redirect URIs from Eventin->Settings->Integrations -> Google Meet, Copy the URL and paste it on the Redirect URL.
21) After providing the Redirect URI, click on Create button.
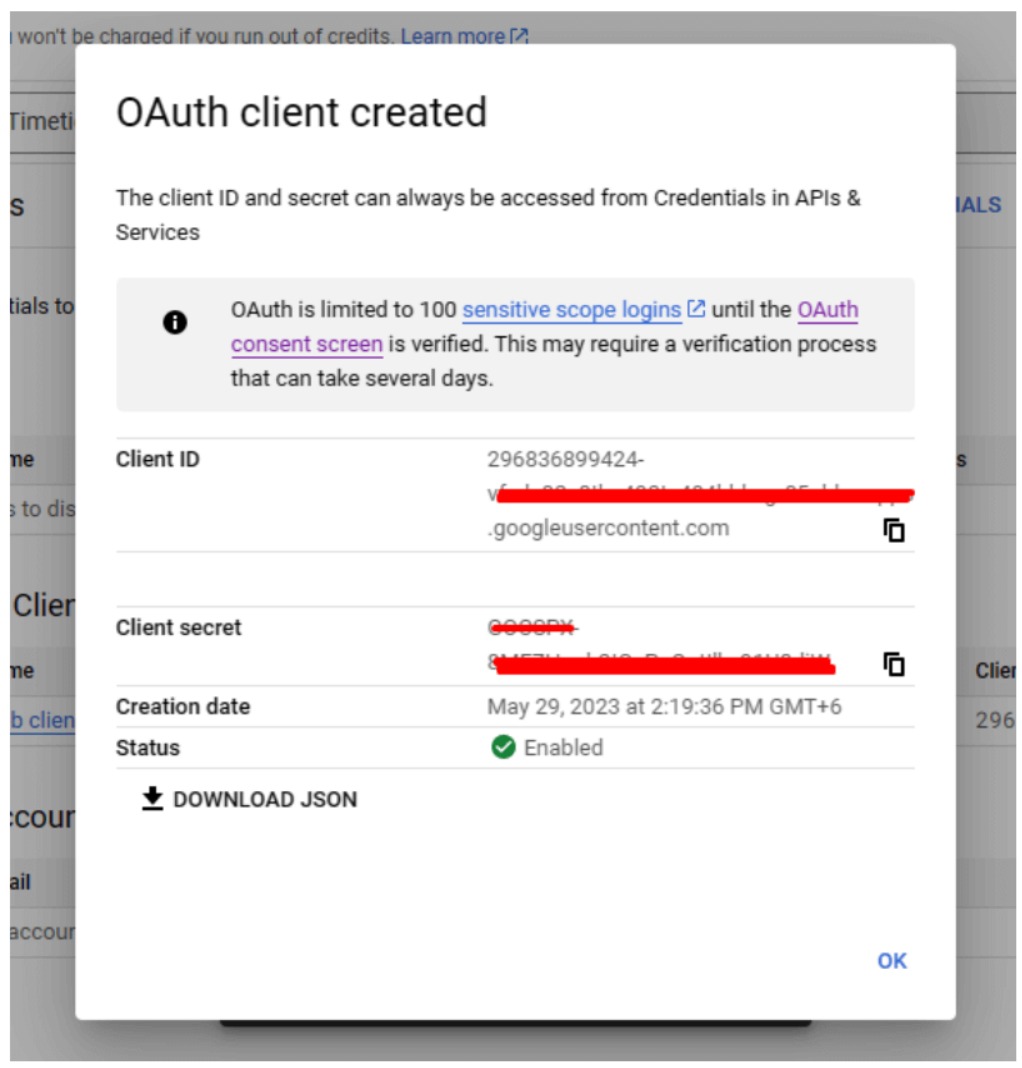
22) As soon as you click on the Create button, a popup will appear with your client ID and Clint’s secret code.
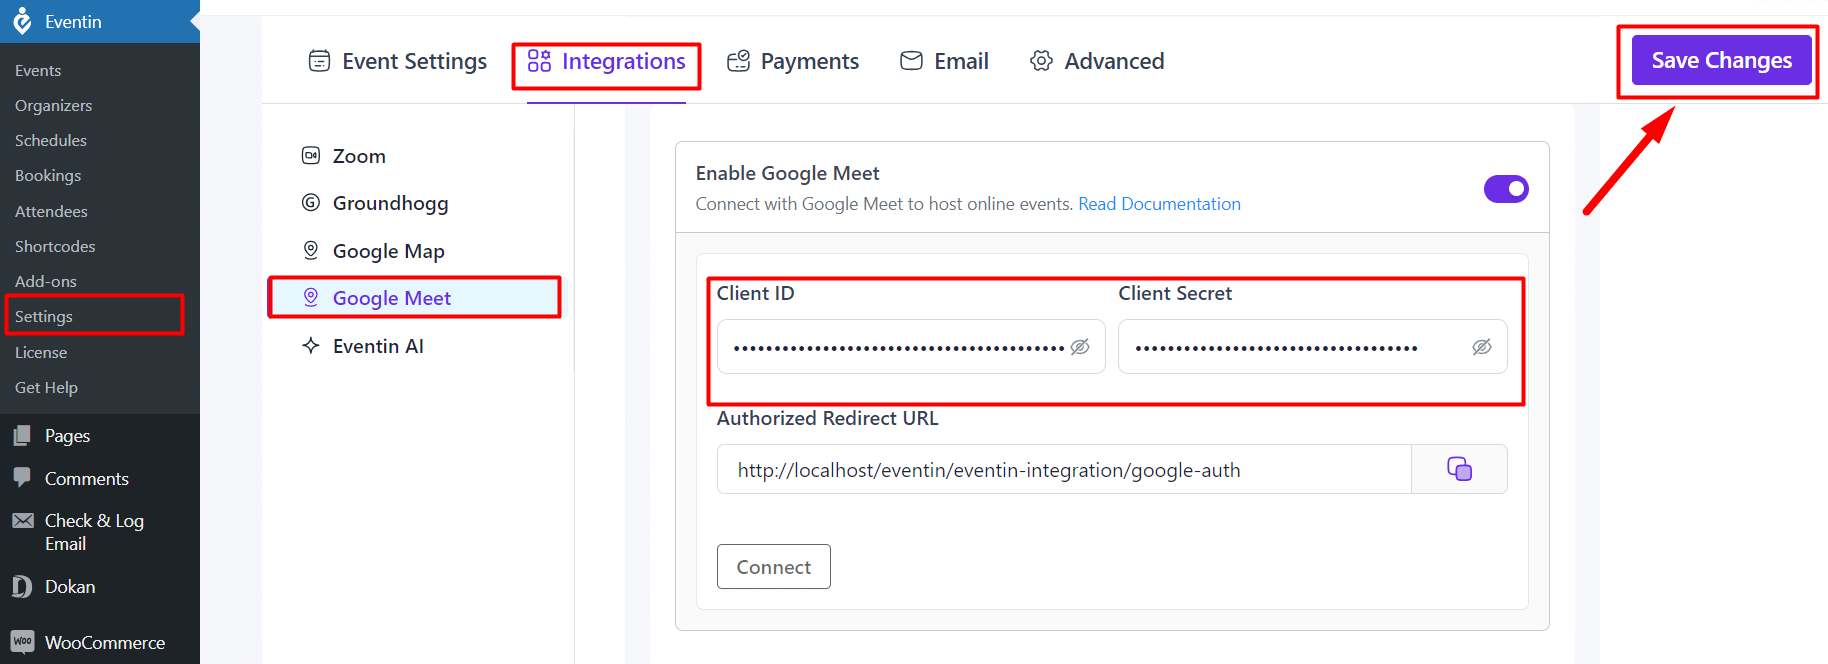
23) Navigate to Dashboard -> Eventin -> Settings -> Integrations -> Google Meet and insert the Client ID, Client Select Key. Now Save changes.
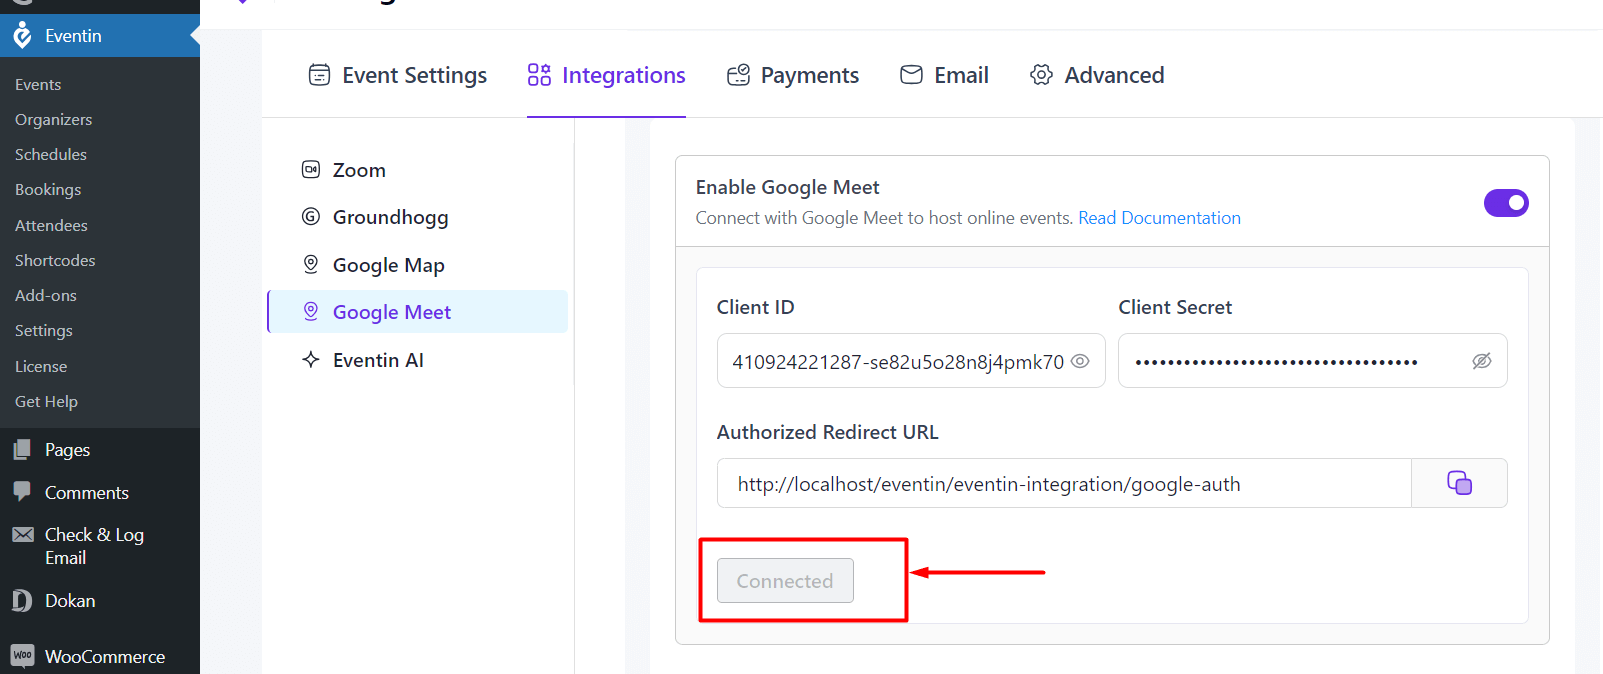
24) After saving the Client ID and Select Key, you need to authenticate with your Google Account by clicking on “Connect” button.
Google Meet for Single Event #
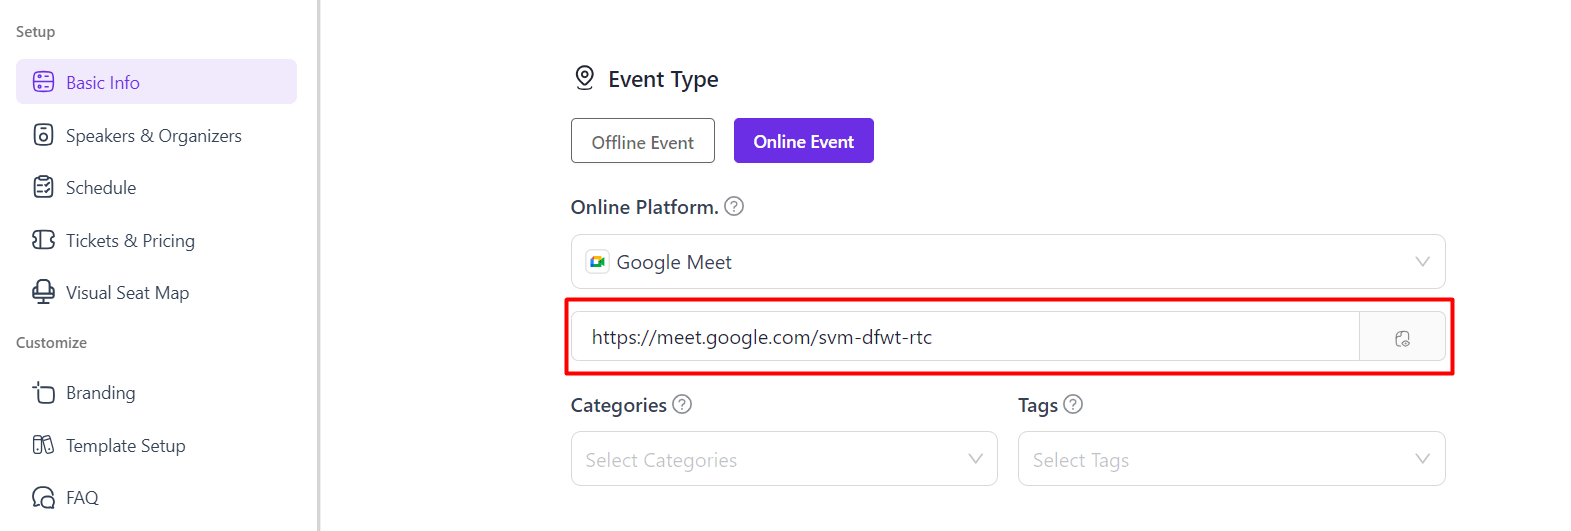
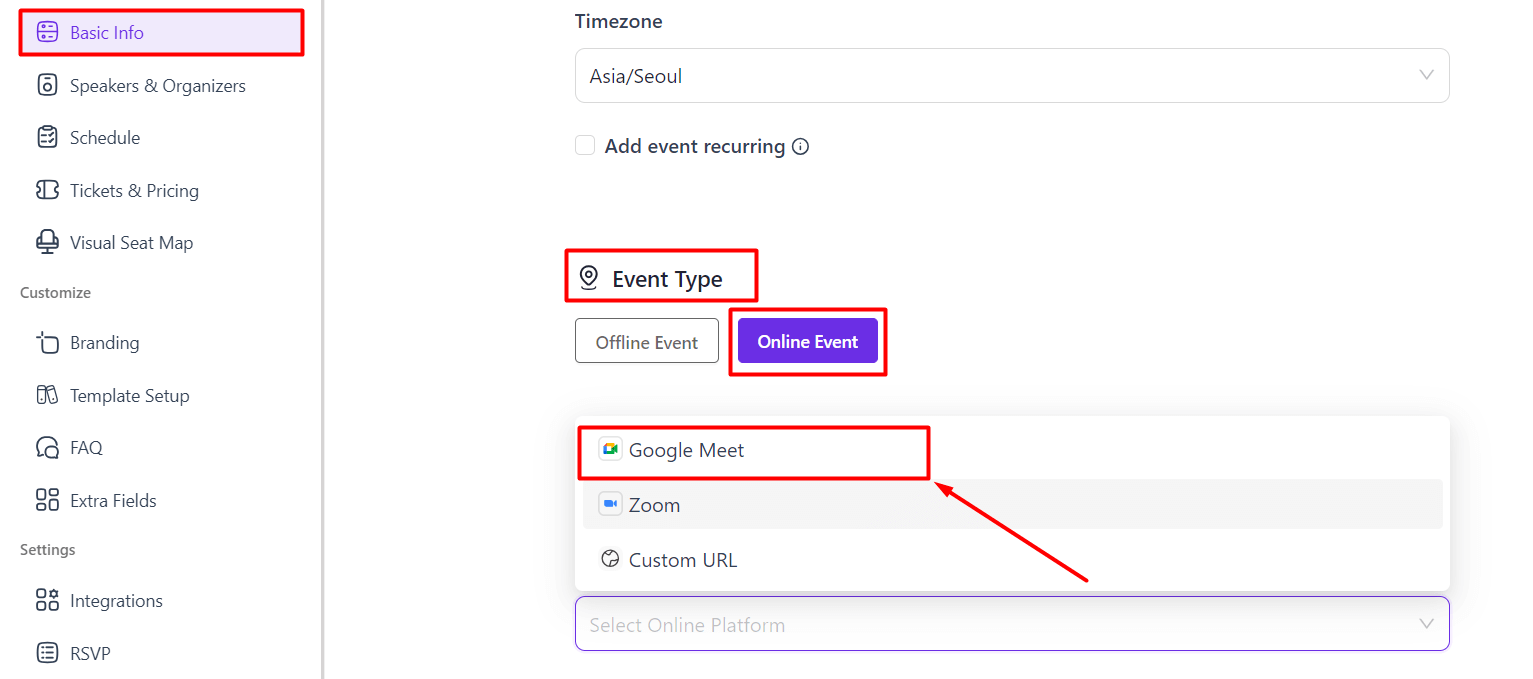
To create the Google Meet link, go to Eventin -> Event -> New Event -> Add necessary information for Event.
Now, click on “Online Event” as a event type and select “Google Meet”. Now click on Create Event.
You can see the Google Meet link created for your event.