Table of Contents
The following guide is going to show you how to create an RSVP event for a single event management system.
RSVP Module Enable #
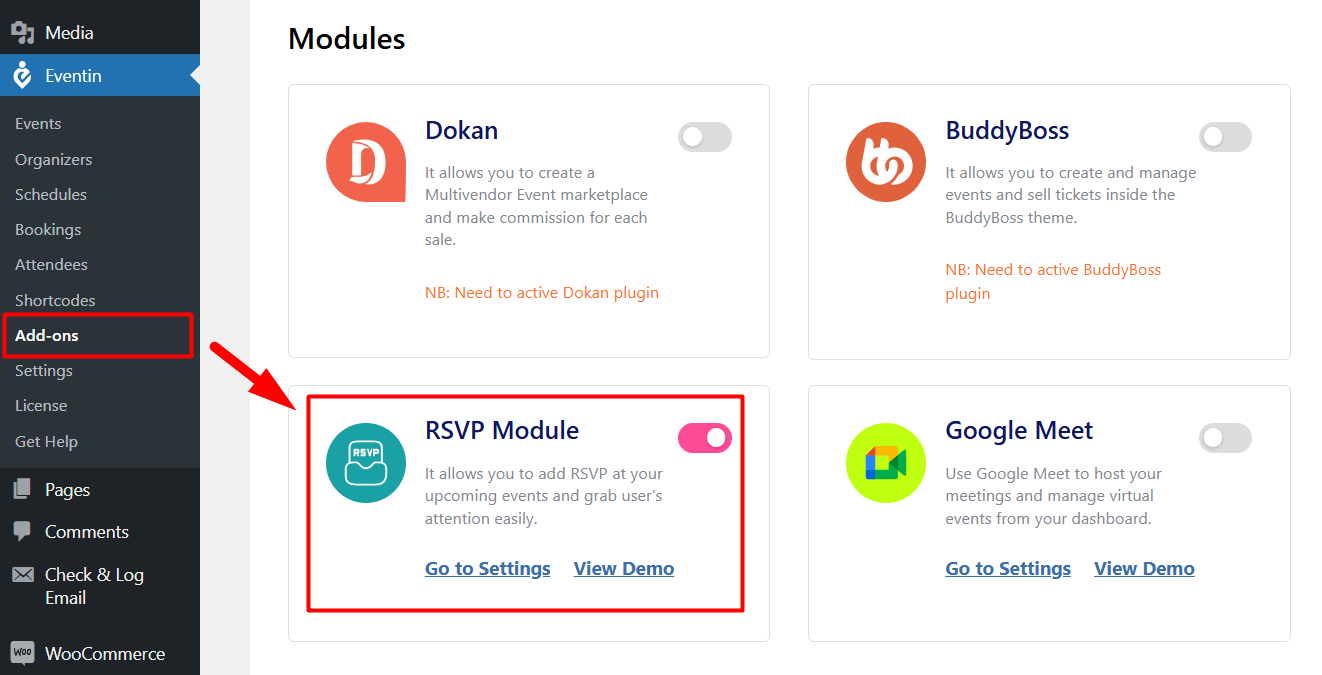
First of all, go to Eventin -> Add-ons and enable the RSVP Module.
Create RSVP Event #
When you create an event, you will get an option for RSVP settings at the bottom of the Event creating page. Go to the Events – > Create or edit an Event -> RSVP -> and enable the RSVP option.
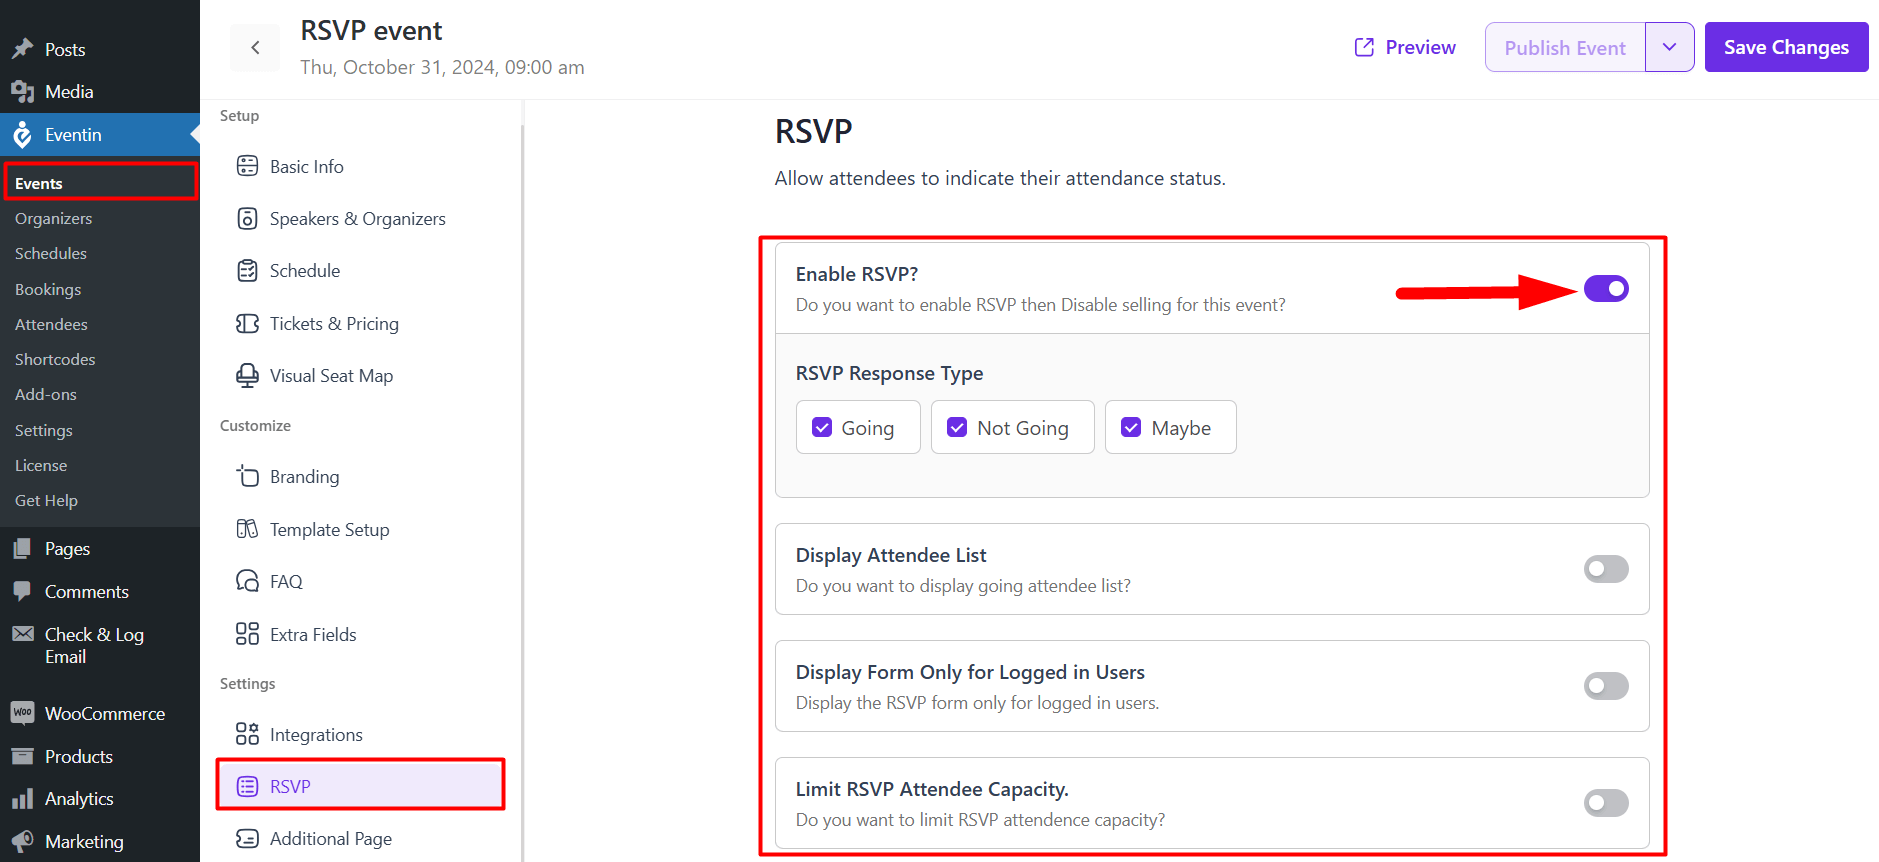
- RSVP response type– You can enable the RSVP form types option and also set the response types Going, Not Going, and Maybe options from here.
- Display attendee list– If you want, you can display the Attendee list for the individual RSVP event page.
- Display form only for Logged users– Display RSVP forms only to users who are logged in on your event site.
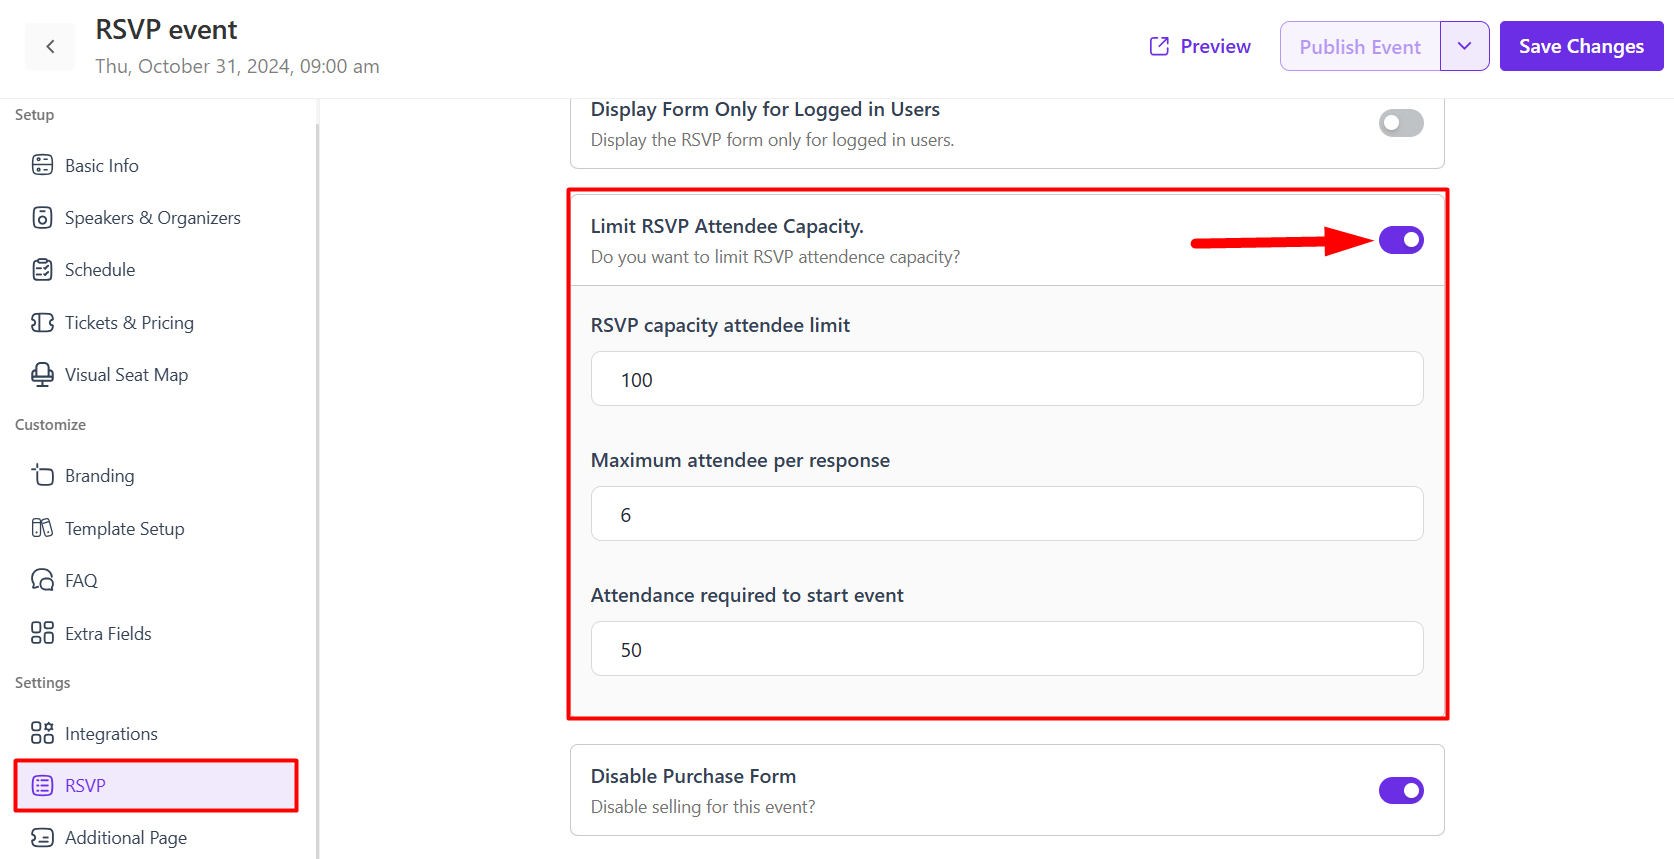
- Limit RSVP attendee capacity– You can set the attendee limit of how many attendees you want to allow at your event.
- Disable Purchase Form- If you don’t want to sell your event ticket, you can disable the selling form for the RSVP event.
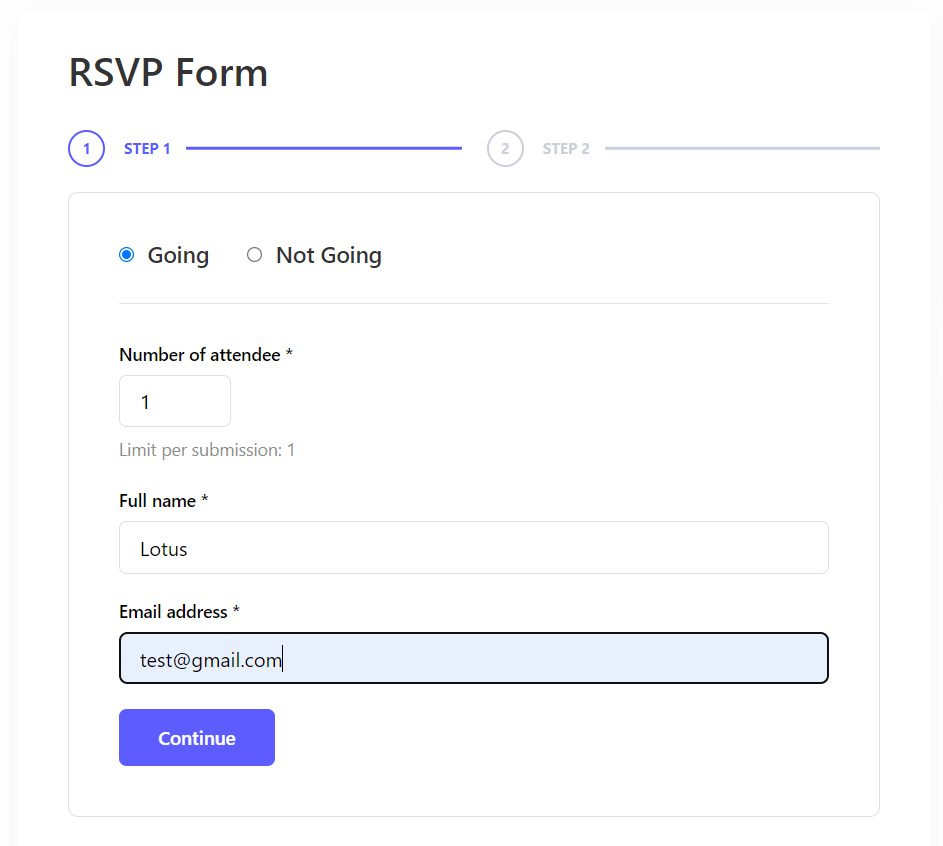
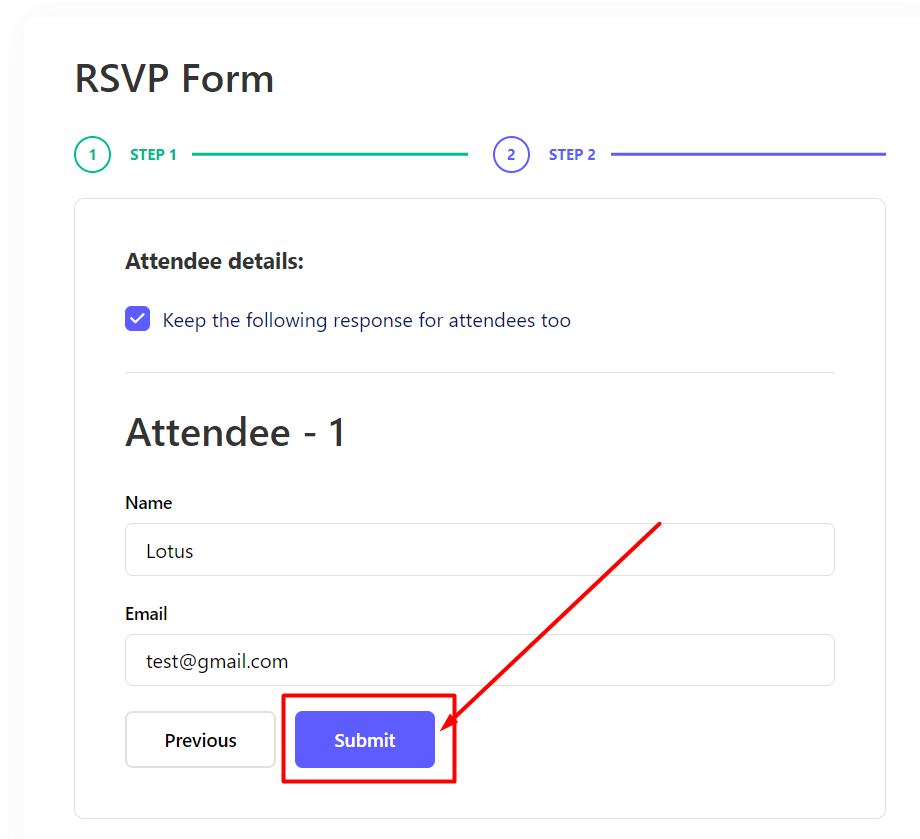
RSVP form on the front end
Limit RSVP Attendee Capacity #
You can set the attendee limit of how many attendees you want to allow at your event.
