A QR code for event tickets is a unique, scannable code that encodes important information about both the event and the ticket holder. By utilizing QR codes through a top-tier event management plugin like Eventin, organizers can streamline the entry process, enhance security, and provide a more seamless and convenient experience for attendees. This technology simplifies check-in, reduces waiting times, and ensures a smooth and efficient event entry for everyone involved.
Note: For managing your event tickets with QR code, you should know how to enable registration and sell tickets first.
Note: You need to use Eventin Pro in order to get QR Code features for ticket validation. Without Eventin Pro, you will not see the QR Code features in your eventin dashboard.
At Eventin, a unique QR Code can be generated for each attendee. The admin can scan to confirm the participants. In this document, we will be looking at how you can generate and manage QR Codes for event ticket management. But first, let’s see the advantages of QR Codes.
- Quick and error-free system
- Possible to track
- Real-time actionable
- More informative
- Engaging with updated content
- Easy to save and manage
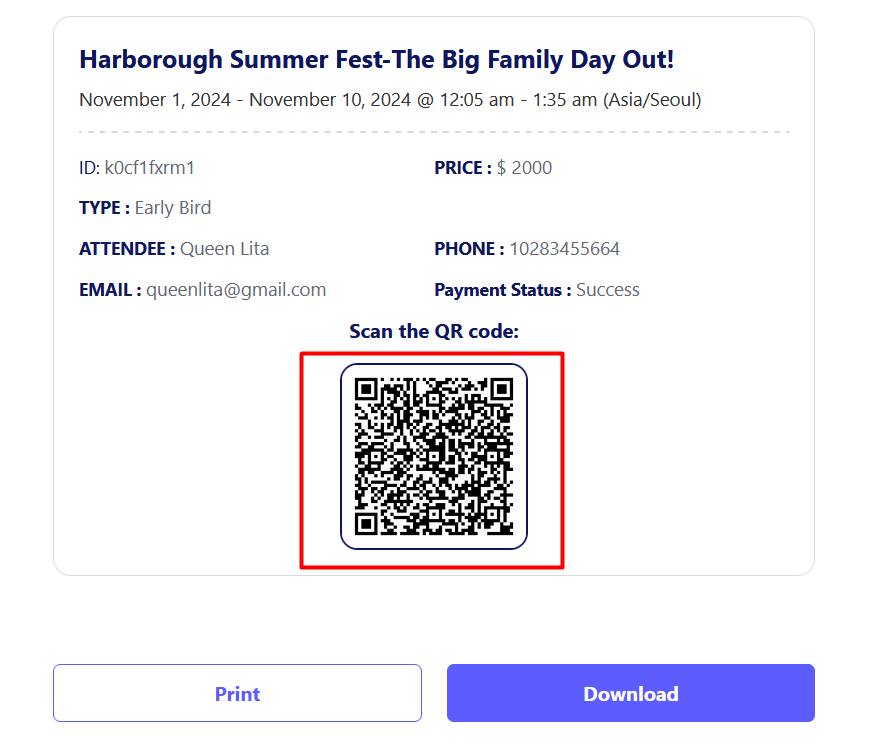
Once you activate the Eventin Pro and generate a ticket, you will see a unique QR Code on the ticket automatically. Ticket with QR Code sample goes here:
How to Scan Event Ticket’s QR Code: #
You can scan the event ticket’s QR code with any scanner. Any scanning app for Android and iOS phones is fine to scan the tickets. You can also scan with other QR Code scanner devices that are connected to your device. You can use a wired or wireless QR Code scanner in order to scan the event’s ticket.
Attendee Verification Process Using QR code: #
The event attendee verification process typically involves confirming the identity of individuals attending an event to ensure that only authorized attendees gain entry.
In Eventin, there are two ways to verify the attendee’s ticket. You can scan the attendee ticket using a QR code either automatically or manually.
- Single Step for Auto Check-in.
- Two Steps for Manual Check-in
Navigate to Eventin->Settings-> Event Settings > Attendees and set the attendee verification process that you want to use.
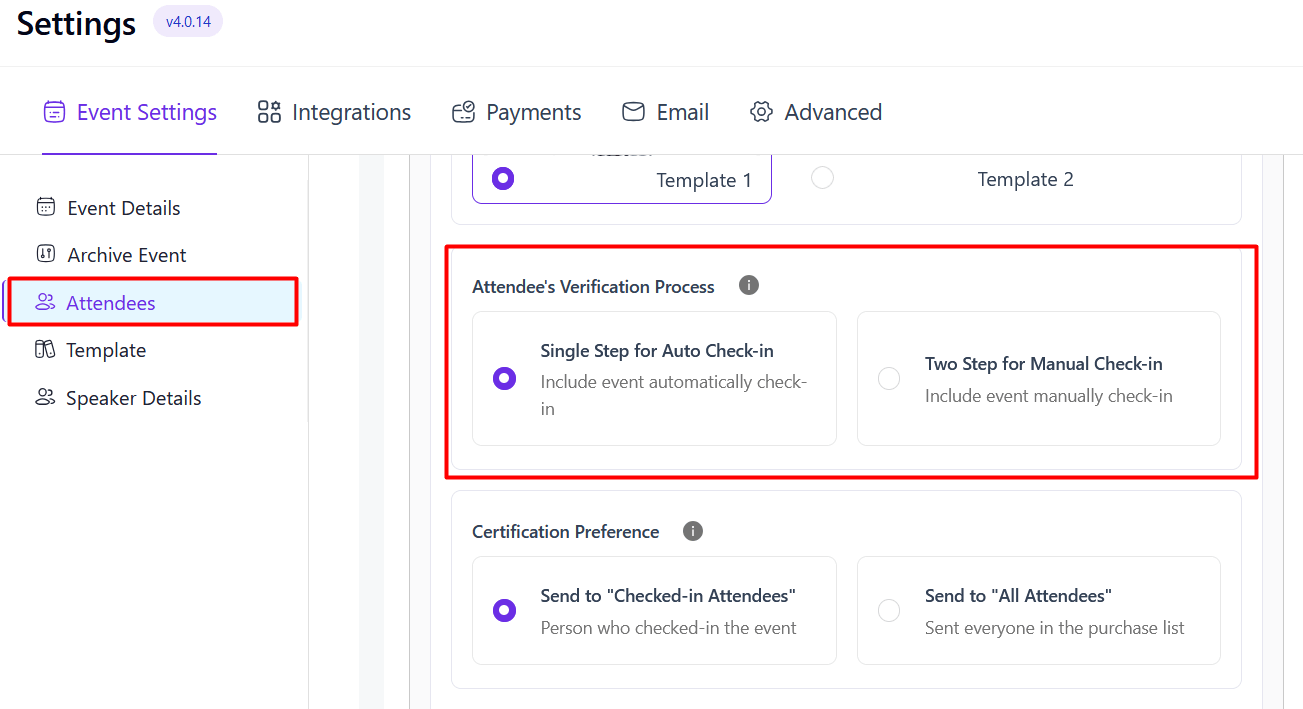
Single Step for Auto Check-in #
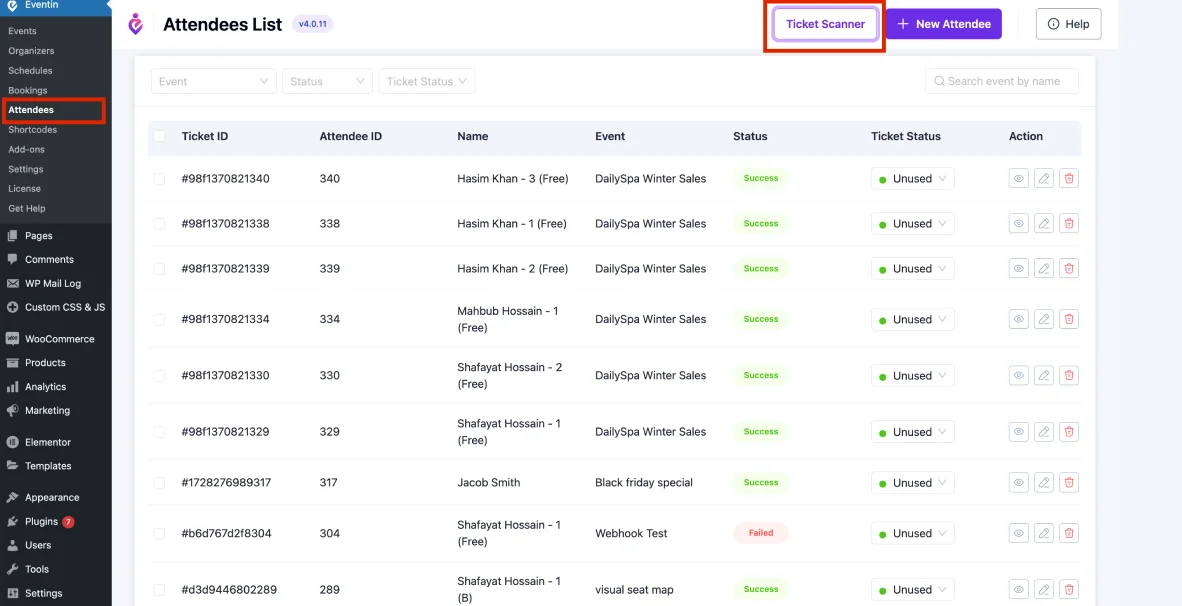
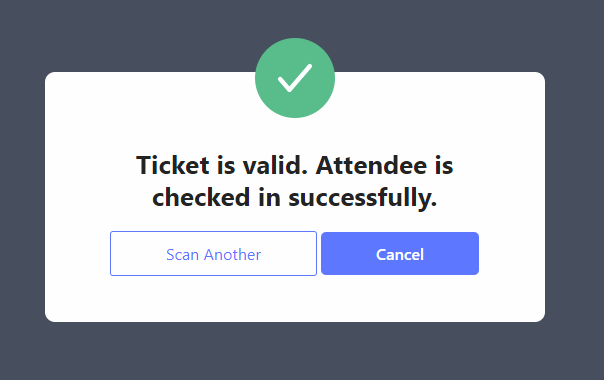
How to Use(Admin): Go to your Eventin dashboard and then Event Attendees -> Ticket Scanner (button) and it will start the scanner in your device. Then scan the ticket. It will finish the successful scan automatically. Then it will give you the following notice.
Scan Success:
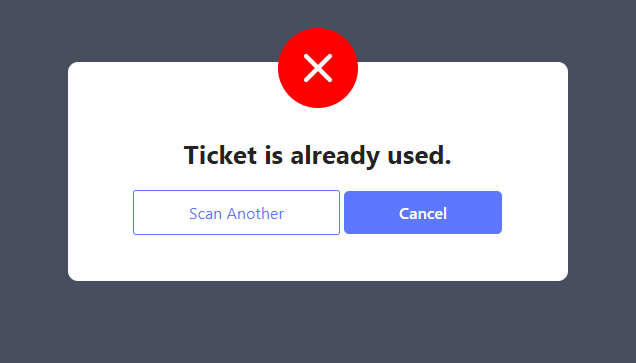
Ticket is already used: This notice says, you have scanned the ticket already. After the scan, you can either scan another or cancel scanning.
Two Steps for Manual Check-in #
Two-step manual check-in is another effective feature of Eventin that typically involves a process where event attendees are checked in manually using a list or database of registered participants.
Note: A smart device / scanner is required to leverage this feature.
Note: From the admin panel, the admin can update the used/unused status of each ticket at any time.
Here’s the proces you should follow for the manual check-in-
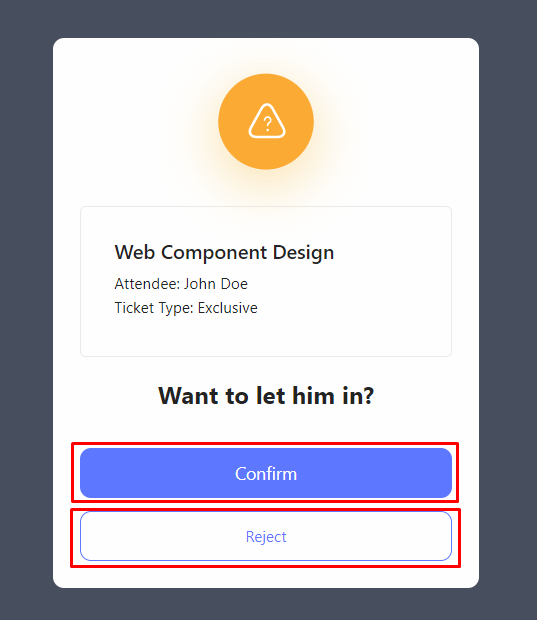
Go to your Eventin dashboard and then Event Attendees -> Ticket Scanner (button) and it will start the scanner in your device. Then scan the ticket. You will get the option to confirm/reject the scanning on the ticket.
Ticket Template Settings(Pro) #
In the Eventin plugin, you can choose different ticket template variations for the QR code. These templates can be set globally or for individual events.
Follow the Documentation on how to set your Event tickets template.


