- How to create an Event single page with oxygen builder using shortcode.
- Create A Single Event
- Eventin Event Available Shortcode
- Create Event Title for Oxygen
- Create Event Image for Oxygen
- Create Event Description for Oxygen
- Create Event Speaker for Oxygen
- Create Event Organizer for Oxygen
- Create Event Schedule for Oxygen
- Create Event Time and Date for Oxygen
- Create Event's Pricing Form for Oxygen
- Create Event Attendee List for Oxygen
- Here is the video Eventin Event single page create with Oxygen builder using shortcode.
How to create an Event single page with oxygen builder using shortcode. #
A single event page allows you to display specific event information to visitors so that they can easily join your event. Here you will get some specified Eventin Single Event Shortcodesincluding Event Title, Event Speaker and Organizer, Event Schedule, Event Price, Event Description, Add to Cart, etc. Using this shortcode, you can easily arrange your single event page template in your desired way.
Just follow the step by step process to create & beautify your single event page template:
Note: You should install Eventin Pro, Oxygen Builder Plugin, and the Oxygen add-on to leverage this feature. So, before following the instructions below, make sure to install these and keep them activated on WordPress.
Create A Single Event #
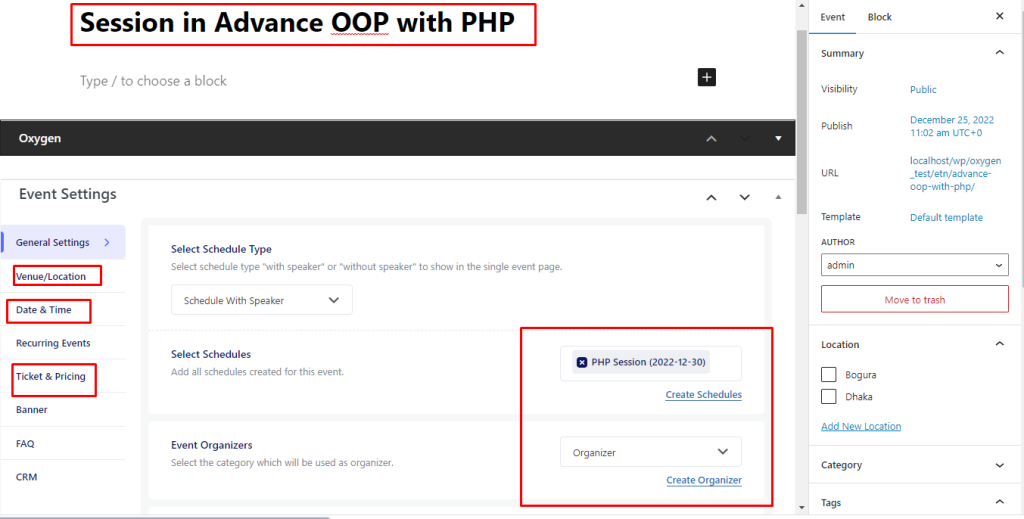
Go to Eventin -> Event > Add New.
Add Event title, select Event Date, Event Category, Tags, Event Pricing and other information. Add an event with everything needed to create an event.
Eventin Event Available Shortcode #
Create Event Title for Oxygen #
Note: Oxygen Builder Template is not supported on Eventin right now. So, to make all the Oxygen Builder related changes, you should do these manually by following the instructions below.
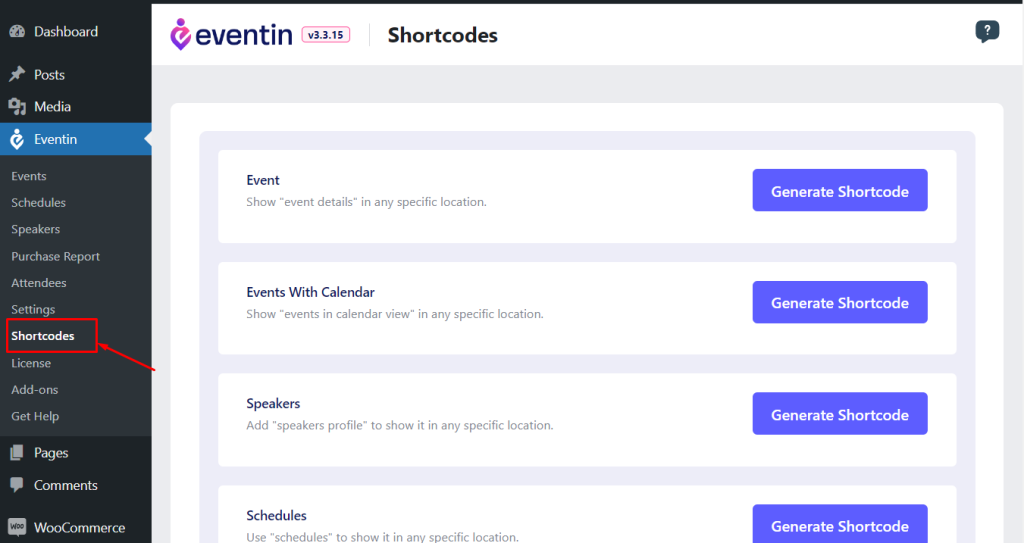
Go to Eventin>Shortcodes>Event Certificate(PRO) and copy the shortcode.
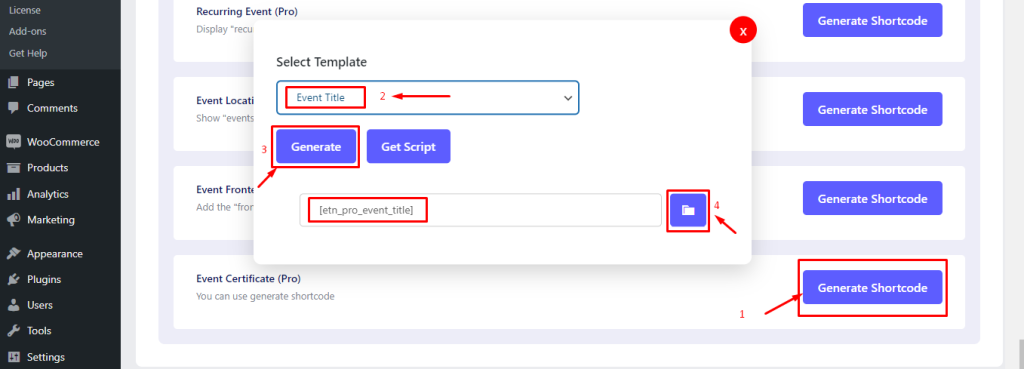
Now place it on the Oxygen Event page. You can go to your oxygen edit page by following the below image.
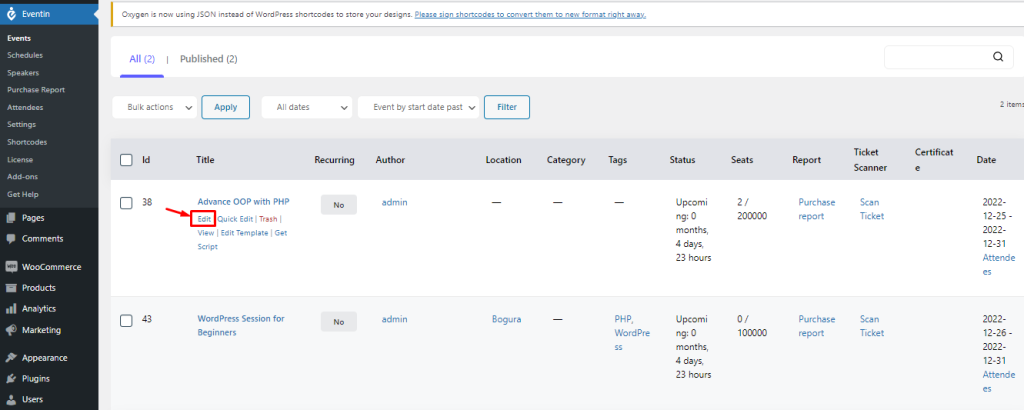
Clicking on the “Edit” button will show you the following interface. Now, click on the “Edit with Oxygen” button as marked on the image below.
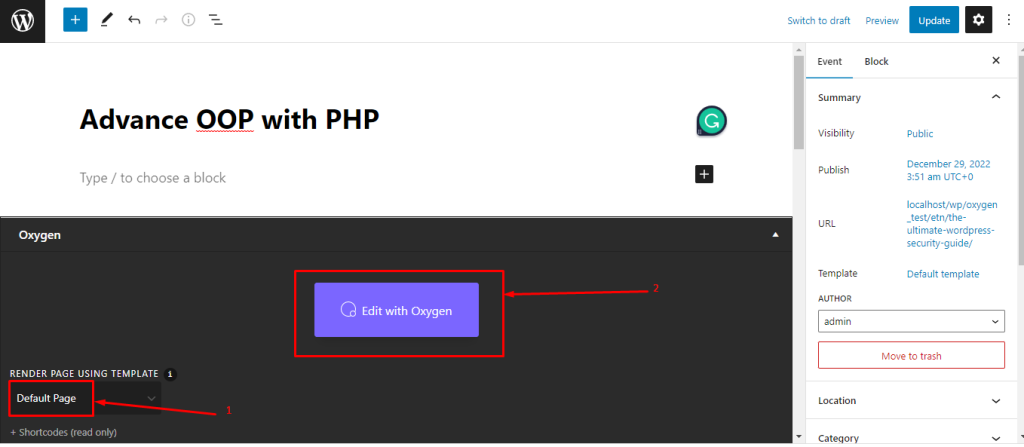
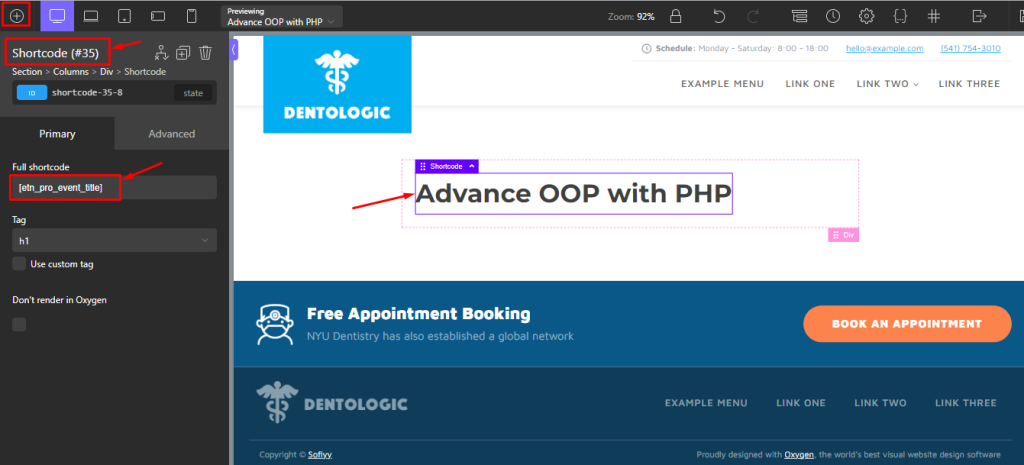
You will find a view like that. Place your first shortcode for event title.
Create Event Image for Oxygen #
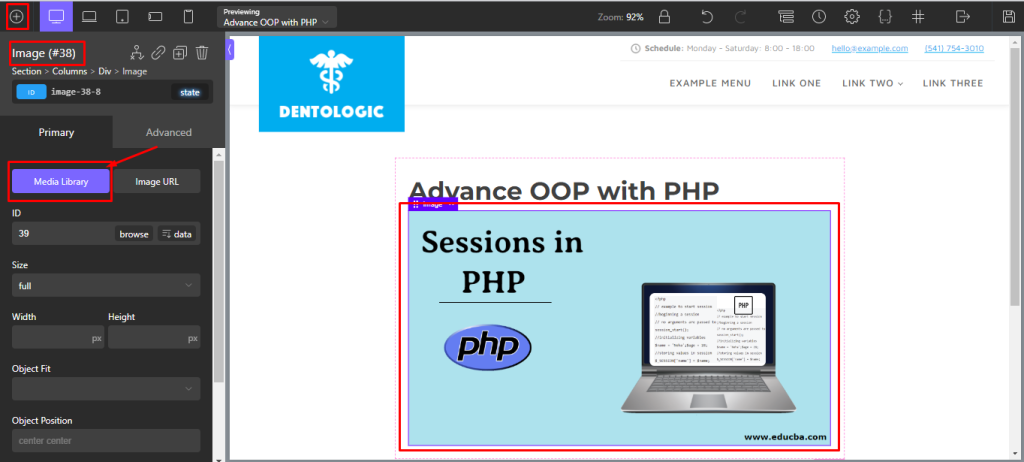
Here you have to add a image for your event. You can add any image related to your event. There is no shortcode for the image. You can do it manually.
Create Event Description for Oxygen #
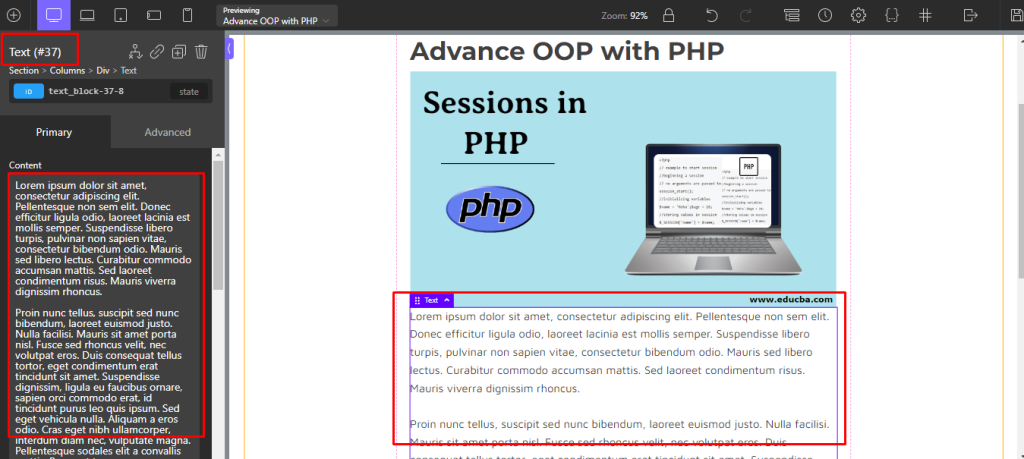
You can give a description of the event as you wish. You can do this using Oxygen Builder’s text widget.
Create Event Speaker for Oxygen #
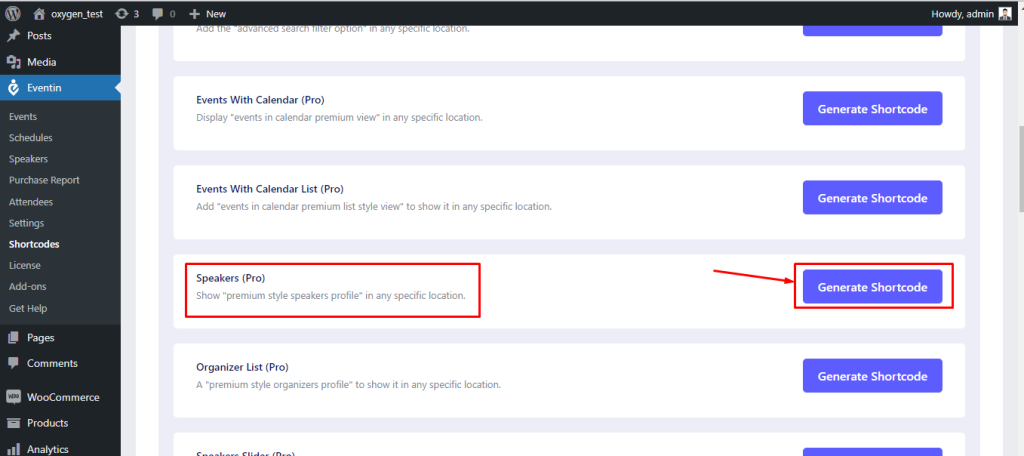
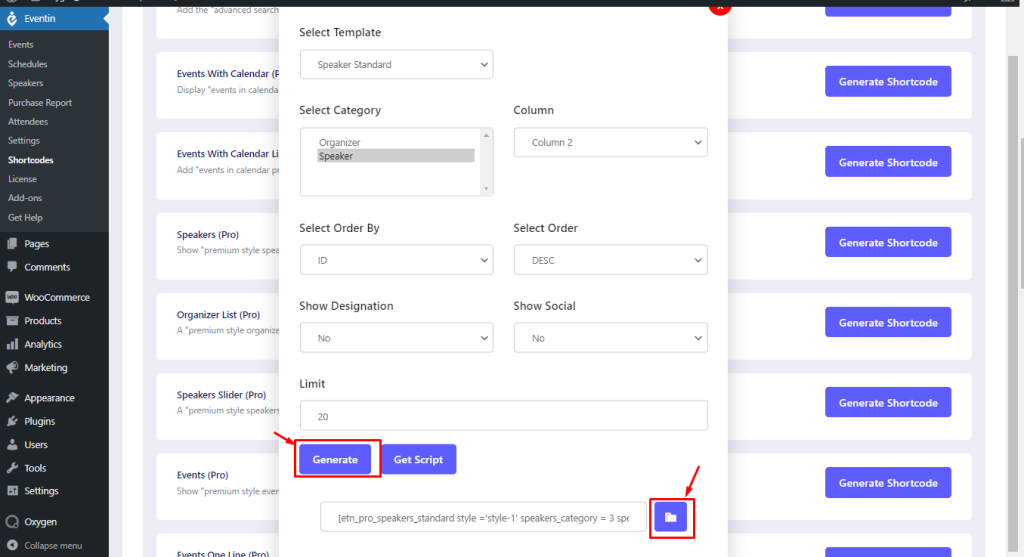
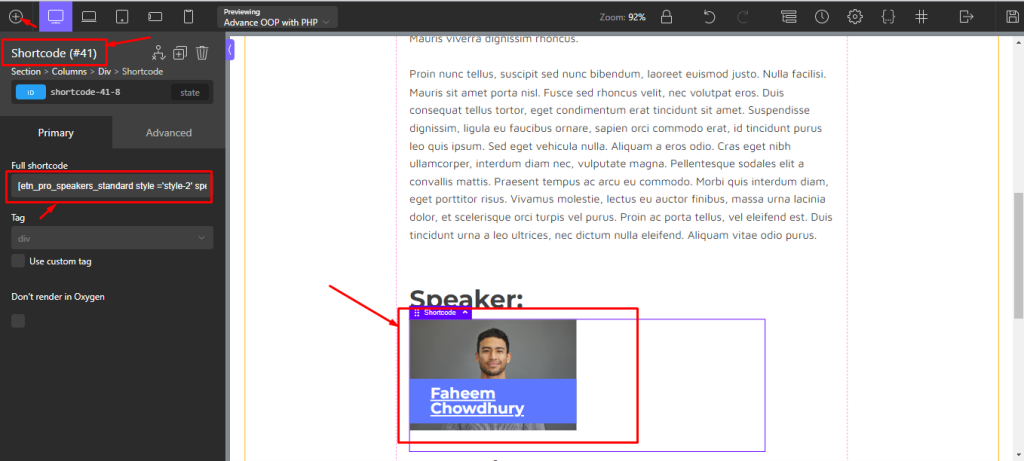
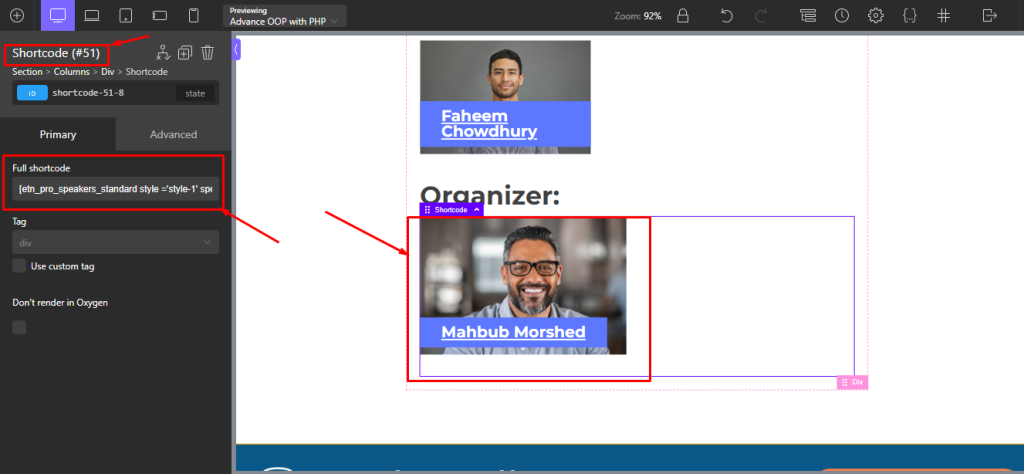
You can easily show your speaker on the single event page of your event. For that, you have to place another shortcode for it. You will find this shortcode Eventin>Shortcodes>Speakers (Pro). Note that, you have to select those properties for the speaker before generating a speaker shortcode.
Note: Before adding speakers, they must be created first. You can create a speaker from this link.
Create Event Organizer for Oxygen #
Same as Speaker.
Create Event Schedule for Oxygen #
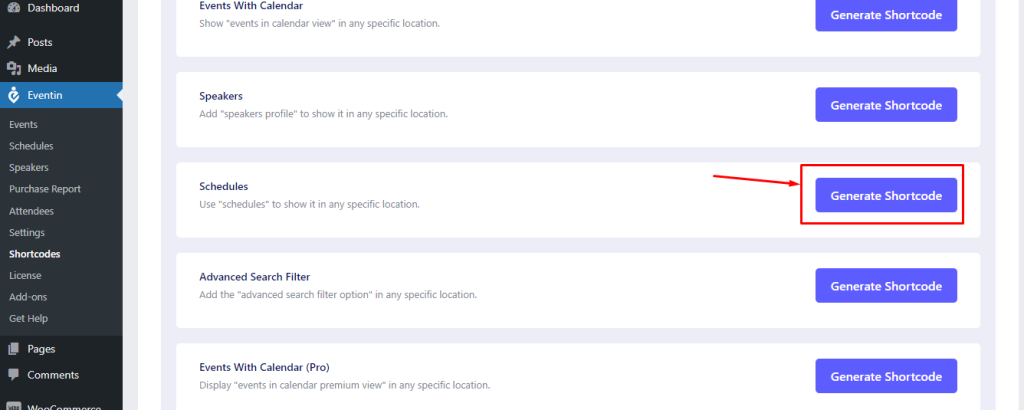
Go to Eventin>Shortcodes>Schedules
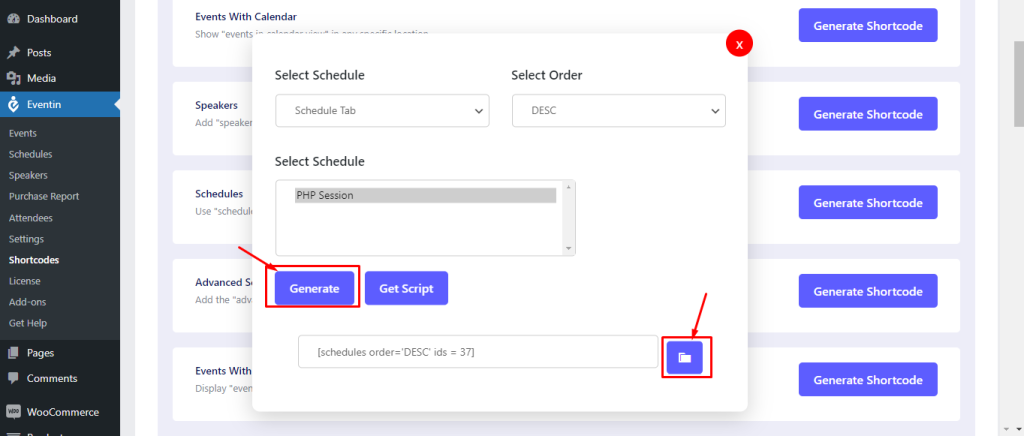
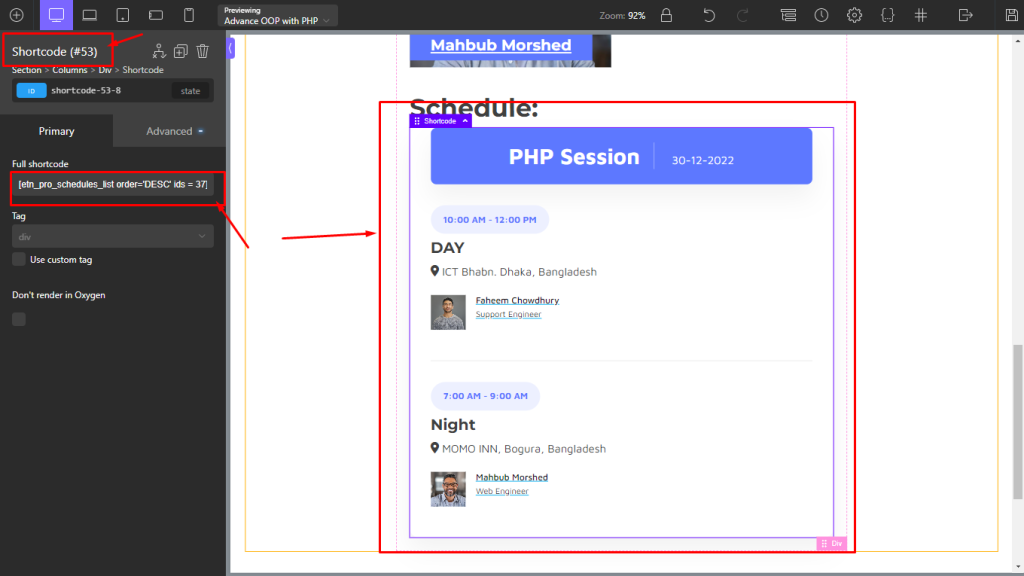
Place it on,
Create Event Time and Date for Oxygen #
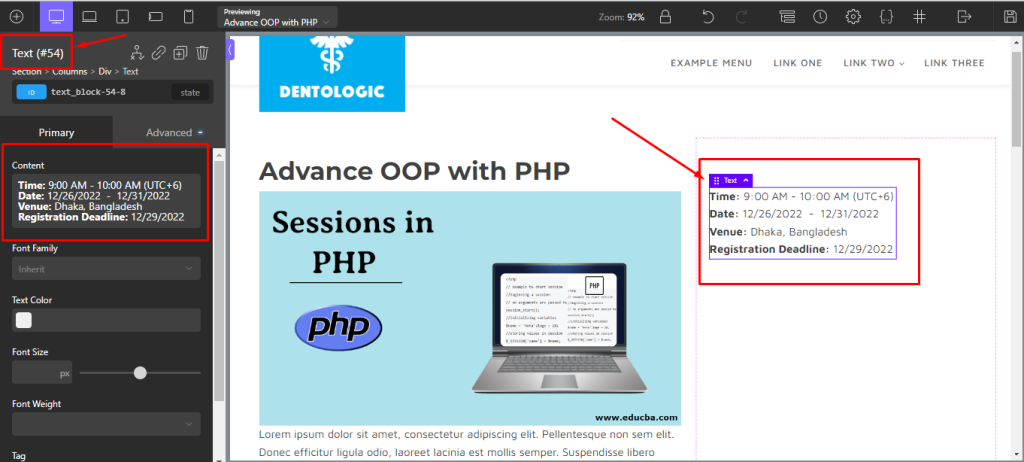
You can manually place it in the text widget for your event. Take a oxygen text widget and do it like as you want.
Create Event’s Pricing Form for Oxygen #
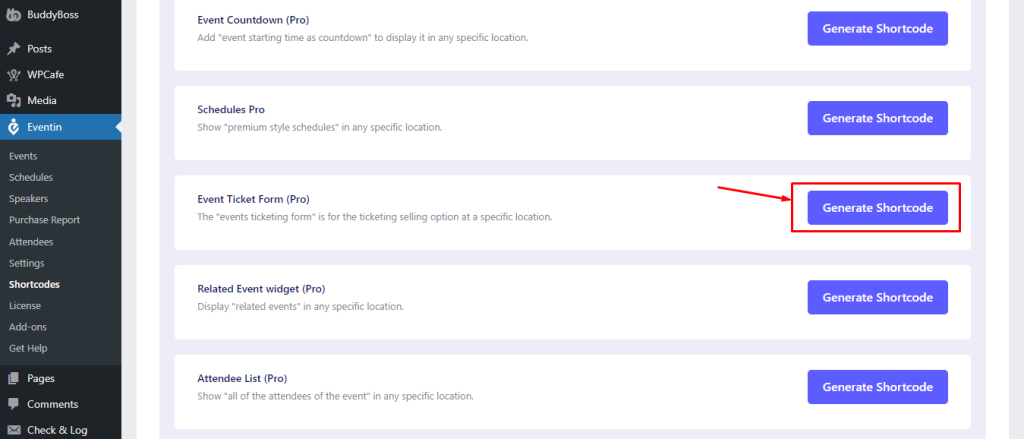
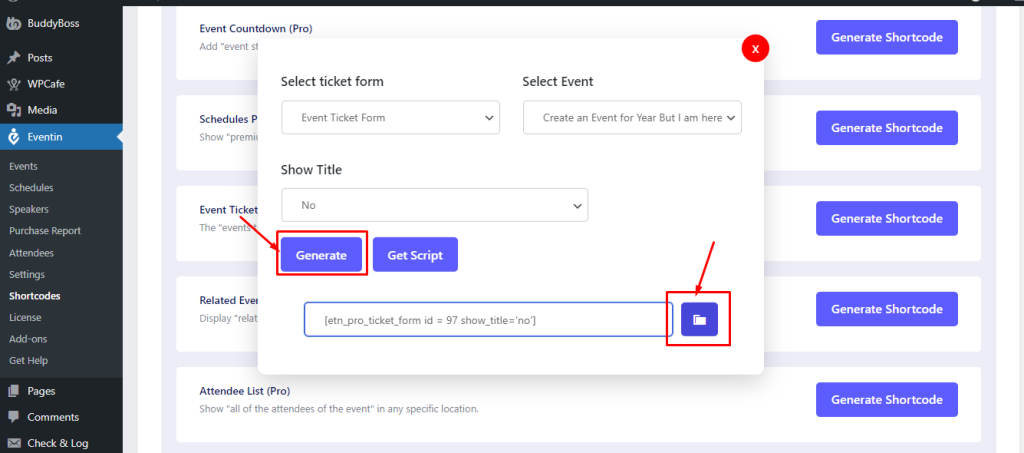
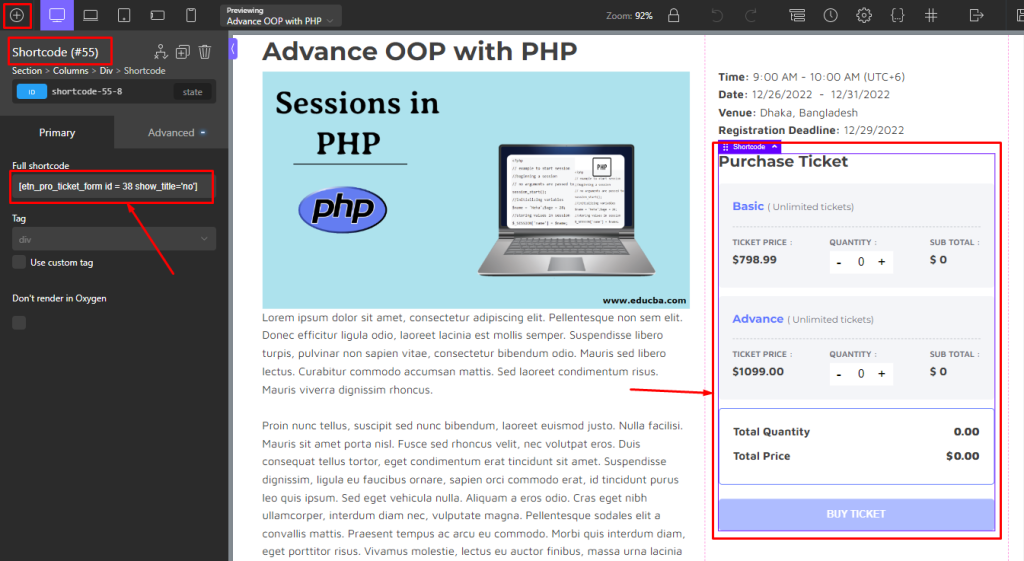
Go to Eventin>Shortcodes>Event Ticket Form (Pro). Copy that shortcode and place it where you want.
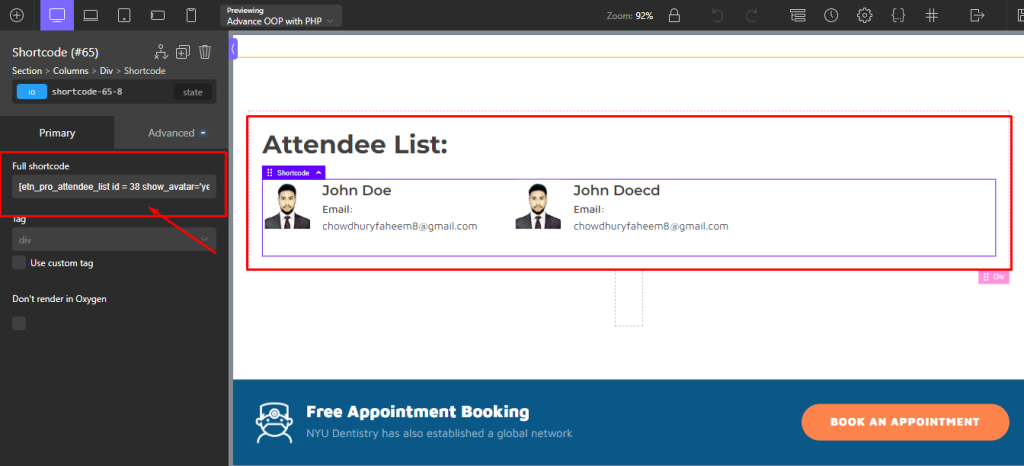
Create Event Attendee List for Oxygen #
Go to Eventin>Shortcodes>Attendee List (Pro)
