Introduction #
In the competitive landscape of event management, a seamless checkout experience is paramount for maximizing conversion rates. This documentation provides a comprehensive guide on integrating FluentCart with Eventin. By leveraging this integration, event organizers can provide a high-performance, user-friendly shopping cart experience that simplifies ticket purchasing and enhances overall customer satisfaction.
Prerequisites #
Before starting the configuration, ensure you have the following components installed and activated on your WordPress site:
- Eventin(Free)
- Eventin Pro (Optional)
- Fluent Cart Plugin (Free)
- Eventin Addon for FluentCart
Configuration Steps #
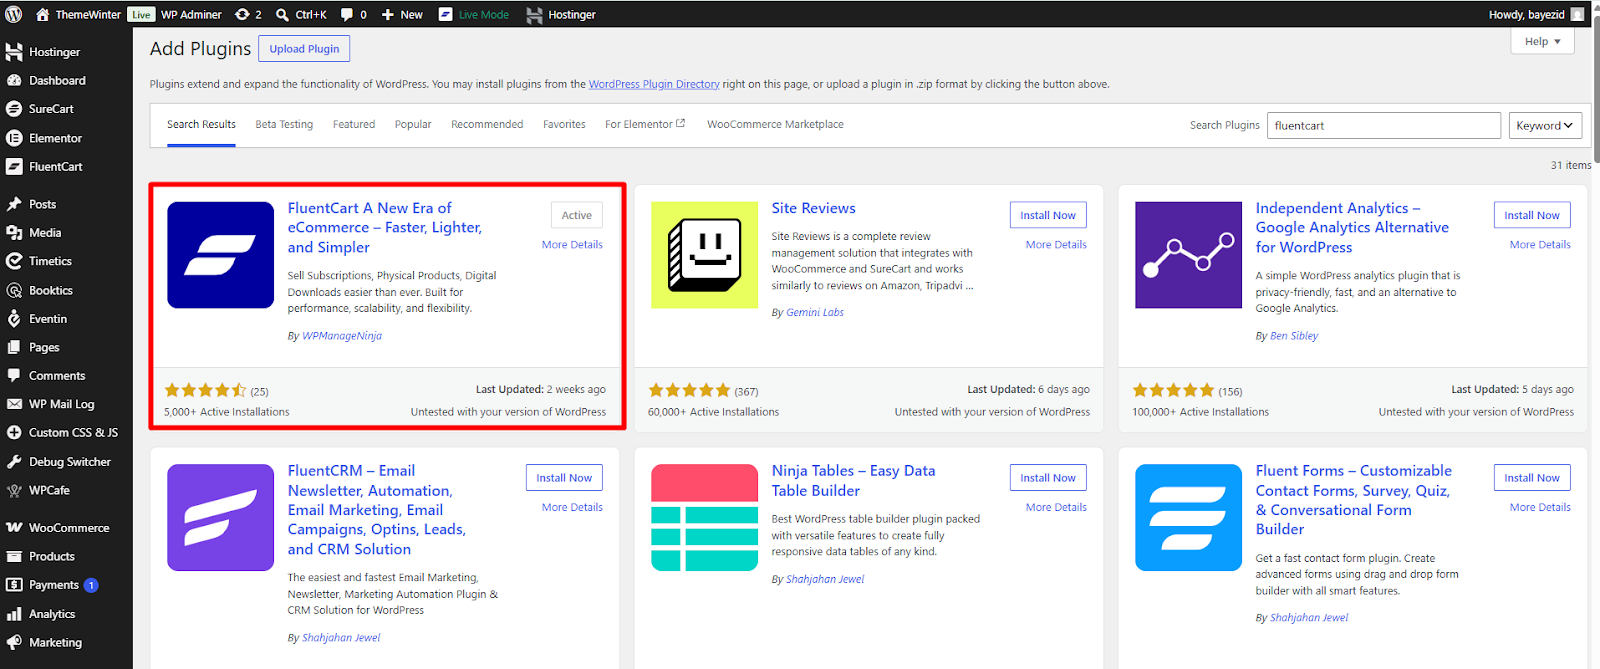
1. Install FluentCart #
Begin by installing the Fluent Cart Plugin from the official WordPress Plugin directory. This serves as the engine for your event’s transactional processing.
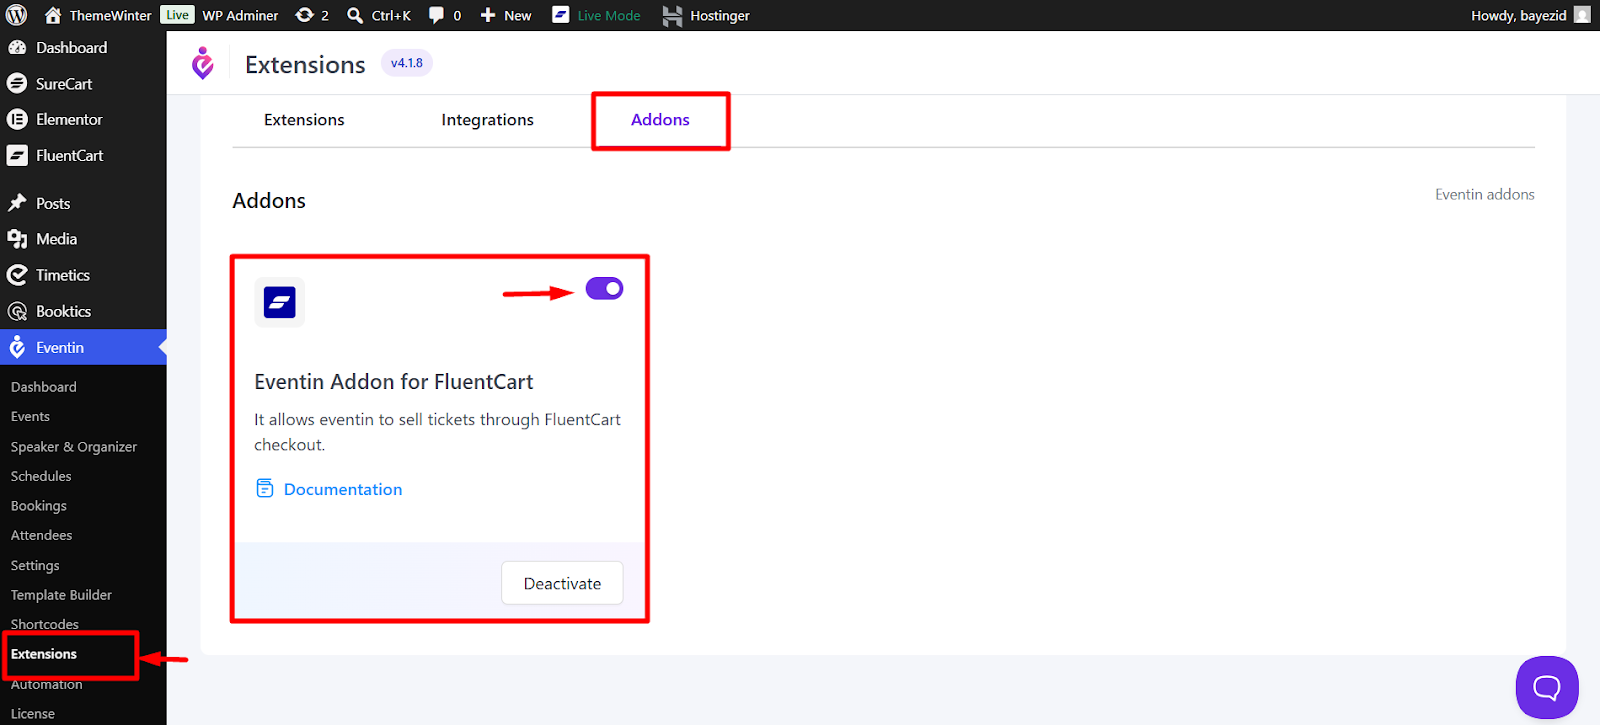
2. Activate Eventin FluentCart Addon #
To bridge the two systems, navigate to Eventin Extensions and locate the Eventin Addon for FluentCart. Click install to enable specialized event-to-cart functionalities.
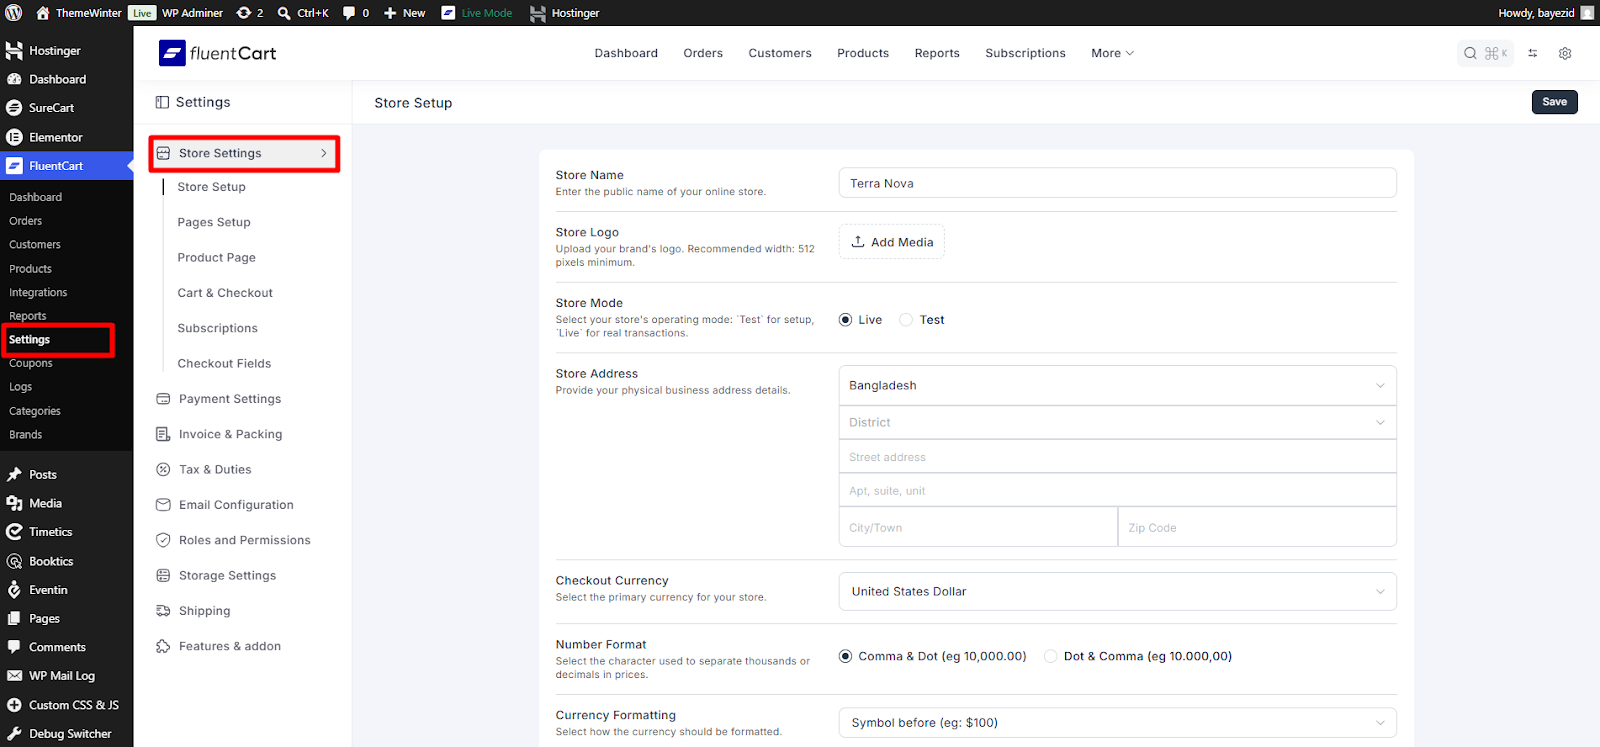
3. Store Setup (Optional) #
Define your store identity within the FluentCart settings. While optional, customizing these settings helps maintain brand consistency throughout the buyer journey.
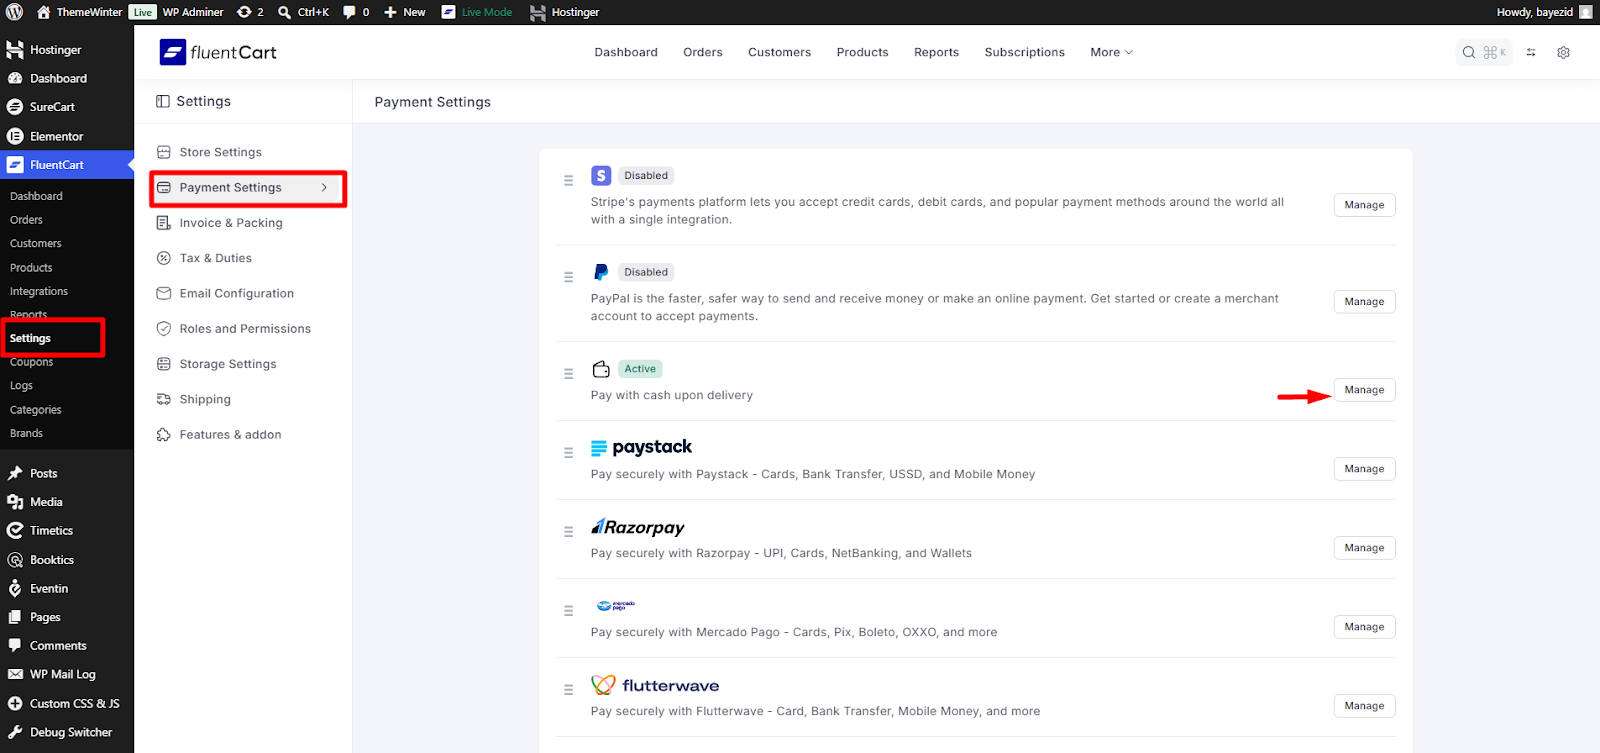
4. Payment Method setup (Required) #
Navigate to the FluentCart settings to configure your preferred payment methods (e.g., Stripe, PayPal). This step is critical to ensure you can securely accept payments from your attendees.
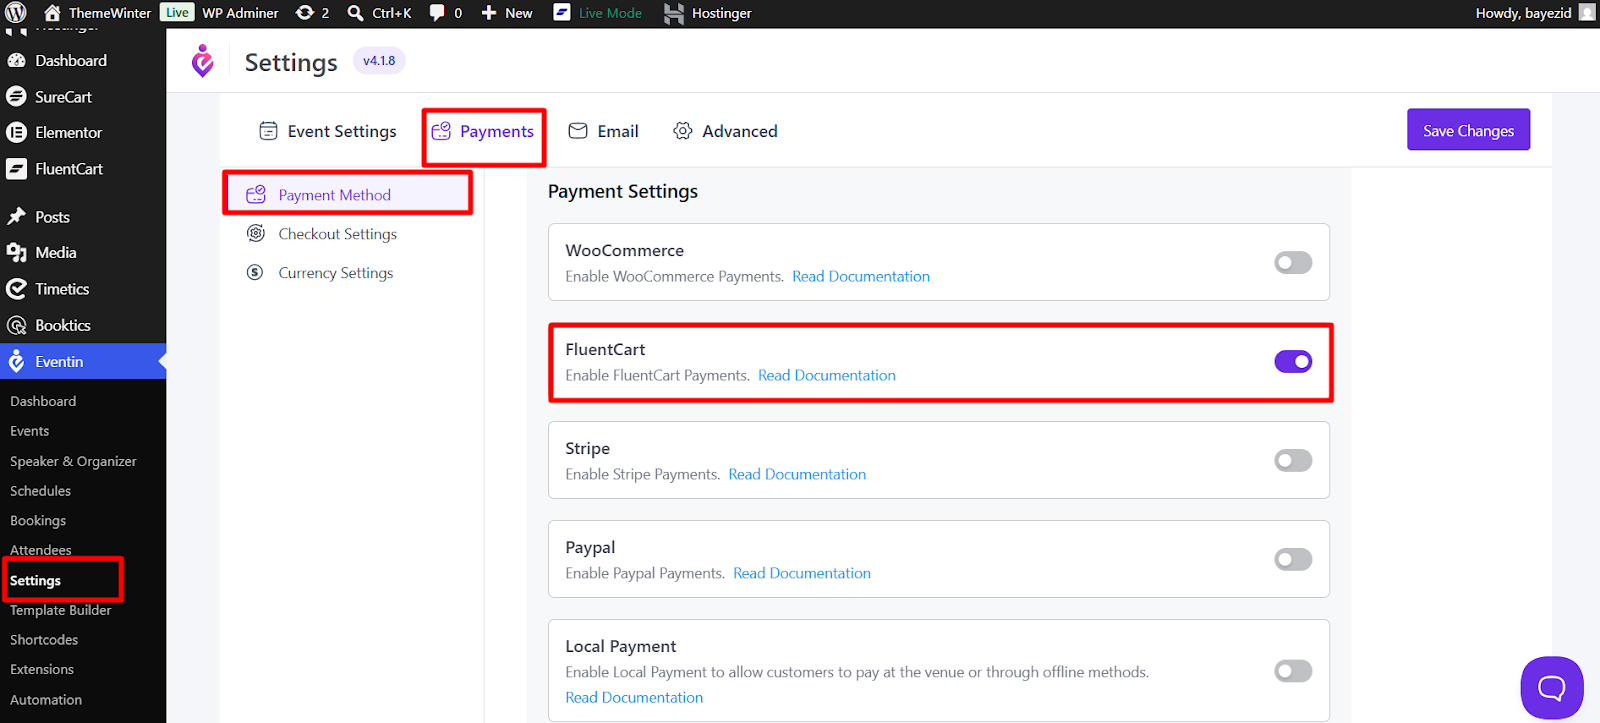
5. System Handshake: Enabling FluentCart in Eventin #
To complete the transactional handshake, navigate to the core Eventin Settings. Within the payment or checkout configuration area, you must explicitly enable FluentCart as an authorized payment method for event ticket processing. This finalizes the integration and routes all event checkouts through the high-performance FluentCart system.
- Navigate to Eventin → Settings → Payments
- Enable FluentCart as the payment option
⚠️ Note: You cannot enable FluentCart together with Stripe or PayPal at the same time.
6. Validation and Testing #
To ensure the integration is successful, open an event and add the ticket to your cart. You should see the Eventin checkout page with FluentCart already selected as the primary payment method.
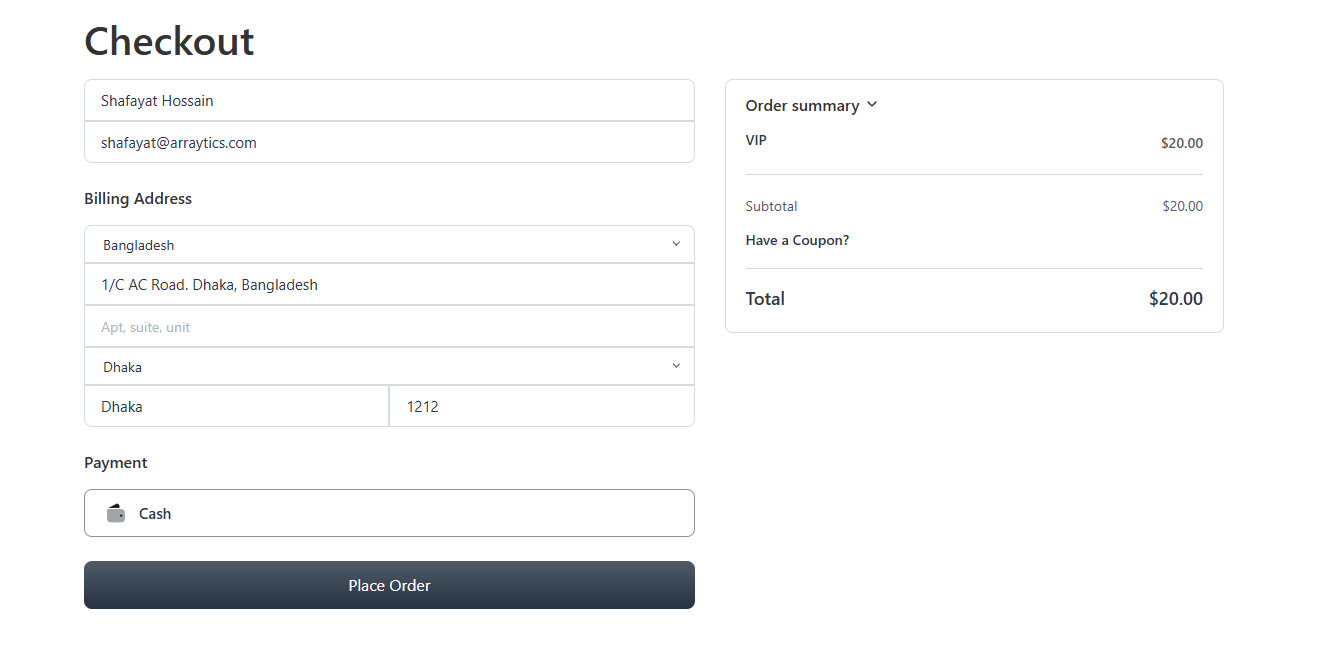
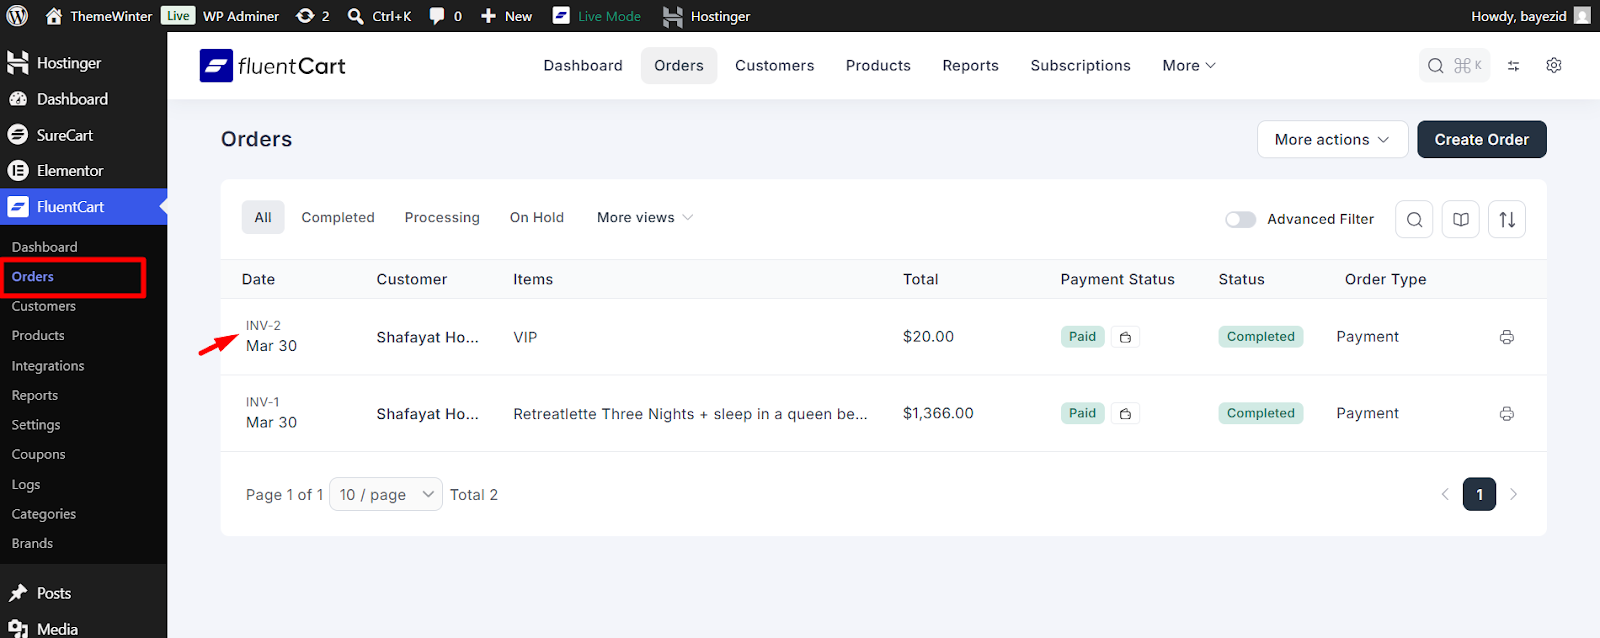
Complete the checkout, and your purchase will be successful. You can view the order in FluentCart → Orders.
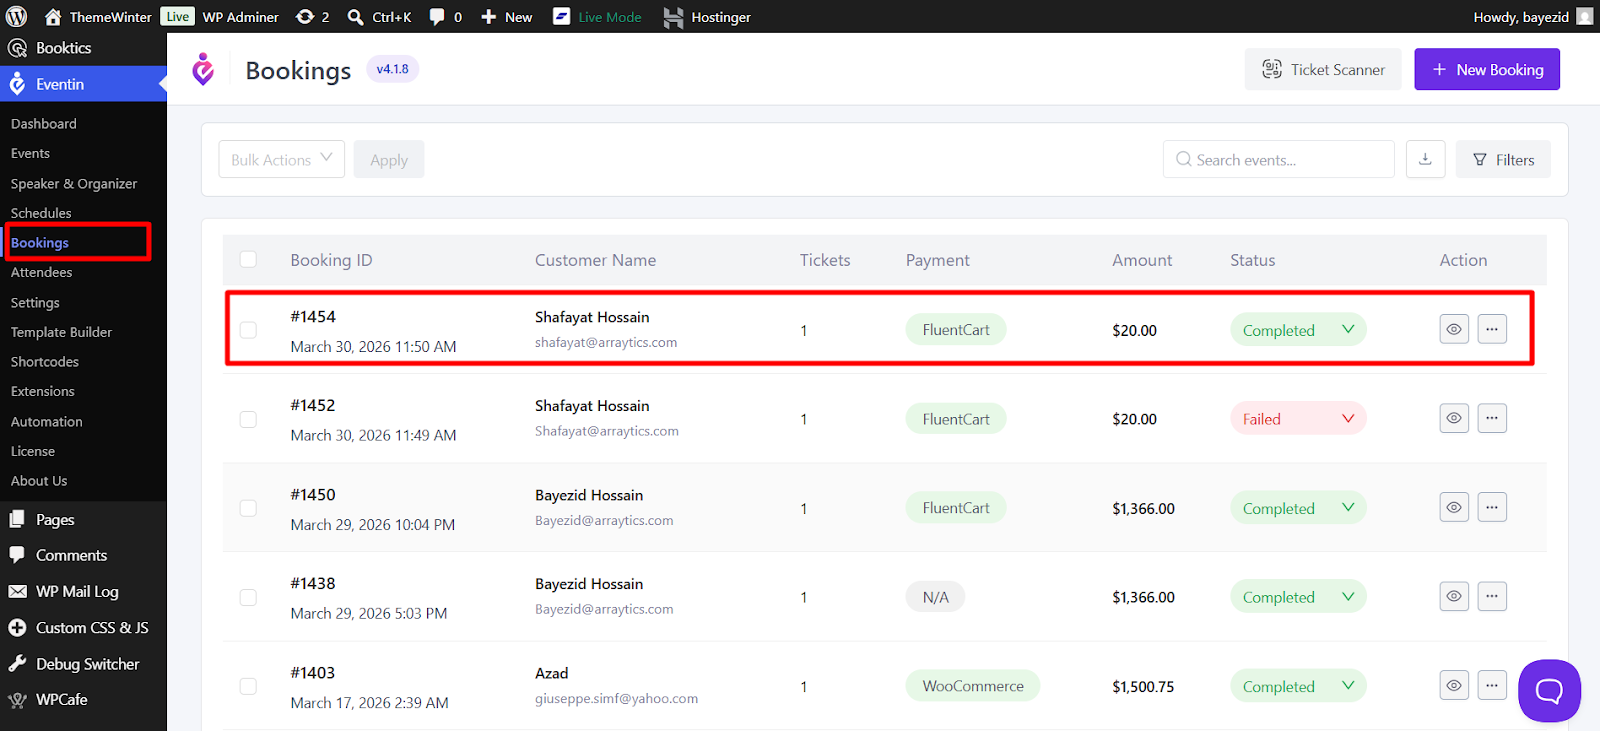
The booking will also appear as successful in Eventin → Bookings.
Frequently Asked Questions (FAQ) #
Q1: Do I need Eventin Pro for this integration to work?
No, the integration works with the free version of Eventin, though Eventin Pro offers additional advanced features for more complex event structures.
Q2: Where do I manage the orders after a purchase?
All financial transactions and order details are managed under FluentCart Orders, while attendee-specific information remains accessible via Eventin Bookings.
Q3: Can I use multiple payment methods?
Yes, FluentCart allows you to configure various payment gateways in its settings, providing flexibility for your customers at checkout.
Q4: Will the checkout page be branded?
Yes, once FluentCart is active, it takes over the checkout process, providing a clean and professional layout that matches the FluentCart store settings.
Conclusion #
The integration of FluentCart and Eventin offers a professional-grade solution for event scaling. By following this guide, you have established a robust framework that not only processes transactions efficiently but also provides clear visibility into your booking data and order history. This synergy is a key driver for operational excellence in modern event marketing.


