The Time-Based Products feature allows you to automatically show or hide food items based on specific times, dates, or days. This ensures customers only see the correct menu items when they are available.
First, you have to enable the module. Go to WPCafe Dashboard → Modules and enable the Timed Product module.
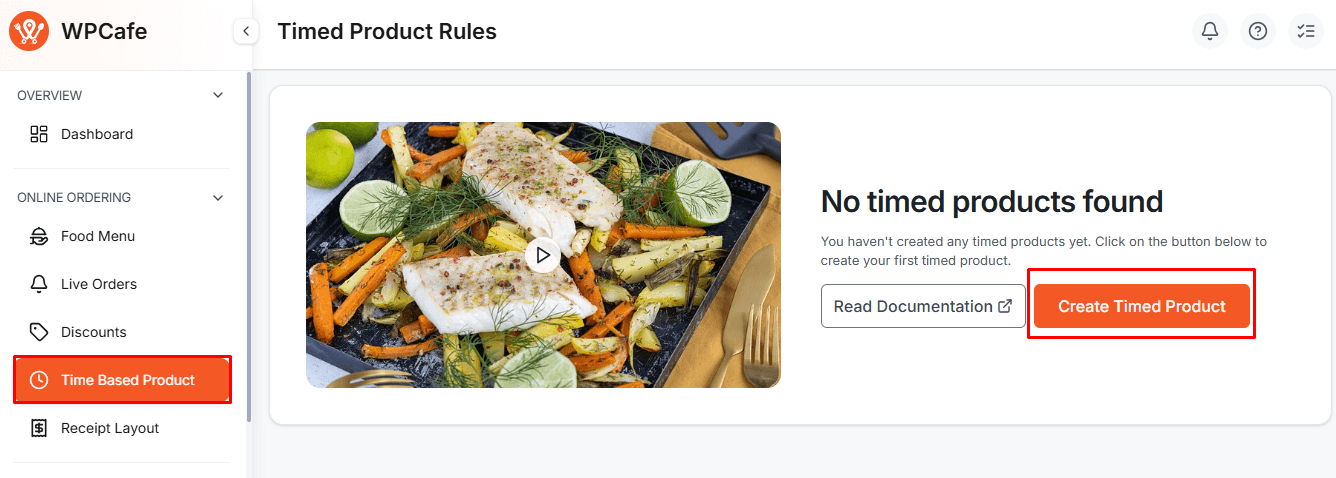
How to Create a Time Product Rule #
Go to Dashboard → Time Based Product from the left menu → click Create Time Product → a rule setup form will appear.
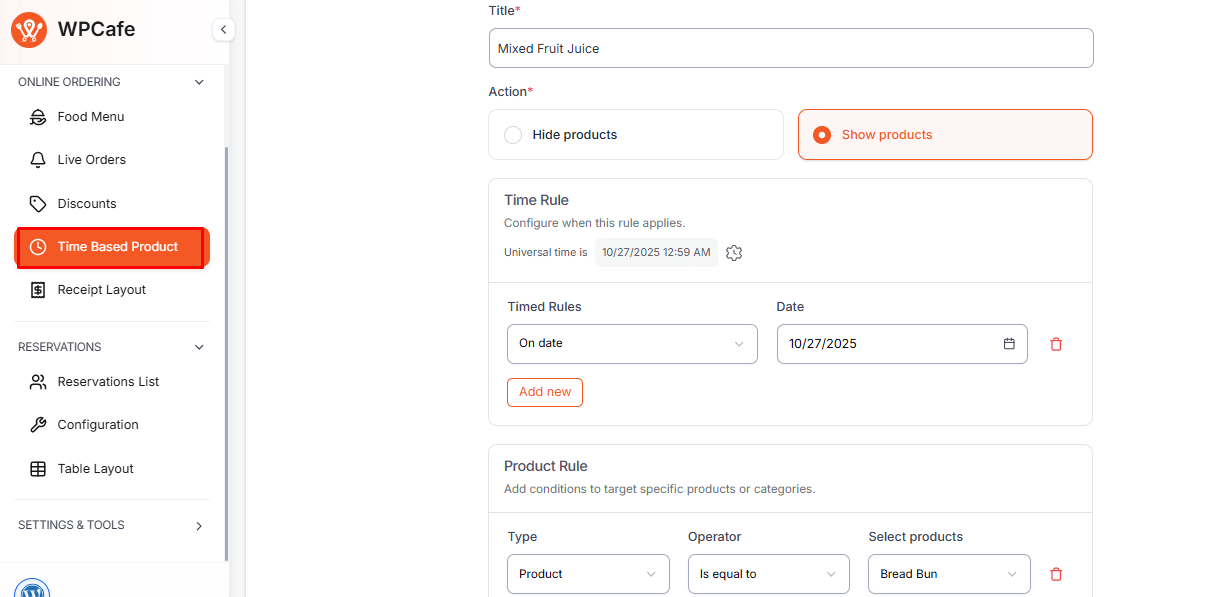
Rule Settings #
- Title: Enter a name for the rule.
- Action: Choose whether you want to hide products or show products during the selected time.
- Time Rule: You can add multiple time conditions:
- On date
- Date Range
- Time Range
- Day of the Week
- Before Date
- After Date
Use Add new if you need more than one condition.
Product Rule #
- Type: Product category or Product
- Operator: Is equal to or Is not equal to
- Select the product or category you want the rule to apply to.
You can use Add new to include multiple product conditions.
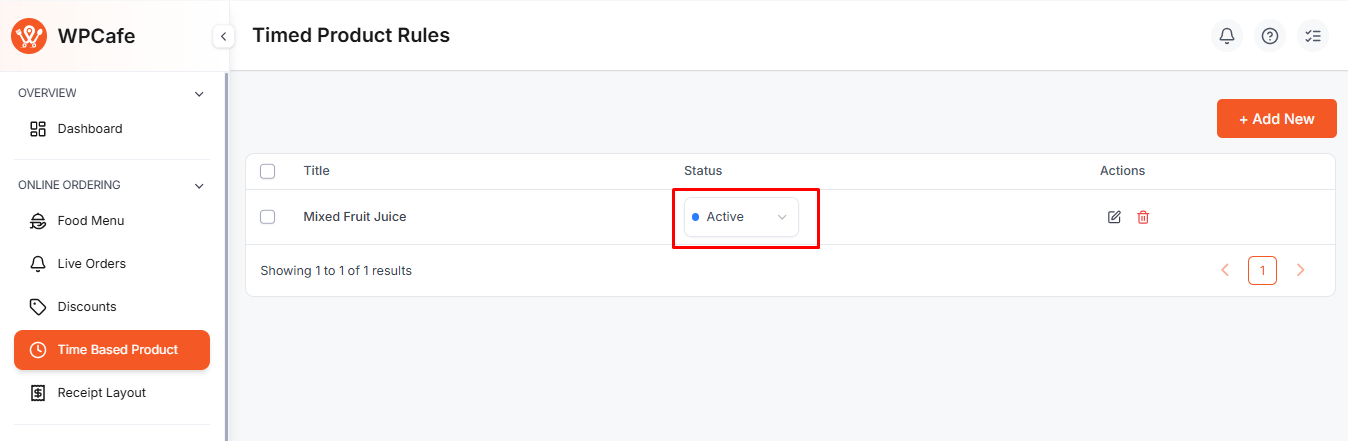
Activating Your Rule #
After completing the setup, click Save. Then check the rule list and make sure it is activated so the rule works on your website.
Conclusion #
Time-based product Rules help you manage menu availability automatically. By enabling only the correct items at the right time, customers enjoy a better ordering experience, and your restaurant workflow becomes more efficient.


