An event can have multiple pages, including an event landing page, speaker page, organizers page, etc. However, there are also one-page events that include all the other pages’ information in various sections on one page. These one-page event websites are also known as single event pages.
Just follow the step-by-step process to create & beautify your single event page template:
Note: “Elementor Archive” isn’t supported right now. We’re working on it to make these features active soon.
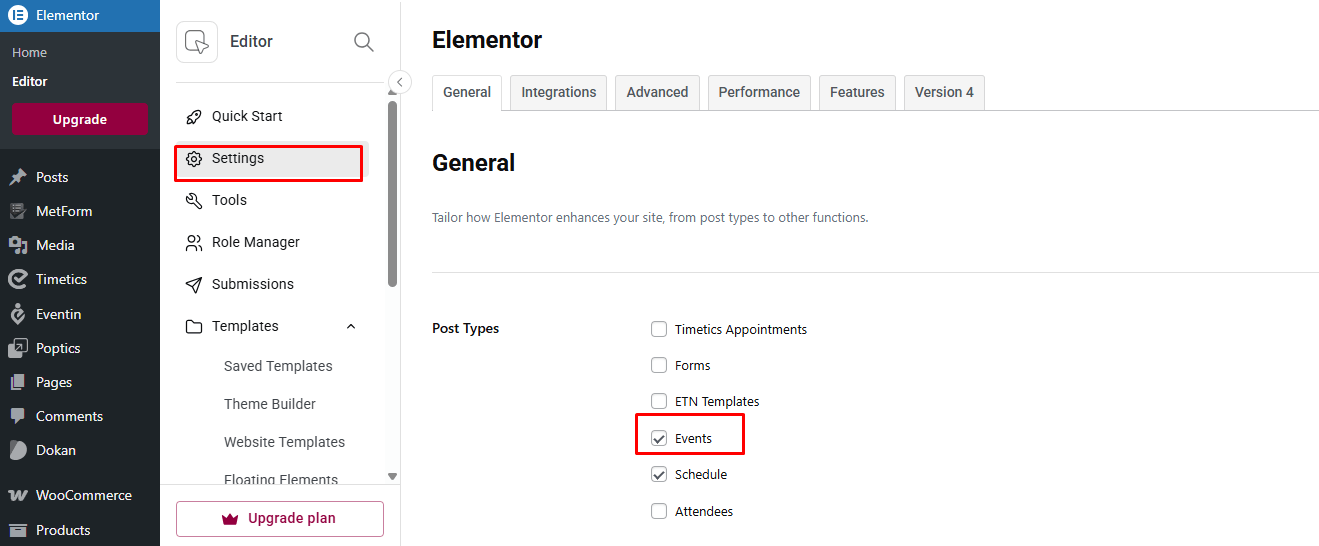
Enable Elementor Editor for Event #
Go to Elementor > Settings> General > Post Type > Select Events and Save the Changes.
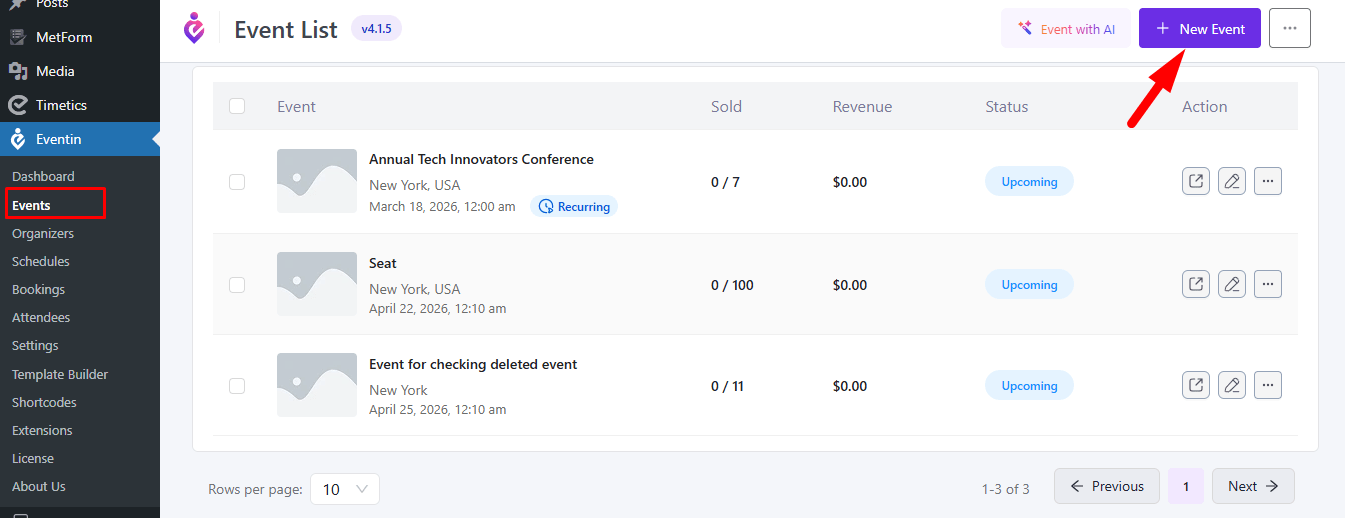
Create an Event #
Go to Eventin -> Events > Add New.
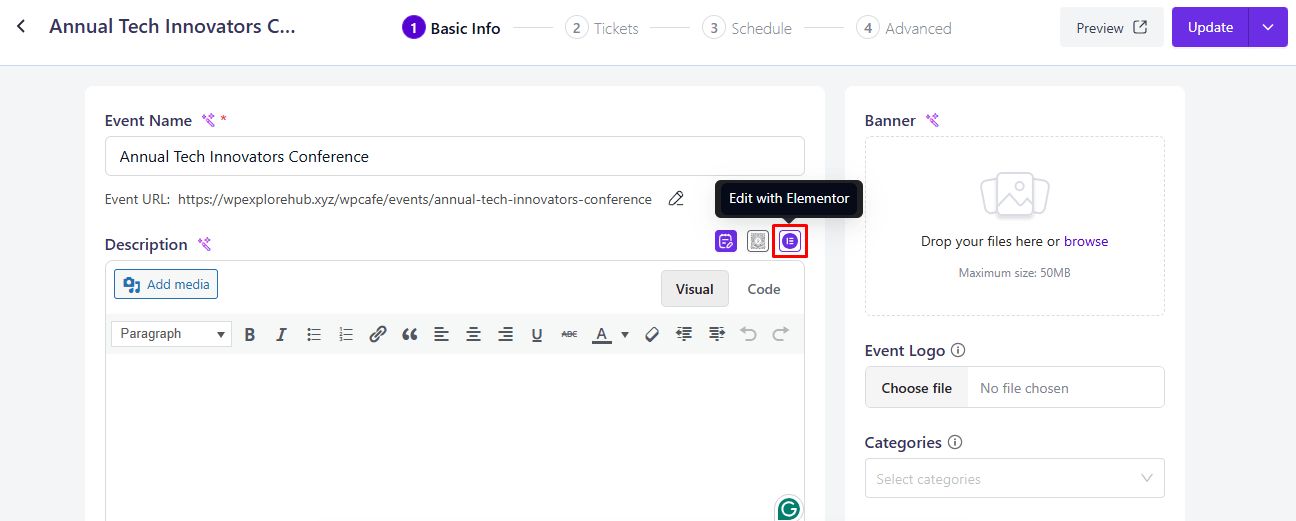
Add the event title and in the description section, click the button “Edit with Elementor” to customize the event content on Elementor.
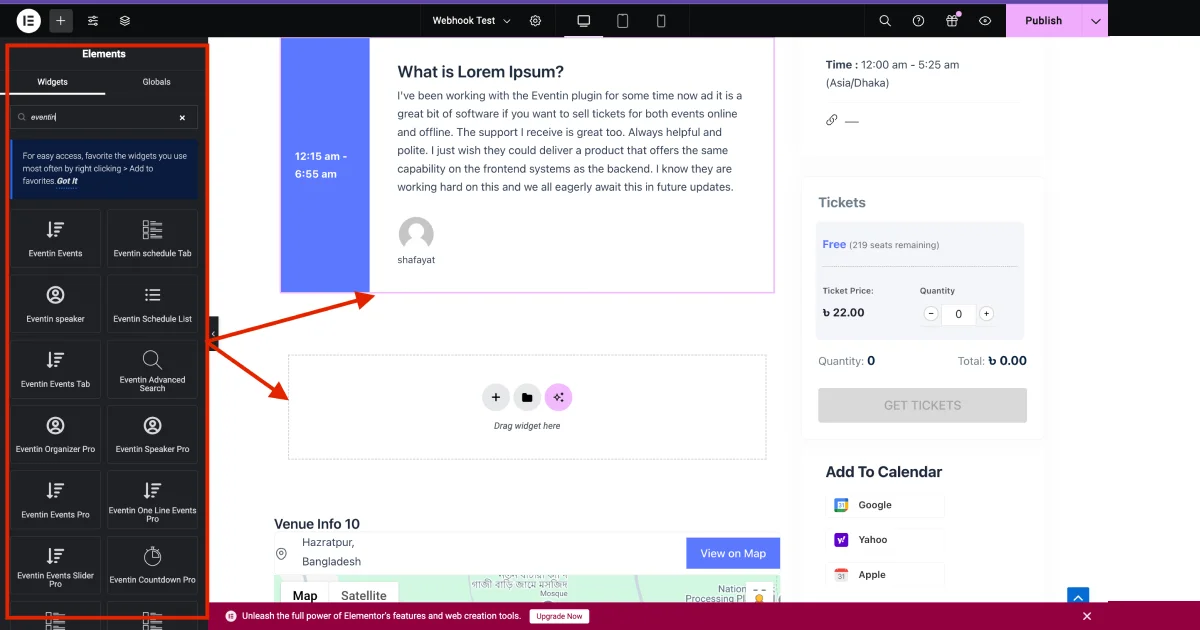
Available widgets of Eventin #
You can also check the Elementor widgets for Eventin in the documentation for details.