Managing events on WordPress involves many repetitive tasks like attendee registration, speaker coordination, order tracking, and event updates. These manual processes can be time-consuming and prone to errors.
Event automation helps by streamlining these routine tasks—such as updating attendee details, managing orders, and creating events—so you can focus on delivering remarkable experiences.
Eventin is a comprehensive event management plugin for WordPress, offering features like attendee management, recurring events, speaker profiles, and ticket sales.
OttoKit (formerly SureTriggers) is a no-code automation platform that connects WordPress with over 100 external apps, including Google Sheets, CRMs, and email services.
Using Ottokit, a visual automation builder, you can connect Eventin and SureTriggers to automate workflows covering event creation, attendee updates, order processing, speaker management, and more.
This integration saves time, reduces errors, and makes event management smoother and more efficient.
Get Started with Ottokit #
To begin automating your event workflows with Eventin and SureTriggers, you first need to create an account on OttoKit (formerly known as SureTriggers) and then install the required plugins.
Sign Up & Log In to Ottokit #
To get started, you need an OttoKit (formerly known as SureTriggers) account.
- Visit the Ottokit website: https://ottokit.com/
- Click the “Start Free” button on the homepage
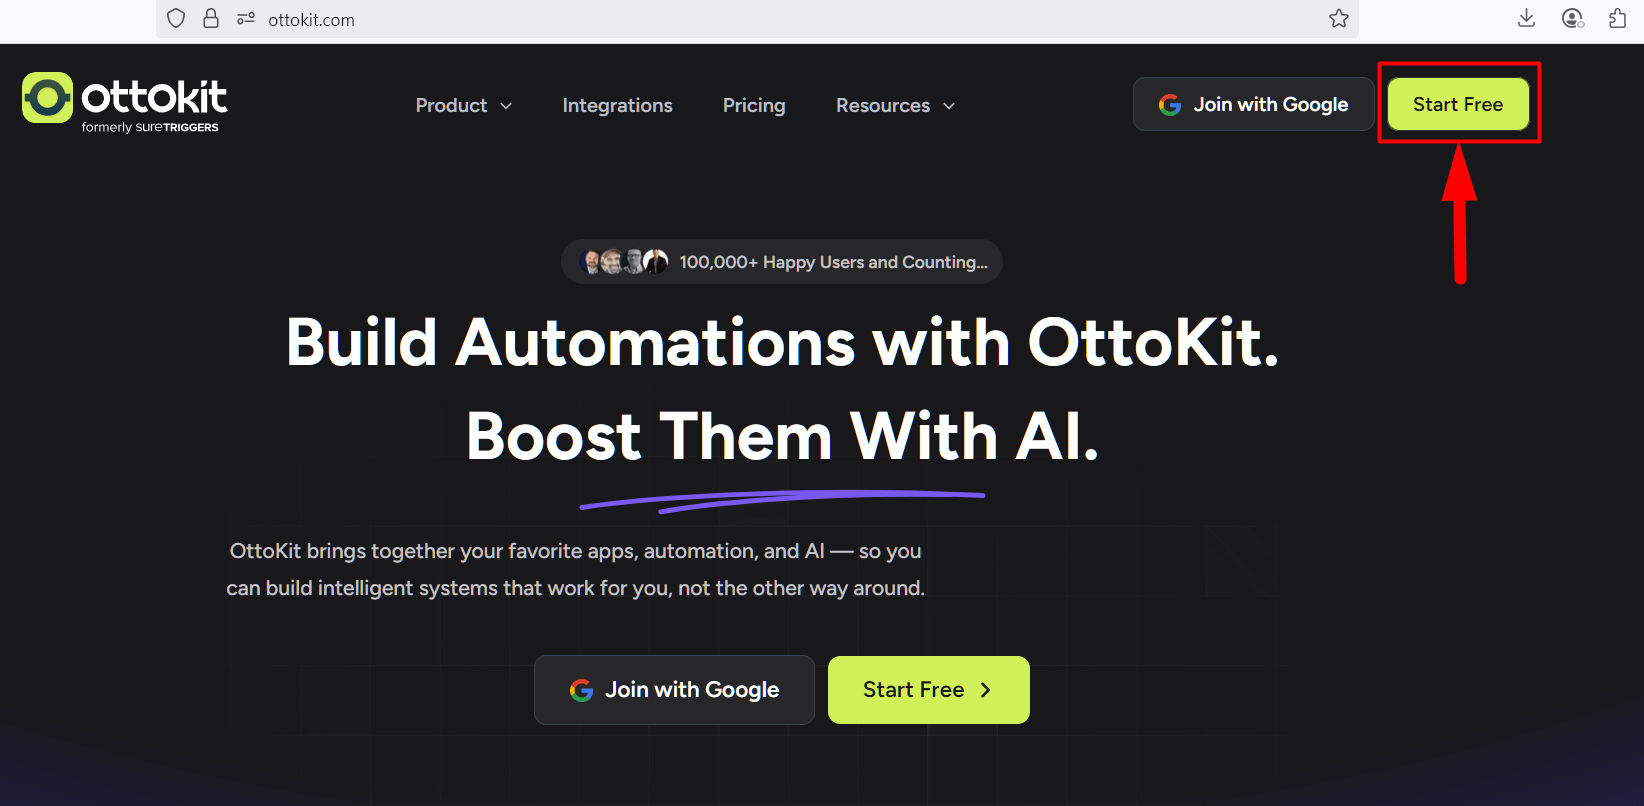
- Sign up using your email address
- Once registered, you’ll be redirected to your Ottokit dashboard
📝 Note: For using this feature, ensure that both Eventin (Free & Pro – valid license required) and Ottokit (Free from WordPress.org) plugins are installed and activated on your site.
Install the OttoKit (formerly known as SureTriggers) #
- Go to your WordPress dashboard
- Navigate to: Plugins → Add New
- In the search bar, type “Ottokit.”
- Click Install Now, then Activate
This plugin connects your WordPress site with your OttoKit (formerly known as SureTriggers) to manage your events.
Connect Your Site with OttoKit (formerly known as SureTriggers) #
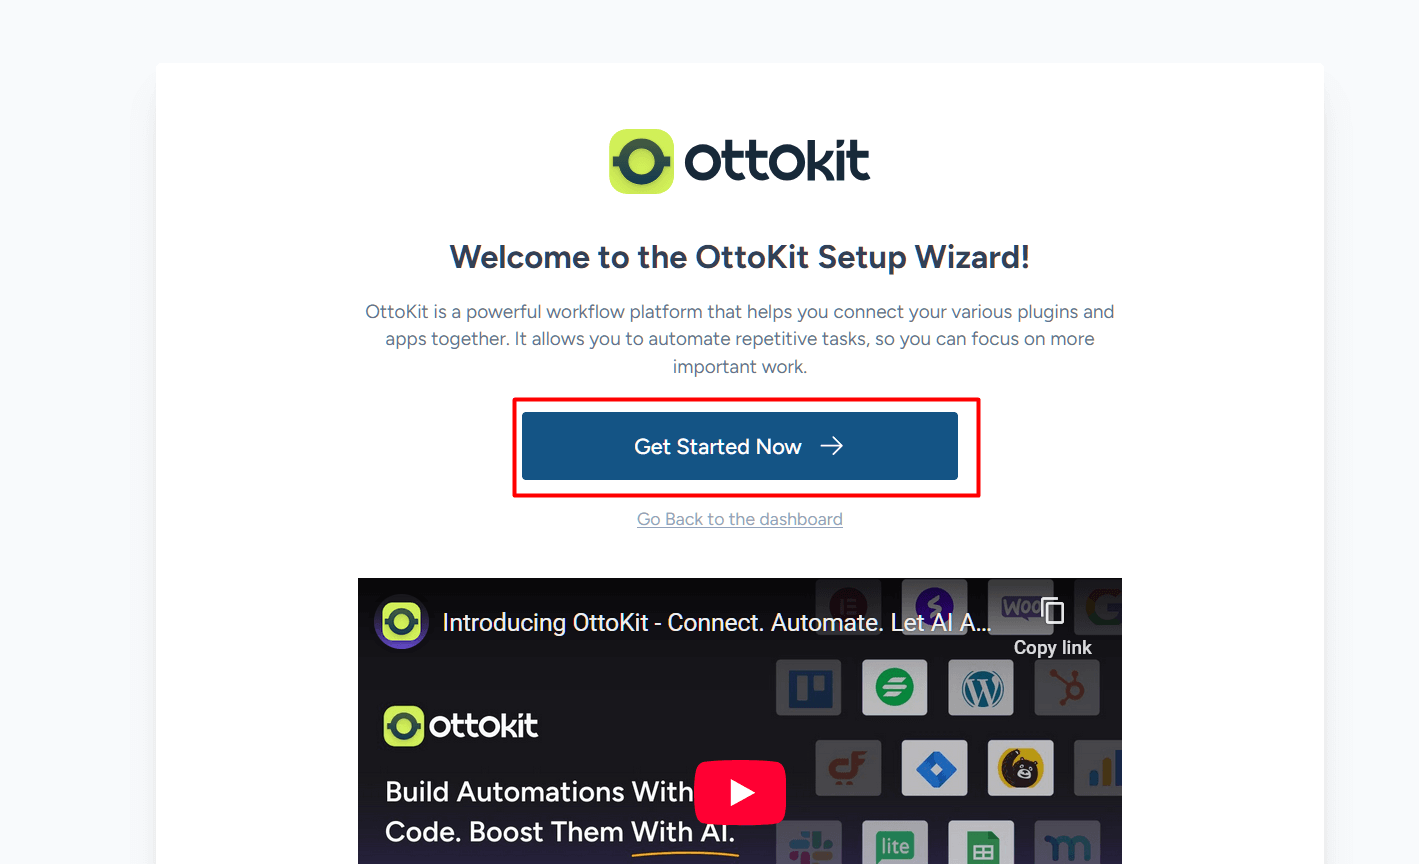
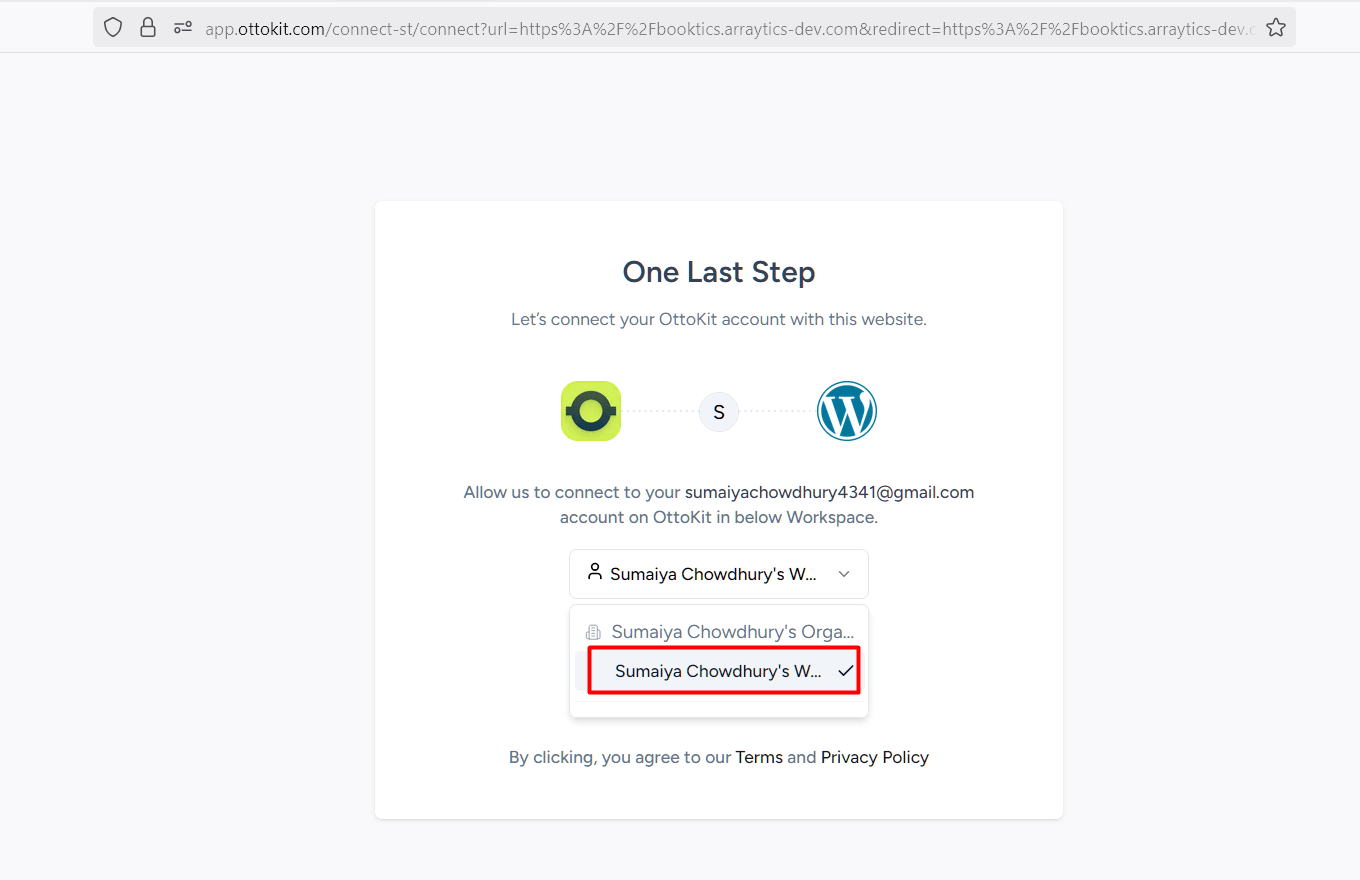
- After clicking the Getting Started button, you’ll be redirected to the Ottokit connection screen
- Select the account you created earlier
- Click on “Authorize & Connect”
If successful, your WordPress site will now be connected to Ottokit, ready to create workflows.
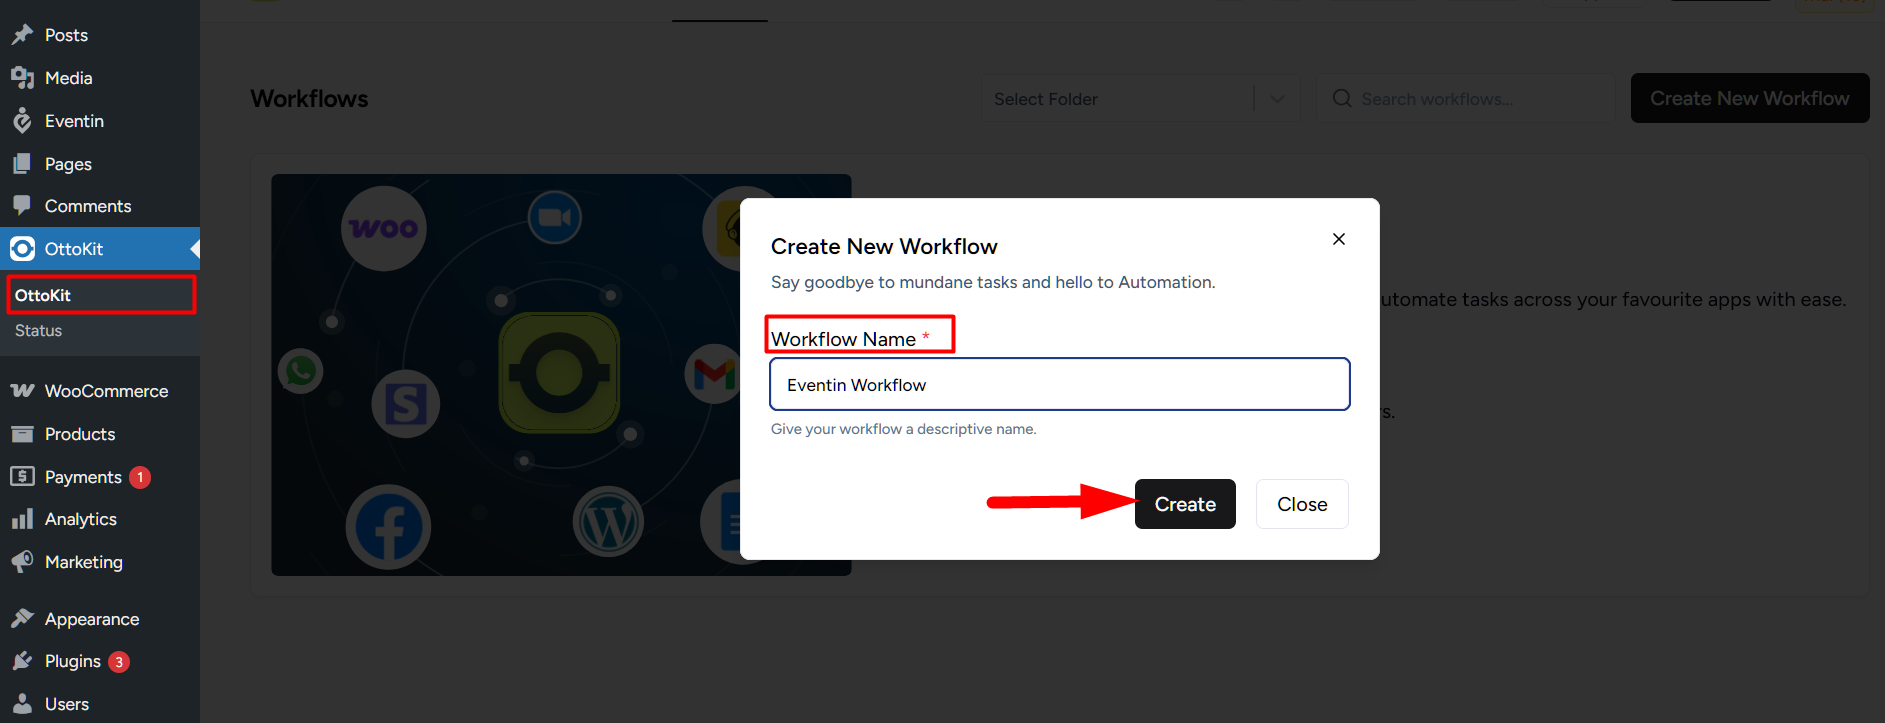
Create a Workflow in OttoKit (formerly known as SureTriggers) #
In your Ottokit dashboard, navigate to: Workflows → Create New Workflow
- Enter a Workflow Name
- Click the Create button
- This will take you to the visual Workflow Builder.
Add an Eventin Trigger #
- In the Workflow Builder, click the “+” icon to add a trigger
- Search for “Eventin” and select the Eventin app
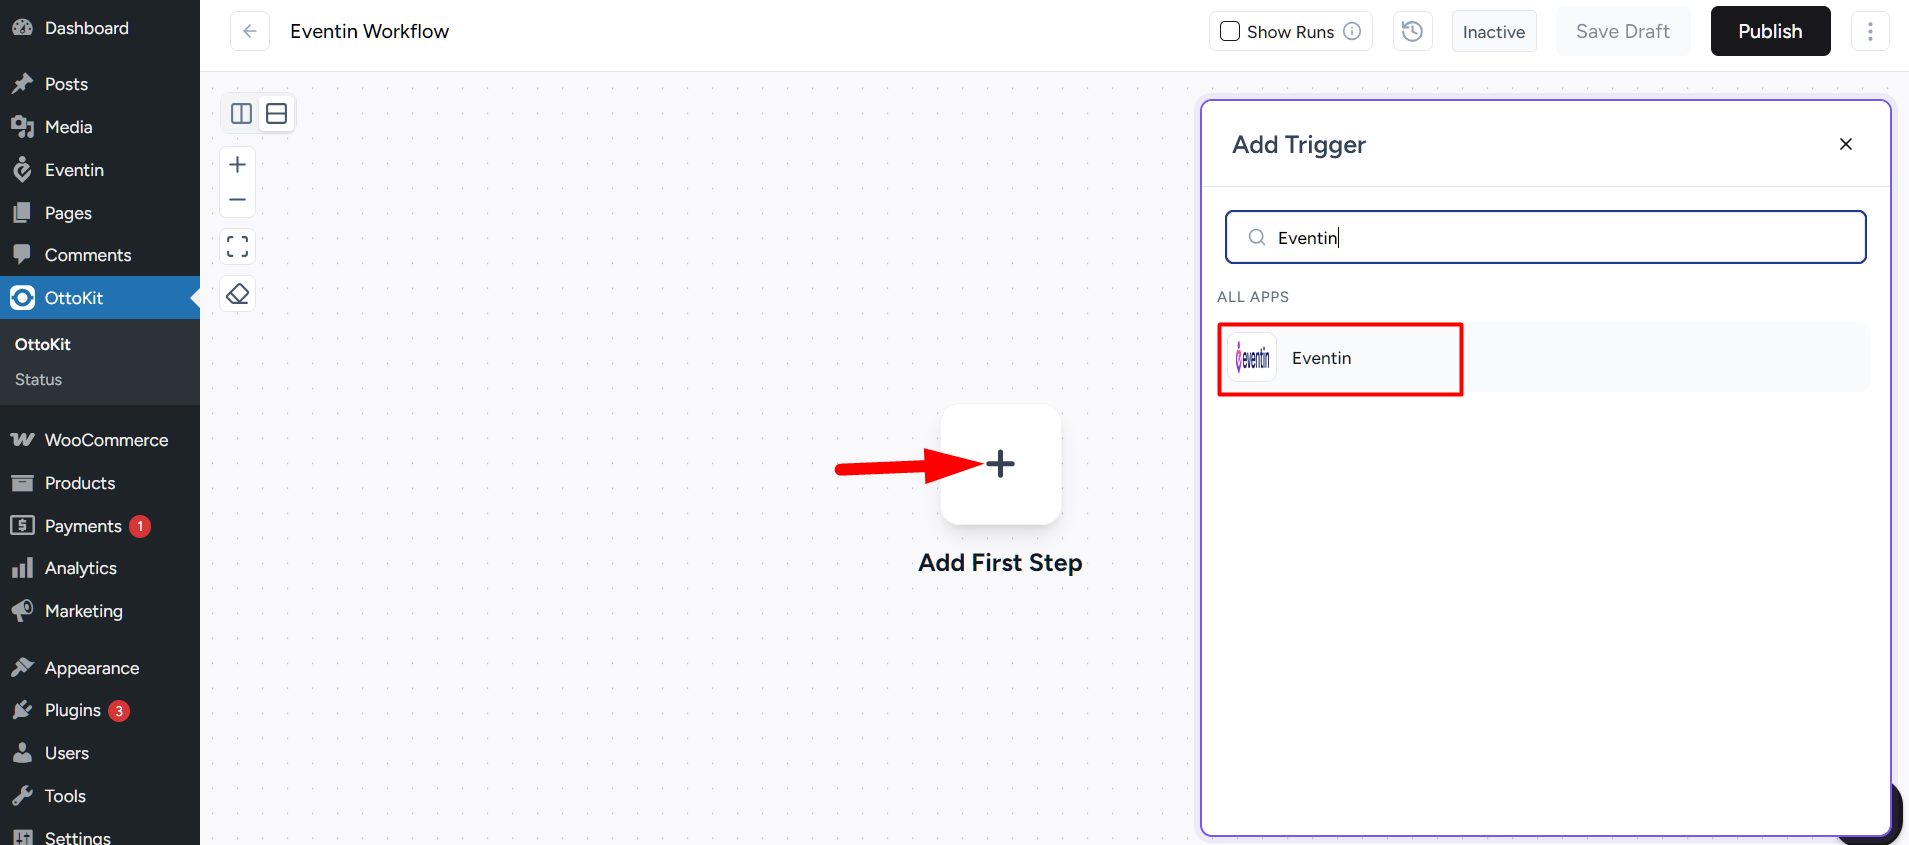
- Choose a trigger from the list, such as:
- Event Created
- Event Updated
- Event Scheduled
- Attendee Created
- Order Created
Speaker created - Schudle created
- Speaker Updated
- Schedule updated
- Click Continue
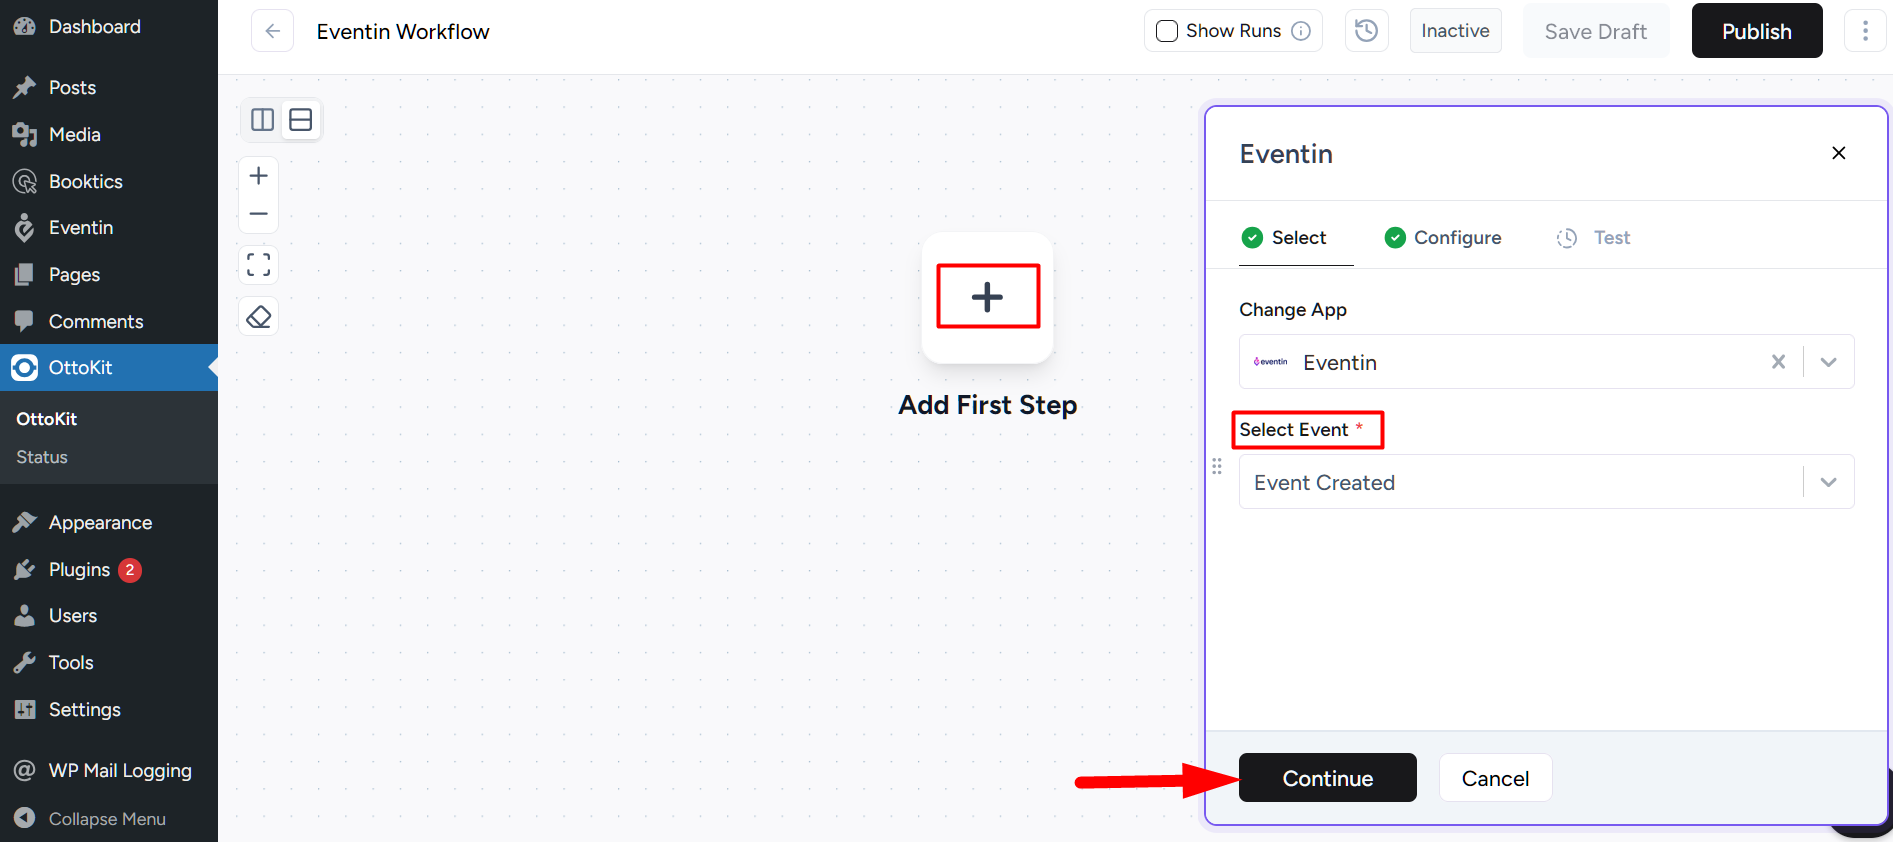
- Copy the Webhook URL shown on the next screen (you’ll need it in the next step)
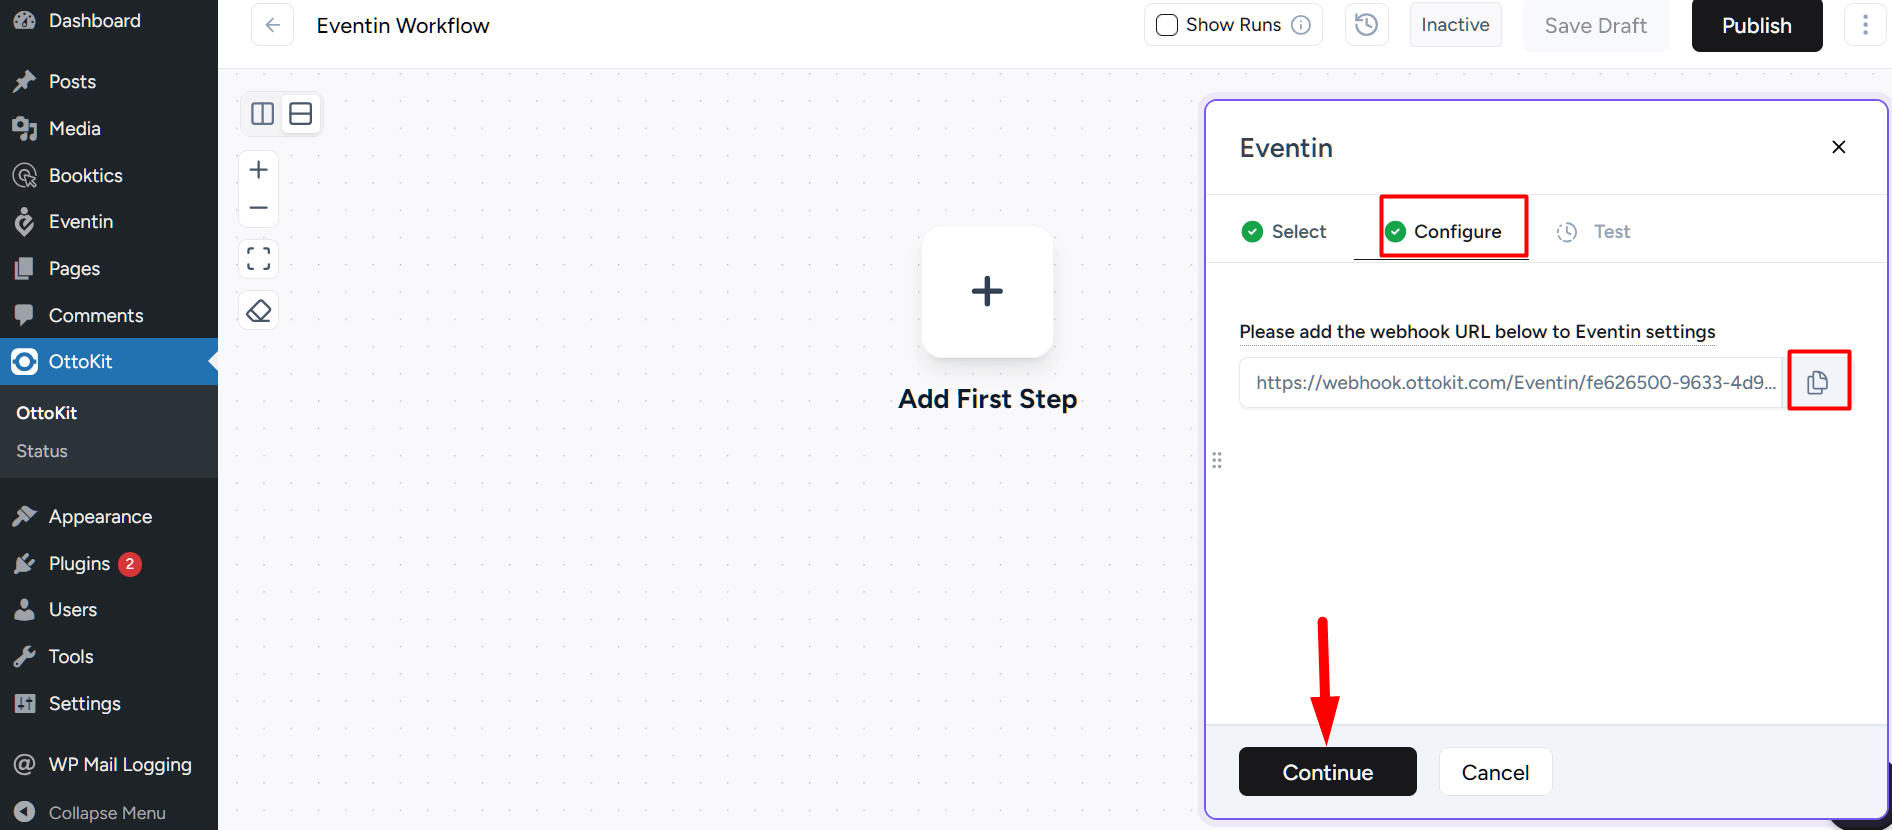
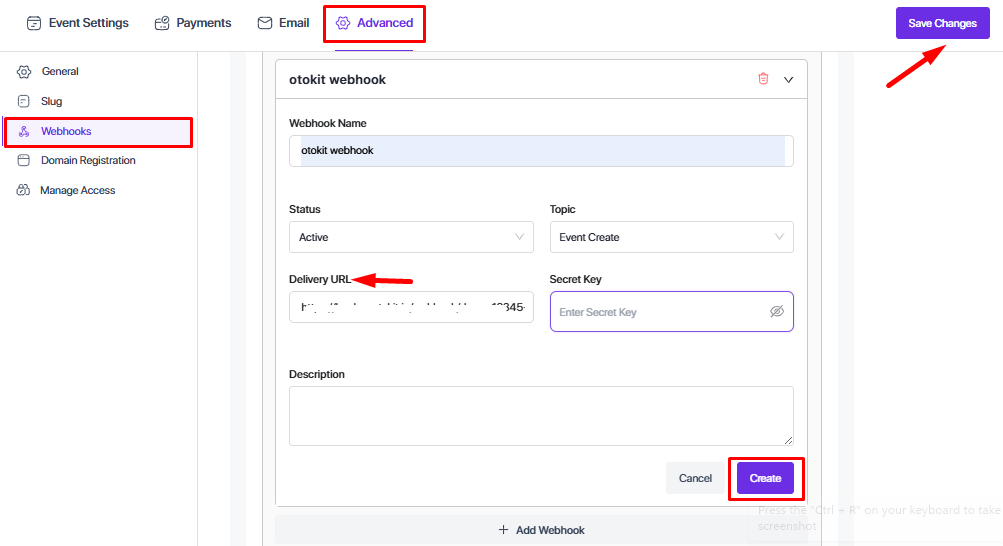
Configure Webhook in Eventin Settings #
- Go to: WordPress Dashboard → Eventin → Settings.
- Click on the “Advanced” tab
- Scroll to the Webhook section and enable it
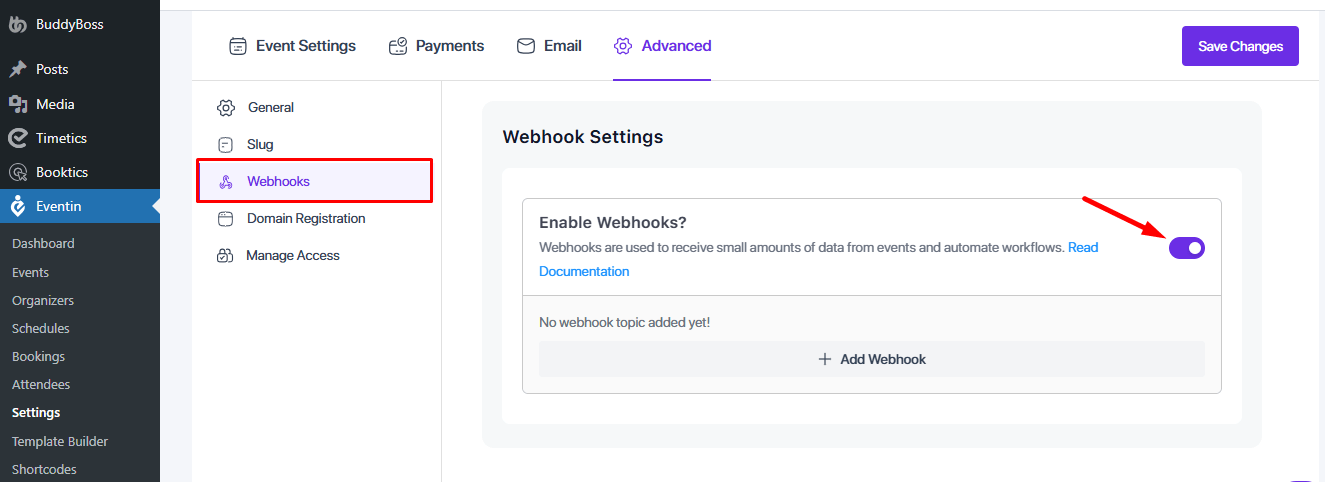
Now, click “Add Webhook” and fill out the required information:
- Webhook Name – A meaningful name (e.g., “Event Created Automation”)
- Event Topic – Choose the topic you selected in Ottokit (e.g., Event Created)
- Webhook URL – Paste the URL you copied from Ottokit
- Status – Set to Active
Click Save Changes.
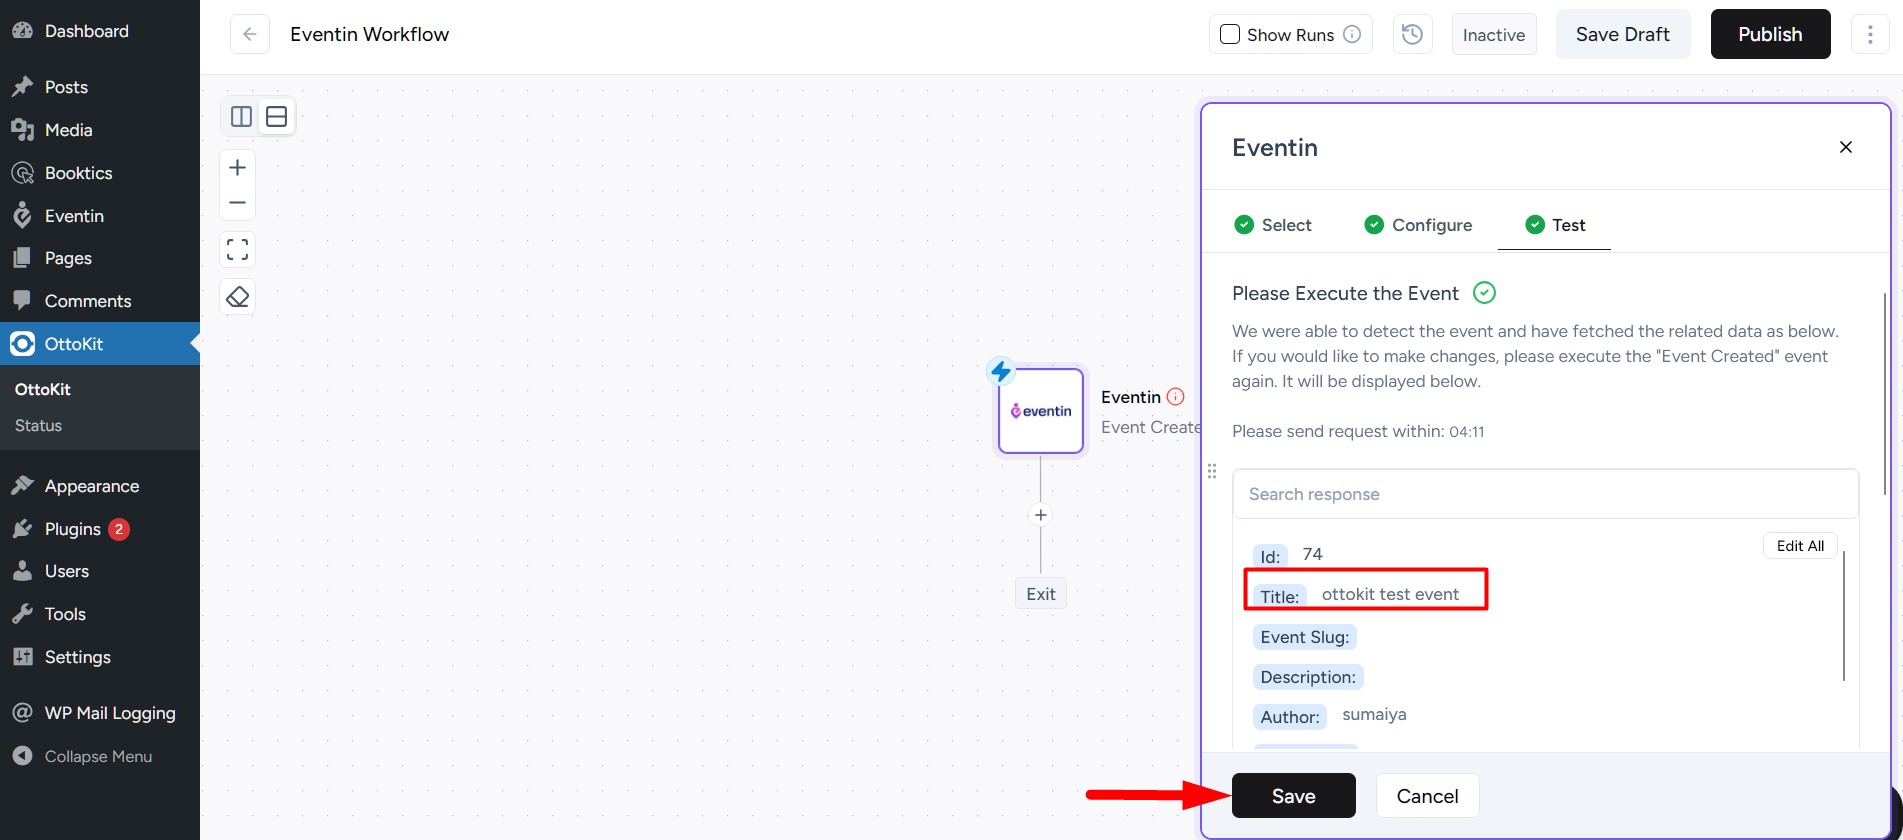
Finalize Workflow and Test the Automation #
After you’ve configured the webhook in Eventin settings, go back to your Ottokit Workflow Builder:
- Click on the Continue and Save button to activate the workflow.
- Now, create a new event in Eventin. (If needed, follow the documentation on how to create an event.)
- After publishing the event, return to the workflow in Ottokit.
- You will see that the event data appears in the Test Trigger section. This confirms your trigger is working successfully.
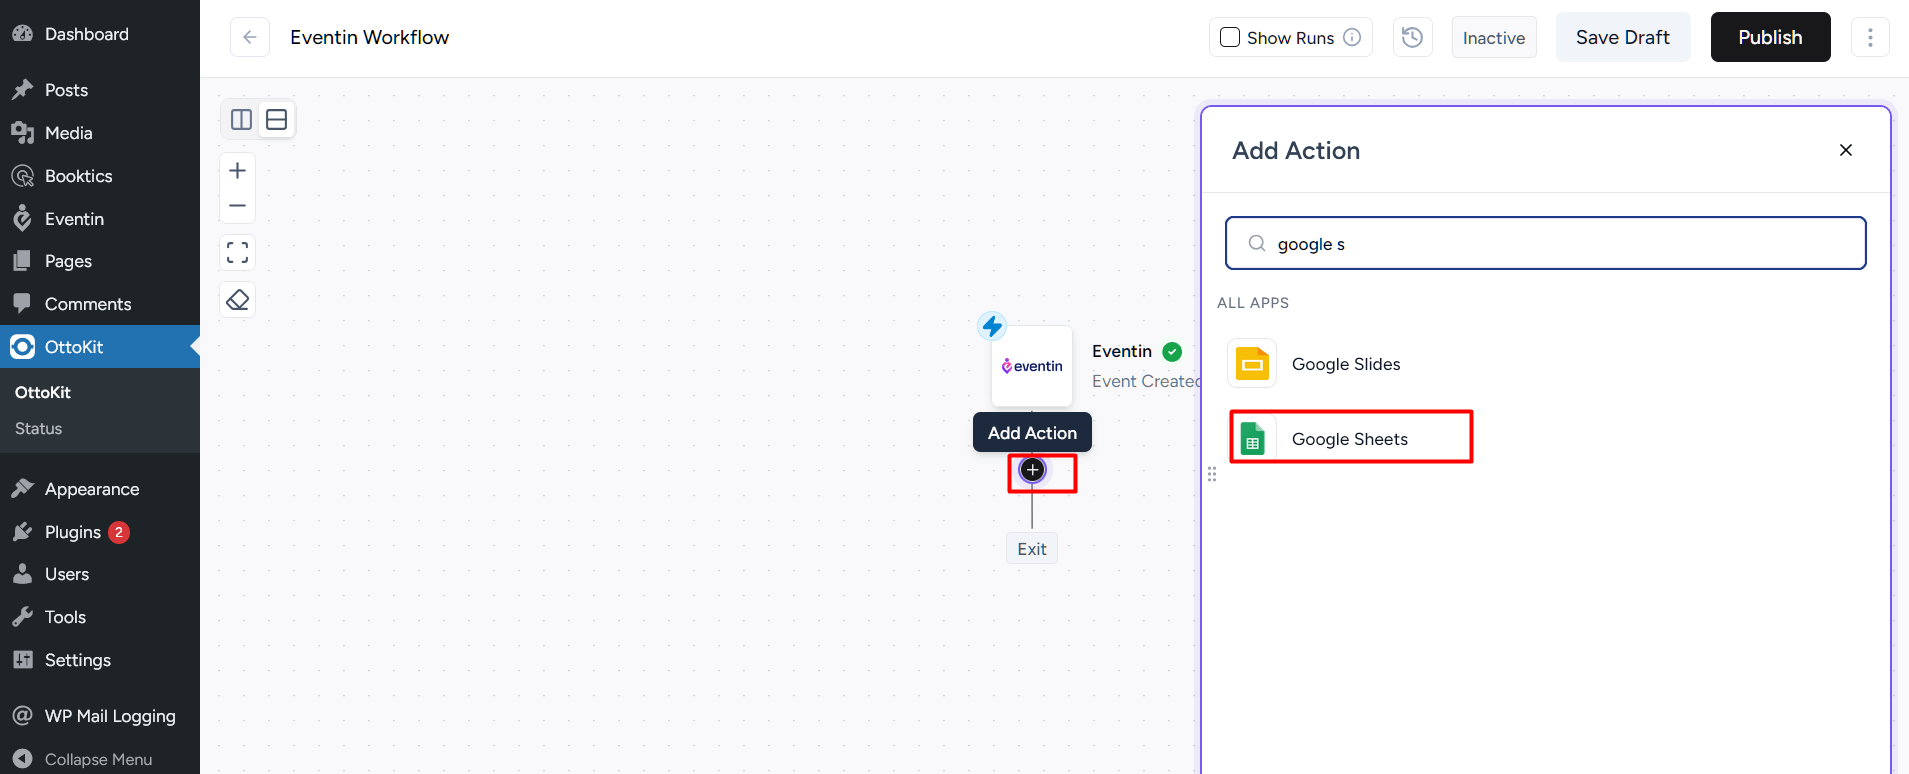
To add more actions, follow the same steps:
- Click the
+icon below the trigger. - Search and select any app (e.g., Google Sheets, Docs, etc.).
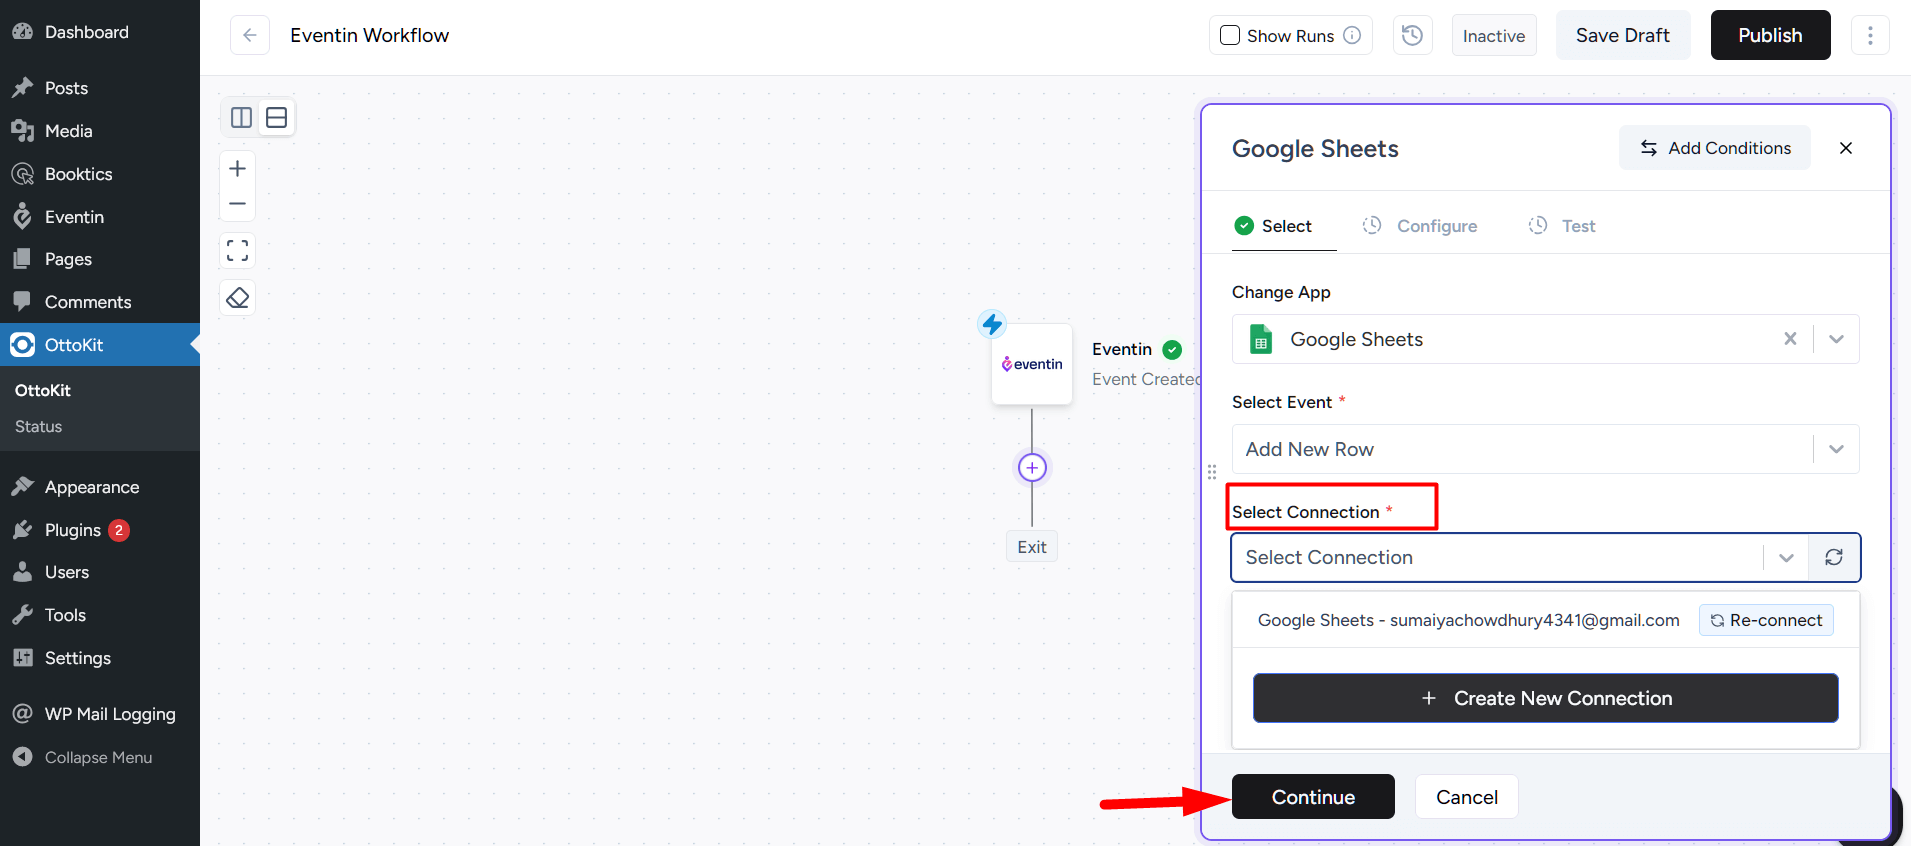
- For Google Sheets:
- Choose “Add Row to Sheet”
- Connect your Google account
- Select the sheet and map the data
- Click Continue and Save Changes
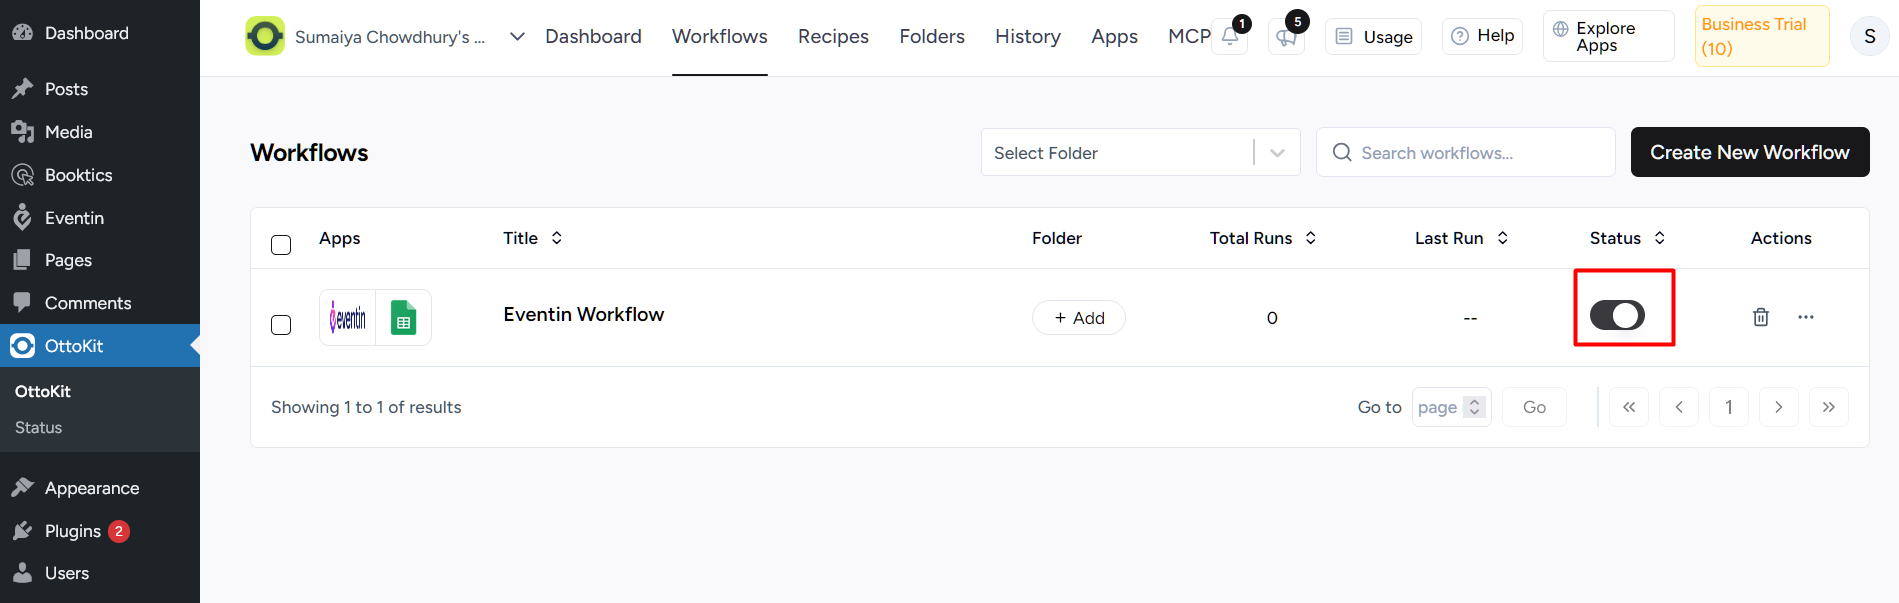
After completing all the settings, activate the publish option and enable the workflow. Once done, you will get the information of your configured app.
FAQ #
Q1: What types of applications can OttoKit connect with?
A1: OttoKit can integrate with over 100 third-party applications, including Google Sheets, CRMs, and email services.
Q2: Does integrating Eventin with OttoKit make event management easier?
A2: Yes, the integration automates tasks like event creation, order processing, and speaker management, saving time and minimizing errors.
Q3: Do I need coding knowledge to use OttoKit?
A3: No, OttoKit is a no-code platform, so it can be used without any coding experience.
Conclusion #
Integrating Eventin with OttoKit streamlines the event management process, saving time and reducing errors. OttoKit allows you to automate key triggers in Eventin, such as creating events, updating orders, and managing speakers, without any coding. This integration ensures a smoother and more efficient workflow for WordPress event sites.


