The Eventin Template Builder lets you create and customize professional event tickets directly from your WordPress dashboard—no coding required. Whether you’re hosting webinars, conferences, or workshops, this feature helps you deliver branded, personalized tickets to your attendees with ease. This guide will walk you through setting up, designing, and managing your event tickets step-by-step.
Using the Template Builder, you can:
- Easily design tickets with a drag-and-drop builder.
- Auto-populate attendee details using dynamic data.
- Showcase your brand by adding logos, colors, and custom text.
- Share and print instantly with PDF-ready templates.
- Integrate seamlessly with Eventin’s booking and attendee system.
How to Create Templates for Tickets #
The Ticket Template Builder is an exclusive feature that allows you to create custom ticket designs tailored to your specific event. You can easily design unique tickets according to your event’s needs, making it possible to create a specific design for each event.
To create a template for a ticket, go to Eventin > Template builder.
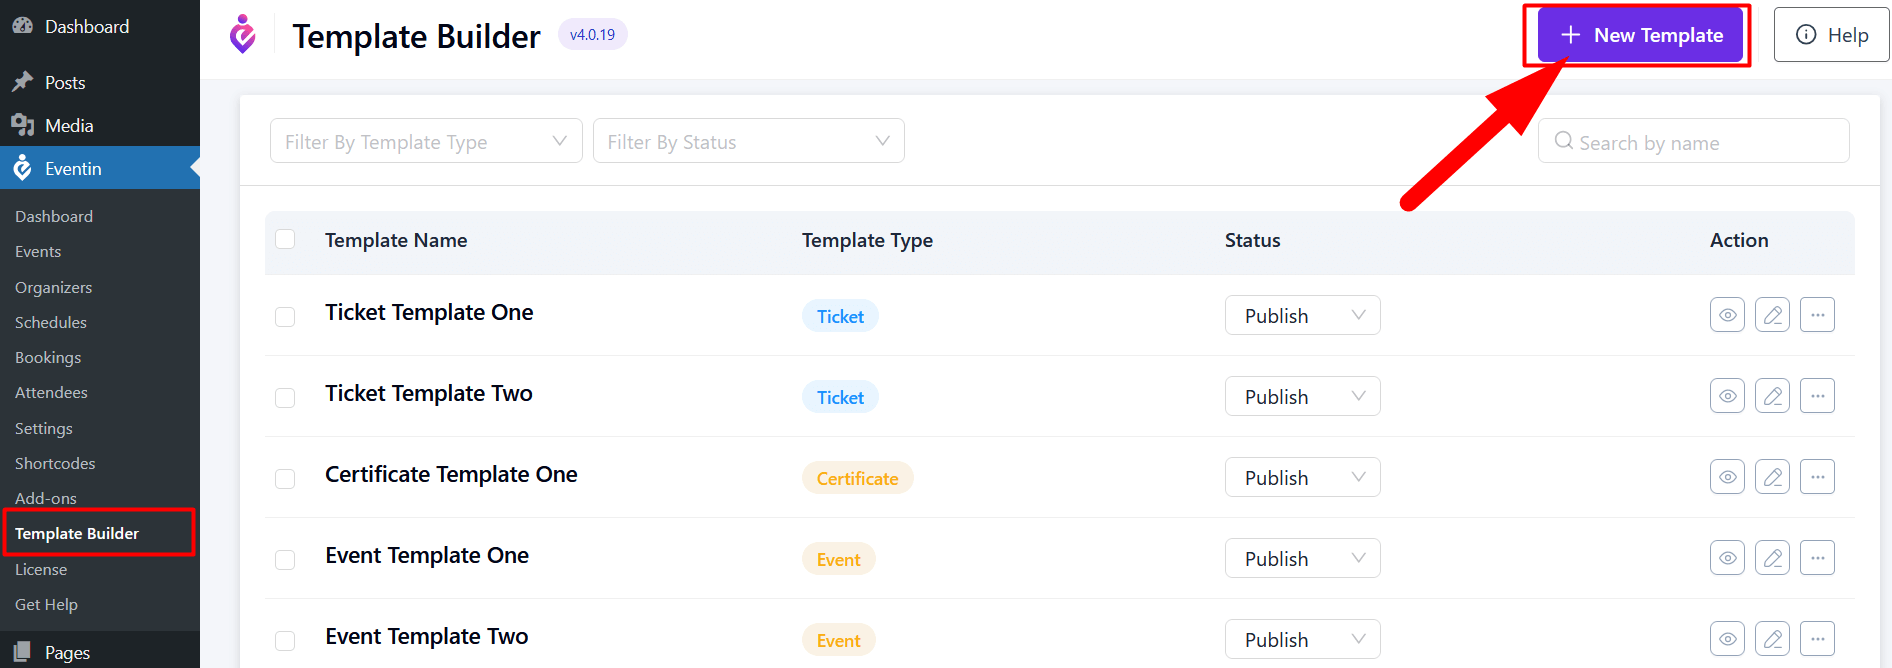
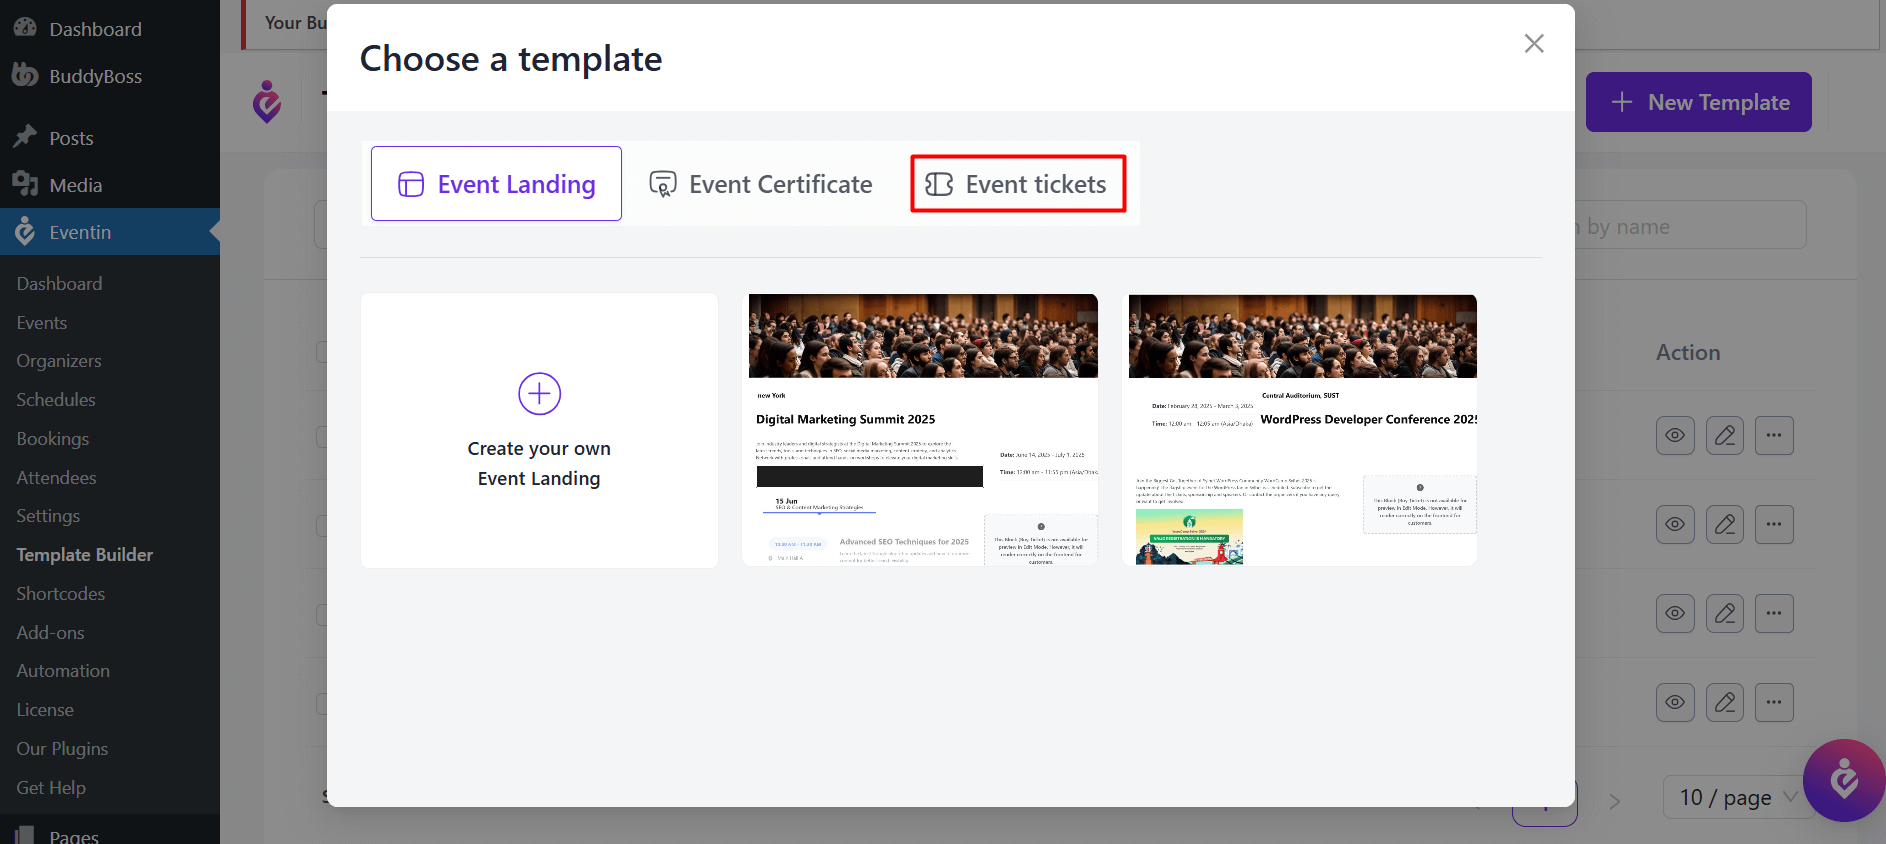
Now click on ‘+ New Template’, and a new page will pop up. To create a ticket template, click on the ‘Tickets’ button. You can either click on ‘+ Create your own’ to create a new ticket from scratch, or you can choose from the preset templates available in the list.
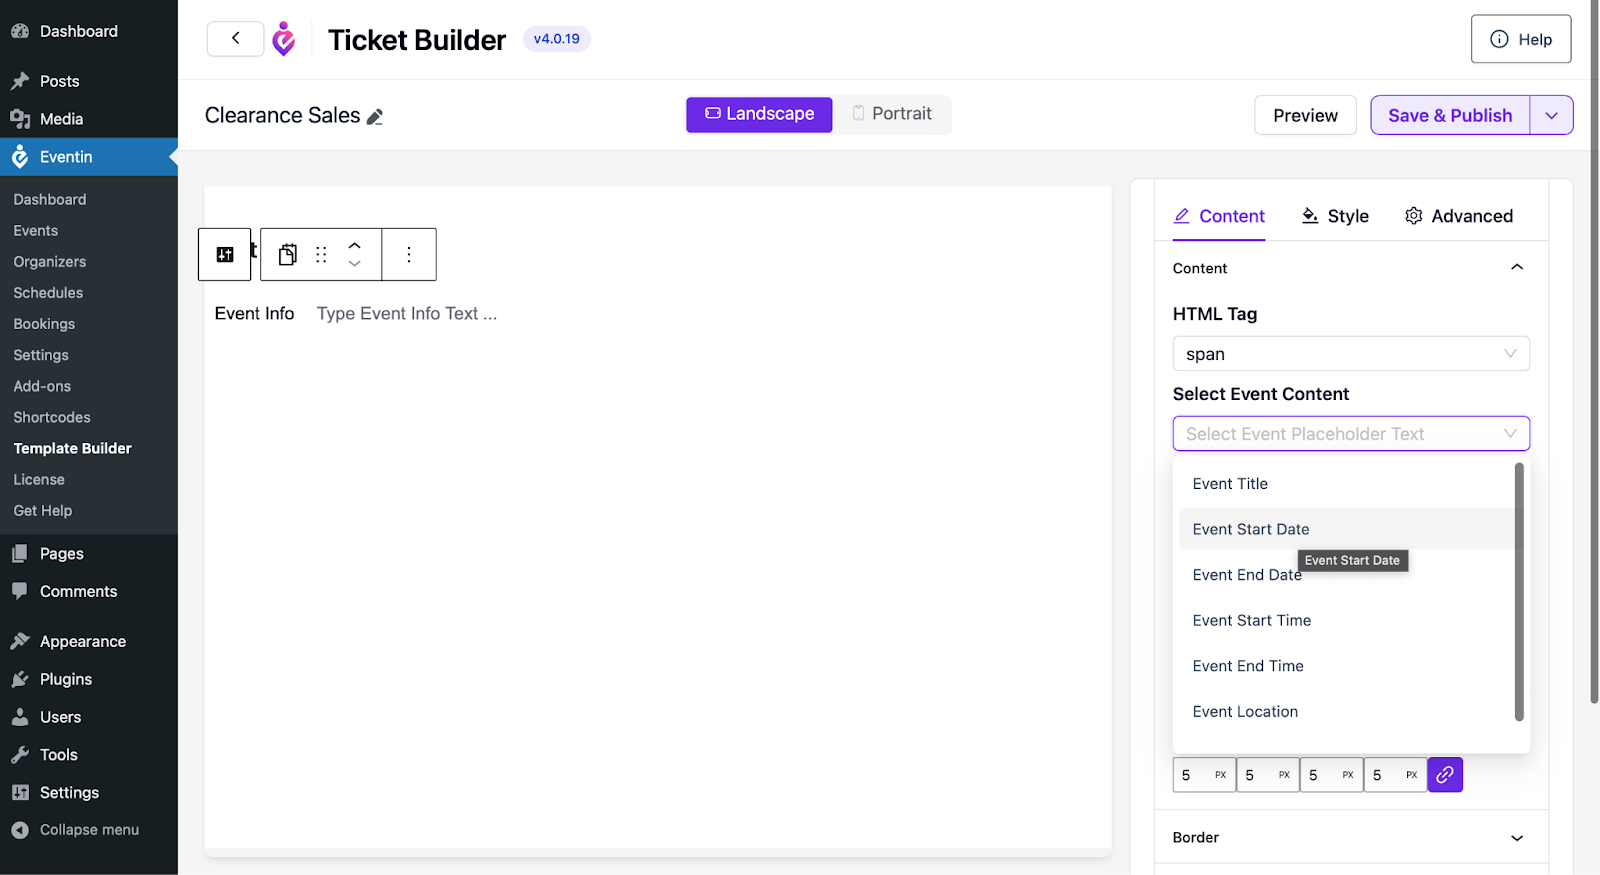
If you start creating from scratch, a new page with the template builder will open. In the template builder, click the ‘+’ icon to add Gutenberg widgets. For Eventin events, you can search for and add the following widgets:
- Event Title
- Event Info
- Attendee Info
- Ticket Info
- Ticket QR Code
- Extra Fields
You can rearrange these widgets as needed to customize the layout of your ticket.

The Event Info widget allows you to display various event details, including:
- Event Title
- Event Start & End Date
- Event Start & End Time
- Event Location
- Event Timezone.
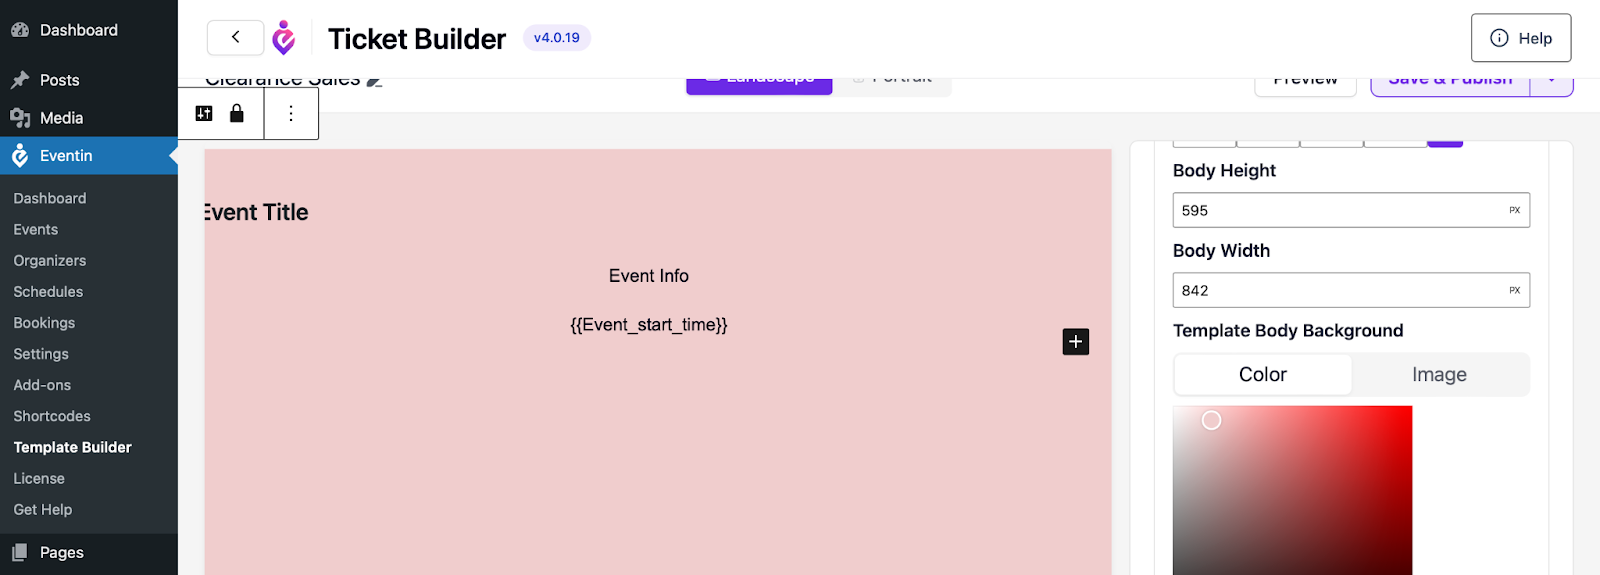
Select a color or image for your Ticket background and styling according to your choice. Once done, click on ‘Save & Publish.
How to Assign a Ticket Template to Events #
You can select a template globally or for individual events.
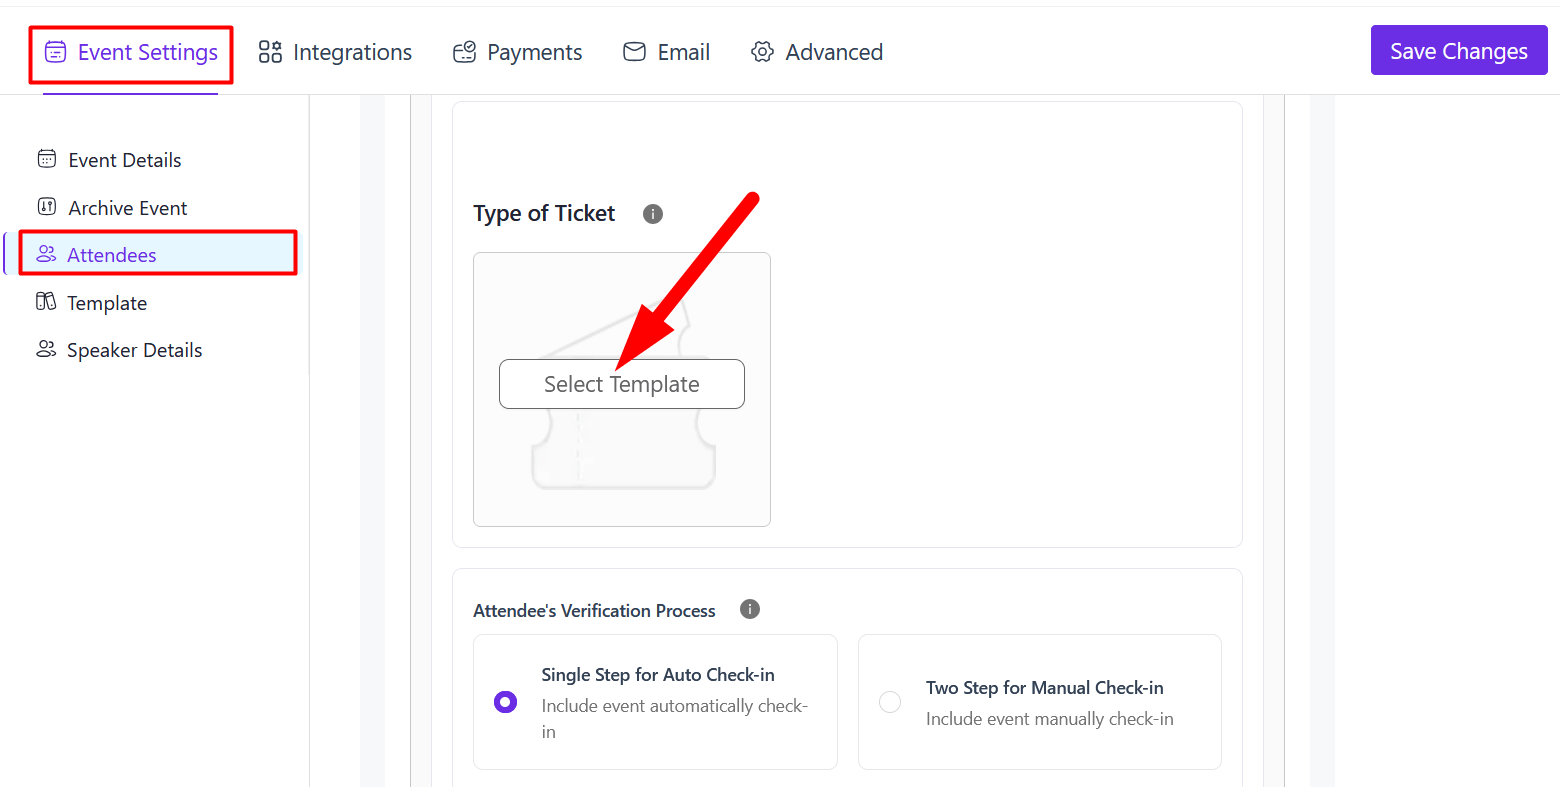
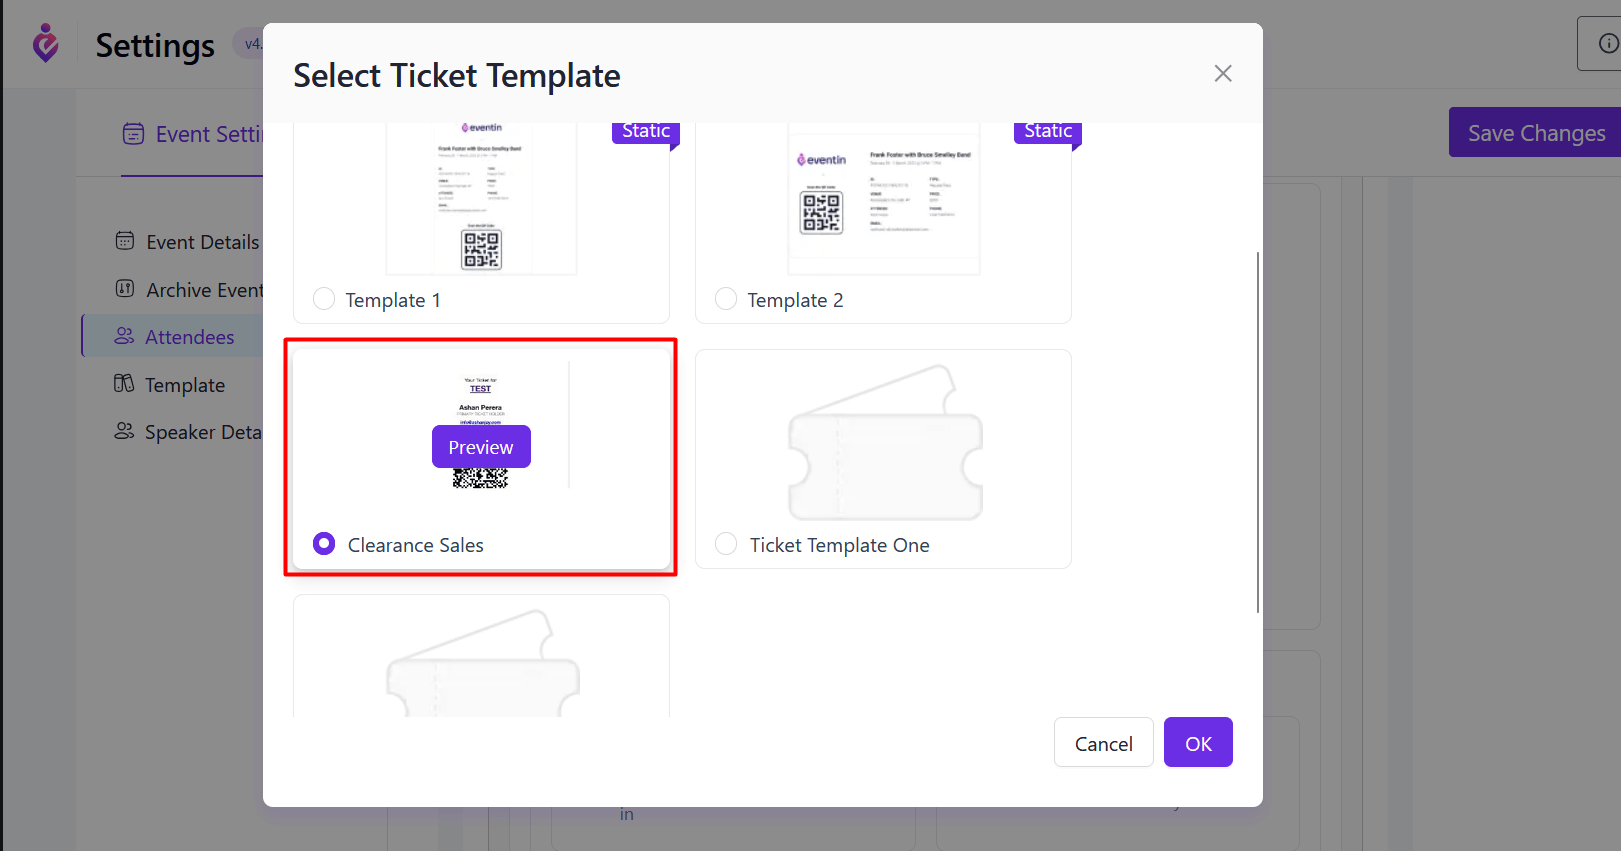
For global settings, go to Eventin → Settings → Event Settings → Attendee Settings and select the ticket template.
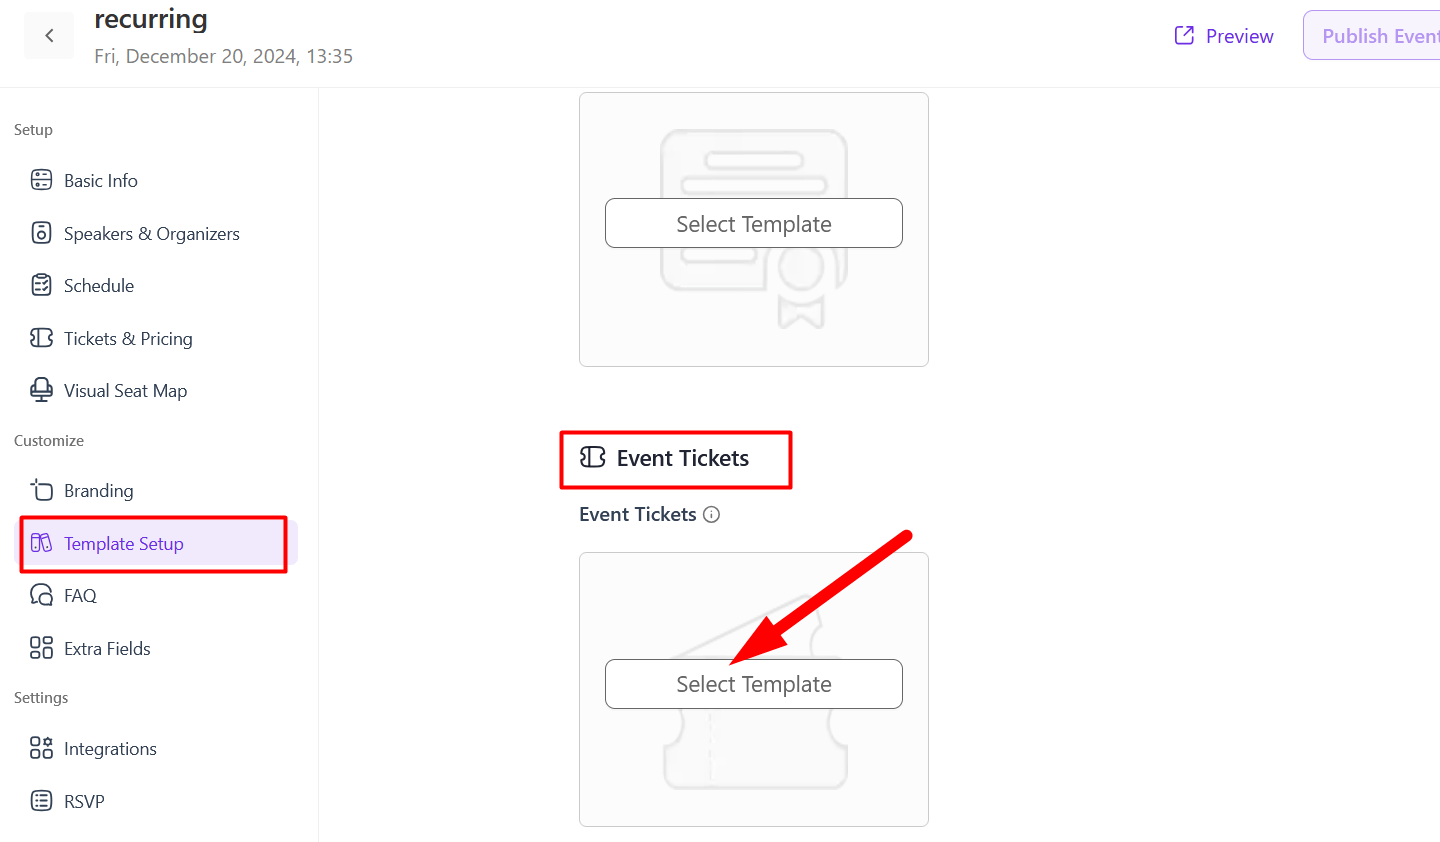
For an individual event, edit or create your event, go to the Template Setup menu, and select the template for the event you want.
Frequently Asked Questions #
Q1: Can I create multiple ticket templates for different events?
A: Yes! You can design and save unlimited ticket templates for different event types.
Q2: Can attendees download their tickets?
A: Absolutely. Once you publish your ticket templates, attendees can receive their customized tickets via email or download them from their attendee dashboard.
Q3: I made changes — how can I preview my ticket template?
A: Simply click the Preview button in the builder to see exactly how your ticket will look.
Conclusion #
The Eventin Template Builder makes it simple to create stunning event tickets that reflect your brand and delight your attendees. For more advanced customization, check our additional guides or contact our support team if you need any help.


