In WPCafe, the Food Menu is where you display all your dishes with details like name, description, price, image, and variations. You can also group items by category, tag, brand, or location to help customers easily browse and find what they want.
How to Add a Food Menu Item #
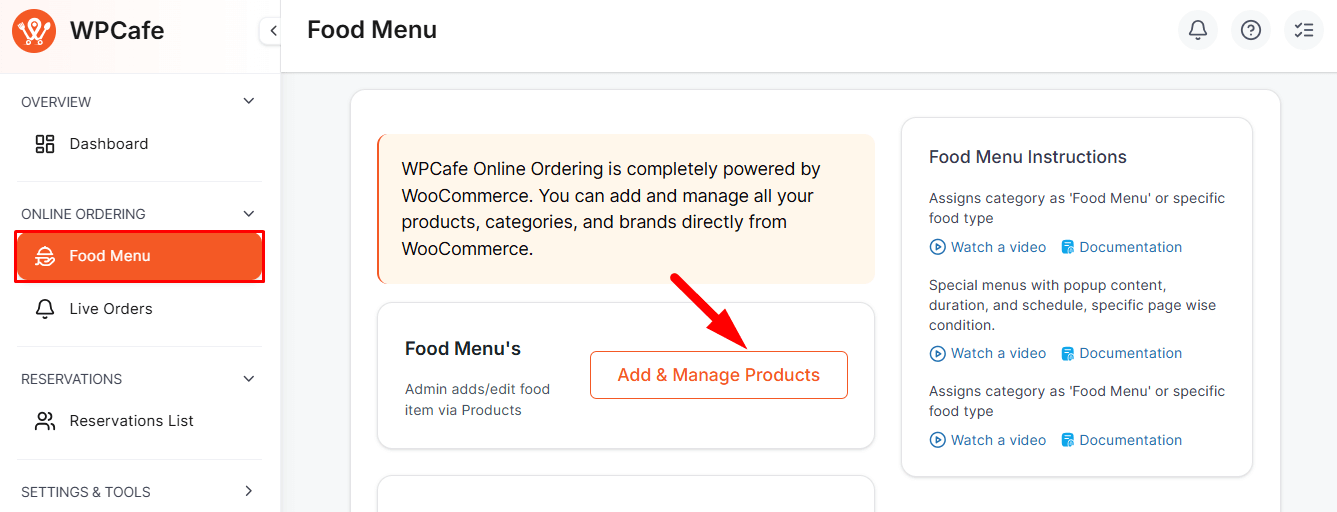
To create a new menu item, navigate to Food Menu → Add & Manage Product. This will redirect you to the WooCommerce Add New Food Menu page.
Types of Food Menu Items #
Select the type of menu item based on your needs:
- Physical Food Menu: A tangible item that is delivered to customers.
- Variable Food Menu: A menu item with variations.
- Grouped Food Menu: A collection of multiple menu items sold together.
Add / Edit Food Menu Options #
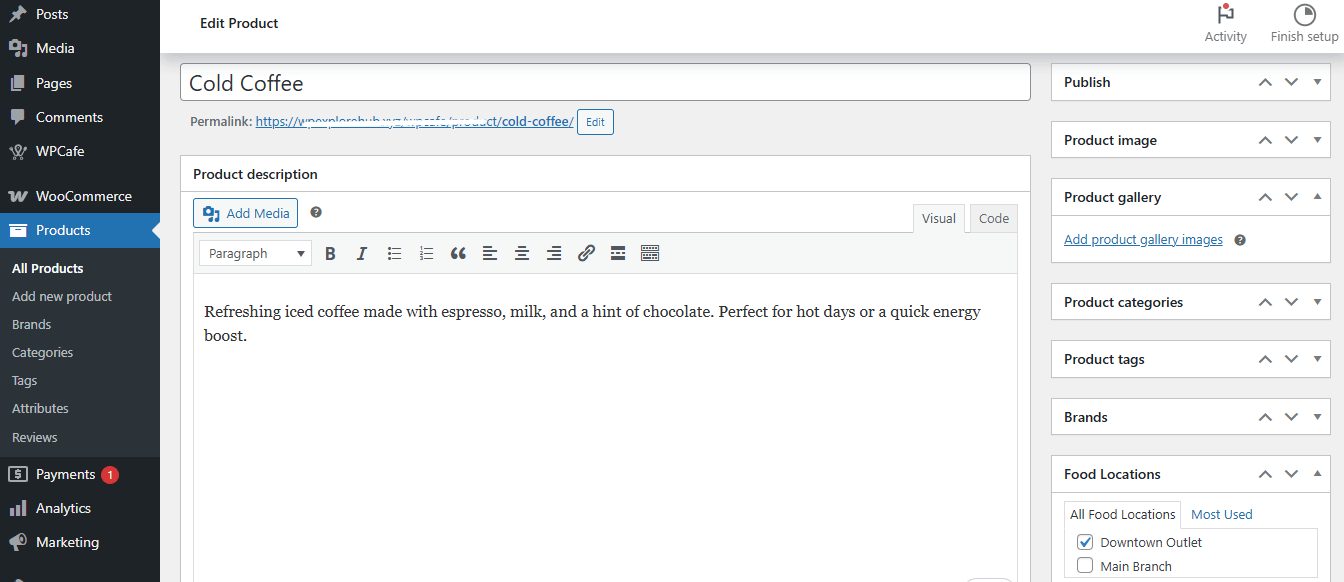
Here you can fill in the essential details for your menu item:
- Food Menu Name: Enter the item title.
- Food Menu Description: Add a detailed description, including images or media if needed.
- Food Menu Image: Upload the featured image.
- Food Menu Gallery: Add multiple images for the item.
- Food Categories: Organize items under relevant categories.
- Food Tags: Add keywords to enhance search and filtering.
- Brands: Assign a brand.
- Food Locations: Assign the item to specific outlets.
Food Menu Data Panel #
This section lets you configure pricing, stock, and other settings:
General: Set regular and sale prices.
Inventory: Manage stock and SKU.
Shipping: Add shipping details (if needed).
Linked Food Menu: Cross-sell or upsell related menu items.
Attributes: Define variations such as size or flavor.
Advanced: Extra options like purchase notes.

Food Menu Short Description #
Add a summary of the menu item. This text is shown on listing pages and helps customers get a quick overview.
Food Preparation and Delivery Time #
Specify preparation and delivery times so customers know how long it will take:
- Preparation Time: Time required to prepare the item.
- Delivery Time: Time required to deliver the item.

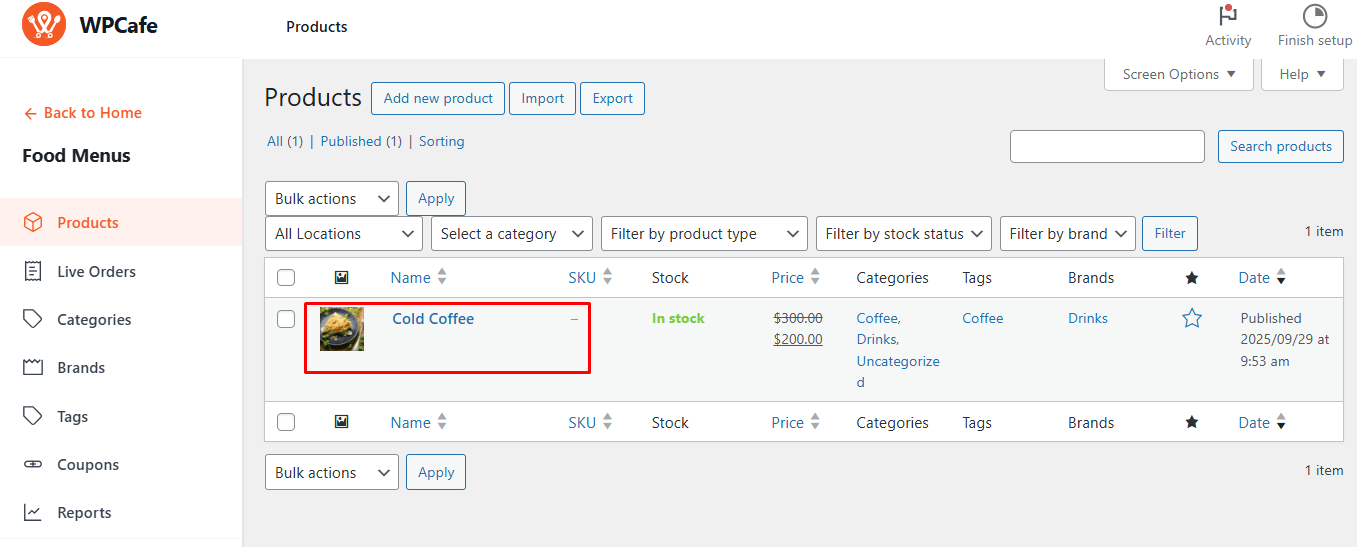
Once all details are entered, you can save or publish the menu item. You can view all items in the list view, and from there, you can export/import, filter, and perform other management actions to keep your menu organized and up-to-date.
Frequently Asked Questions (FAQ) #
Q1: Can I edit a menu item after publishing?
A1: Yes, navigate to the list view, select the item, and click edit. You can update any field and save changes.
Q2: How do I add variations to a menu item?
A2: Use the Attributes section in the Data Panel to define variations like size, flavor, or portion.
Q3: Can I assign a menu item to multiple locations?
A3: Yes, use the Food Locations field to select all relevant outlets.
Conclusion #
Managing your Food Menu in WPCafe is simple and flexible. Organized menu items with proper categories, tags, brands, locations, and variations help customers browse smoothly and keep your shop up to date.


