WPCafe lets you organize and display food menus by restaurant location. This helps visitors quickly view the menu for their nearest branch. Follow the steps below to enable locations, assign them to food menus, and display menu items on any page.
Enable and Add Locations #
Enable the Location feature from WPCafe → Settings & Tools → Locations, following the steps in the official documentation.
Once the feature is active, add the locations you want to use for your food menus.
Create Your Food Menu and Assign a Location #
Go to WPCafe → Food Menu and create a new food item or edit an existing one.
Under the Location section on the right sidebar, select the location where you want this menu to appear and save the changes.

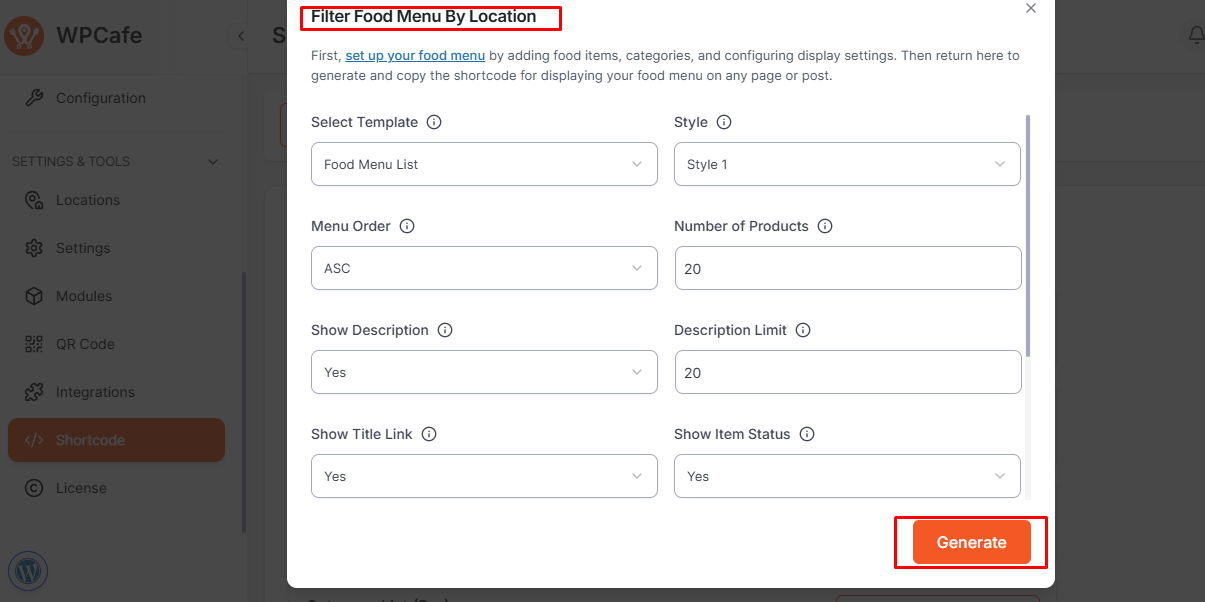
Display Food Menu by Location #
Open the shortcode section in WPCafe and locate the Filter Food Menu By Location shortcode.
Copy the shortcode. A sample format:
[wpc_food_menu_list style="style-1" wpc_menu_order="ASC" no_of_product="20" wpc_show_desc="yes" wpc_desc_limit="20" title_link_show="yes" show_item_status="yes" wpc_cart_button="yes" wpc_price_show="yes"]
Paste this shortcode into any page, post, or widget area.
Only the food menus assigned to the selected location will be displayed.

FAQs #
1. Can I display menus from multiple locations on the same page?
Yes. You can use multiple shortcodes with different location slugs on the same page.
2. Where can I find the location slug?
The slug is created automatically when you add a location. You can view or edit it from the Locations list in the WPCafe settings.
3. What happens if a food menu has no assigned location?
It will not appear in location-based filtering until a location is assigned.
Conclusion #
Using WPCafe’s Location feature, you can easily organize food menus for different branches and display them anywhere using shortcodes. This ensures a clearer, more user-friendly experience for your customers.


