1. Introduction #
The Events Calendar Import tool brings events you’ve already created in The Events Calendar plugin straight into Eventin. No API key, no token, no external account — Eventin reads the events directly from your WordPress database and lets you pick which ones to copy across.
Prerequisites #
- Eventin (this plugin).
- The Events Calendar — installed and active on the same WordPress site, with at least one event already created.
- Migration Tool for Eventin — the companion addon that unlocks the Import section in Eventin’s Settings. Installed from the Eventin Extensions page (steps below).
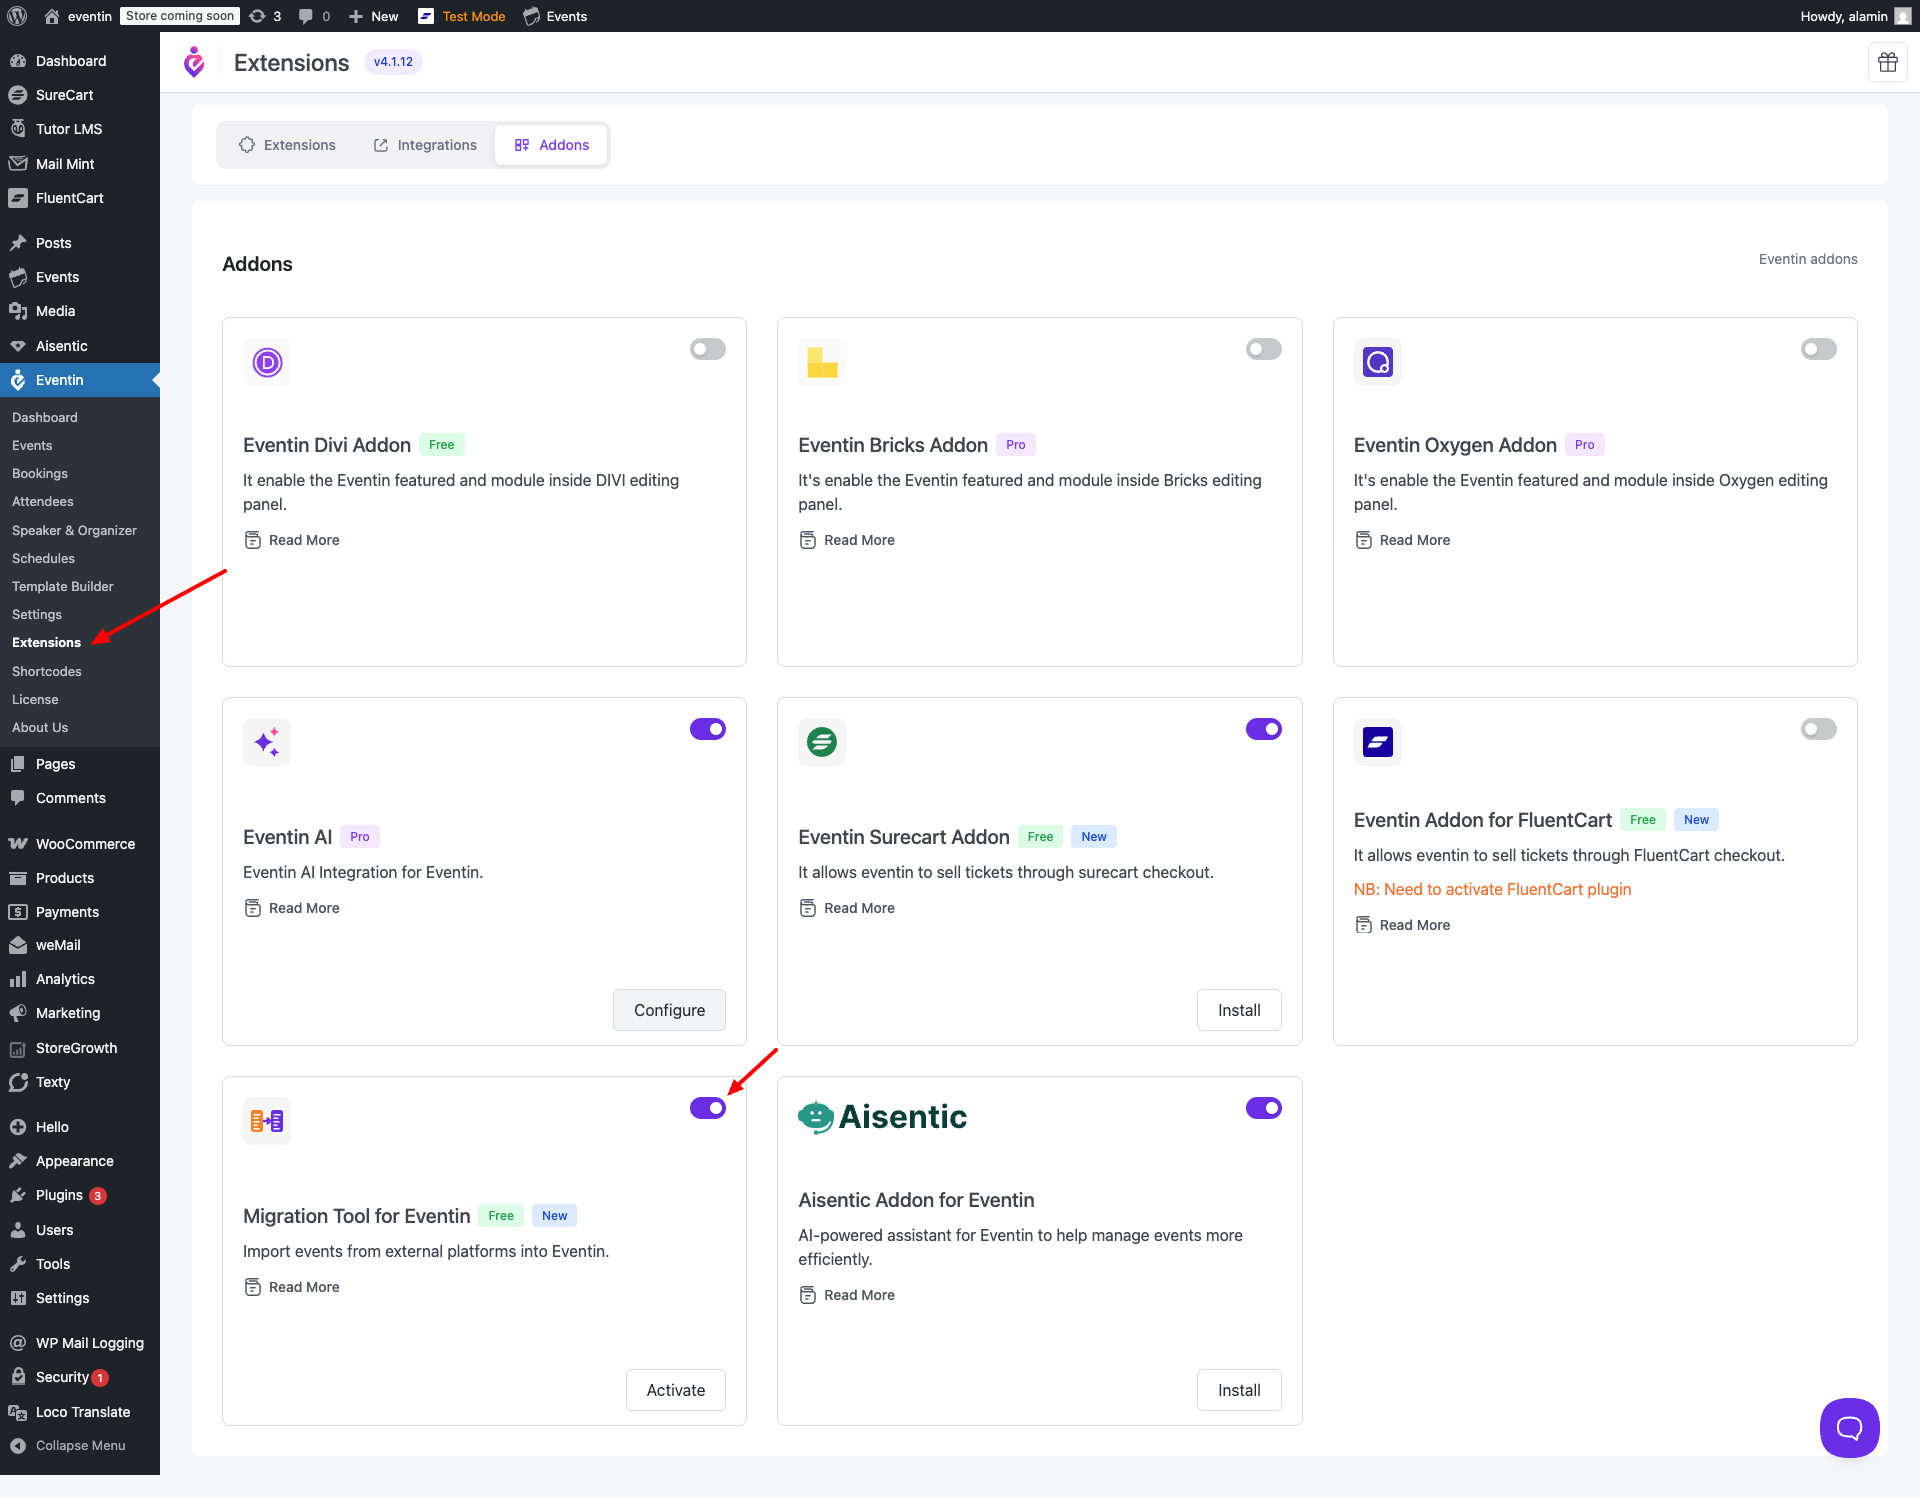
Step 1 — Enable the Migration Tool addon #
The Settings → Import section is hidden by default. Turning on the Migration Tool addon adds it to the menu.
- Go to Eventin → Extensions.
- Find the “Migration Tool for Eventin” card (description: “Import events from external platforms into Eventin.”) and toggle it ON.
- Click “Install” to download the addon plugin, then click “Activate” when the button changes.
- Once activated, the Import menu appears under Eventin → Settings.
Step 2 — Open the import page #
In your WordPress admin, go to:
Eventin → Settings → Import → The Events Calendar
The page shows a single section titled “Fetch Events” with a brief description: “Click the button below to load all events from The Events Calendar. No API key required — events are read directly from your database.”
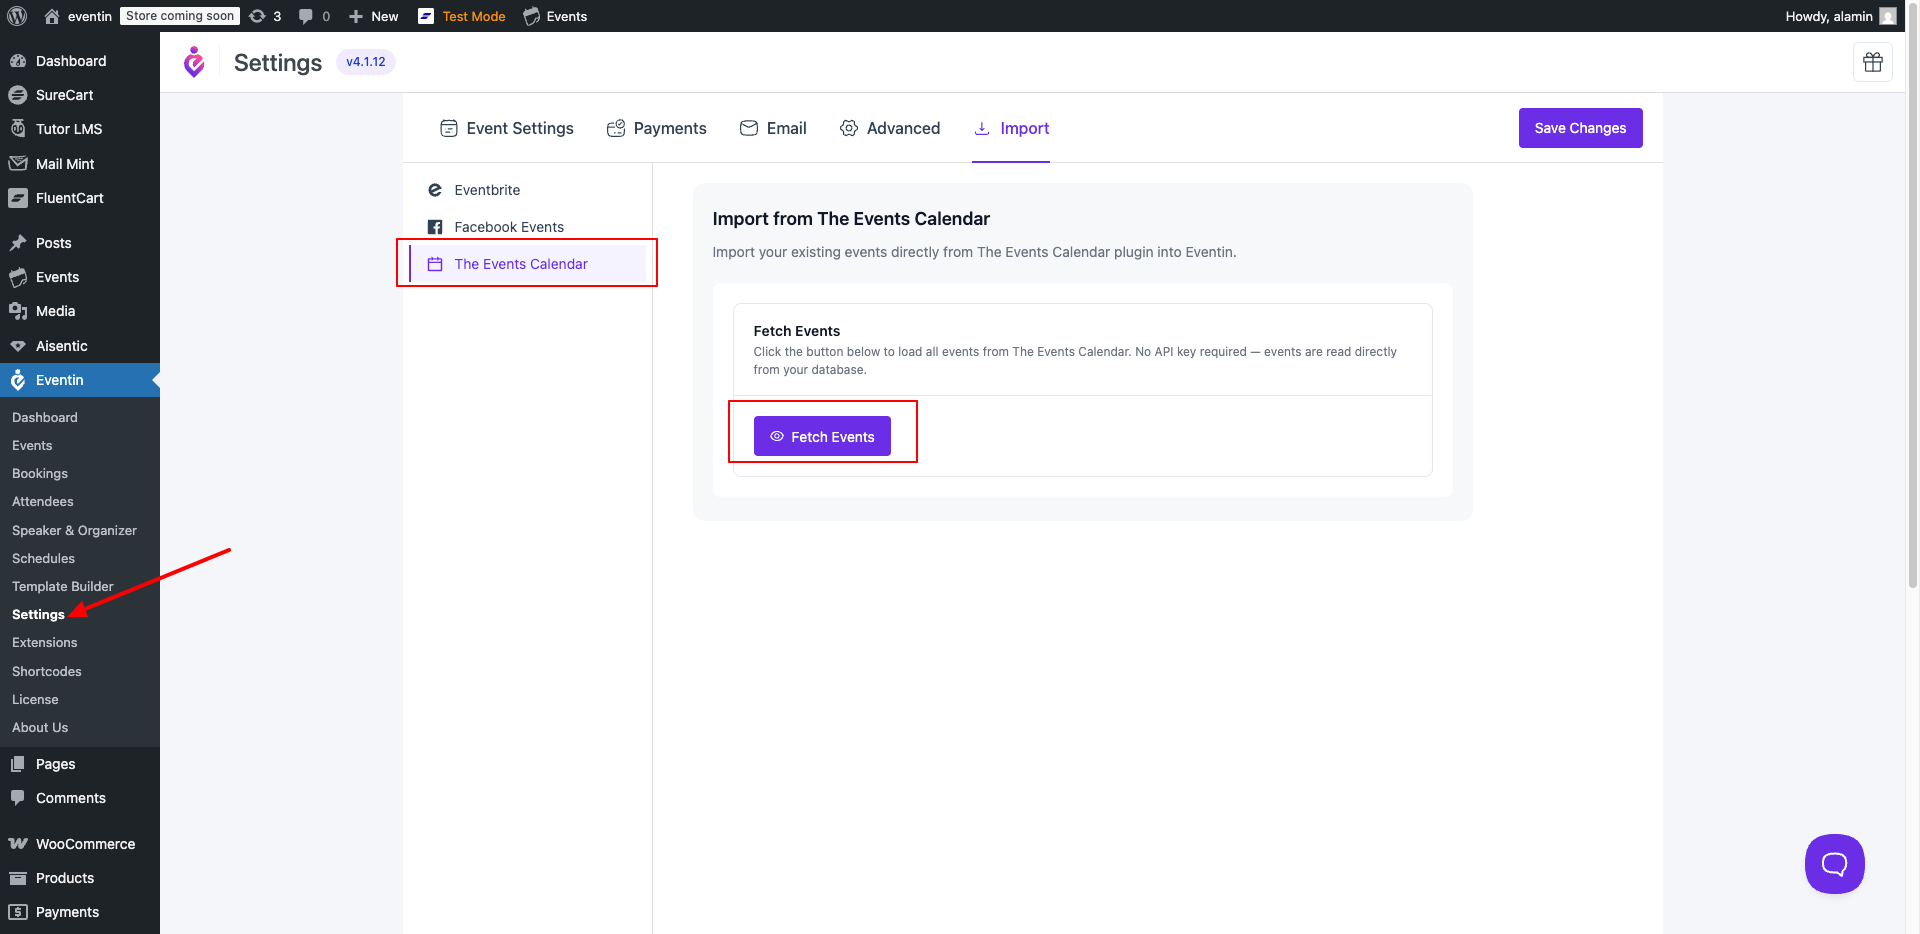
Step 3 — Fetch events #
- Click the “Fetch Events” button.
- Eventin loads up to 50 events from The Events Calendar at a time. While it’s working, you’ll see a “Fetching events from The Events Calendar…” spinner.
- If no events are found, an error message reads “No events found in The Events Calendar.” — create at least one event in The Events Calendar and try again.
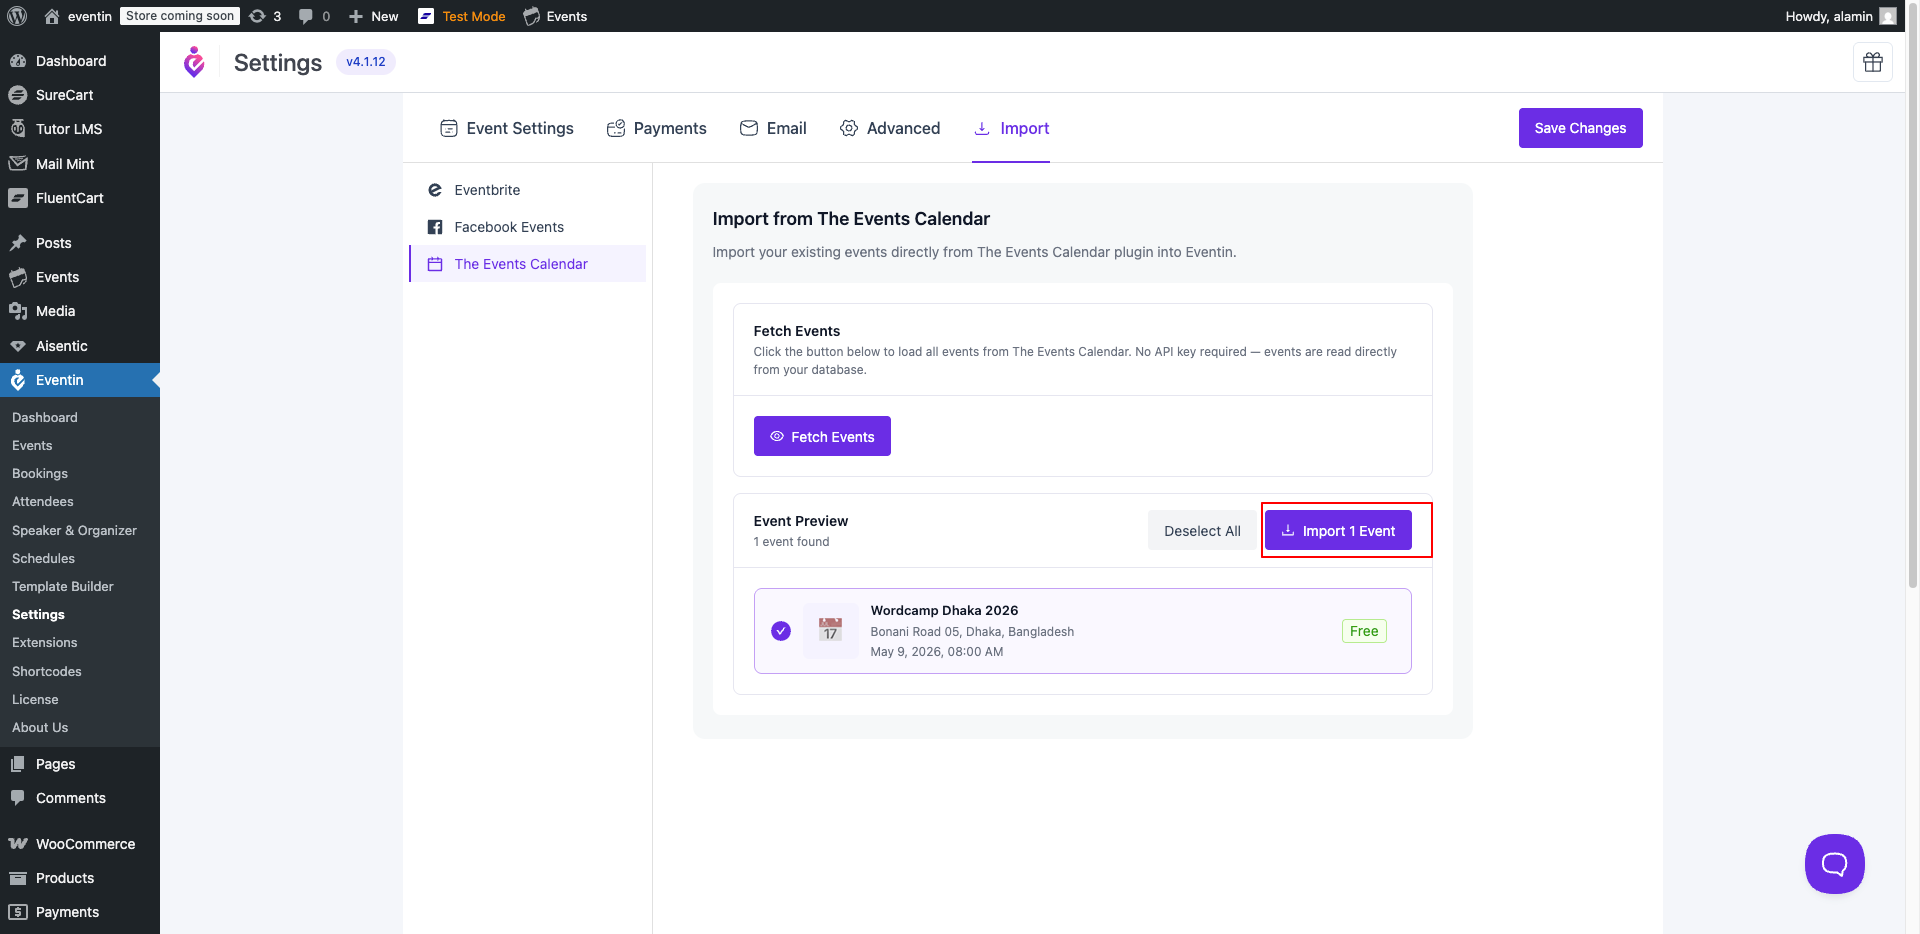
Step 4 — Pick events to import #
An Event Preview section appears below, listing every fetched event with its title, venue, start date, and a Free/price tag. Every event is selected by default.
- Click any row to toggle that event on or off.
- Use “Select All” / “Deselect All” at the top of the preview to flip everything at once.
- The header shows how many events were found (e.g. “12 events found” or “Showing 50 of 87 events” when more pages exist).
Step 5 — Run the import #
- Click the purple “Import X Events” button (the count updates with your selection).
- Eventin imports the selected events one at a time. The button label changes to “Importing…” while it runs.
- Keep the page open until the import finishes. Imported rows are removed from the preview list as each one completes.
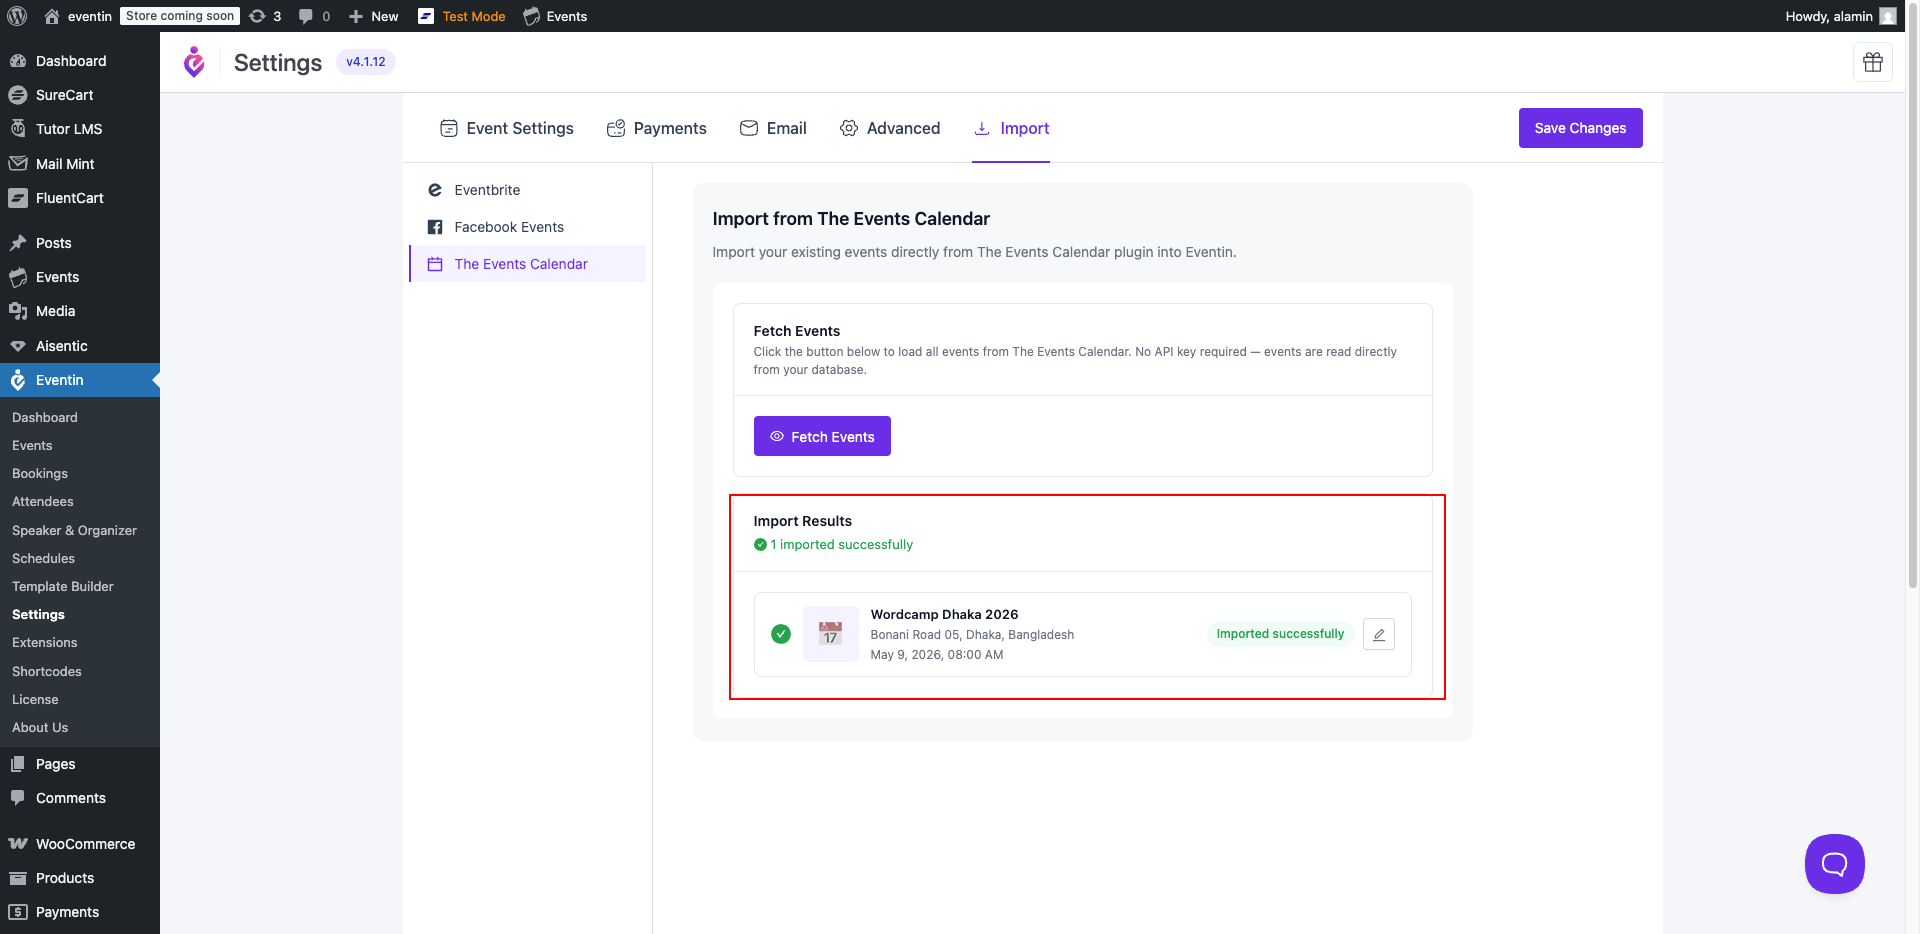
After the import — check your results #
An Import Results section appears at the bottom with a row for each event. Possible statuses:
- Imported successfully — the event was added to Eventin.
- Already exists (skipped) — Eventin detected a matching event and didn’t create a duplicate.
- Error — something went wrong; the row shows the error message.
Click the pencil icon on any imported row to open and edit that event in Eventin.
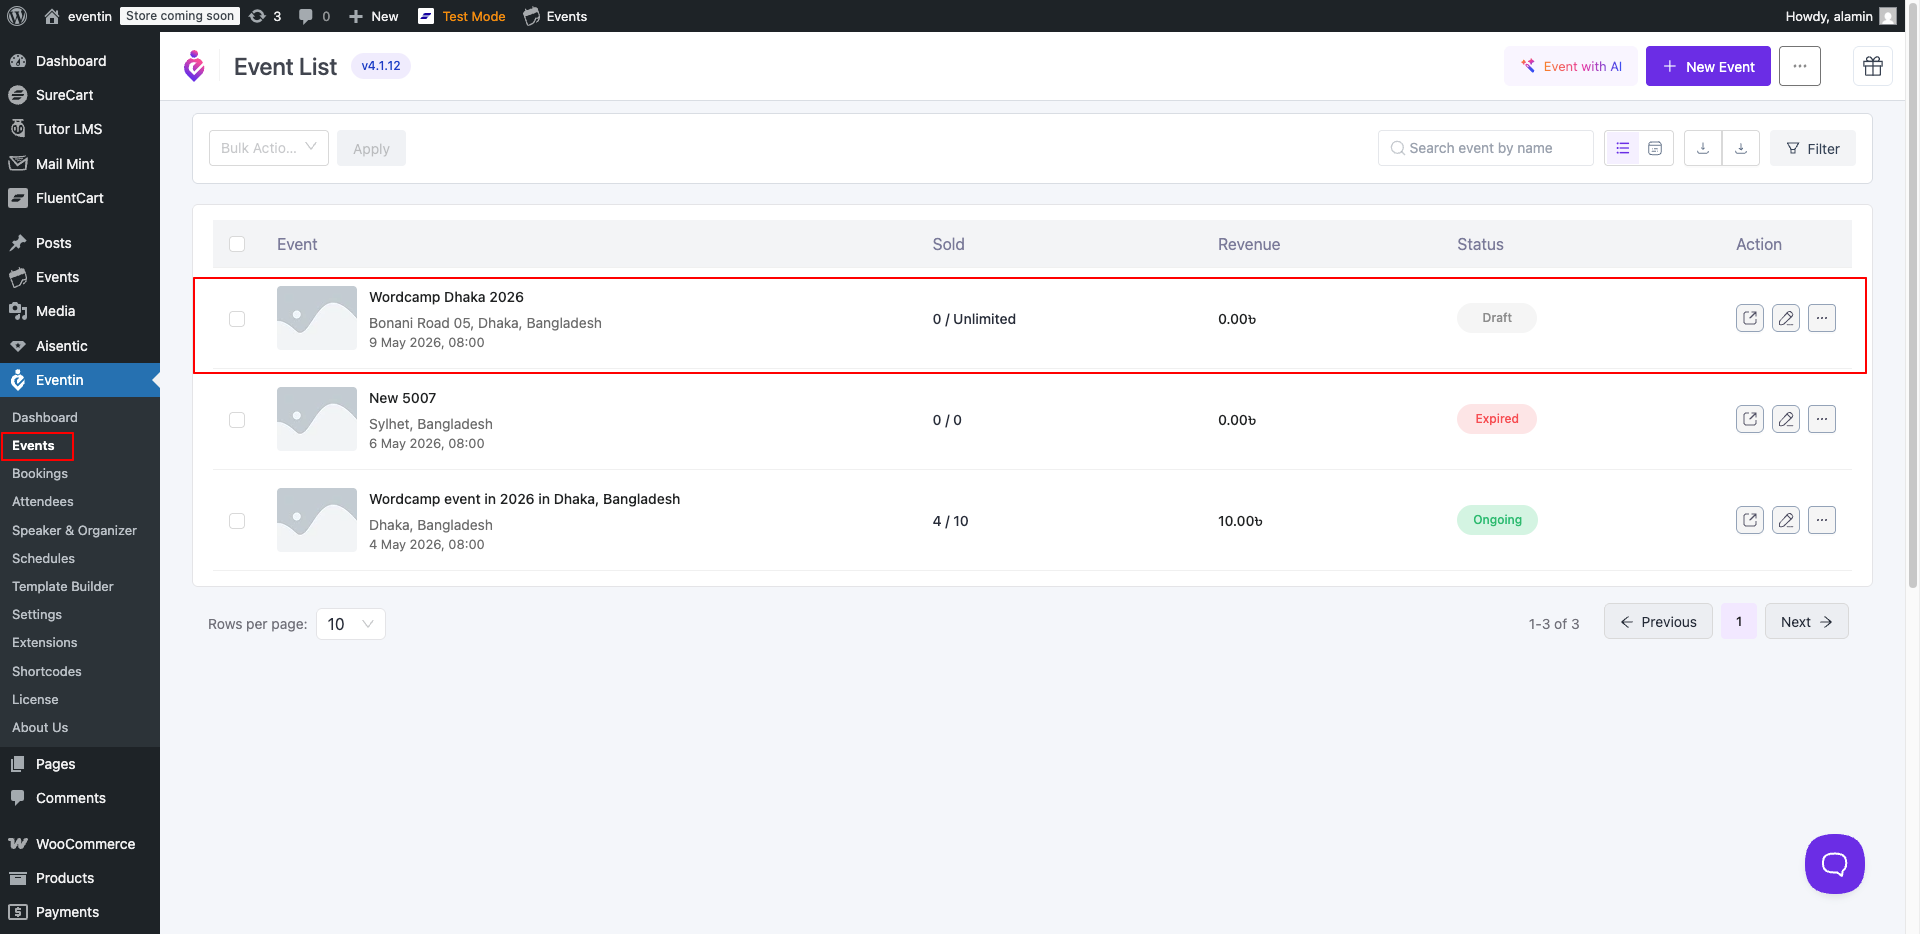
After successfully importing the event, you can view the imported events on the Eventin Events page.
FAQs #
Q: I don’t see an Import section under Settings. Why? #
A: The Import menu only appears after you enable and activate the Migration Tool for Eventin addon under Eventin → Extensions. Toggle it on, install, activate — then refresh and the Import section will be visible.
Q: Do I need an API key or token? #
A: No. Because The Events Calendar runs on the same WordPress site, Eventin reads events directly from your database. There is nothing to authenticate.
Q: I have more than 50 events. Why don’t I see all of them? #
A: The preview loads up to 50 events at a time (the header shows “Showing 50 of 87 events” when more exist). Import the first batch, then click “Fetch Events” again to load the next set — already-imported events will be marked skipped.
Q: Will the import create duplicates if I run it twice? #
A: No. Eventin detects events that have already been imported and marks them “Already exists (skipped)” instead of creating a copy. Re-running the import is safe.
Q: Some events show “Error”. What now? #
A: The row shows a short reason — usually a missing required field on the source event or a network timeout. Fix the underlying event in The Events Calendar (or just retry), then run the import again. Successful events from the first run will be marked skipped on the retry.
3. Conclusion #
Once the Migration Tool addon is active, importing from The Events Calendar is a one-click affair: open the import page, fetch your events, pick the ones you want, and import. Eventin handles duplicates automatically and shows you exactly what was added, what was skipped, and what failed.


