Oxygen Builder Integration With Eventin Event Plugin for WordPress #
Oxygen Builder is a powerful website-building platform designed specifically for WordPress. Unlike traditional page builders, it allows users to fully control the layout, structure, and functionality of their websites.
Eventin now supports Oxygen Builder, allowing users to design and customize event pages easily using Oxygen’s visual builder interface. With this integration, you can build a fully customized event management website without writing code.
To use this integration, make sure the following plugins are installed on your WordPress site.
Required Plugins #
Before getting started, install and activate the following plugins:
- Eventin
- Eventin Pro
- Eventin Oxygen Addon
- Oxygen Plugin (Required)
Note: The Eventin Oxygen Builder Addon is included in the Eventin Pro plugin bundle.
Plugin Installation #
Follow the steps below to install the Eventin Oxygen Addon plugin:
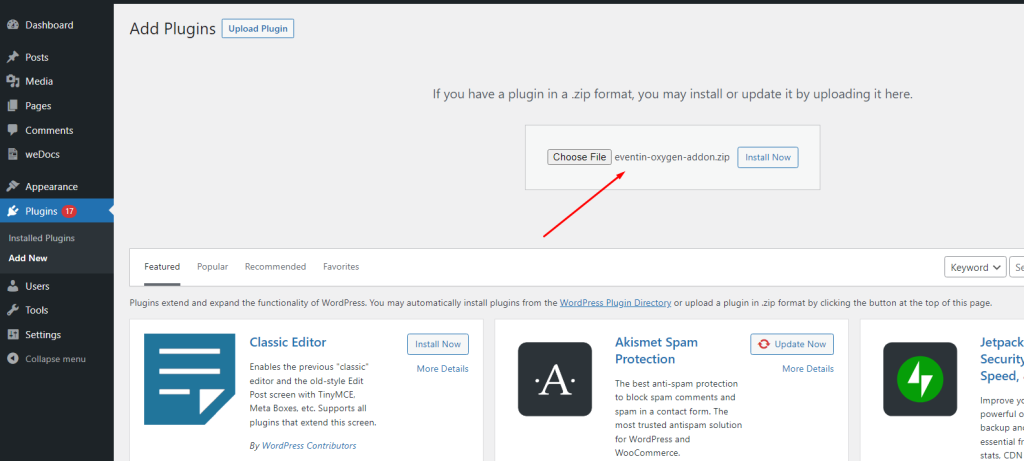
- Go to Plugins → Add New → Upload Plugin from your WordPress dashboard and select the eventin-oxygen-addon plugin file.
- Then click Install Now and activate the plugin after installation.
- Once the plugins are activated, you are ready to design event pages using Oxygen Builder.
Create Event Template with Oxygen Builder #
To edit the event template using Oxygen Builder, follow the steps below:
- Go to Oxygen → Templates from your WordPress dashboard.
- Click Add New Template to create a new template.
- In the Where does this template apply? section, select Events.
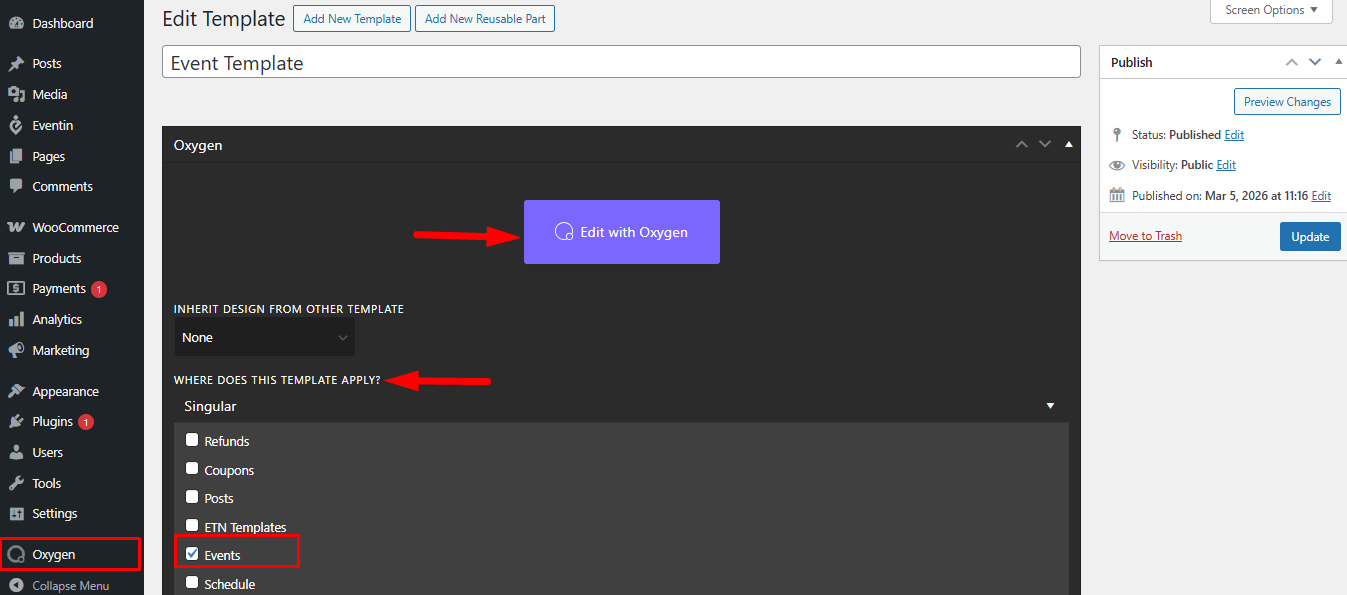
- Click Edit with Oxygen Builder to start editing the template.
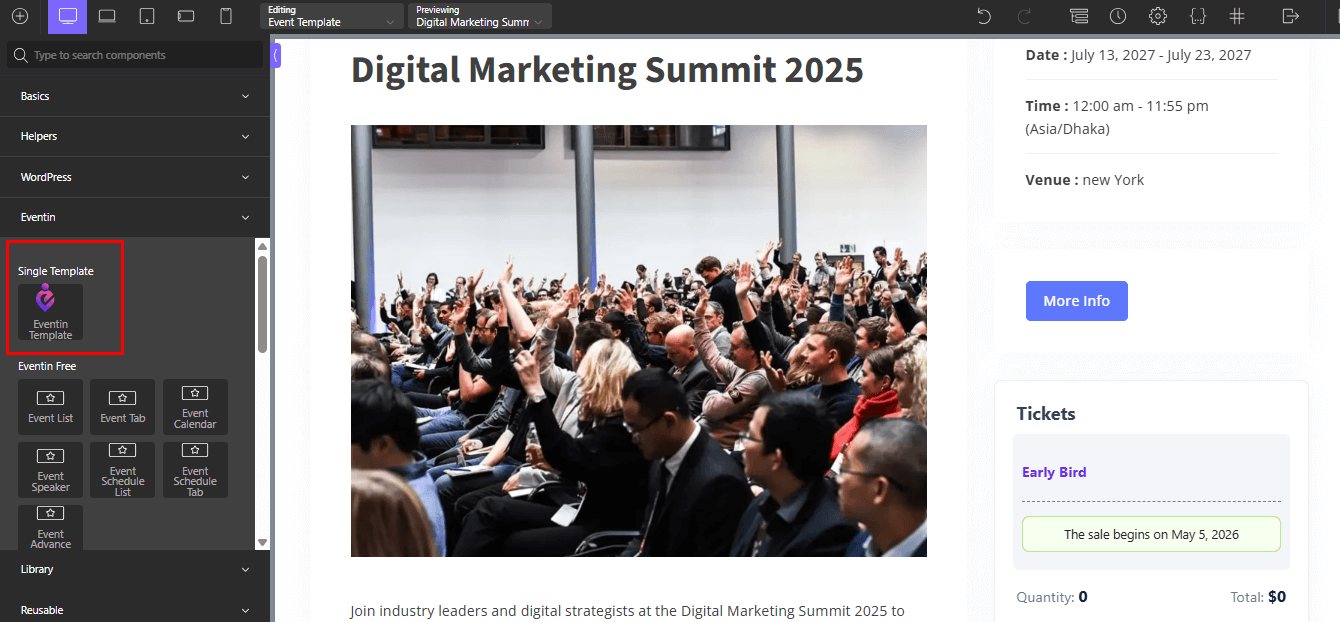
- Inside the builder, add the required Event template widgets/elements.
- After completing the design, save the changes.
Now, when you visit any event page, it will display using this Oxygen template. The theme header and footer will also appear on the event page.
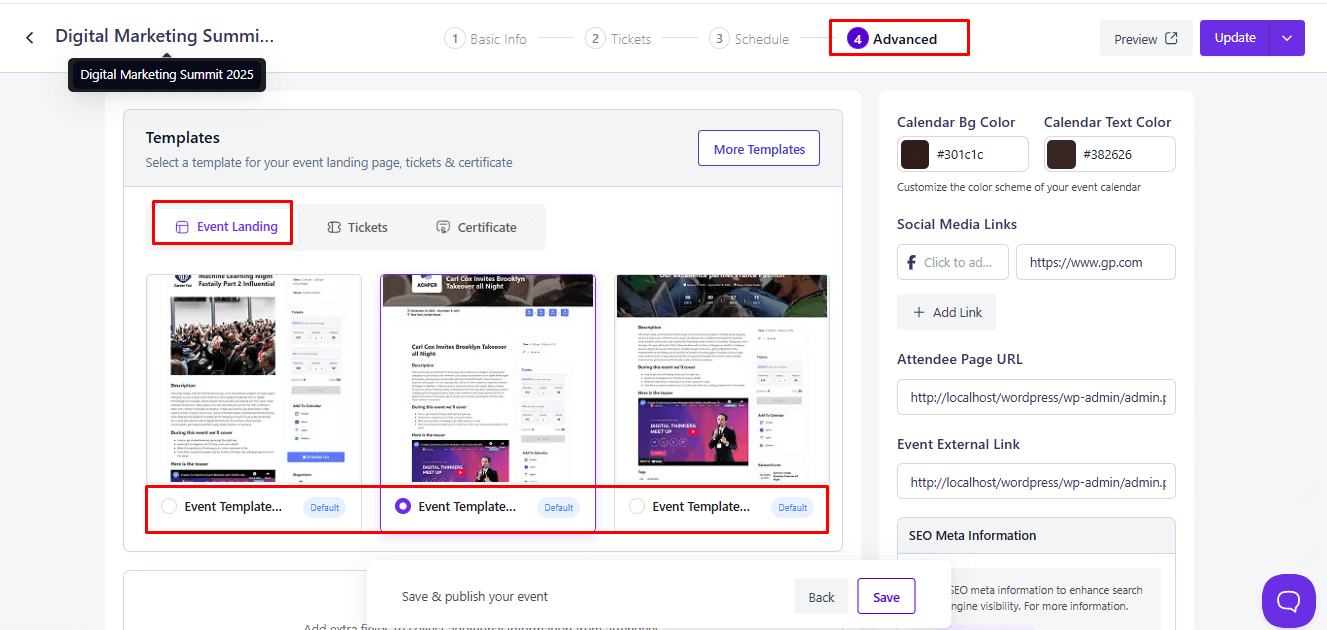
If you want to use a different template for a specific event, simply edit that event, choose the template you want to apply, and save the changes.
Display Eventin Widgets with Oxygen Builder #
To display Eventin widgets using Oxygen Builder, you can use the dedicated Eventin widgets available inside Oxygen. Follow the steps below to add and display event-related content on your page.
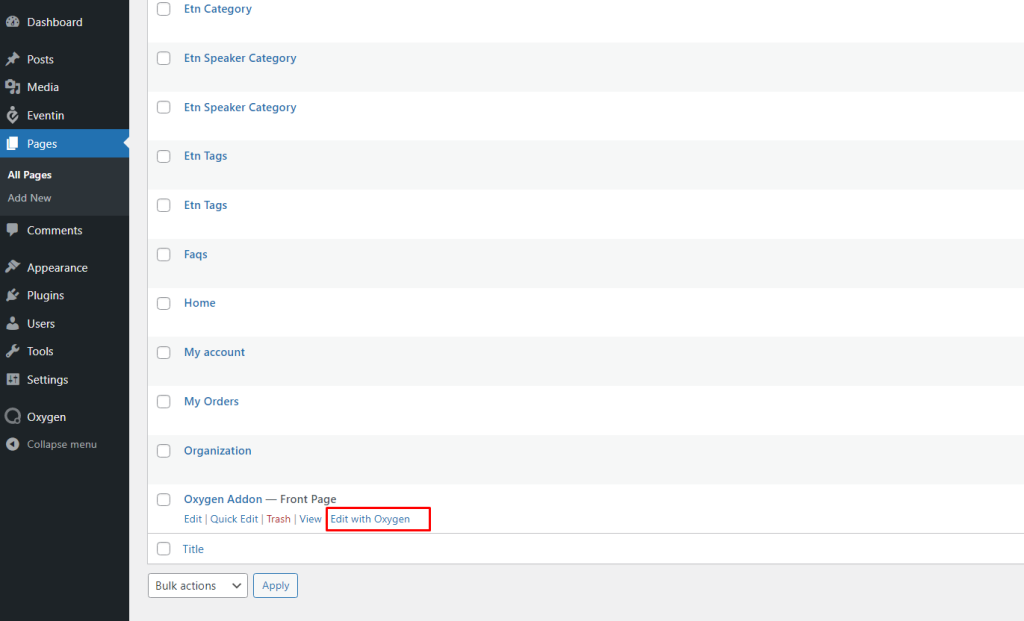
- Go to Admin Dashboard → Pages.
- Select the page where you want to display event-related information.
- Click Edit With Oxygen.
- After clicking Edit With Oxygen, you will be redirected to the Oxygen editor.
Add Eventin Elements #
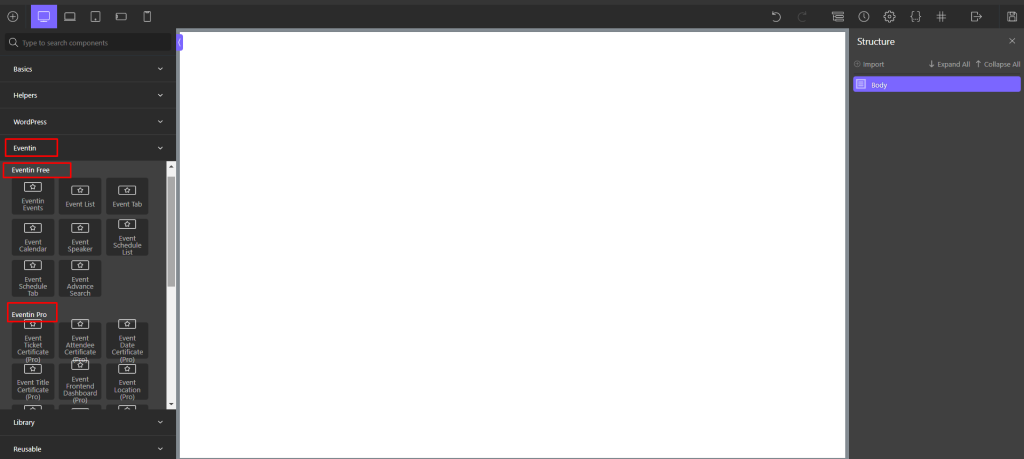
- Click the Plus (+) icon inside the Oxygen editor.
- Search using the keyword event.
- All available Eventin widgets/elements will appear.
- Drag and add the required elements to the page.
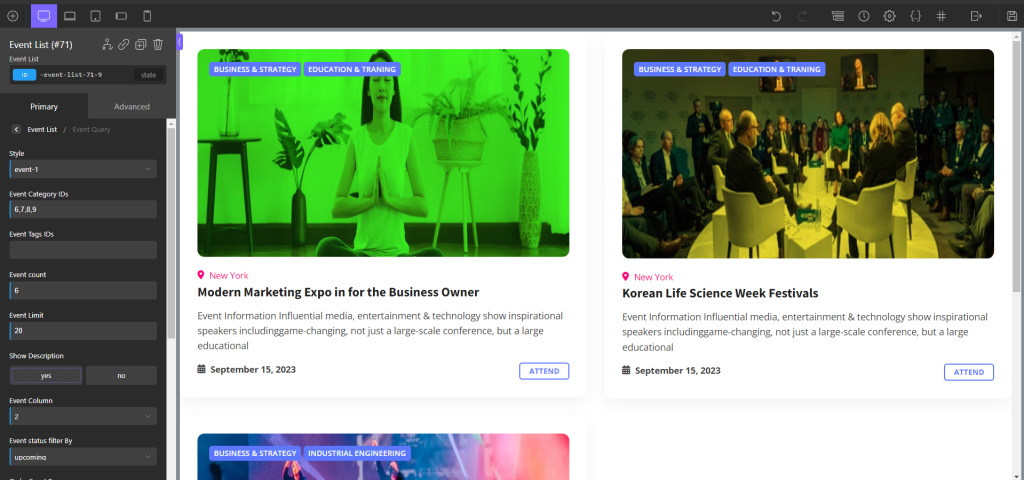
- Customize the design as needed.
- Click Save Changes.
Now your event content will be displayed on the page designed with Oxygen Builder.
Frequently Asked Questions(FAQ) #
1. Do I need the Oxygen plugin to use this integration? #
Yes. The Oxygen Plugin is required because the Eventin Oxygen Addon works specifically with Oxygen Builder.
2. Is the Eventin Oxygen Addon included with Eventin Pro? #
Yes. The Eventin Oxygen Builder Addon is included in the Eventin Pro plugin bundle.
3. Can I design custom event pages with Oxygen Builder? #
Yes. You can use Oxygen Builder to design event pages and add Eventin widgets to display event-related information.
4. Can I assign different templates for different events? #
Yes. You can edit a specific event and choose a different template for that event if needed.
Conclusion #
The integration between Eventin and Oxygen Builder provides a powerful way to design fully customizable event pages. With this integration, you can visually build event layouts, display event information, and create custom event templates without writing any code. This flexibility makes it easier to build a professional and feature-rich event management website.


