AISentic’s chatbot lets you manage your Eventin events through natural conversation — right from your WordPress admin panel. Instead of clicking through menus to create or update an event, you type what you need in plain language, and the AI handles the rest.
In this guide, you’ll walk through a real example: creating an event from scratch using the chatbot, step by step. You’ll also see what else you can do once the basics are covered.
| Prerequisite: This guide assumes you’ve already connected Eventin with Aisentic. If you haven’t set up the integration yet, follow our How to Connect Your WordPress Plugins with Aisentic guide first. |
Step 1: Open the Aisentic Chatbot #
Look for the Aisentic chat icon at the bottom-right corner of your WordPress admin panel. Click on it to open the chatbot window.
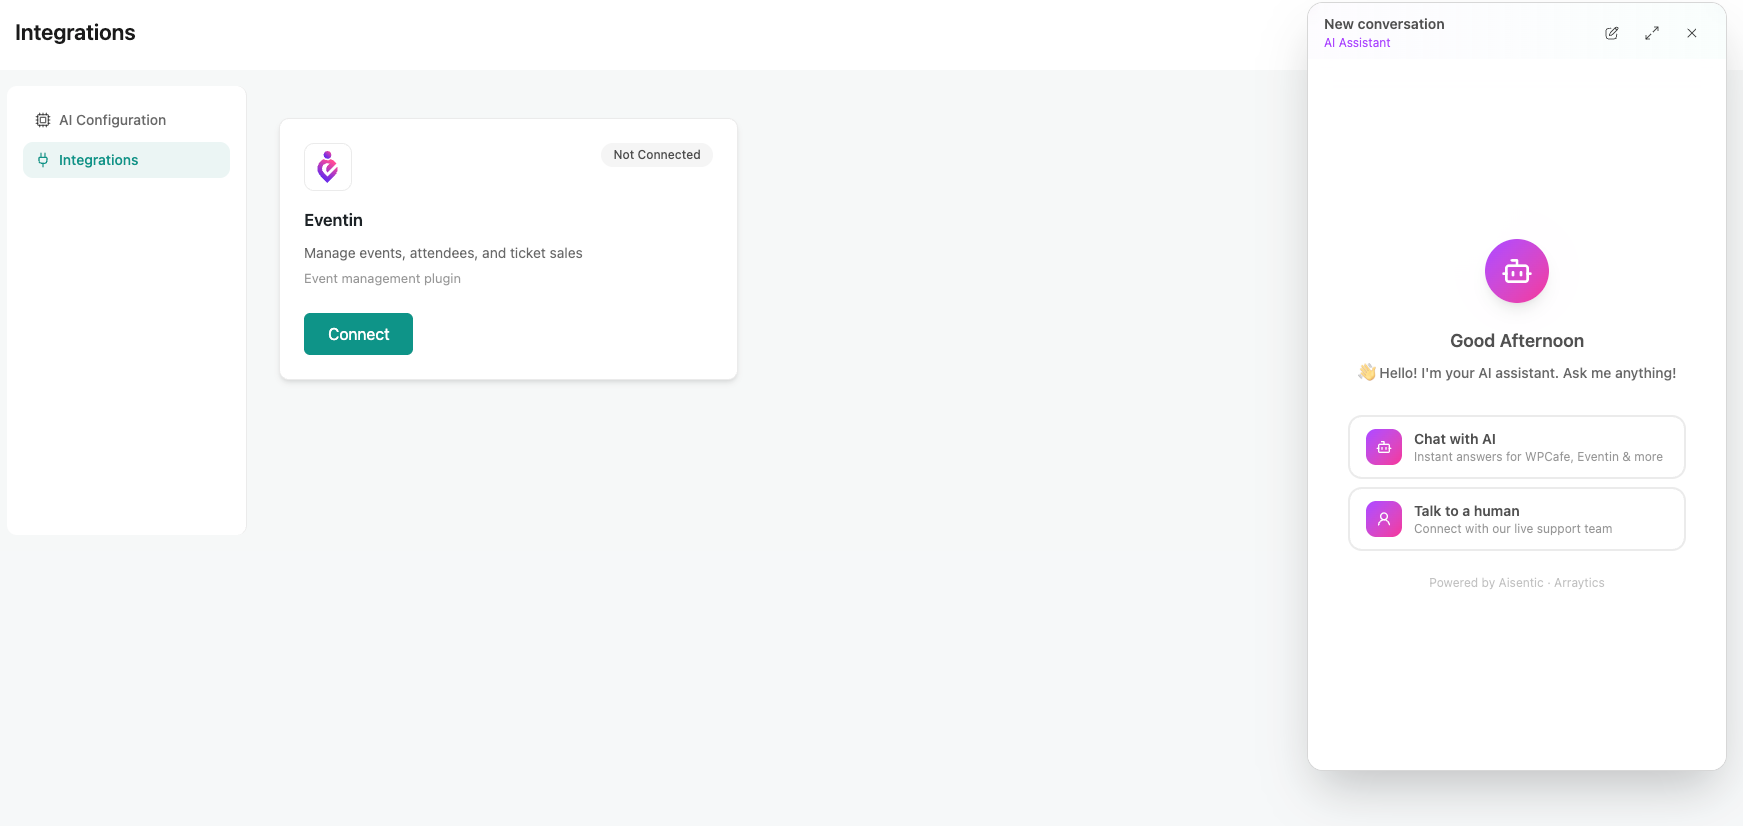
You’ll see a welcome screen with two options:
- Chat with AI — Talk to Aisentic’s AI assistant to manage events, search data, and perform actions on your Eventin plugin.
- Chat with Support — Connect directly with a human support agent from the Aisentic team for personalized help.
For this guide, click Chat with AI to start.
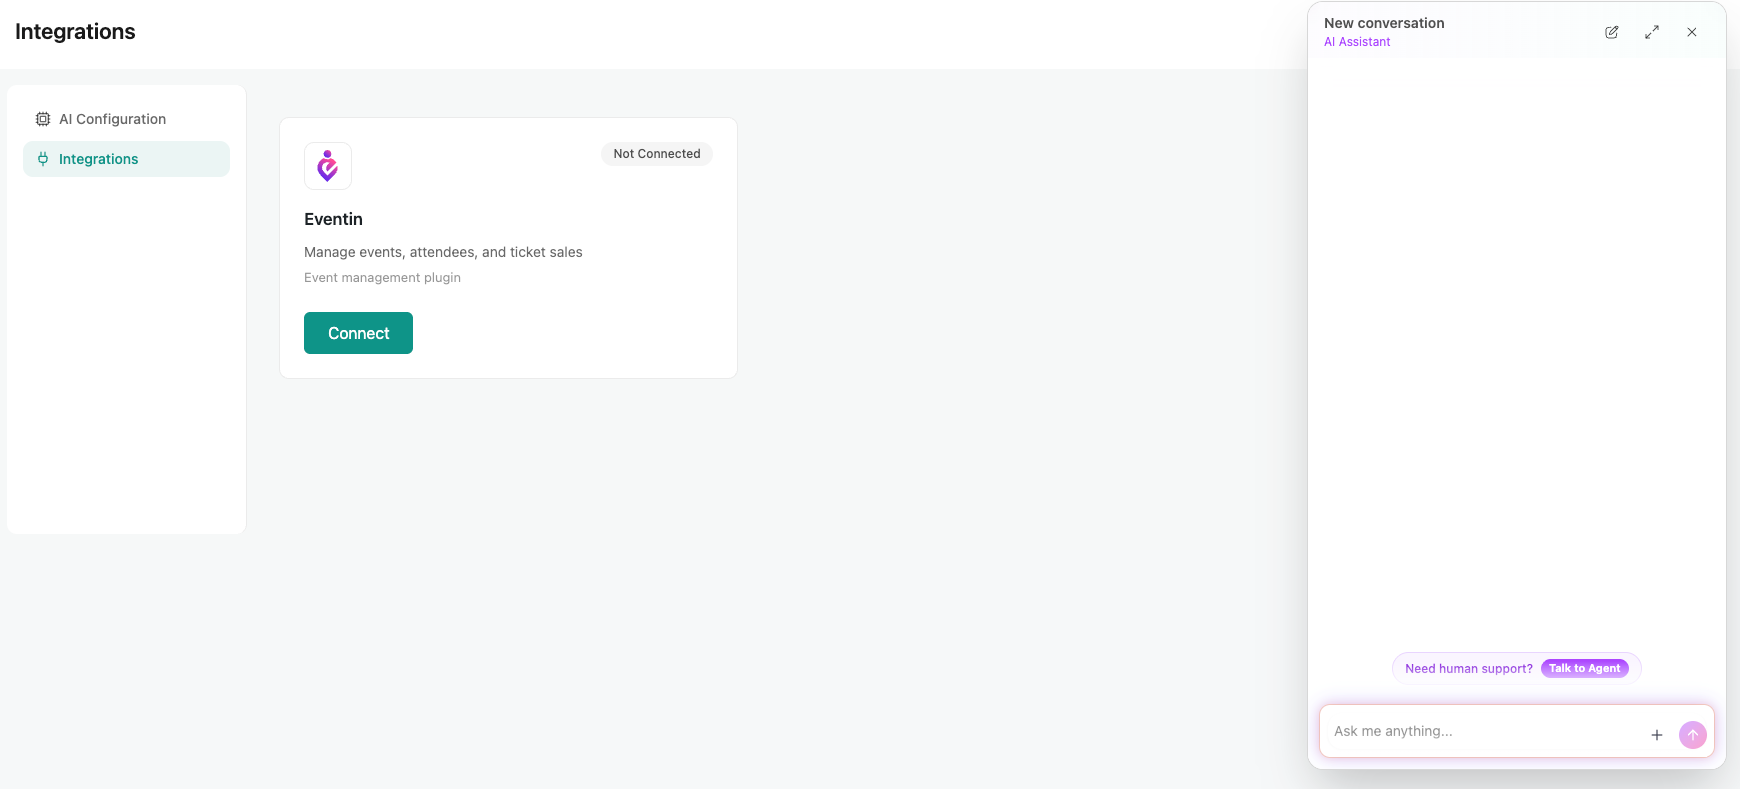
Step 2: Tell the Chatbot What You Need #
The chat window opens with a text input at the bottom. You don’t need to use specific commands or syntax — just describe what you want in your own words. For example, to create a new event, you could type any of these:
- “Create a new event”
- “I want to set up an event for next Friday”
- “Help me create a workshop called React Basics”
The AI understands the intent behind your message, so you don’t have to phrase it in a particular way. Type your request and press Enter.
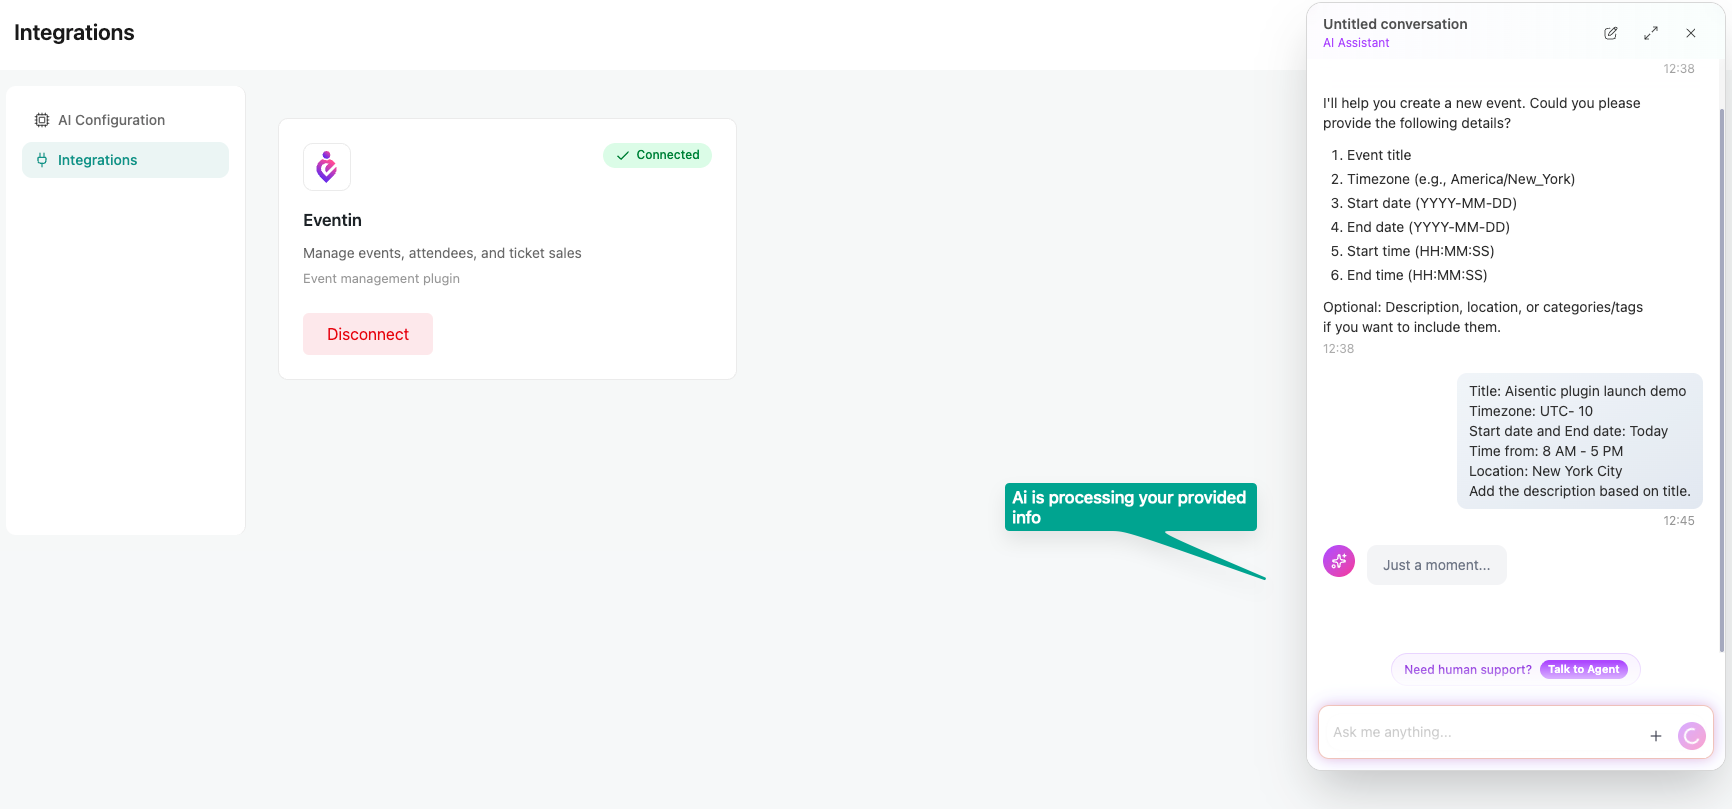
Step 3: Follow the Guided Conversation #
After you send your request, the AI will ask follow-up questions to gather the details it needs. Here’s what a typical conversation looks like:
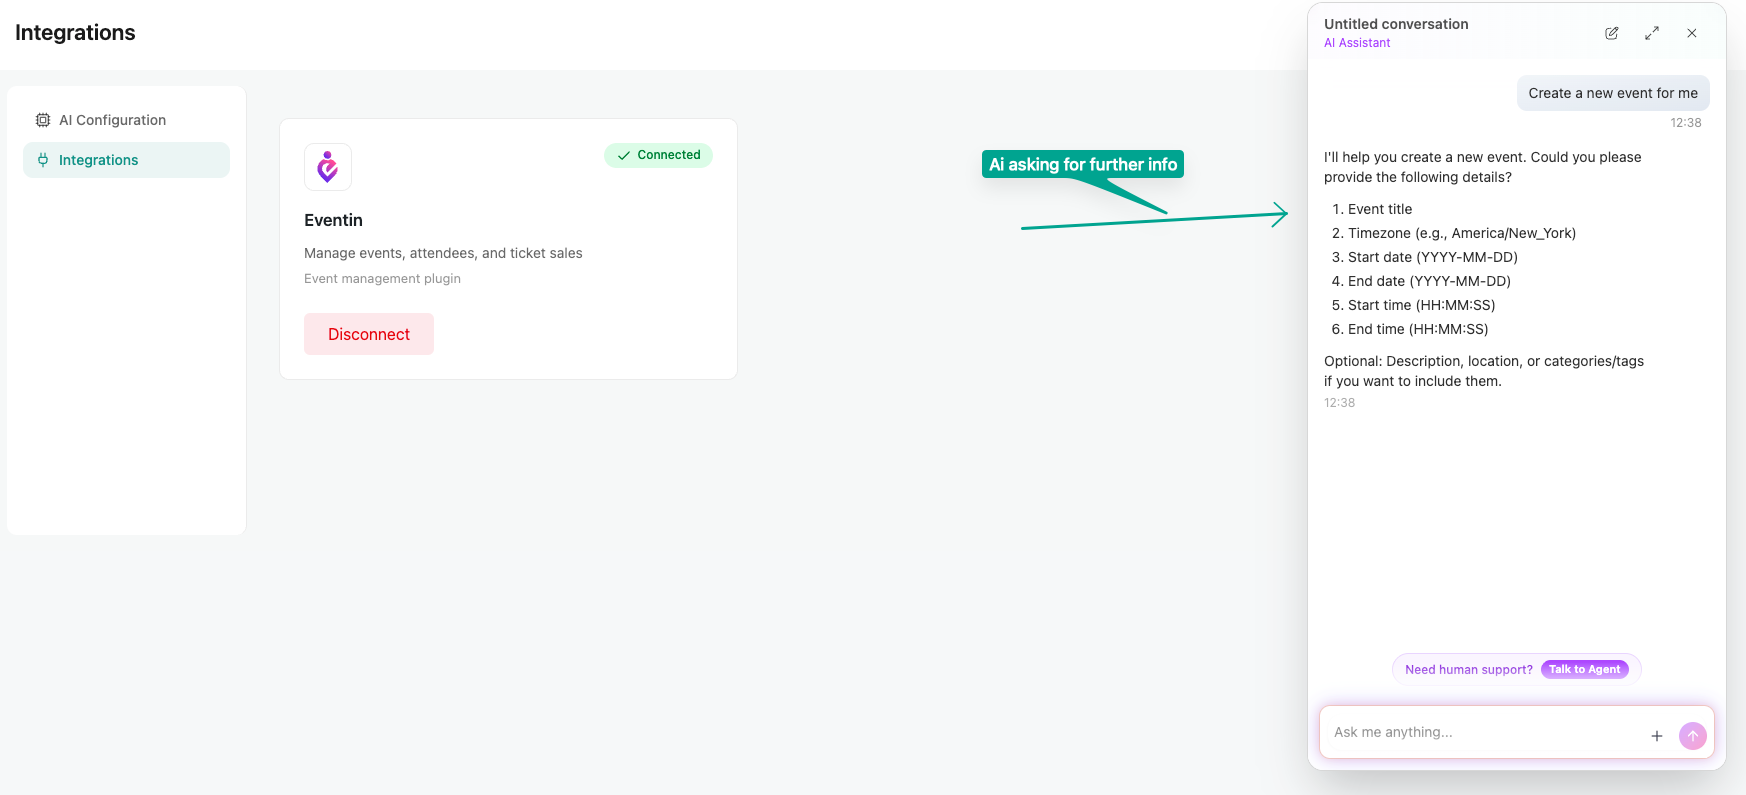
The AI walks you through each detail one at a time — title, date, venue, description, tickets, and anything else relevant to the event. Just answer naturally.
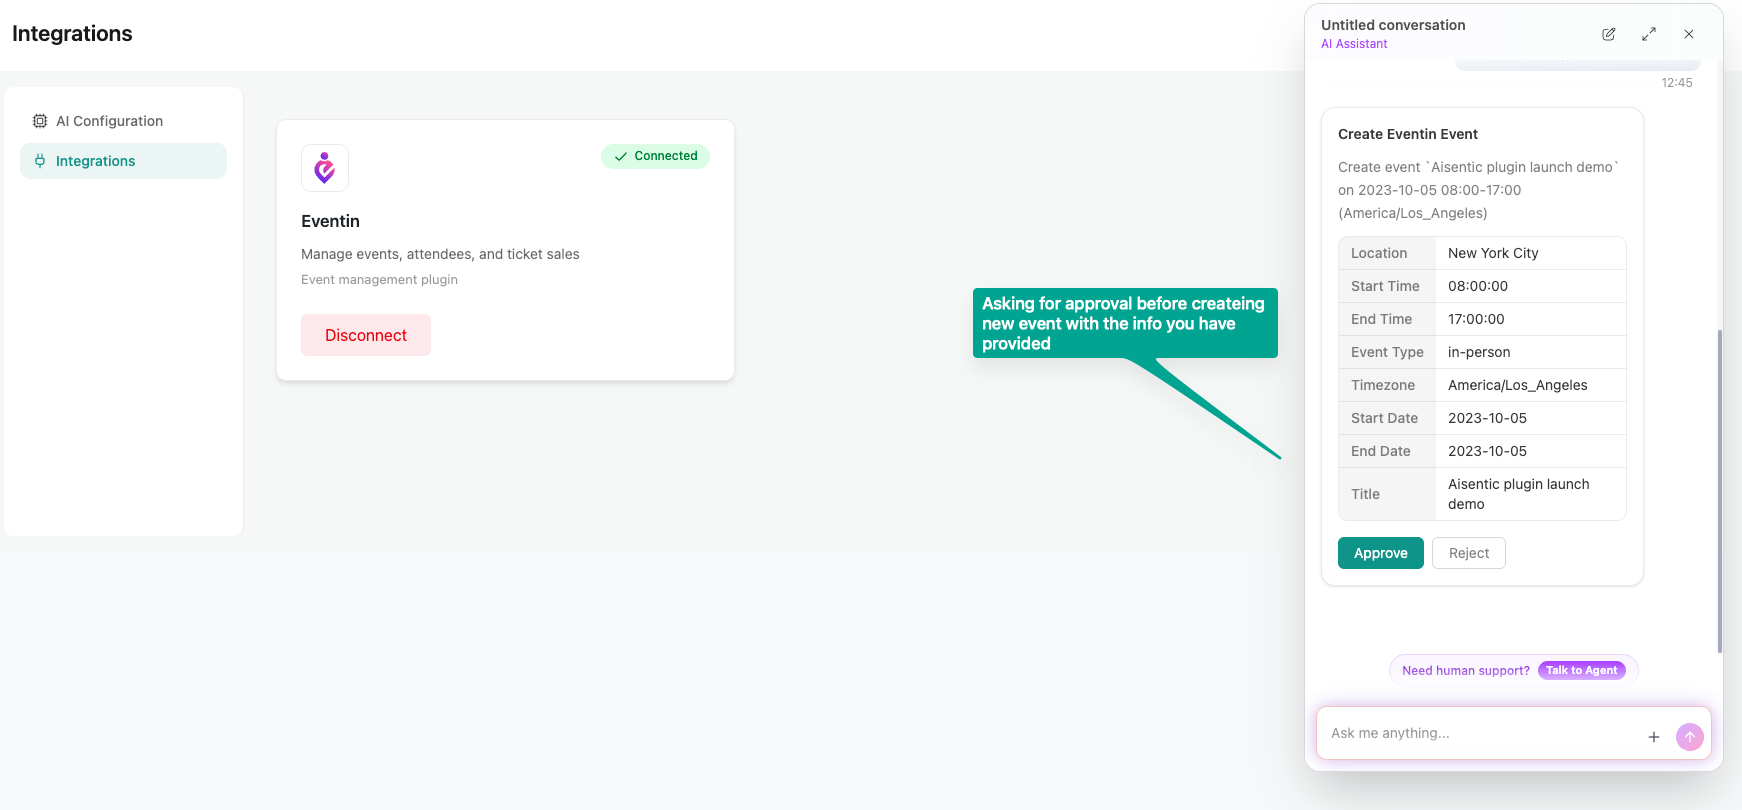
Step 4: Review and Confirm #
Once the AI has all the information, it will show you a summary of the event details for review. Check that everything is correct — the title, date, venue, description, and any other fields.
If something needs to be changed, just tell the AI. For example: “Change the time to 2:00 PM.” If everything looks good, confirm by typing “Yes, create it” or simply “Confirm.”
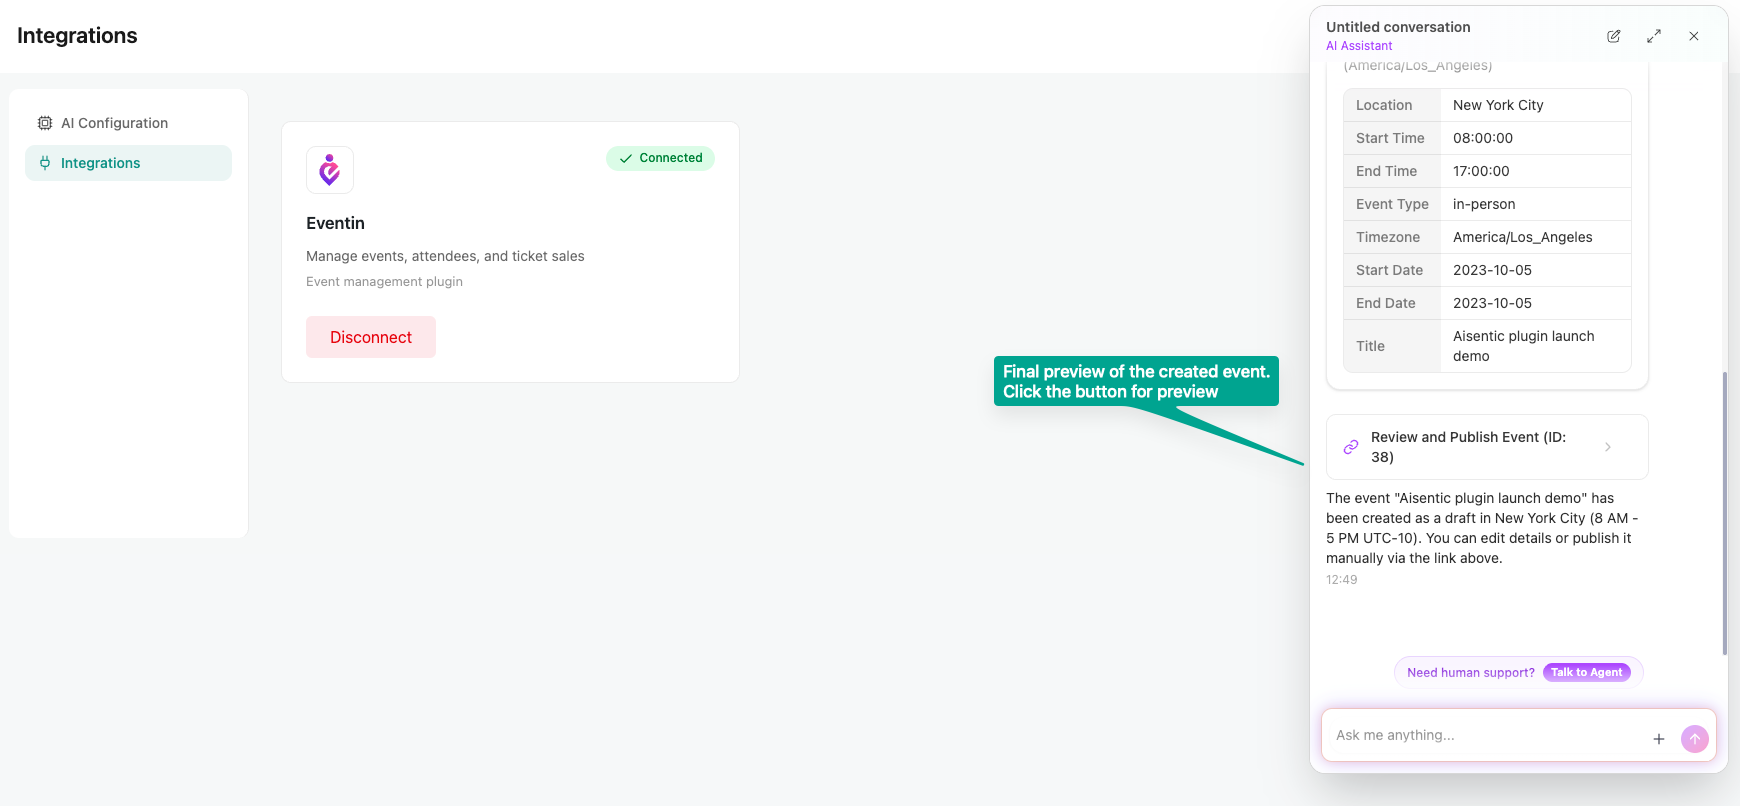
The AI will process your request and create the event in Eventin. You’ll receive a success message along with a direct link to view the newly created event.
Beyond Event Creation: Other Things You Can Do #
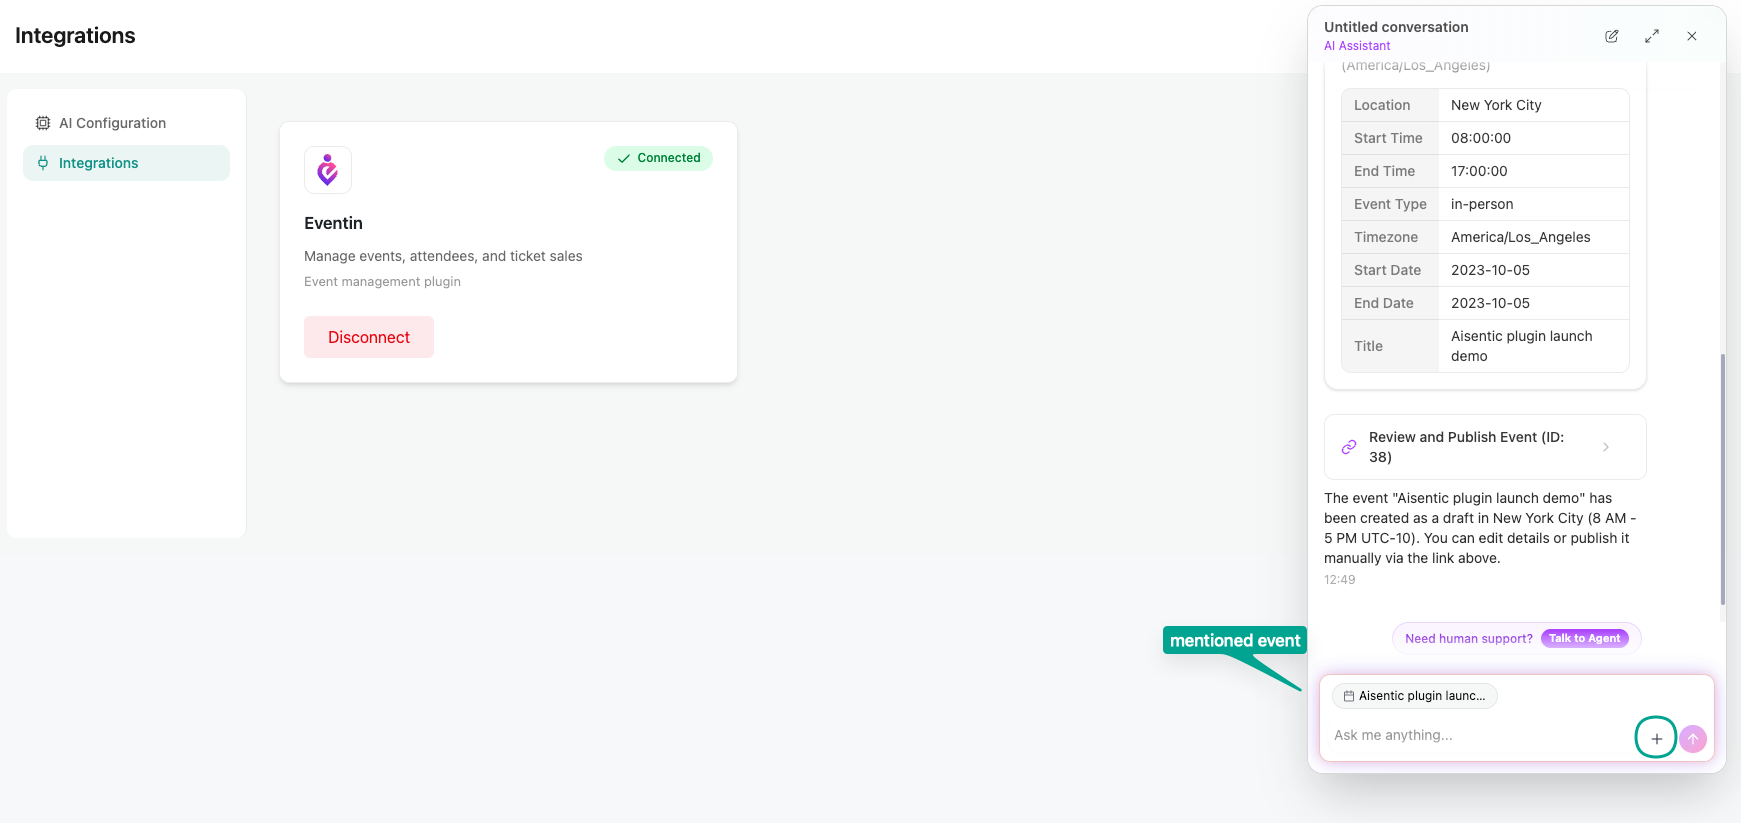
Creating events is just the starting point. Once Eventin is connected, the chatbot can help you manage your events in several other ways. You can mention event by clicking on the plus button > select events option > choose any events
Then you can ask many questions to it. Here are some examples:
| What You Type | What Happens |
| “Update the title of React Basics Workshop to Advanced React” | The AI finds the event and updates its title |
| “Show me all events happening this month” | Displays a list of your upcoming Eventin events |
| “Change the venue of the July workshop to Online” | Updates the event location to an online format |
| “Delete the test event I created yesterday” | Identifies and removes the specified event after confirmation |
| “I need help with something else” | Connects you to a live human support agent |
| Tip: You can reference events by name, date, or any identifying detail. The AI is flexible — you don’t need to remember exact event IDs or titles. |
Frequently Asked Questions (FAQ) #
| Q1: Can I create multiple events in one conversation?Yes. After the first event is created, you can start a new request in the same chat. Each event follows the same flow — describe it, provide details, confirm, and it’s done. |
| Q2: What if I provide incorrect details during the conversation?No problem. The AI always shows a summary before creating the event. You can correct any detail at that stage by telling the AI what to change. You can also update the event after creation. |
| Q3: What happens if the AI doesn’t understand my request?Try rephrasing your message in simpler terms. If the AI still can’t help, it will offer to connect you with a live human support agent directly from the chat window. |
| Q4: Does the chatbot remember earlier messages in the conversation?Yes, the AI maintains context within each conversation. You can reference things you mentioned earlier, like “Change the date of the event we just created.” However, each new conversation starts fresh. |
Conclusion #
Managing Eventin events through Aisentic’s chatbot is straightforward — open the chat, describe what you need, follow the guided conversation, and confirm. No menus to navigate, no settings to hunt for.


