A single event is a type of event that has only one starting date and one ending date.
There are two ways to create a new event.
1. one from the onboarding page from your first arrival with Eventin event management plugin for WordPress.
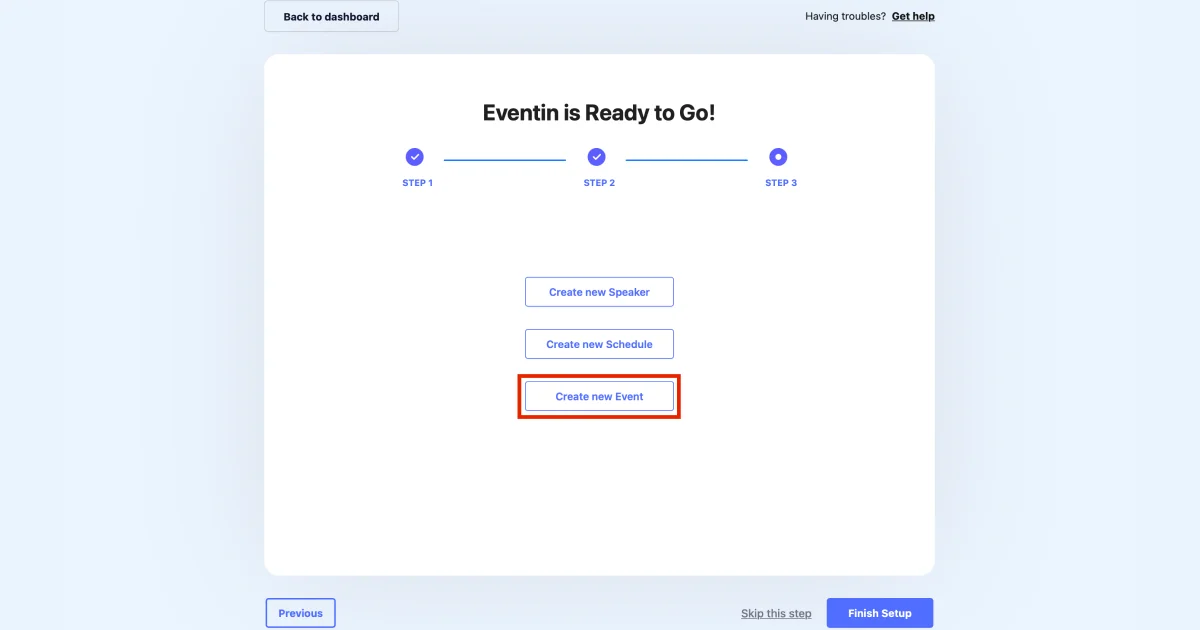
2. From events page.
To create a new single event with Eventin Events, log in to your WordPress dashboard and go to Eventin > Events > Add New. You will then be directed to your unique event page, where you need to add details for your event.
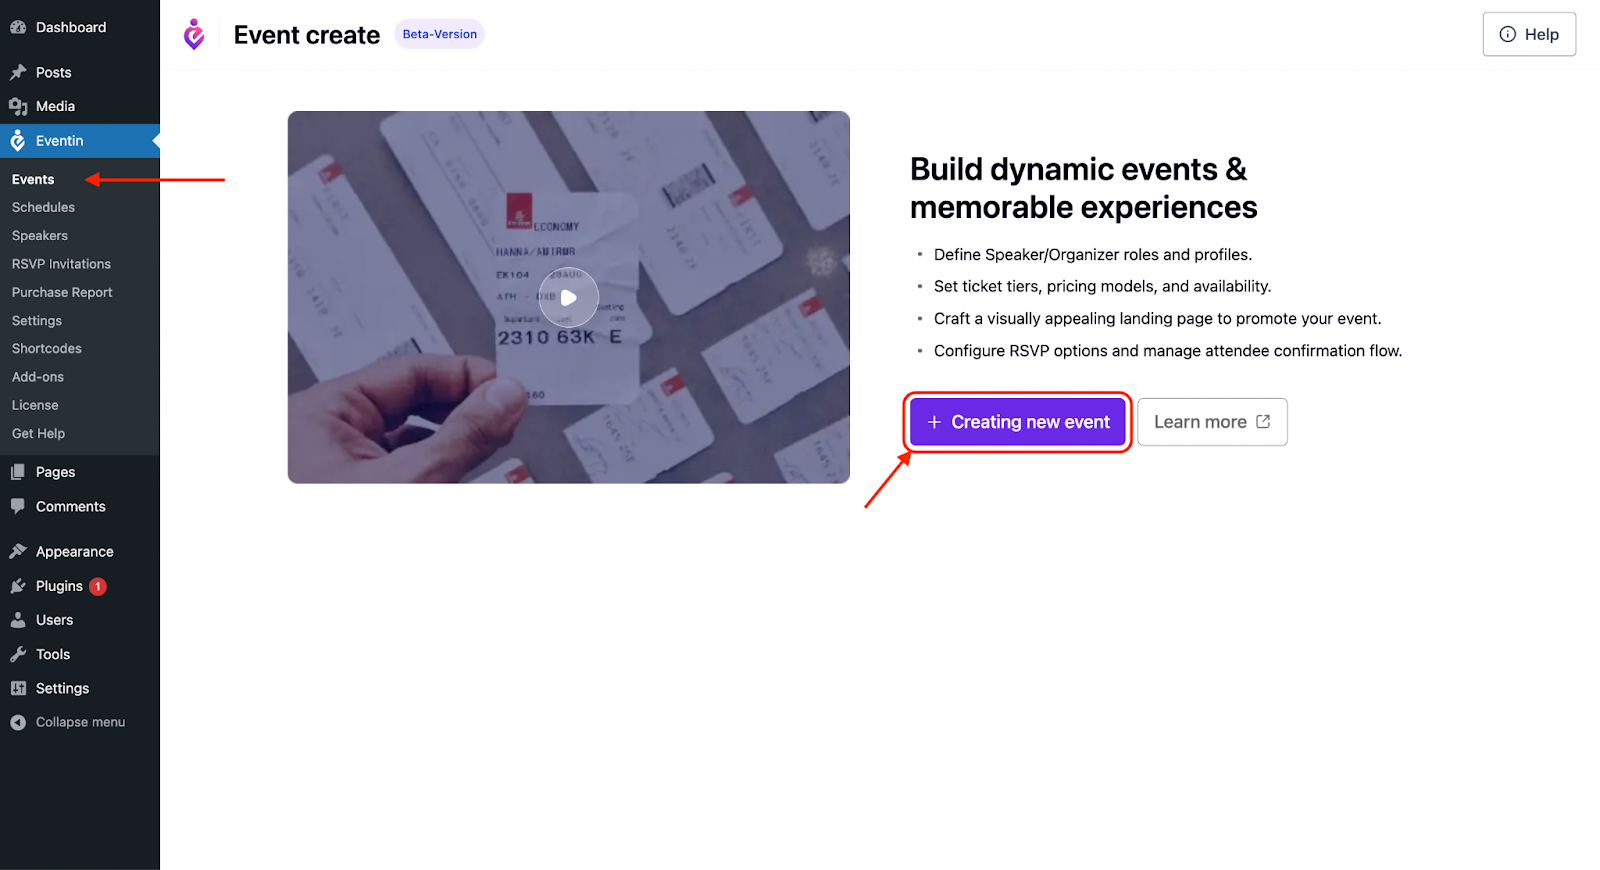
Create New Event #
After clicking on the Create New Event button, you’ll be redirected to the following page. Now considering your type, add Basic Information in the page editor.
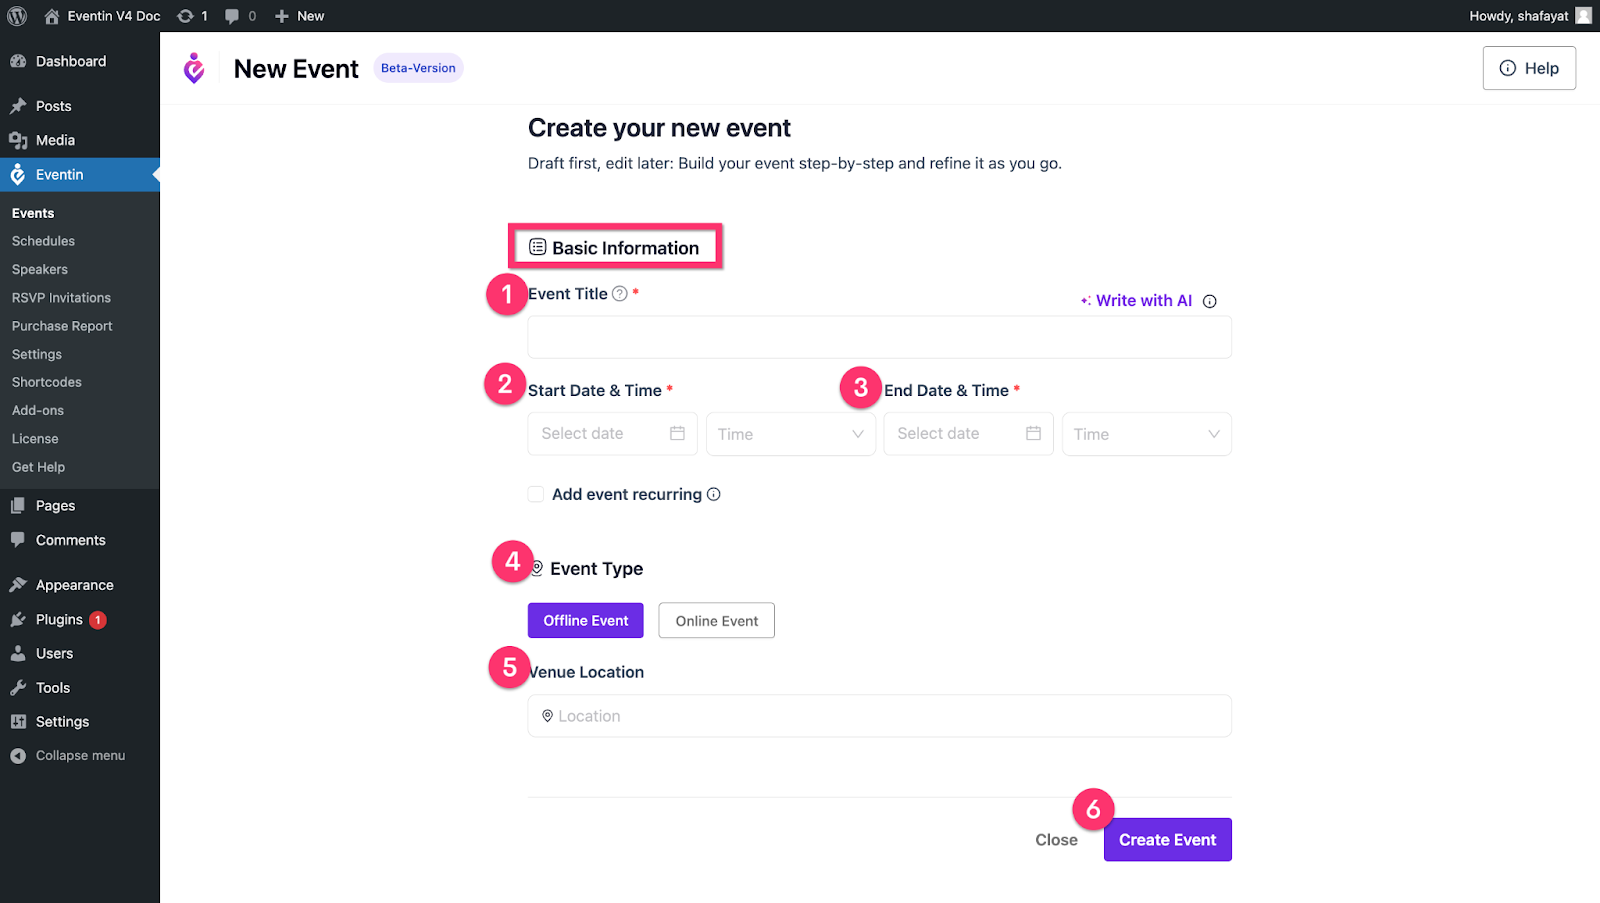
Here, you need to add your event name on the title, set event type, and other basic information about your event.
As you are creating a single event, keep the same date on the event ´Start Date´ and ´End Date´ options.
Once you are done, hit the ´Create Event´ button to proceed to the next step.
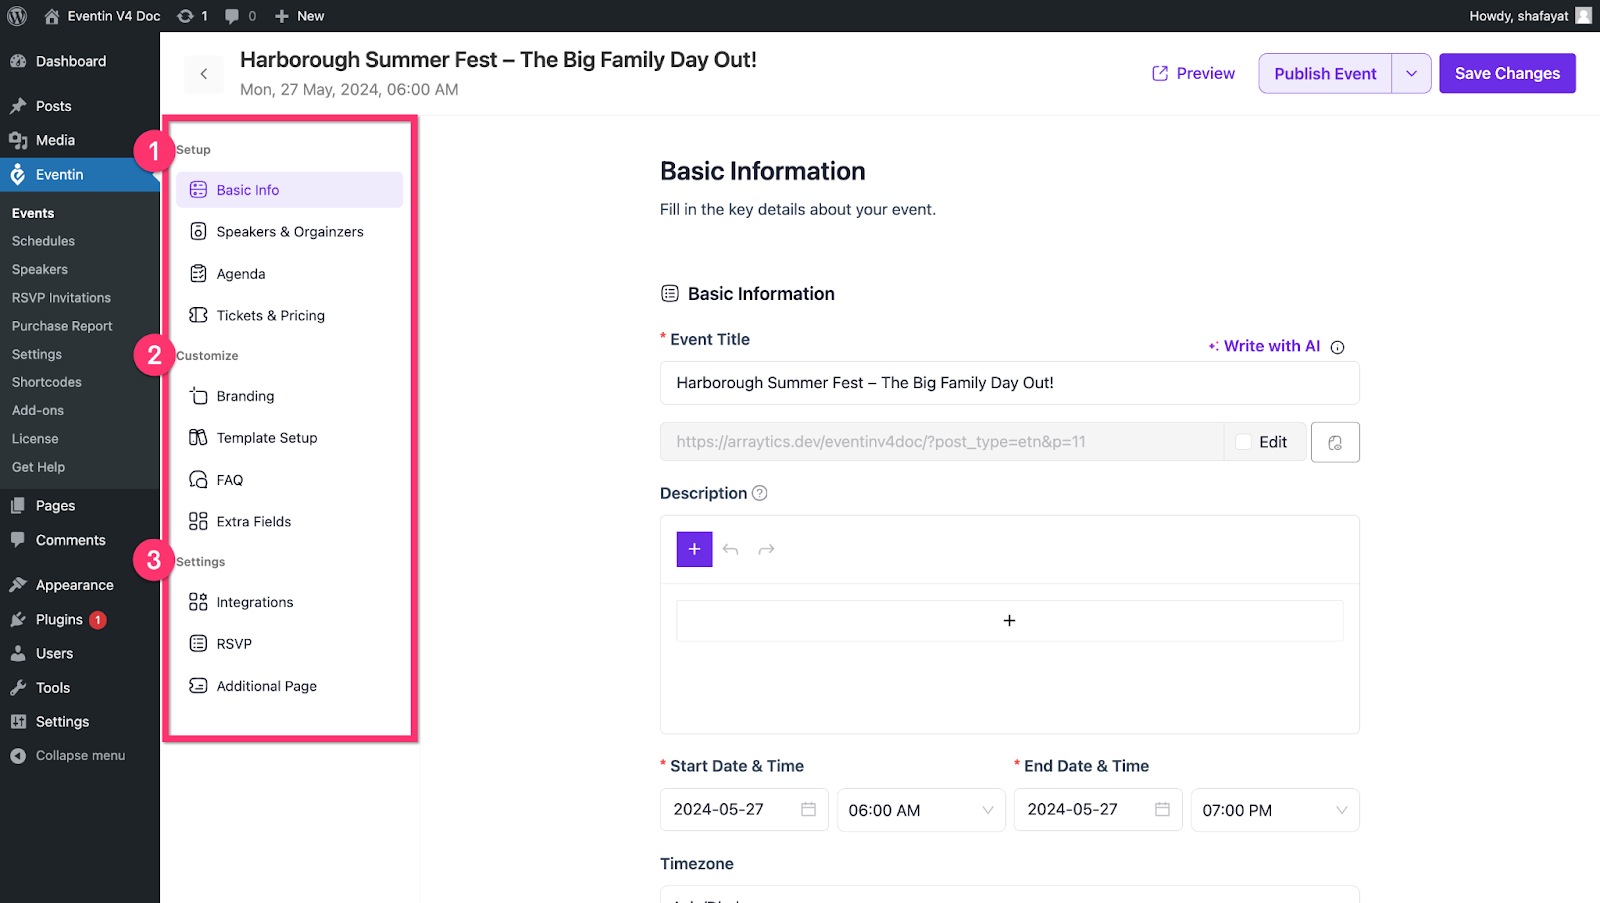
Here, you can set up your entire event following the three steps- Setup, Customization, and Settings.
1. Setup #
You can add more data on the basic information menu, set speakers, and create an agenda, and Tickets for your event from this section as well.
Let´s set the event description to attract more clients with detailed information-
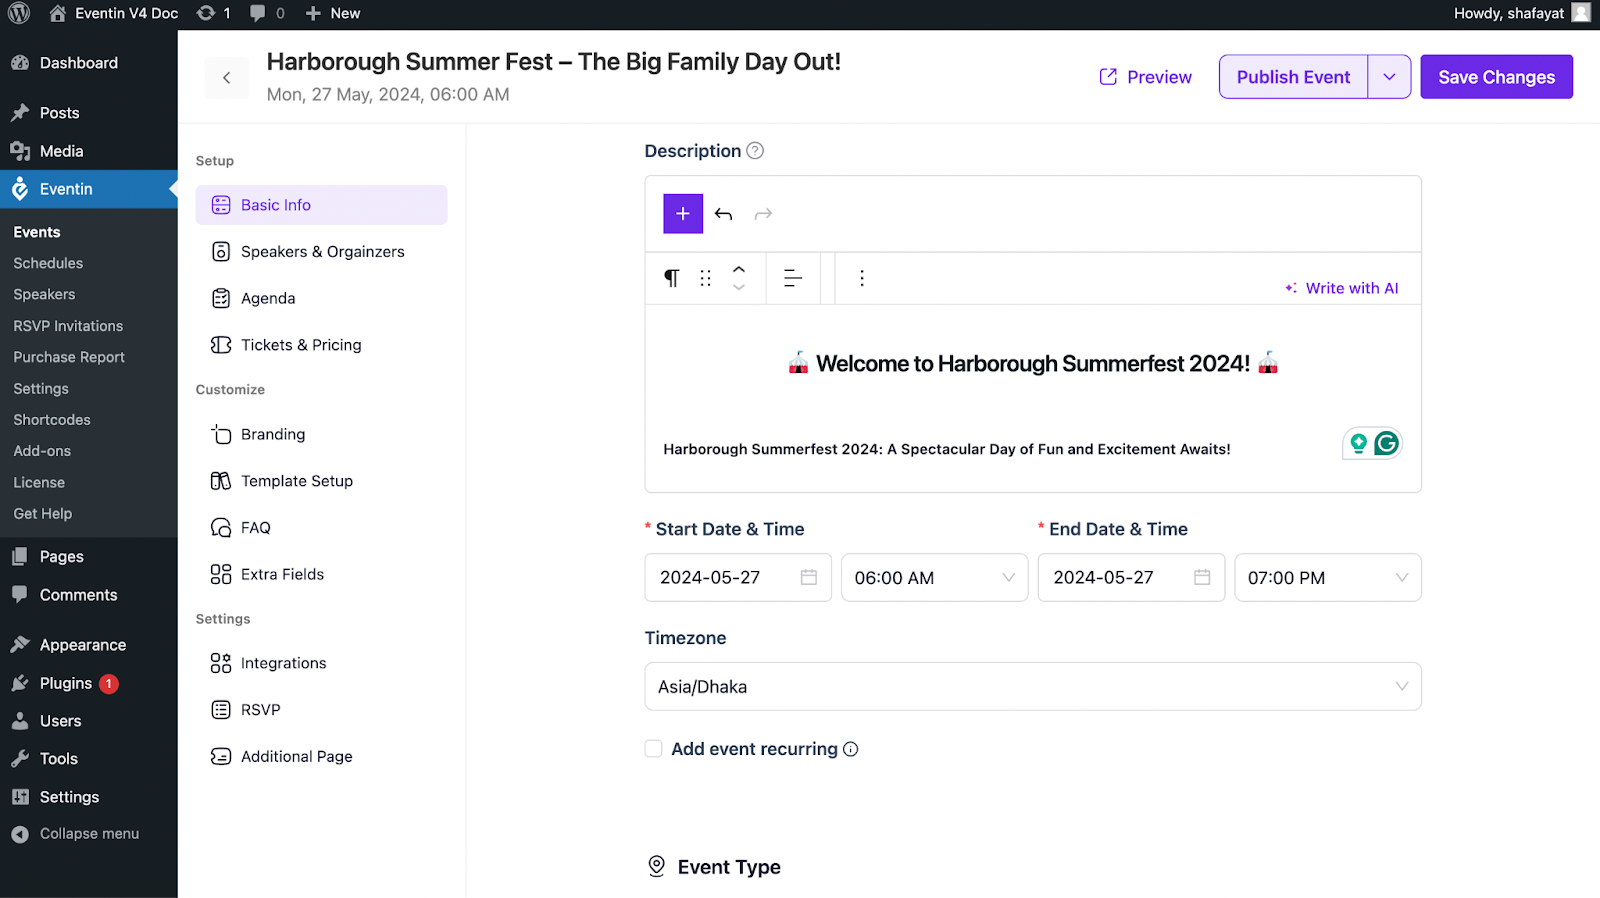
From here, you can also add event categories, and use taglines to provide a powerful hook that represents what the event is about-

Speakers & Organizers #
In this section, you can assign and add speakers, and organizers´ information to the event page.
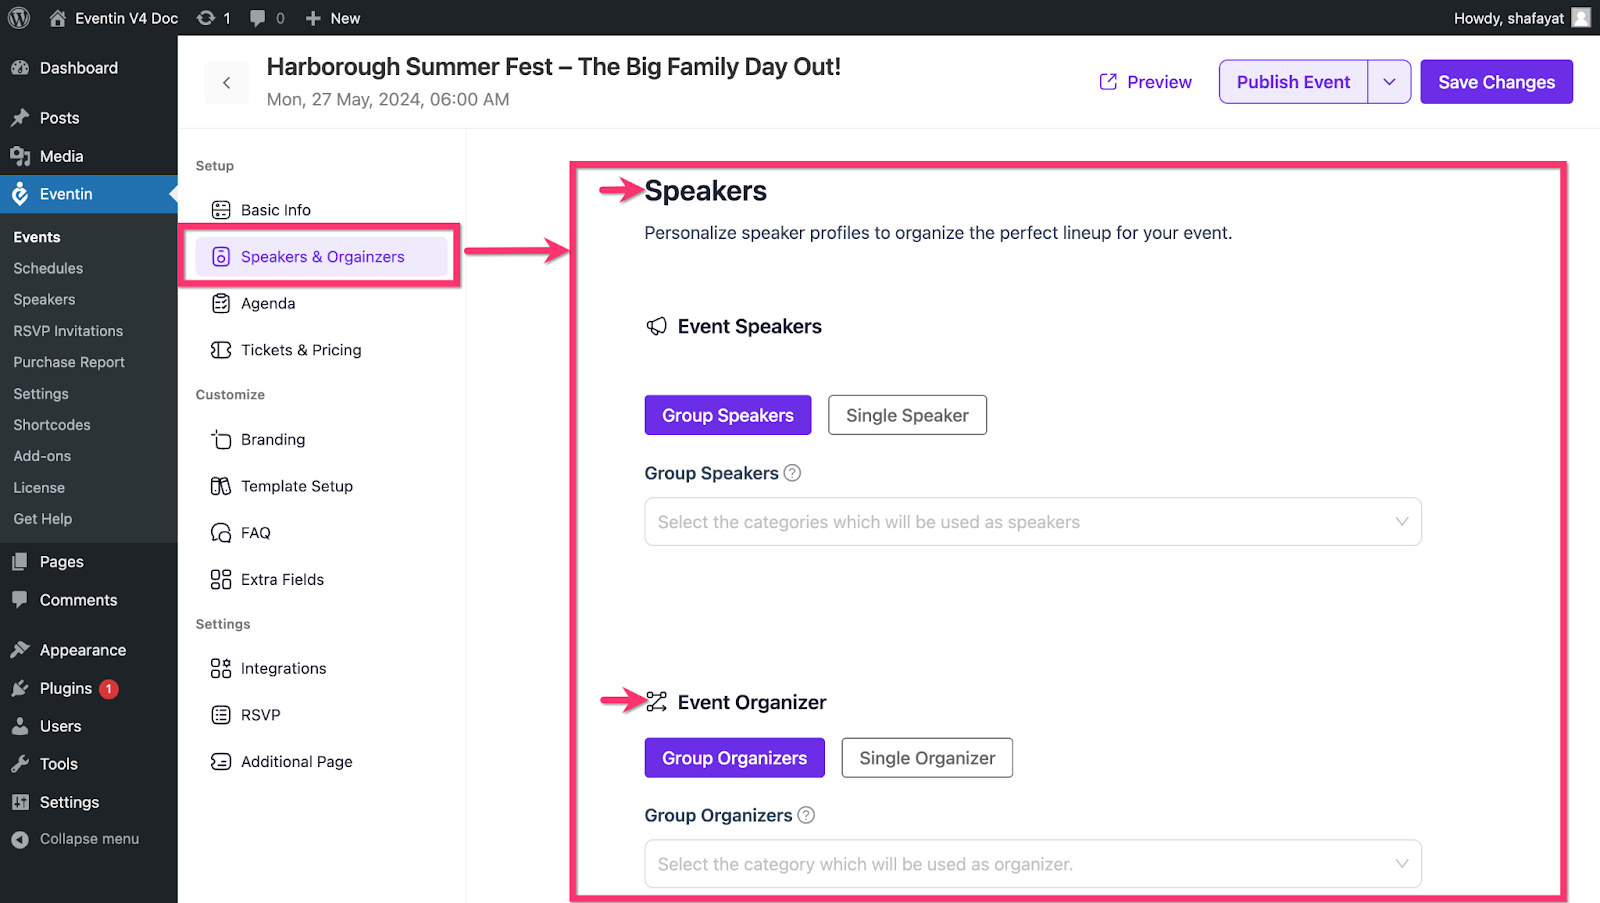
Select whether you want to add single or multiple speakers, and click the preferable button.

Now, click on add new speaker, and a new pop-up form will appear.
Here, you can add the speaker´s details including email, speaker category, company name, and even photo.
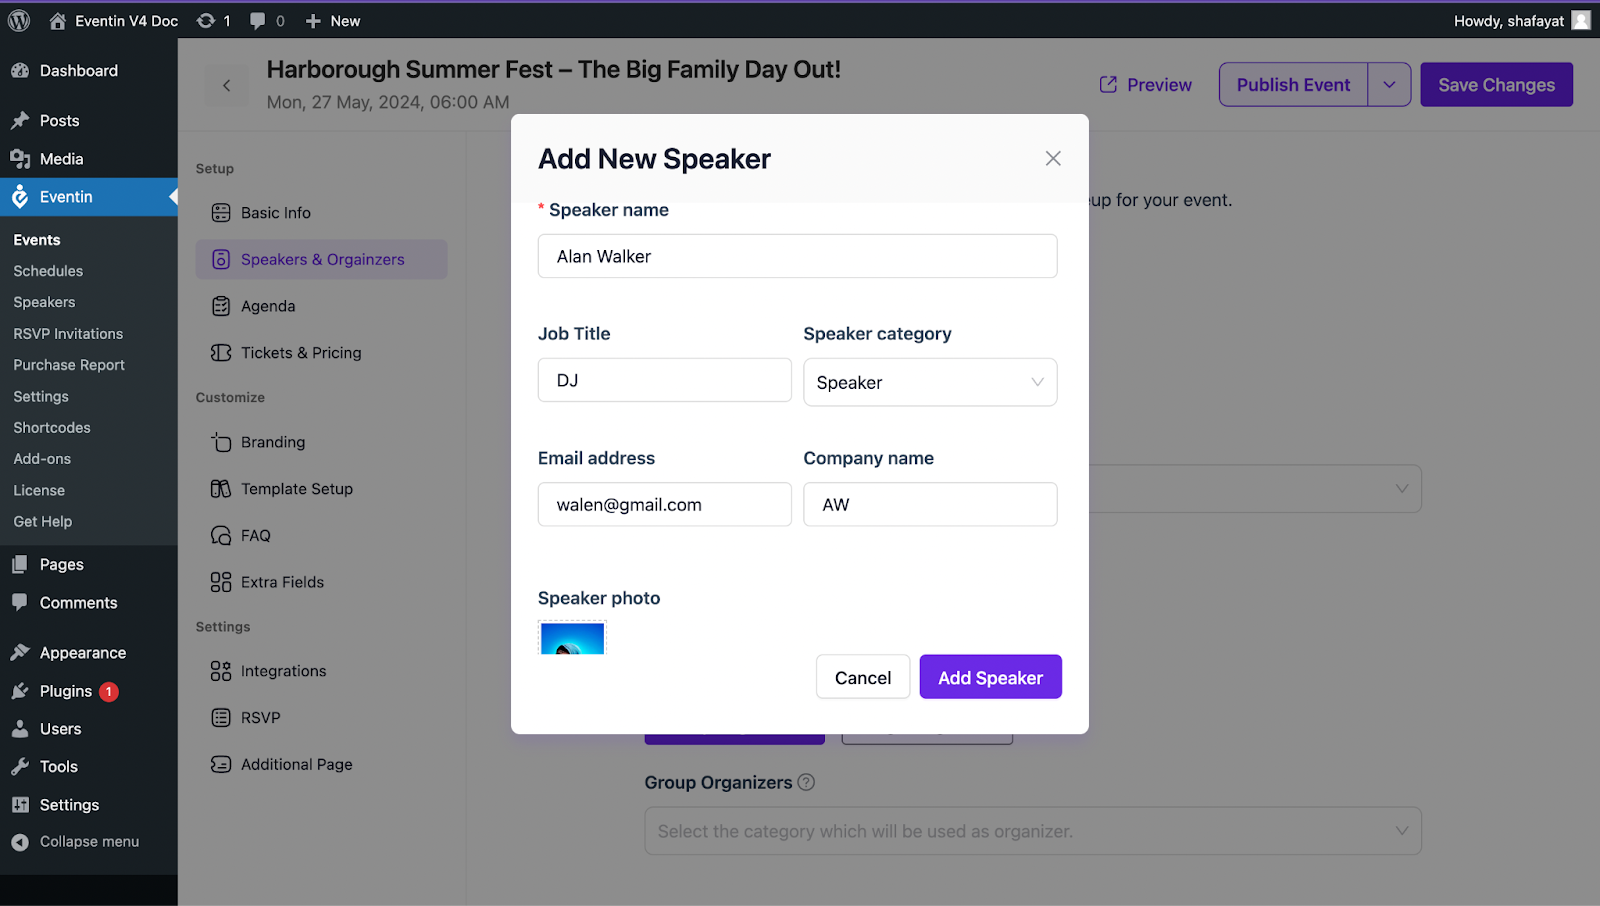
Once done inputting the speaker´s details, click on the ´Add Speaker´ button to add this person as a speaker for the event.
Similarly, you can add multiple speakers and organizers for a particular event.
Schedule #
Now, select Schedule from the left menubar to set the event agenda.
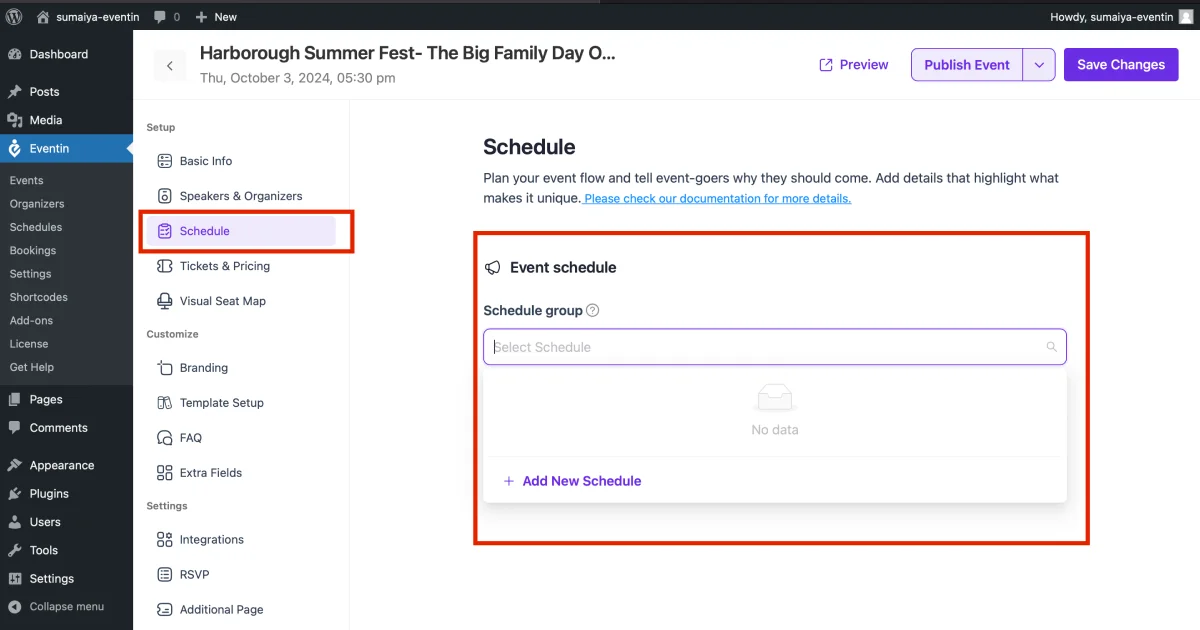
Here, add Program titles for each slot´s topic.
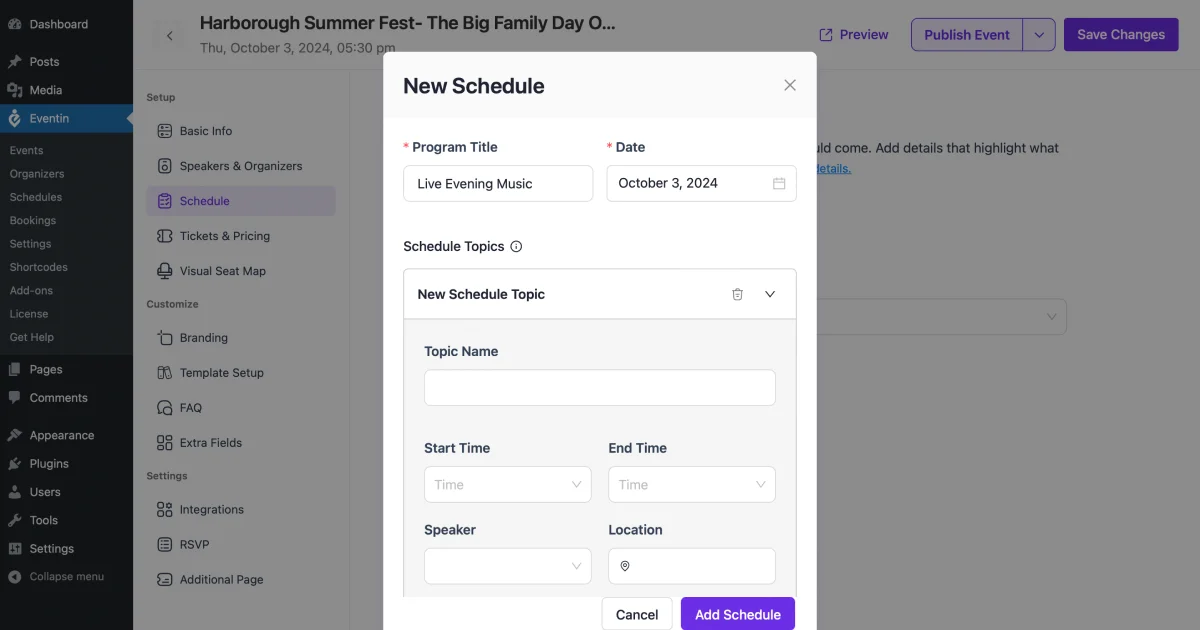
Select, ´Schedule Topic´ to add topics and details for particular schedules.
Set the topic name, and time duration for that particular slot, and assign a speaker.
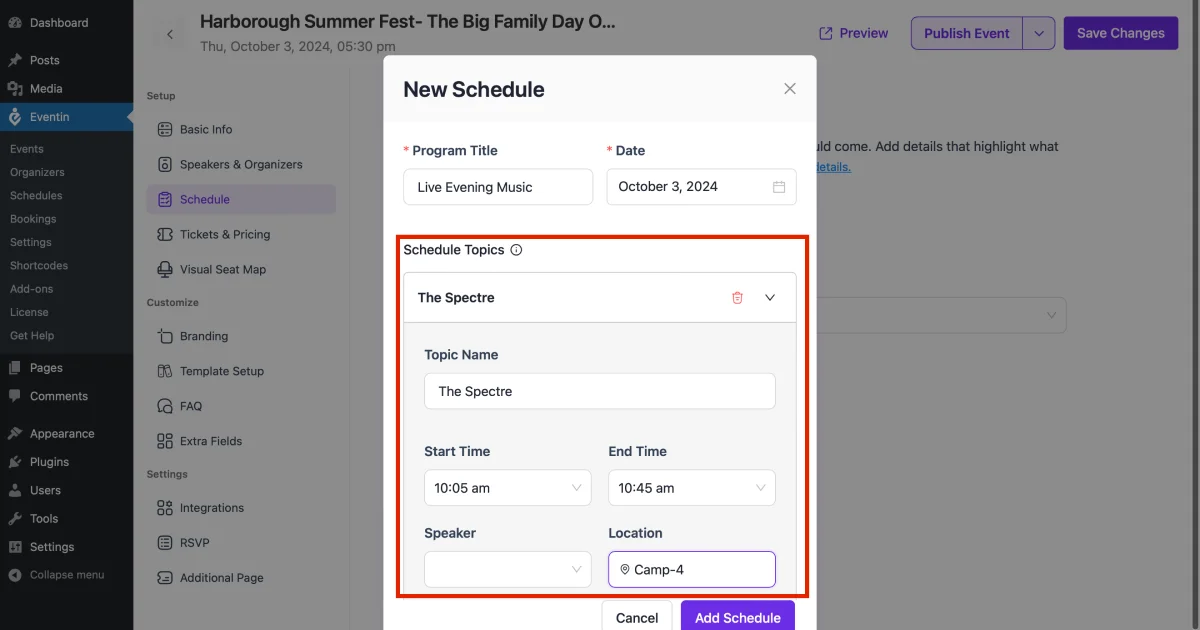
Once, the data are inputted correctly, click on ´Add Schedule´, and a new schedule item will be successfully added.
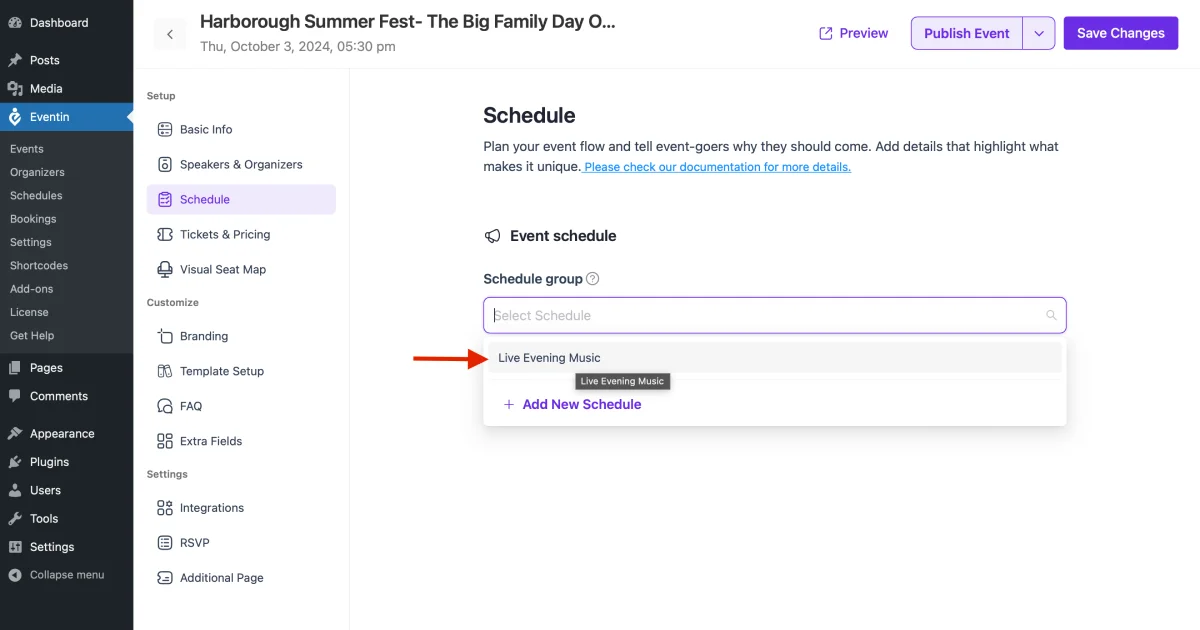
Now again you will be returned to the Schedule page. Simply, click on the ´Select Schedule´ box, and choose the newly created schedule items from the list for that event.
Now, click on ´Save Changes´ and move forward to the next step.
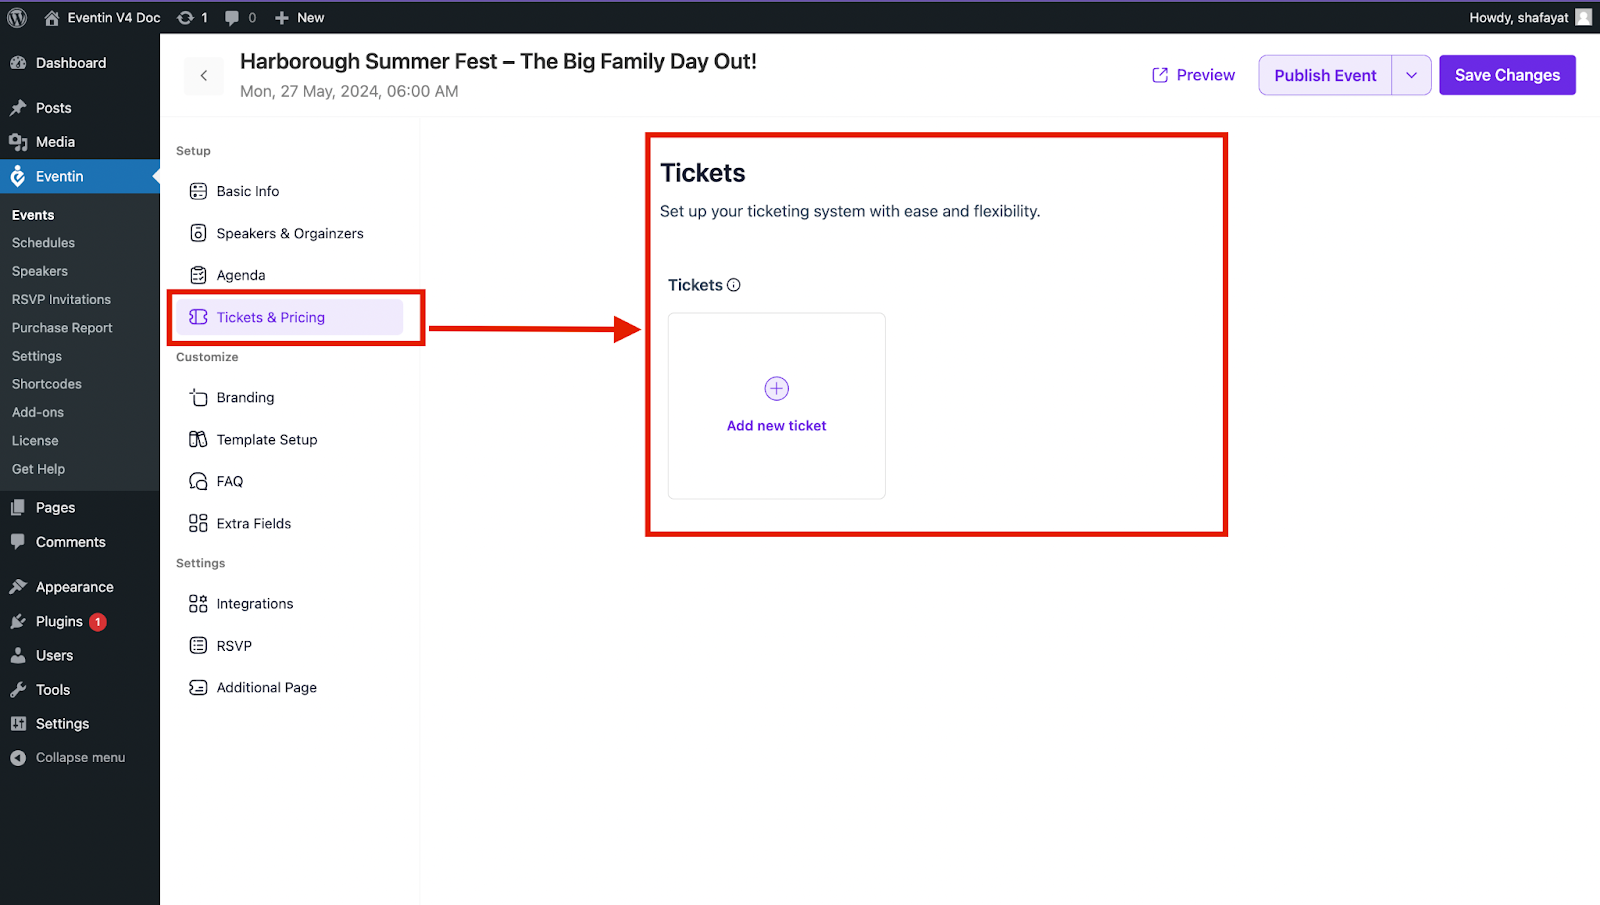
Ticket & Pricing #
In this section, you can add multiple tickets and set their pricing for the event. To create new tickets, click on the ´+add new ticker´ box.
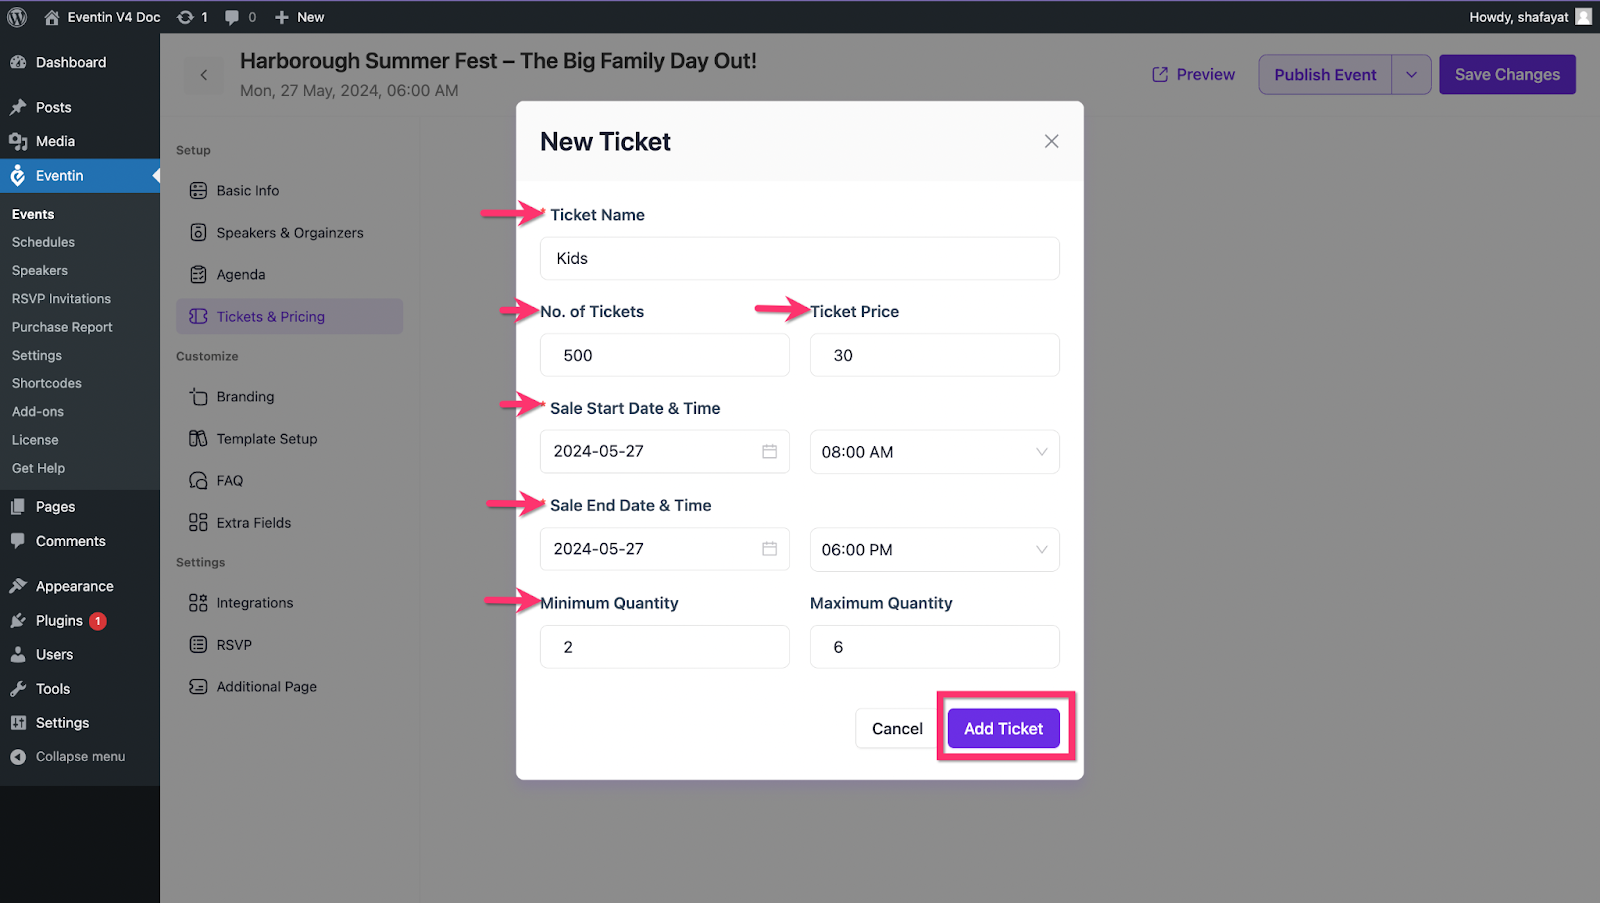
Now, add the necessary fields to create tickets such as ticket names, pricing, entry and exit time limits, and many more.
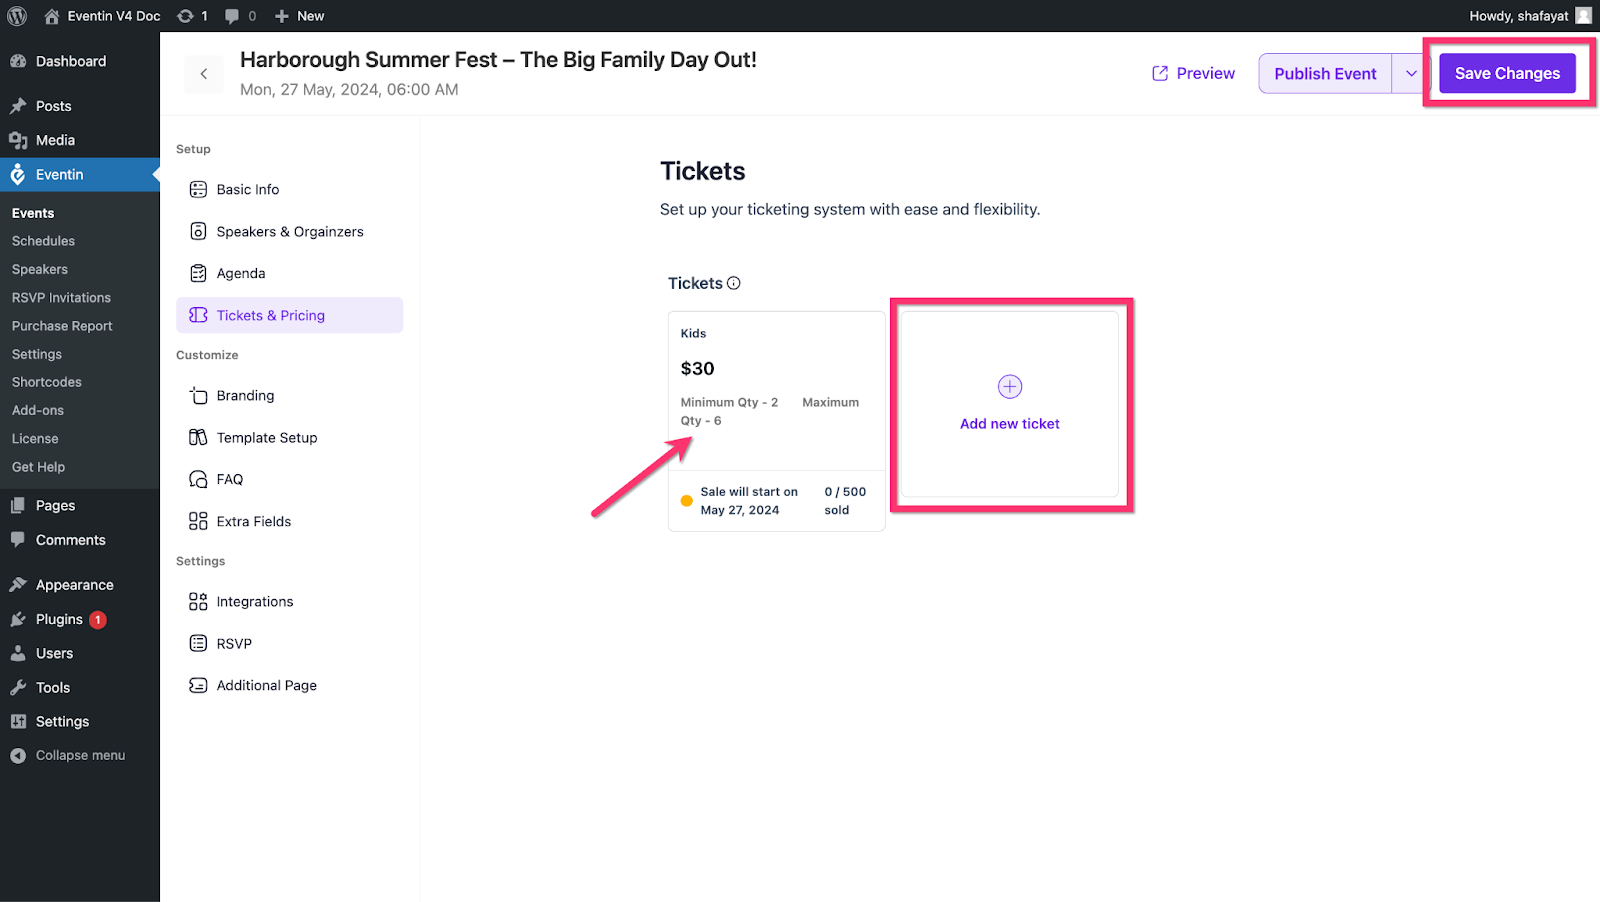
You can also create more tickets from the Ticket area. Once you are done with ticket creation, simply click on the ´Save Changes´ button on the top right corner to save all the changes you made.
2. Customization #
Branding #
Here, add your event´s logo, banner, theme colors, and add a personalized touch to the event.
Note: The Event Banner will function as a Featured image in version 4. Thus, there’s no need to include the Featured image in addition. So, the Event Banner will work everywhere instead of where you used the Featured images.
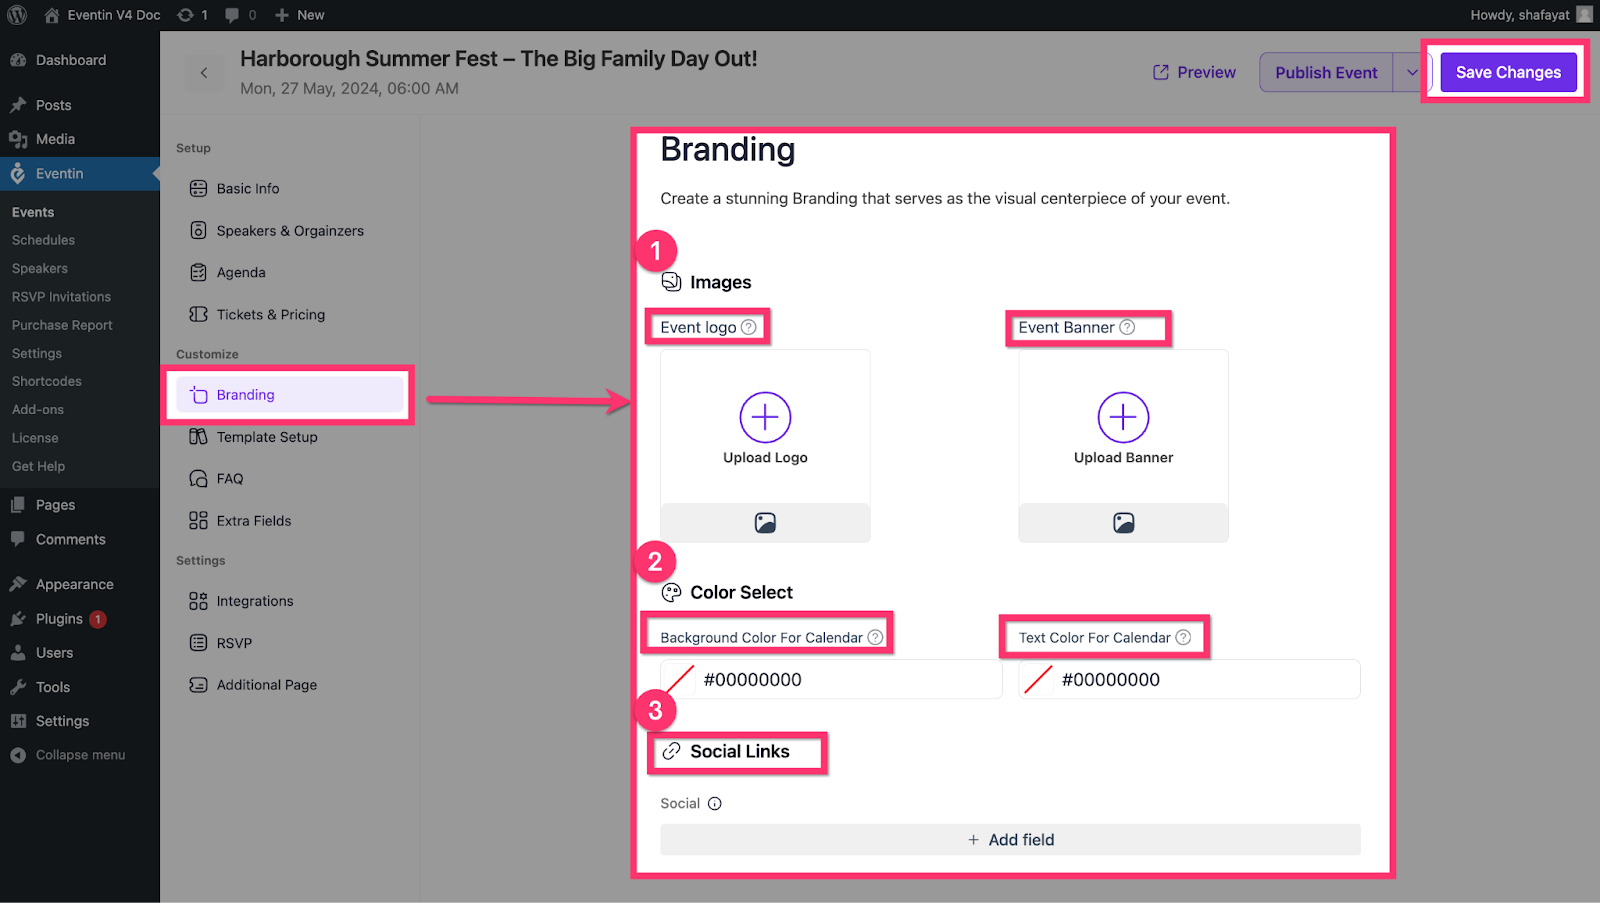
Link this event page with your social media platforms for engagement as well.
Template Setup #
Use prebuilt event´s landing page and tickets template from the library. 👇
Eventin offers 3 types of landing page templates (1 template is FREE and the other 2 for PRO users).

You can also offer certificates for the attendees from this section. 👇

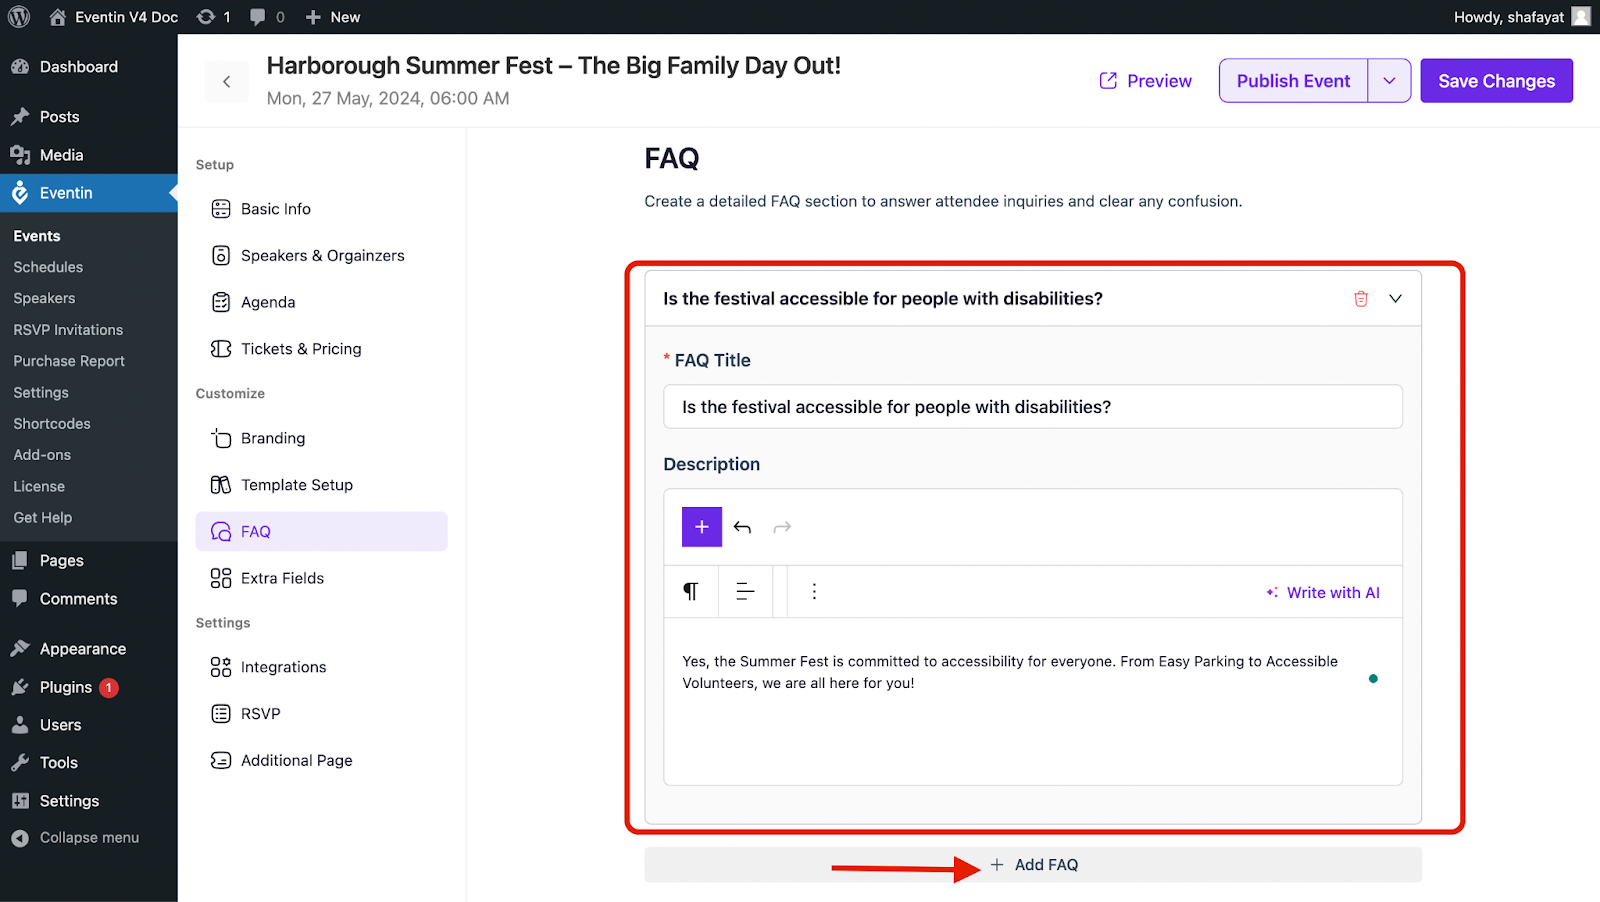
FAQ #
Add the possible frequently asked queries and increase the accessibility of the event efficiently.
Extra Fields #
Add extra fields for your event to collect attendees’ email, contact numbers, specialties, and other necessary data.
3. Settings #
From the settings field you can add integrations, RSVPs, and even create additional event pages.
Integrations #
Here, integrate your event workflows with automation platforms like FluentCRM, and Zapier 👉

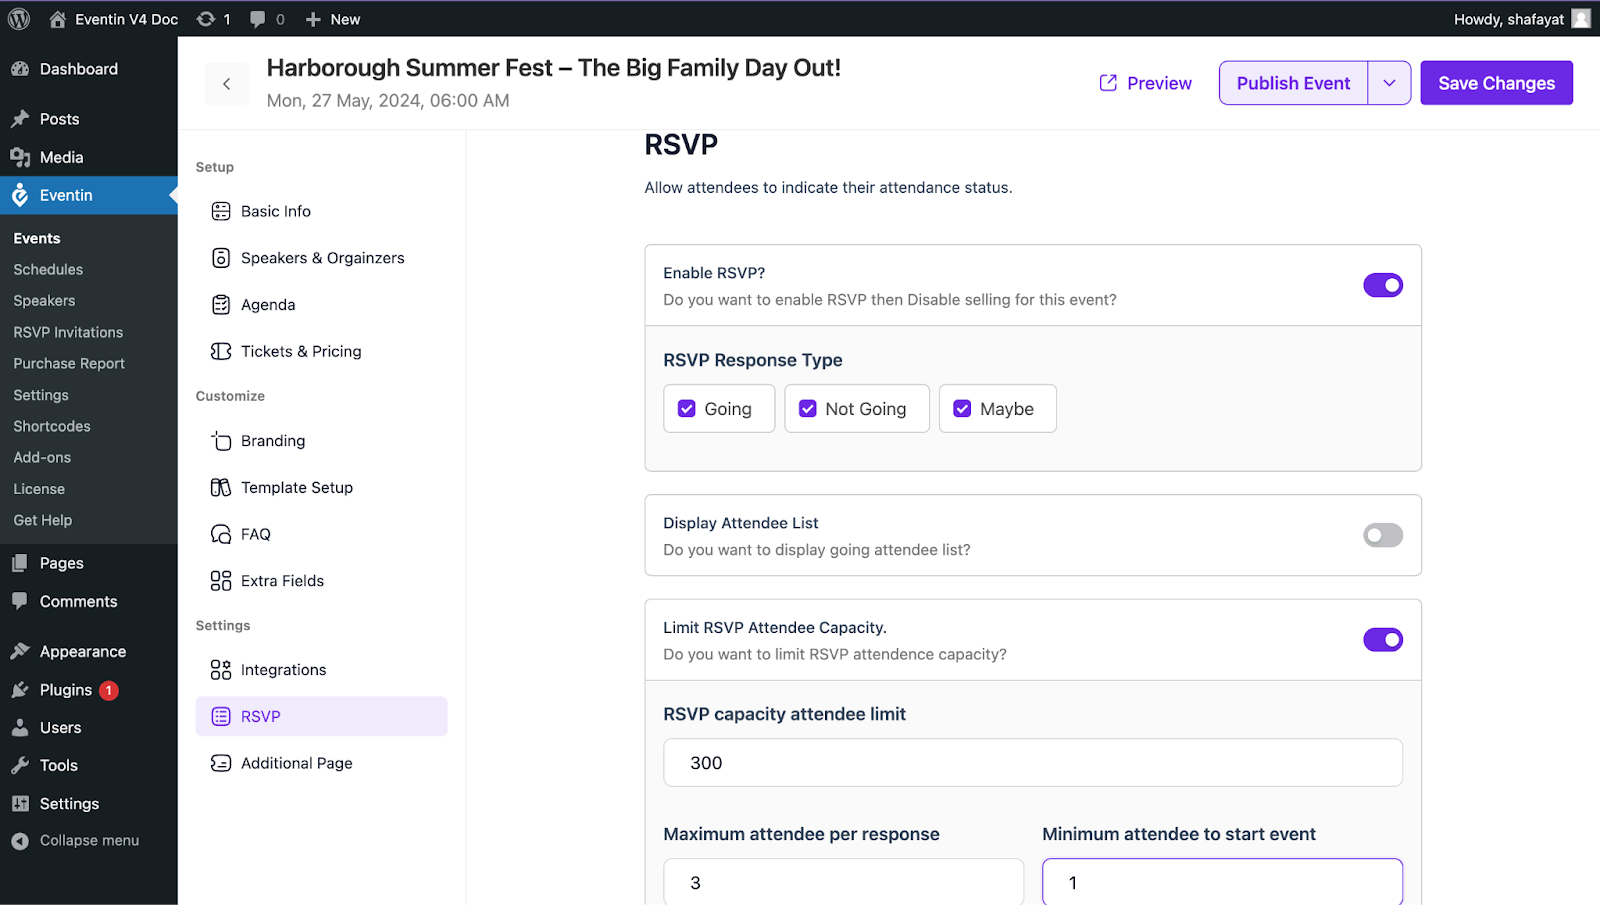
RSVP #
Enable ticket selling and distribution through RSVP. Enable the settings to display attendee lists from this section as well.
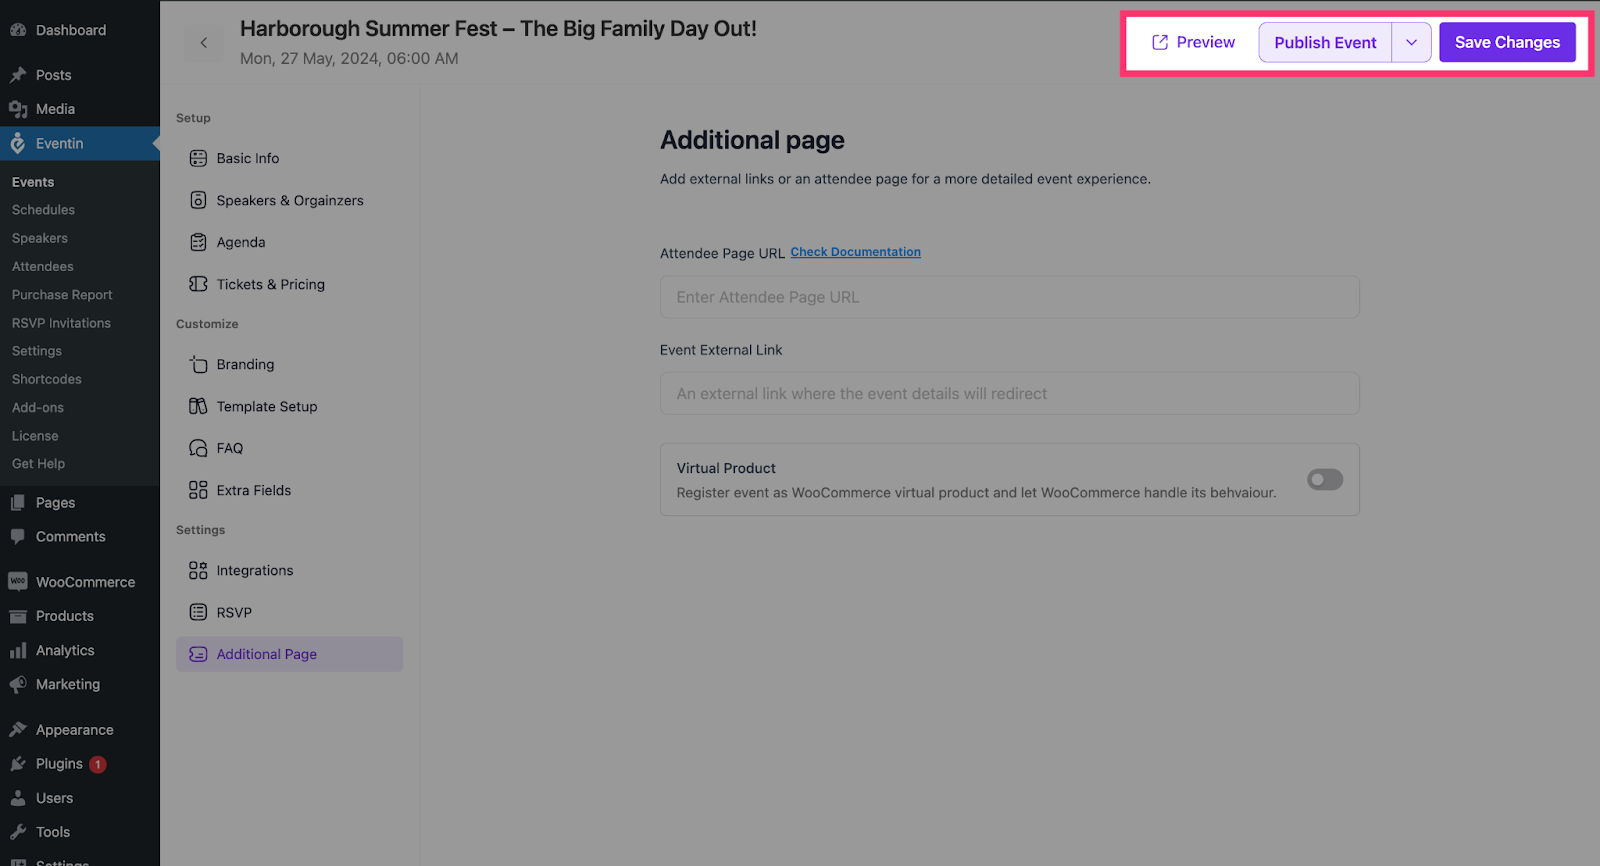
Additional page #
Create and embed multiple pages for events like Social Media Wall, Photo Gallery, etc.

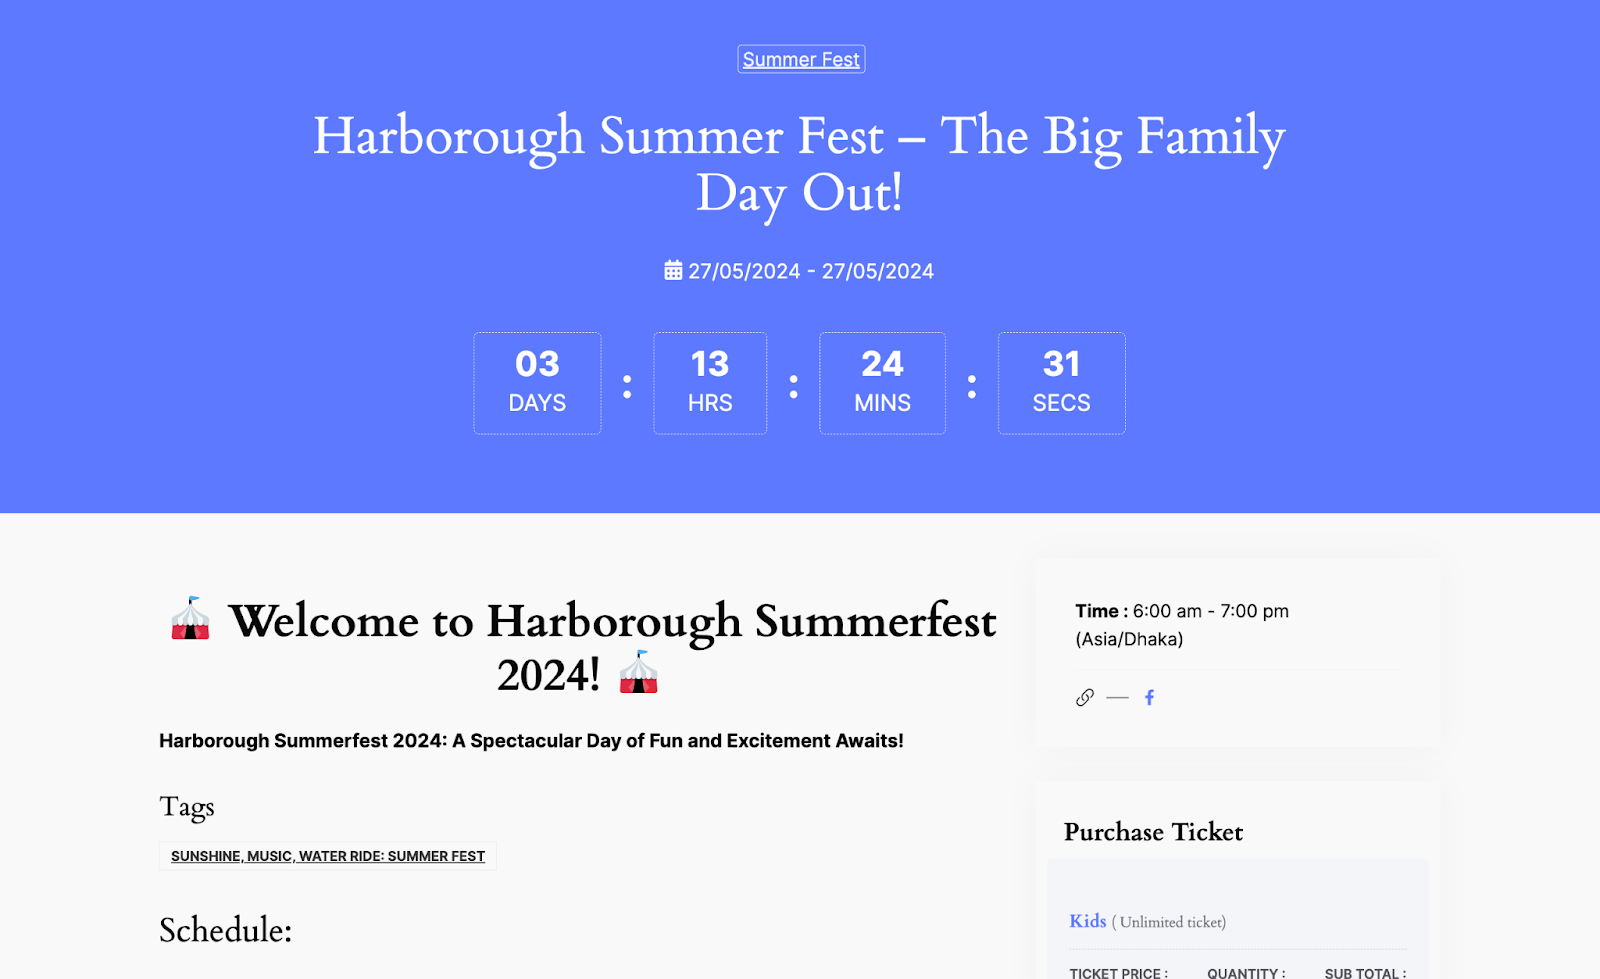
Now, you are all set up with your event site. Now, you can Preview, Publish, and update the event site whenever you want.
Event View from Frontend #